Love this? Save it for later!
Share the inspiration with your friends
Introduction
Last summer, I was wandering through a crowded farmers market on a particularly hot Saturday morning when the quietest person you’d ever imagine—Mr. Jenkins, the local plumber known more for fixing leaky faucets than fixing dinner—started chatting about this creamy roasted Hatch green chile mac and cheese recipe. I wasn’t expecting cooking advice from a plumber, but there I was, elbow-deep in fresh produce, listening as he described exactly how to roast Hatch chiles to unlock that smoky, mild heat that makes this mac and cheese sing. Honestly, I almost forgot to grab my groceries because his enthusiasm was contagious.
What struck me was how unpretentious the recipe was, yet how much soul it packed. The way he described folding the roasted chiles into the creamy cheesy sauce made me think, “Why haven’t I tried this before?” Maybe you’ve been there too—stuck in a recipe rut, craving comfort food that’s familiar but with a little twist. Well, this Hatch green chile mac and cheese is exactly that kind of dish. It’s rich, cozy, and just the right amount of spicy, perfect for days when you want something that feels like a hug but also has a little kick.
And let me tell you, the recipe stuck with me. I tried it the very next week, and from that moment on, it’s been a staple in my kitchen. The roasted Hatch chiles add this wonderful smoky depth that sets it apart from your usual mac and cheese. Plus, the creamy texture? Oh, it’s something to write home about. If you’re ready for a mac and cheese that’s easy, comforting, and with a southwestern twist, let’s get to it!
Why You’ll Love This Recipe
This creamy roasted Hatch green chile mac and cheese isn’t just another mac and cheese dish—it’s a comfort food classic with a spicy, smoky edge that makes it stand out. After testing countless recipes (and yes, a few kitchen disasters), I finally landed on this version that balances creamy cheese sauce with the subtle heat of roasted Hatch chiles. It’s been a winner in my home, and I’m confident it’ll be in yours too.
- Quick & Easy: Ready in under 30 minutes, perfect for busy weeknights or unexpected guests.
- Simple Ingredients: Uses pantry staples alongside fresh Hatch chiles, which you can find at most grocery stores during chile season.
- Perfect for Cozy Dinners: This is the kind of meal that warms you up on chilly evenings or anytime you need a bit of comfort food magic.
- Crowd-Pleaser: The smoky, mildly spicy flavor gets rave reviews from kids and adults alike, even from those who usually shy away from heat.
- Unbelievably Delicious: The creamy texture combined with the roasted chile’s distinctive flavor makes for an addictive bite every time.
What really makes this recipe different is the roasting of the Hatch green chiles. That smoky, slightly charred flavor can’t be replicated by simply adding canned chiles or powders. Plus, the cheese sauce is made with a mix of sharp cheddar and creamy Monterey Jack, which gives it a luscious, smooth finish without being overpowering. Honestly, this recipe is the kind of dish that makes you close your eyes after the first bite and say, “Yep, I nailed this.”
What Ingredients You Will Need
This recipe uses simple, wholesome ingredients to deliver bold flavor and that satisfying creamy texture without any fuss. Most are pantry staples, with the Hatch green chiles as the star ingredient that brings a unique southwestern flair.
- For the Pasta:
- 8 ounces elbow macaroni (about 225 grams) – classic choice for mac and cheese
- For the Roasted Hatch Green Chiles:
- 3-4 fresh Hatch green chiles, roasted, peeled, and chopped (adds smoky heat)
- For the Cheese Sauce:
- 3 tablespoons unsalted butter (for richness)
- 3 tablespoons all-purpose flour (to thicken the sauce)
- 2 cups whole milk, warmed (use dairy-free milk if needed)
- 1 cup sharp cheddar cheese, shredded (for that classic mac and cheese tang)
- 1 cup Monterey Jack cheese, shredded (melts beautifully and adds creaminess)
- 1/2 teaspoon smoked paprika (enhances the smoky flavor)
- 1/2 teaspoon garlic powder
- Salt and freshly ground black pepper, to taste
- Optional Toppings:
- 1/2 cup panko breadcrumbs (for a crunchy topping)
- 1 tablespoon olive oil or melted butter (to toss with breadcrumbs)
When picking Hatch chiles, look for firm, fresh pods without soft spots. If you can’t find Hatch chiles, Anaheim peppers make a decent substitute though the flavor won’t be as smoky. For the cheese, I recommend Cabot for the cheddar and Sargento for Monterey Jack—they melt smoothly and taste fantastic. And if you want a gluten-free version, swapping the flour for a gluten-free blend works well.
Equipment Needed
- Large pot for boiling pasta
- Medium saucepan for making cheese sauce
- Sheet pan or cast iron skillet for roasting Hatch chiles (broiler or grill works great too)
- Sharp knife and cutting board for prepping chiles
- Whisk for stirring sauce (prevents lumps)
- Oven-safe baking dish if you want to bake with breadcrumbs
If you don’t have a broiler or grill, roasting chiles over a gas stove flame on a wire rack works fine—just be sure to turn them often so they blister evenly. A silicone spatula is handy for scraping the cheese sauce out of the pan without scratching cookware. For budget-friendly options, a basic stainless steel pot and a baking sheet you already own will do just fine.
Preparation Method
- Roast the Hatch Green Chiles (15 minutes): Preheat your broiler or grill to high. Place whole Hatch chiles on a baking sheet or directly on the grill rack. Roast, turning occasionally, until the skin is charred and blistered all over (about 8-10 minutes). Transfer to a bowl and cover with plastic wrap or a clean kitchen towel. Let them steam for 10 minutes—this loosens the skin.
- Peel and Chop Chiles: Once cooled, peel off the charred skin (don’t worry if a little skin remains, it adds flavor). Remove seeds for less heat or keep some for an extra kick. Chop the chiles finely and set aside.
- Cook the Pasta (8-10 minutes): Bring a large pot of salted water to a boil. Add macaroni and cook until al dente (firm to the bite), about 8 minutes. Drain and set aside. Don’t rinse the pasta—that starchy coating helps the sauce cling.
- Make the Cheese Sauce (12 minutes): In a medium saucepan, melt butter over medium heat. Whisk in flour and cook for 1-2 minutes until it forms a smooth roux (paste) that’s lightly golden. Slowly add warm milk while whisking constantly to avoid lumps. Cook for 5-7 minutes, stirring often, until thickened.
- Add Cheese and Spices: Remove from heat and stir in shredded cheddar and Monterey Jack until melted and smooth. Mix in smoked paprika, garlic powder, salt, and pepper. Then fold in the chopped roasted Hatch chiles for that signature flavor.
- Combine Pasta and Sauce: Add the drained macaroni to the sauce and stir gently until every noodle is coated in that creamy, cheesy goodness.
- Optional Breadcrumb Topping: If you want a crunchy topping, toss panko breadcrumbs with olive oil or melted butter. Transfer mac and cheese to an oven-safe dish, sprinkle breadcrumbs evenly, and broil for 3-4 minutes until golden brown. Watch closely to avoid burning.
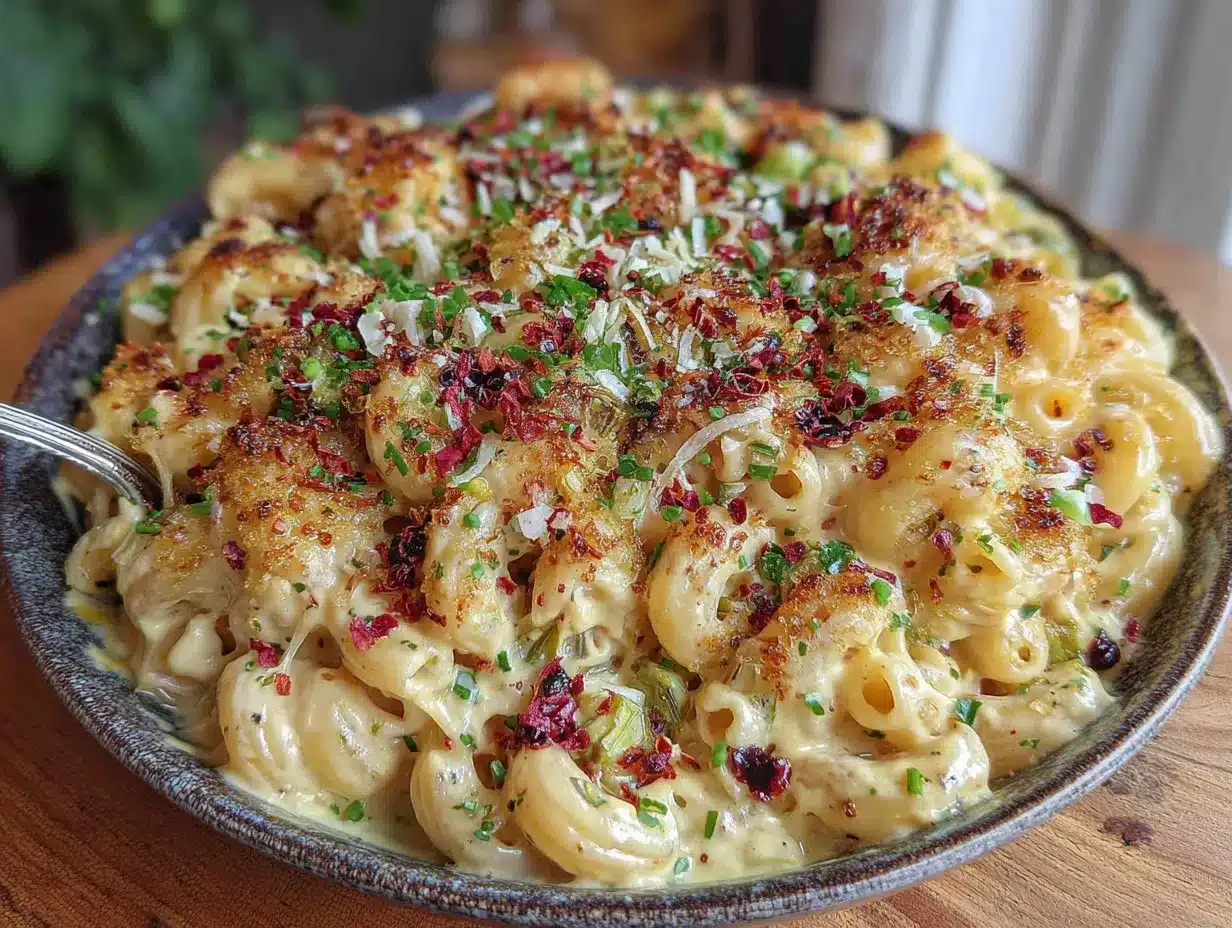
- Serve Immediately: Spoon into bowls, maybe with a sprinkle of extra cheese or fresh herbs if you have them. That’s it—rich, creamy, and a little smoky with the warmth of Hatch chiles.
Pro tip: Don’t rush the roux—cooking the flour and butter properly is crucial for a smooth sauce. If your sauce feels too thick, add a splash of milk to loosen it. And if your Hatch chiles are especially spicy, you can always dial back the amount or remove more seeds.
Cooking Tips & Techniques
Getting the perfect creamy roasted Hatch green chile mac and cheese is all about timing and technique. Here are some lessons I learned the hard way:
- Roasting Chiles: Don’t skip the steaming step after roasting. It makes peeling so much easier and prevents that bitter burnt taste from skin bits.
- Cheese Choice Matters: Mixing sharp cheddar with Monterey Jack balances tang and meltiness. Avoid pre-shredded cheese if you can—it often has anti-caking agents that prevent smooth melting.
- Whisk Constantly: When adding milk to the roux, whisk constantly to avoid lumps. This creates a silky cheese sauce.
- Don’t Overcook Pasta: Al dente pasta holds up better when combined with the sauce and prevents mushiness.
- Breadcrumb Crunch: If using breadcrumbs, toss them in butter or oil first for even browning and extra flavor.
- Heat Control: Keep cheese sauce on low heat after adding cheese to avoid separation or graininess.
One time, I accidentally added cold milk to the roux, and it clumped horribly—lesson learned! Warming the milk beforehand really makes a difference. Also, multitasking by roasting chiles while the pasta cooks saves precious time.
Variations & Adaptations
This creamy roasted Hatch green chile mac and cheese is a great base for all kinds of tweaks and twists:
- Vegetarian Boost: Stir in sautéed mushrooms or roasted corn for extra texture and flavor.
- Spicy Upgrade: Add a pinch of cayenne pepper or diced jalapeños along with the Hatch chiles for more heat.
- Gluten-Free: Use a gluten-free flour blend for the roux and gluten-free pasta to make it friendly for gluten-sensitive eaters.
- Dairy-Free: Substitute milk with unsweetened almond or oat milk, and use dairy-free cheese alternatives to keep it creamy and cheesy.
- Baked Version: After combining pasta and sauce, transfer to a casserole dish topped with extra cheese and breadcrumbs, then bake at 375°F (190°C) for 15-20 minutes until bubbly and golden.
I once tried folding in some smoky chipotle powder when Hatch chiles weren’t in season—it gave a different but equally delicious smoky heat. Feel free to experiment with herbs like cilantro or chives for a fresh finish.
Serving & Storage Suggestions
This creamy roasted Hatch green chile mac and cheese is best served hot and fresh from the stove or oven. The cheese sauce is at its creamiest and the roasted chiles’ smoky aroma is most vibrant.
- Serve with a crisp green salad or some roasted vegetables to balance the richness.
- A cold glass of crisp white wine or a light beer pairs nicely with the smoky, spicy notes.
- To store leftovers, transfer to an airtight container and refrigerate for up to 3 days.
- Reheat gently on the stovetop over low heat, stirring in a splash of milk to bring back creaminess.
- The flavor actually deepens after a day, making it a fantastic make-ahead meal.
Nutritional Information & Benefits
Per serving (approximately 1 cup):
| Calories | 450 |
|---|---|
| Protein | 18g |
| Carbohydrates | 40g |
| Fat | 22g |
| Fiber | 3g |
Hatch green chiles are a good source of vitamins A and C, plus they add antioxidants without adding calories. Using a blend of cheeses provides calcium and protein, making this dish surprisingly nutrient-rich for comfort food. If you’re watching carbs, try swapping regular pasta for a lower-carb alternative like chickpea or lentil pasta. Just keep in mind the flavor and texture will shift a bit. For those with dairy allergies, the dairy-free adaptations still deliver a creamy mouthfeel without compromising taste.
Conclusion
So, there you have it—an easy, creamy roasted Hatch green chile mac and cheese recipe that brings a smoky, spicy twist to a classic favorite. It’s the kind of dish that’s simple enough for a weeknight but special enough to impress friends or family without much fuss. I love how the roasted chiles add that unforgettable depth of flavor, making every bite feel cozy and satisfying.
Feel free to make it your own by adjusting the heat level or adding your favorite mix-ins. Honestly, once you try this, it’s hard to go back to plain old mac and cheese. I hope it becomes a staple in your kitchen like it did in mine. If you give it a try, I’d love to hear what you think or how you customized it—drop a comment below and share your story!
FAQs About Creamy Roasted Hatch Green Chile Mac and Cheese
Can I use canned green chiles instead of fresh Hatch chiles?
You can, but fresh roasted Hatch chiles provide a much smokier, richer flavor. Canned chiles are milder and may result in a less vibrant dish.
How spicy is this mac and cheese?
The heat level is mild to medium thanks to the Hatch chiles. Removing the seeds reduces the spice if you prefer it gentler.
Can I make this recipe ahead of time?
Yes! Prepare the mac and cheese, store in the fridge, and reheat gently with a splash of milk. For best texture, add breadcrumbs and broil just before serving.
What cheeses work best besides cheddar and Monterey Jack?
Gruyère or fontina are great alternatives that melt well and add a nutty flavor. Avoid very hard or crumbly cheeses.
Is this recipe gluten-free?
Not as written, but you can substitute gluten-free flour and pasta to make it gluten-free without losing much on taste or texture.
By the way, if you’re interested in other cheesy comfort foods, you might enjoy my crispy garlic chicken recipe or the smoky chipotle beef chili which also features smoky heat and bold flavors that pair well with this mac and cheese.
Pin This Recipe!
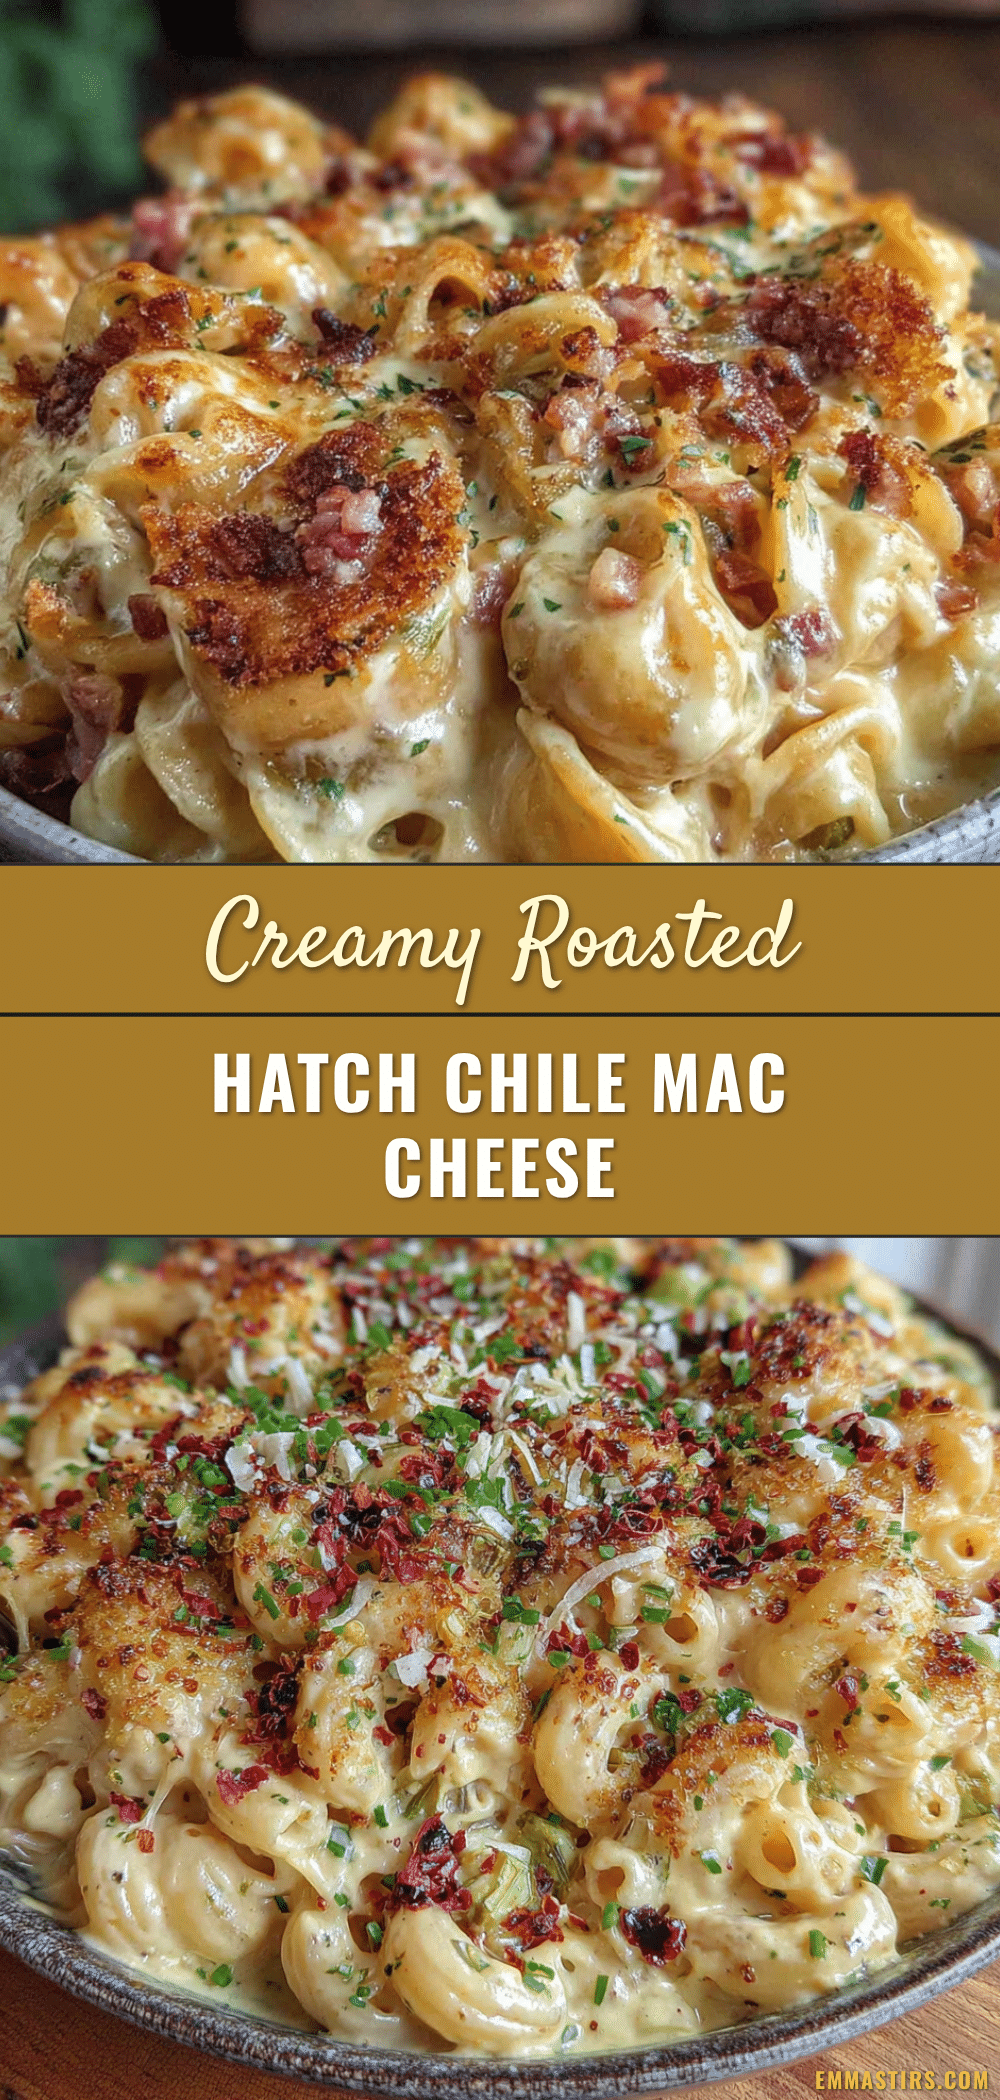
Creamy Roasted Hatch Green Chile Mac and Cheese

A creamy, comforting mac and cheese with a smoky, mildly spicy twist from roasted Hatch green chiles. Perfect for cozy dinners and quick weeknight meals.
- Prep Time: 15 minutes
- Cook Time: 15 minutes
- Total Time: 30 minutes
- Yield: 4 servings 1x
- Category: Main Course
- Cuisine: Southwestern American
Ingredients
- 8 ounces elbow macaroni (about 225 grams)
- 3–4 fresh Hatch green chiles, roasted, peeled, and chopped
- 3 tablespoons unsalted butter
- 3 tablespoons all-purpose flour
- 2 cups whole milk, warmed
- 1 cup sharp cheddar cheese, shredded
- 1 cup Monterey Jack cheese, shredded
- 1/2 teaspoon smoked paprika
- 1/2 teaspoon garlic powder
- Salt and freshly ground black pepper, to taste
- Optional toppings:
- 1/2 cup panko breadcrumbs
- 1 tablespoon olive oil or melted butter
Instructions
- Preheat broiler or grill to high. Roast whole Hatch chiles on a baking sheet or grill rack, turning occasionally, until skin is charred and blistered (8-10 minutes). Transfer to a bowl and cover with plastic wrap or kitchen towel. Let steam for 10 minutes.
- Peel off charred skin from chiles, remove seeds if desired, and chop finely. Set aside.
- Bring a large pot of salted water to a boil. Add macaroni and cook until al dente, about 8 minutes. Drain and set aside without rinsing.
- In a medium saucepan, melt butter over medium heat. Whisk in flour and cook 1-2 minutes until lightly golden roux forms.
- Slowly add warm milk while whisking constantly to avoid lumps. Cook 5-7 minutes, stirring often, until sauce thickens.
- Remove from heat and stir in shredded cheddar and Monterey Jack cheeses until melted and smooth.
- Mix in smoked paprika, garlic powder, salt, pepper, and chopped roasted Hatch chiles.
- Add drained macaroni to the cheese sauce and stir gently to coat all noodles.
- Optional: Toss panko breadcrumbs with olive oil or melted butter. Transfer mac and cheese to an oven-safe dish, sprinkle breadcrumbs evenly, and broil 3-4 minutes until golden brown, watching closely to avoid burning.
- Serve immediately, optionally garnished with extra cheese or fresh herbs.
Notes
Do not skip steaming the chiles after roasting to make peeling easier and avoid bitter burnt skin taste. Whisk constantly when adding milk to roux to prevent lumps. Use freshly shredded cheese for best melting. Adjust heat by removing chile seeds. For gluten-free, substitute flour and pasta accordingly. For dairy-free, use plant-based milk and cheese alternatives.
Nutrition
- Serving Size: Approximately 1 cup
- Calories: 450
- Fat: 22
- Carbohydrates: 40
- Fiber: 3
- Protein: 18
Keywords: mac and cheese, Hatch green chile, creamy, roasted chiles, comfort food, southwestern, cheesy, easy recipe


