Love this? Save it for later!
Share the inspiration with your friends
It was 11:47 PM on a random Wednesday, and I was hit with the kind of craving that doesn’t care about logic. I wanted something crunchy, salty, and satisfying—the kind of snack that usually comes from a bag with a shiny lining. But I had just gotten back from the grocery store, and my kitchen was full of vegetables that were starting to look a little sad in the crisper drawer. I didn’t have any chips or crackers, but I had two zucchini that were begging to be used and a block of Parmesan that was getting lonely in the fridge. The idea just sort of arrived, fully formed, like a late-night revelation: zucchini chips, but make them crispy, cheesy, and done in the air fryer before midnight.
Honestly, I wasn’t expecting much. I mean, we’ve all tried to make vegetable chips before, right? They either turn out soggy or burnt, and you end up eating the whole batch just to prove a point. But something about the late hour made me loosen up. I didn’t follow any rules. I just sliced, seasoned, and hoped for the best. Ten minutes later, I was standing over the air fryer basket, burning my fingers on the first chip because I couldn’t wait for it to cool down. And let me tell you—it was perfect. That first bite had this unexpected crunch, followed by a salty, nutty hit of Parmesan that made me close my eyes. Maybe you’ve been there, standing in your kitchen at an ungodly hour, eating something you made on a whim, and realizing it’s actually better than anything you’d plan during daylight hours.
These crispy Parmesan zucchini chips are now my go-to snack. They’re not just a healthy alternative to potato chips—they’re genuinely addictive. The air fryer does all the heavy lifting, turning humble zucchini into golden, crunchy disks that feel like a cheat day but aren’t. And the best part? They’re ready in under 15 minutes, which is faster than ordering takeout. This recipe stayed with me because it proved that the best ideas often come when you’re not trying so hard. So if you’ve got a zucchini sitting in your fridge and a craving for something crispy, you’re in the right place.
Why You’ll Love This Recipe
I’ve tested this recipe more times than I care to admit—some batches were soggy disasters, others were burnt to a crisp. But after tweaking the temperature, the thickness of the slices, and the coating technique, I landed on a version that works every single time. Here’s why these zucchini chips are worth every minute of experimentation:
- Quick & Easy: From start to finish, these chips come together in under 15 minutes. Perfect for those moments when a snack attack hits and you need something fast.
- Simple Ingredients: You probably already have everything in your kitchen. No fancy grocery trips needed—just zucchini, Parmesan, breadcrumbs, and a few pantry staples.
- Perfect for Snacking: Great for game days, movie nights, or a healthy lunchbox addition. They’re also a fantastic way to use up extra zucchini from your garden or farmer’s market haul.
- Crowd-Pleaser: I’ve served these to kids, adults, and even picky eaters who swear they don’t like vegetables. They disappear faster than I can make them.
- Unbelievably Delicious: The combination of crispy panko breadcrumbs and salty Parmesan creates a texture and flavor that rivals any store-bought chip. You won’t believe they’re made from zucchini.
What makes this recipe different from the rest? It’s the technique. Instead of a heavy batter that gets soggy, I use a light coating of seasoned breadcrumbs and a quick spray of oil. The air fryer circulates hot air around each slice, creating that golden, crunchy exterior without any greasiness. This isn’t just another healthy snack—it’s the kind that makes you forget you’re eating vegetables. It’s comfort food reimagined: faster, healthier, but with the same soul-soothing satisfaction.
What Ingredients You Will Need
This recipe uses simple, wholesome ingredients to deliver bold flavor and that irresistible crunch. Most of these are pantry staples, so you can whip up a batch anytime the craving strikes.
- Zucchini – 2 medium zucchini (about 8 ounces each). Look for firm, medium-sized zucchini with shiny skin. Avoid overly large ones, as they tend to be watery and seedy.
- Panko breadcrumbs – 1 cup. Panko gives the chips that light, airy crunch that regular breadcrumbs just can’t match. I prefer Kikkoman or Ian’s brand for consistent texture.
- Grated Parmesan cheese – 1/2 cup. Use freshly grated Parmesan from a block, not the pre-shredded stuff in a bag. It melts better and has a nuttier flavor. (Adds richness and that signature salty kick.)
- Large eggs – 2, beaten. These act as the glue to help the breadcrumb mixture stick to the zucchini slices.
- All-purpose flour – 1/4 cup. A light dusting of flour helps the egg wash adhere and creates a barrier that prevents sogginess.
- Garlic powder – 1 teaspoon. Adds a savory depth that complements the Parmesan beautifully.
- Onion powder – 1/2 teaspoon. For a subtle sweetness and extra flavor layer.
- Dried oregano – 1/2 teaspoon. Optional, but I love the Italian-inspired twist it adds.
- Salt – 1/2 teaspoon (plus more for salting the zucchini).
- Black pepper – 1/4 teaspoon, freshly ground.
- Olive oil spray – For misting the chips. A light spray is crucial for achieving that golden, crispy finish without deep frying.
Ingredient Tips: For a gluten-free version, swap the all-purpose flour with almond flour or gluten-free all-purpose blend, and use gluten-free panko breadcrumbs. If you don’t have panko, regular breadcrumbs work, but the texture will be denser. I also recommend using BelGioioso or Parmigiano-Reggiano for the best flavor—trust me, it makes a difference.
Equipment Needed
You don’t need a fancy kitchen to make these chips, but a few tools make the process much smoother:
- Air fryer – This is the star of the show. Any model works, but I use a 5.8-quart Cosori air fryer. If you have a smaller basket, you may need to cook the chips in batches.
- Mandoline slicer – Not required, but highly recommended for uniform slices. Even thickness ensures even cooking. I learned this the hard way after a batch of uneven chips that were half-burnt, half-raw. A Benriner mandoline is my go-to, but a sharp knife works fine too.
- Mixing bowls – Three shallow bowls: one for flour, one for beaten eggs, and one for the breadcrumb mixture.
- Baking sheet or large plate – For holding the coated zucchini slices before they go into the air fryer.
- Tongs – For flipping the chips halfway through cooking. Trust me, your fingers will thank you.
- Paper towels – For patting the zucchini dry after salting. This step is non-negotiable for crispy results.
- Cooling rack – Optional, but placing the cooked chips on a rack instead of a plate keeps them crispy by allowing air to circulate.
Budget-Friendly Tip: If you don’t own a mandoline, a sharp chef’s knife and a steady hand work just fine. Aim for slices about 1/4-inch thick. Too thin, and they’ll burn; too thick, and they’ll be soggy.
Preparation Method
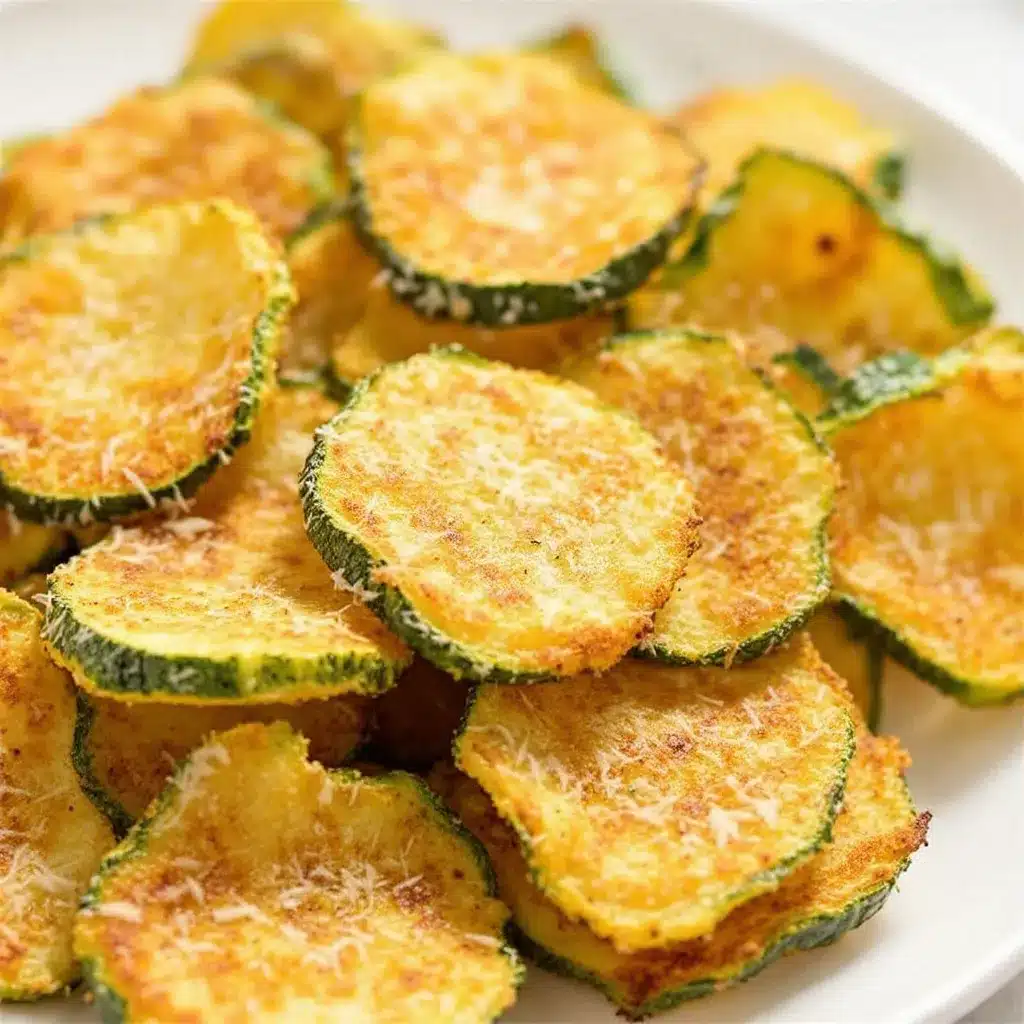
Follow these steps carefully, and you’ll have a batch of perfectly crispy zucchini chips that will make you wonder why you ever bought bagged snacks.
- Prep the zucchini. Wash and dry the zucchini thoroughly. Trim off the ends, then slice them into 1/4-inch thick rounds. A mandoline slicer makes this step quick and consistent. (Pro tip: If your slices are uneven, they’ll cook at different rates, so take your time here.)
- Draw out the moisture. Place the zucchini slices in a colander and sprinkle them with about 1/2 teaspoon of salt. Toss gently to coat. Let them sit for 10 minutes. You’ll see beads of water forming on the surface—this is the excess moisture that makes chips soggy. Pat each slice dry with paper towels. Don’t skip this step. Honestly, I once did, and I ended up with limp, sad chips that tasted more like steamed zucchini than crispy chips.
- Set up your breading station. Grab three shallow bowls. In the first bowl, add the all-purpose flour. In the second, beat the two eggs until smooth. In the third, combine the panko breadcrumbs, grated Parmesan, garlic powder, onion powder, dried oregano, and black pepper. Mix well with a fork.
- Bread the zucchini. Take a dried zucchini slice and dredge it in the flour, shaking off any excess. Then dip it into the beaten eggs, letting any extra drip off. Finally, press it into the breadcrumb mixture, coating both sides evenly. Place the coated slice on a baking sheet or plate. Repeat with all the slices. (Your fingers will get messy—that’s normal. I keep a damp paper towel nearby to wipe them off every few slices.)
- Preheat the air fryer. Set your air fryer to 400°F (200°C) and let it preheat for 3 minutes. Preheating ensures the chips start cooking immediately, which helps them crisp up faster.
- Arrange the chips. Lightly spray the air fryer basket with olive oil spray. Place the breaded zucchini slices in a single layer in the basket. Don’t overcrowd them—they need space for the hot air to circulate. Depending on the size of your air fryer, you may need to cook in 2 or 3 batches. I usually fit about 12 to 15 slices per batch in my 5.8-quart basket.
- Spray and cook. Lightly spray the tops of the zucchini chips with olive oil spray. This is crucial for that golden, crispy finish. Air fry at 400°F (200°C) for 8 to 10 minutes, flipping halfway through. At the 5-minute mark, use tongs to flip each chip and spray the other side lightly. Keep an eye on them during the last 2 minutes—air fryers vary, and you don’t want burnt chips. They should be golden brown and firm to the touch.
- Cool and crisp. Transfer the cooked chips to a cooling rack or a paper towel-lined plate. Let them cool for 2 to 3 minutes. This resting period allows them to crisp up further. If you eat them straight out of the air fryer, they’ll be good, but waiting those extra minutes makes them great.
Cooking Tips & Techniques
After making these chips more times than I can count (and ruining a few batches along the way), I’ve picked up some tricks that make all the difference:
- Don’t skip the salting step. Zucchini is mostly water, and if you don’t draw out that moisture, your chips will be soggy. I learned this the hard way when I was rushing one evening and skipped the salting. The chips came out of the air fryer looking promising, but within minutes, they were limp and sad. Salting for just 10 minutes transforms the texture completely.
- Use panko, not regular breadcrumbs. Panko has a larger, flakier texture that creates a lighter, crunchier coating. Regular breadcrumbs work in a pinch, but the result is denser and less crispy. If you only have regular breadcrumbs, try toasting them in a dry pan for a minute or two before using—it helps.
- Don’t overcrowd the basket. I know it’s tempting to cram as many chips as possible into the air fryer to save time, but overcrowding leads to steaming instead of crisping. The chips need space for the hot air to circulate. Cook in batches if needed. The extra 5 minutes is worth it.
- Flip halfway through. This ensures both sides get evenly crispy. I use tongs for this, and I always spray the flipped side with a little more oil. It’s a small step that makes a big difference.
- Watch the last 2 minutes. Air fryers can go from golden to burnt very quickly. I set a timer for 6 minutes, check the chips, then add time in 1-minute increments. Every air fryer runs a little differently, so get to know yours.
- Serve immediately. These chips are best eaten fresh out of the air fryer. They’ll stay crispy for about 30 minutes, but after that, they start to soften. If you’re making them for a party, cook them right before serving.
Variations & Adaptations
One of the best things about this recipe is how easy it is to customize. Here are some variations I’ve tried and loved:
- Spicy Chipotle Zucchini Chips: Add 1 teaspoon of chipotle powder and 1/2 teaspoon of cayenne pepper to the breadcrumb mixture. The smoky heat pairs beautifully with the Parmesan. I made these for a game day party, and they were gone in minutes.
- Herb & Garlic Version: Replace the dried oregano with dried rosemary or thyme, and add an extra teaspoon of garlic powder. This version is perfect for dipping in marinara sauce.
- Gluten-Free Adaptation: Use almond flour instead of all-purpose flour and gluten-free panko breadcrumbs. The almond flour adds a subtle nuttiness that complements the Parmesan wonderfully. My gluten-sensitive friend couldn’t tell the difference.
- Vegan Option: Replace the eggs with a mixture of 2 tablespoons of flaxseed meal and 5 tablespoons of water (let it sit for 5 minutes to thicken). Use nutritional yeast instead of Parmesan for a cheesy flavor without the dairy. The texture is slightly less crispy, but still delicious.
- Cheese Lover’s Twist: Add 1/4 cup of grated Pecorino Romano to the breadcrumb mixture alongside the Parmesan. The extra saltiness and sharpness take these chips to another level.
I once tried a batch with smoked paprika and a pinch of cinnamon—don’t ask, it was a late-night experiment—and it was surprisingly good. The sweetness of the cinnamon with the smokiness of the paprika created a unique flavor profile. Sometimes the best variations come from happy accidents.
Serving & Storage Suggestions
These chips are incredibly versatile when it comes to serving. Here’s how I like to enjoy them:
- Serving Temperature: Serve warm, straight from the air fryer. They’re at their crispiest within the first 15 minutes. If you’re serving them at a party, keep them warm in a 200°F (93°C) oven on a baking sheet in a single layer.
- Dipping Sauces: My personal favorite is a simple marinara sauce, but they’re also fantastic with ranch dressing, garlic aioli, or a spicy sriracha mayo. For a lighter option, try Greek yogurt mixed with lemon juice and dill.
- Pairing Suggestions: Serve alongside a juicy burger, grilled chicken, or a fresh green salad. They also make a great topping for grain bowls or pasta dishes. I’ve even crumbled them over a Caesar salad for extra crunch.
- Storage: Store leftover chips in an airtight container at room temperature for up to 1 day. Do not refrigerate them—the moisture from the fridge will make them soggy. If you must store them longer, place a paper towel in the container to absorb excess moisture.
- Reheating: To revive leftover chips, place them back in the air fryer at 350°F (175°C) for 2 to 3 minutes. They won’t be as crispy as fresh, but they’ll be close. Avoid microwaving—it turns them into rubbery discs.
- Freezing: I don’t recommend freezing cooked chips, as the texture suffers significantly. However, you can freeze the breaded, uncooked zucchini slices. Arrange them in a single layer on a baking sheet, freeze until solid, then transfer to a freezer bag. Cook directly from frozen, adding 2 to 3 minutes to the cooking time.
Nutritional Information & Benefits
Here’s the approximate nutritional breakdown for one serving (about 10 chips, based on the full recipe making 4 servings):
| Nutrient | Amount per Serving |
|---|---|
| Calories | 185 |
| Total Fat | 8g |
| Saturated Fat | 3g |
| Cholesterol | 75mg |
| Sodium | 450mg |
| Total Carbohydrates | 18g |
| Dietary Fiber | 2g |
| Sugars | 3g |
| Protein | 10g |
Health Benefits: Zucchini is low in calories but high in antioxidants like vitamin C and beta-carotene. It’s also a good source of potassium, which supports heart health. The Parmesan adds calcium and protein, making this snack more satisfying than empty-calorie chips. For a lower-sodium version, reduce the added salt and use low-sodium Parmesan. This recipe is naturally vegetarian and can be adapted to be gluten-free or vegan, as mentioned in the variations section.
Conclusion
These crispy Parmesan zucchini chips have become a staple in my kitchen for good reason. They’re quick, easy, and deliver that satisfying crunch we all crave without any of the guilt. Whether you’re looking for a healthy snack to get you through the afternoon, a crowd-pleasing appetizer for your next gathering, or a clever way to use up extra zucchini, this recipe delivers every single time.
I love how adaptable this recipe is—you can tweak the seasonings, swap the cheese, or make it gluten-free without losing that essential crunch. It’s the kind of recipe that makes you feel like a kitchen genius, even on a lazy Tuesday night. So go ahead, give it a try. Customize it to your heart’s content, and don’t forget to share your creations. I’d love to hear how they turn out! Drop a comment below with your favorite variation, or tag me in your photos on social media. Happy snacking!
Frequently Asked Questions
Can I make these zucchini chips in a regular oven instead of an air fryer?
Absolutely! Preheat your oven to 425°F (220°C) and line a baking sheet with parchment paper. Arrange the breaded zucchini slices in a single layer, spray with oil, and bake for 15 to 20 minutes, flipping halfway through. They won’t be quite as crispy as air-fried chips, but they’re still delicious. Keep an eye on them during the last few minutes to prevent burning.
Why are my zucchini chips soggy?
Soggy chips usually result from one of three issues: you skipped the salting step to draw out moisture, you overcrowded the air fryer basket, or you didn’t cook them long enough. Make sure to salt the zucchini slices and pat them dry thoroughly. Also, give each chip space in the basket and cook until they’re golden brown and firm to the touch.
Can I use yellow squash instead of zucchini?
Yes! Yellow squash works perfectly as a substitute. It has a similar texture and moisture content, so follow the same preparation steps. The flavor is slightly milder, so you might want to add an extra pinch of garlic powder or a squeeze of lemon juice to brighten it up.
How do I make the coating stick better?
The key is the flour layer. Dredging the zucchini slices in flour before dipping them in the egg wash creates a tacky surface that helps the breadcrumb mixture adhere. Make sure to shake off any excess flour, though, or you’ll end up with a gummy coating. Also, press the breadcrumbs firmly onto each slice to ensure they stick.
Can I prepare these chips ahead of time for a party?
You can bread the zucchini slices up to 4 hours in advance and keep them in the refrigerator on a baking sheet covered with plastic wrap. Cook them just before serving for the best texture. If you have leftover cooked chips, reheat them in the air fryer at 350°F (175°C) for 2 to 3 minutes to revive some of the crunch.
Pin This Recipe!
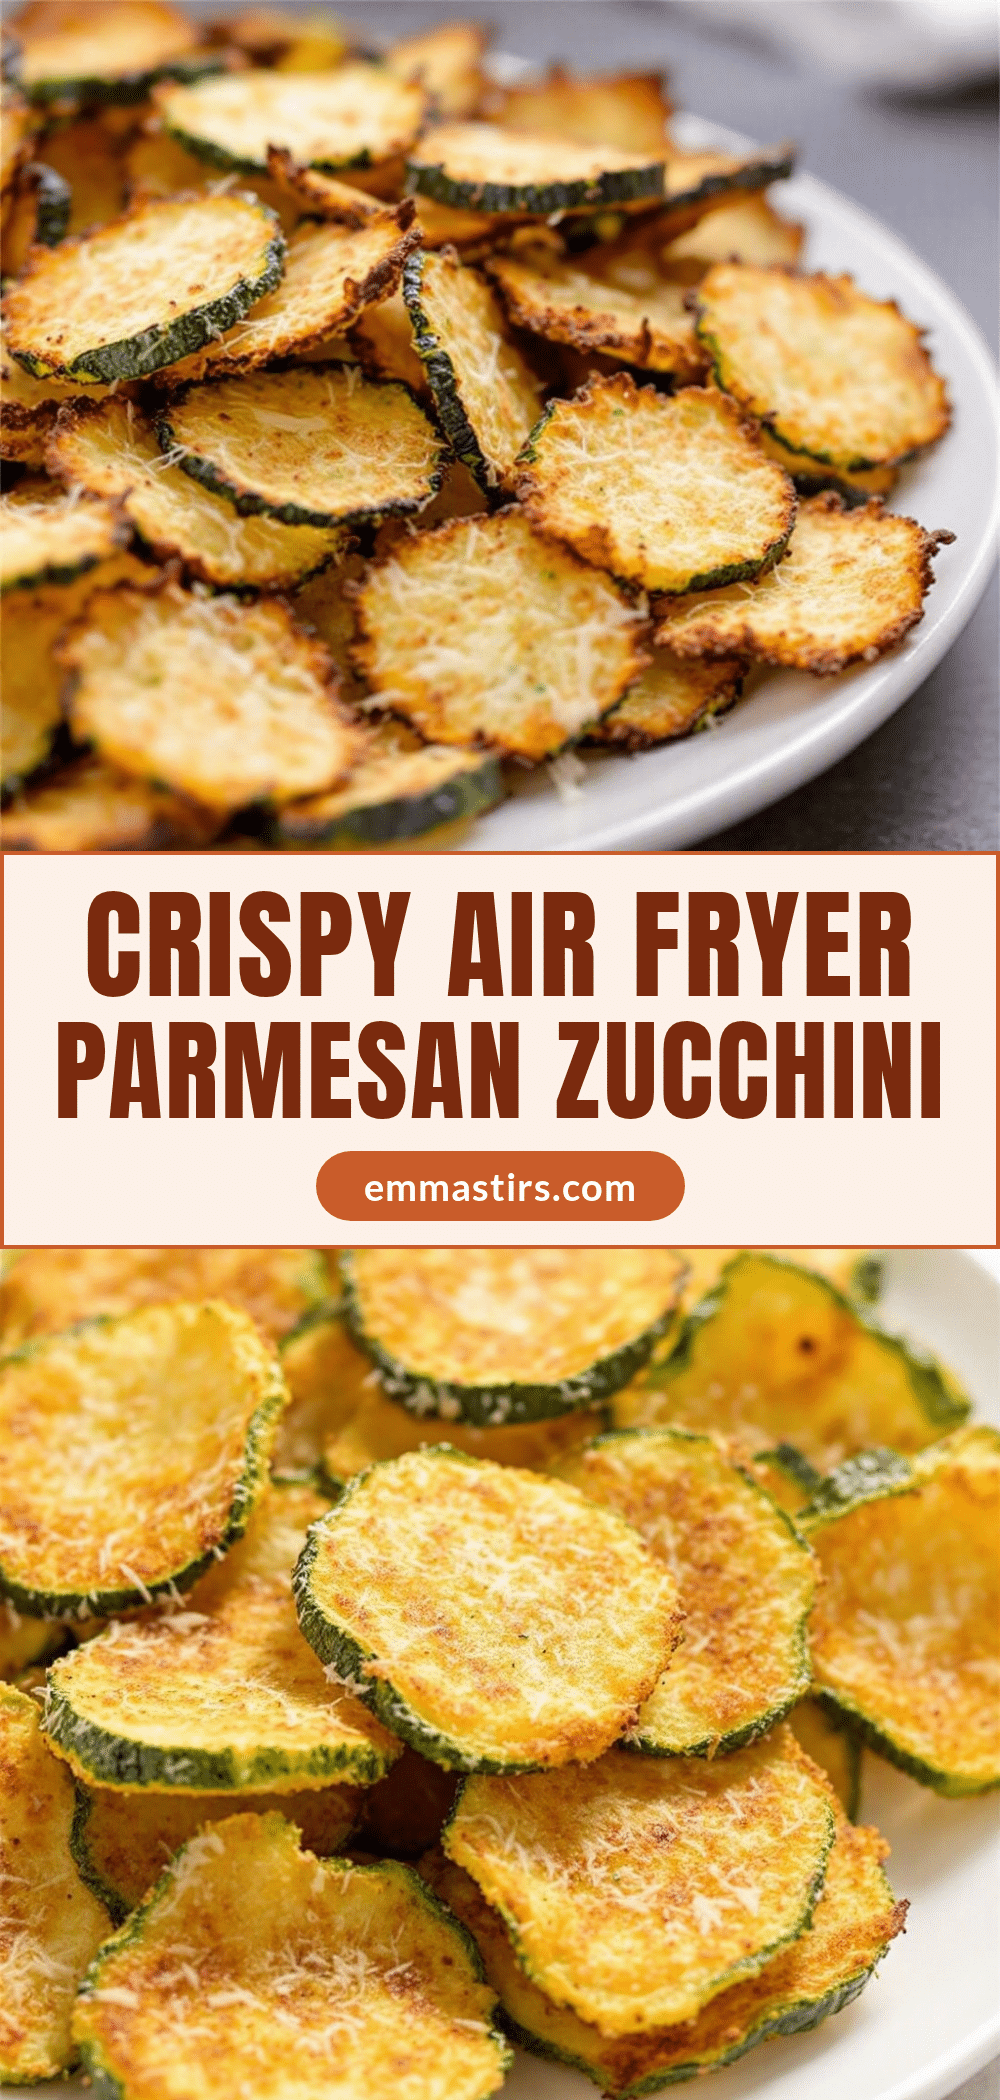
Crispy Parmesan Zucchini Chips – Easy Air Fryer Snack
These crispy Parmesan zucchini chips are a quick and easy air fryer snack that delivers a satisfying crunch with a salty, nutty Parmesan flavor. Ready in under 15 minutes, they’re a healthy alternative to potato chips that’s genuinely addictive.
- Prep Time: 15 minutes
- Cook Time: 10 minutes
- Total Time: 25 minutes
- Yield: 4 servings 1x
- Category: Snack
- Cuisine: American
Ingredients
- 2 medium zucchini (about 8 ounces each)
- 1 cup panko breadcrumbs
- 1/2 cup grated Parmesan cheese (freshly grated)
- 2 large eggs, beaten
- 1/4 cup all-purpose flour
- 1 teaspoon garlic powder
- 1/2 teaspoon onion powder
- 1/2 teaspoon dried oregano (optional)
- 1/2 teaspoon salt (plus more for salting zucchini)
- 1/4 teaspoon black pepper, freshly ground
- Olive oil spray
Instructions
- Prep the zucchini: Wash and dry the zucchini thoroughly. Trim off the ends, then slice them into 1/4-inch thick rounds using a mandoline slicer or sharp knife.
- Draw out the moisture: Place the zucchini slices in a colander and sprinkle with about 1/2 teaspoon of salt. Toss gently to coat. Let them sit for 10 minutes. Pat each slice dry with paper towels.
- Set up your breading station: In three shallow bowls, place the all-purpose flour in the first, beaten eggs in the second, and combine panko breadcrumbs, grated Parmesan, garlic powder, onion powder, dried oregano, and black pepper in the third.
- Bread the zucchini: Dredge each dried zucchini slice in flour, shaking off excess. Dip into beaten eggs, letting extra drip off. Press into the breadcrumb mixture, coating both sides evenly. Place on a baking sheet or plate.
- Preheat the air fryer: Set air fryer to 400°F (200°C) and preheat for 3 minutes.
- Arrange the chips: Lightly spray the air fryer basket with olive oil spray. Place breaded zucchini slices in a single layer, not overcrowding. Cook in batches if needed.
- Spray and cook: Lightly spray the tops of the zucchini chips with olive oil spray. Air fry at 400°F (200°C) for 8 to 10 minutes, flipping halfway through. At the 5-minute mark, flip each chip and spray the other side lightly. Cook until golden brown and firm.
- Cool and crisp: Transfer cooked chips to a cooling rack or paper towel-lined plate. Let cool for 2 to 3 minutes before serving.
Notes
Don’t skip the salting step—it draws out moisture for crispier chips. Use panko breadcrumbs for the lightest, crunchiest coating. Avoid overcrowding the air fryer basket to ensure even crisping. Serve immediately for best texture; chips stay crispy for about 30 minutes. For gluten-free, use almond flour and gluten-free panko. For vegan, use flax eggs and nutritional yeast.
Nutrition
- Serving Size: About 10 chips
- Calories: 185
- Sugar: 3
- Sodium: 450
- Fat: 8
- Saturated Fat: 3
- Carbohydrates: 18
- Fiber: 2
- Protein: 10
Keywords: zucchini chips, air fryer zucchini, crispy zucchini, Parmesan zucchini, healthy snack, low carb snack, vegetable chips


