Love this? Save it for later!
Share the inspiration with your friends
My friend Sarah watched me scraping burnt chocolate frosting off a cupcake for the third time that morning. She didn’t say anything at first. Then she walked over to her pantry, pulled out a jar of rainbow sprinkles, and set it on my counter with a thump. “You’re overthinking it,” she said. “Kids don’t want fancy. They want fun.” That was two years ago, and honestly, she was right. I had been so caught up in trying to make the “perfect” birthday cupcake—the one with the glossy ganache and the piped rosettes—that I forgot what a school birthday treat is actually supposed to be. It’s supposed to make a kid’s face light up. It’s supposed to be safe for the classmate with allergies. And it’s supposed to be something you can make on a Tuesday night without losing your mind.
These Best Rainbow Sprinkle School Birthday Cupcakes are the result of that conversation. They are nut-free, which means no one gets left out of the celebration. They are soft and buttery with that classic vanilla flavor that reminds you of being seven years old. And they are covered in sprinkles—because let’s be real, sprinkles are the whole point. I’ve tweaked the recipe about a dozen times since that first batch, testing different flours and butter ratios, trying to get the crumb just right. The version I’m sharing today is the one that got the official stamp of approval from my son’s second-grade class. They ate them in about four minutes flat. There were no leftovers. That’s the kind of review that matters.
Maybe you’ve been there, standing in the kitchen at 10 PM with a bag of flour and a deadline. Maybe you need a recipe that works every single time, that doesn’t require a trip to three different stores, and that won’t trigger anyone’s allergy list. These cupcakes are that recipe. They’re the ones you can make with confidence, send to school with pride, and watch disappear in minutes. I keep making them because they remind me that sometimes the simplest thing is the best thing. And honestly, a cupcake covered in rainbow sprinkles is pretty hard to beat.
Why You’ll Love This Recipe
I have tested this recipe more times than I care to count, and every single batch has taught me something new. The version I’m sharing today is the one that hits every mark—taste, texture, safety, and simplicity. Here is why these cupcakes stand out from every other birthday cupcake recipe out there:
- Completely Nut-Free : Every ingredient is carefully chosen to be safe for school environments. No nut flours, no cross-contamination risks, no worries. I use specific brands that I trust, and I’ll share those below.
- Incredibly Moist : The secret is a combination of buttermilk and oil. Oil keeps the crumb tender for days, while buttermilk adds a subtle tang that balances the sweetness. These cupcakes stay soft even on day three.
- Classic Vanilla Flavor : No weird extracts or complicated flavor profiles. This is the vanilla cupcake you remember from childhood, the one that tastes like birthday parties and summer afternoons.
- Perfect for Crowds : The recipe scales beautifully. I’ve made batches of 12 and batches of 60, and the results are consistent every time. Great for classroom parties, bake sales, or family gatherings.
- Simple Ingredients : You probably have most of these in your pantry right now. No specialty flours, no hard-to-find extracts, no expensive toppings. Just real, basic ingredients that work.
What makes this recipe different from the dozens of other sprinkle cupcake recipes out there? It’s the method. I bake the sprinkles into the batter, not just on top. This means every bite has that little pop of color and sweetness, not just the first one. And the frosting—a simple buttercream that comes together in five minutes—is intentionally not too sweet. It balances the sugary sprinkles perfectly. This is the kind of cupcake that makes you close your eyes after the first bite. It is comfort food reimagined for the modern school birthday.
What Ingredients You Will Need
This recipe uses simple, wholesome ingredients to deliver that classic birthday cupcake flavor without any of the fuss. Most of these are pantry staples, and none of them require a special trip to a fancy grocery store. I’ve tested multiple brands and variations, so I’ll share what works best.
- All-Purpose Flour : 2 cups (240g). I prefer Gold Medal or King Arthur Flour for consistent results. Do not use self-rising flour unless you adjust the leavening agents.
- Granulated Sugar : 1 ½ cups (300g). Regular white sugar works perfectly here. It dissolves completely and creates that tender crumb.
- Unsalted Butter : ½ cup (113g), softened to room temperature. I use Land O’Lakes. The unsalted version lets you control the salt level yourself.
- Vegetable Oil : ¼ cup (60ml). This is the secret to moist cupcakes that stay soft for days. Use a neutral oil like canola or avocado oil.
- Large Eggs : 2, at room temperature. Cold eggs can seize the batter, so let them sit on the counter for 30 minutes before starting.
- Buttermilk : 1 cup (240ml), at room temperature. The acidity in buttermilk tenderizes the gluten, giving you a softer crumb. If you don’t have buttermilk, you can make a quick substitute: add 1 tablespoon of lemon juice or white vinegar to 1 cup of milk and let it sit for 5 minutes.
- Vanilla Extract : 2 teaspoons. Use pure vanilla extract, not imitation. The flavor difference is noticeable in a simple vanilla cupcake.
- Baking Powder : 1 ½ teaspoons. Make sure it’s fresh—baking powder loses its potency after about 6 months.
- Baking Soda : ½ teaspoon. This works with the buttermilk to create lift.
- Salt : ½ teaspoon. Fine sea salt or table salt. Salt balances sweetness and enhances flavor.
- Rainbow Sprinkles : ½ cup (80g) for the batter, plus extra for topping. I use Betty Crocker Rainbow Sprinkles or Wilton Rainbow Jimmies. These are widely available and nut-free. Avoid nonpareils (the tiny round ones) as they tend to bleed color into the batter.
- Powdered Sugar : 3 cups (360g) for the frosting. Sift it if it’s lumpy.
- Heavy Cream : 3-4 tablespoons (45-60ml) for the frosting. You can substitute whole milk, but the frosting will be slightly less rich.
Equipment Needed
You don’t need a professional bakery setup to make these cupcakes. Here is what you’ll need, along with some alternatives if you’re working with a limited kitchen.
- Standard 12-Cup Muffin Pan : This is non-negotiable. I use a Wilton non-stick pan. If you only have a mini muffin pan, adjust the baking time to 10-12 minutes.
- Paper Cupcake Liners : Choose colorful ones to match the sprinkle theme. I prefer foil-lined paper liners because they hold their shape better and peel off cleanly.
- Electric Hand Mixer or Stand Mixer : A hand mixer works perfectly for this recipe. I use my KitchenAid stand mixer when I’m making double batches, but a hand mixer is faster for cleanup.
- Large Mixing Bowls : You’ll need at least two—one for dry ingredients and one for wet ingredients. Glass or stainless steel works best.
- Whisk and Rubber Spatula : A whisk for combining dry ingredients and a spatula for folding in the sprinkles at the end.
- Cooling Rack : Wire racks allow air to circulate around the cupcakes, preventing soggy bottoms. If you don’t have one, you can use a clean dish towel laid flat.
- Piping Bag and Star Tip : For the frosting. A Wilton 1M tip creates those classic swirls. If you don’t have a piping bag, you can use a zip-top bag with the corner snipped off, or simply spread the frosting with a knife.
Preparation Method
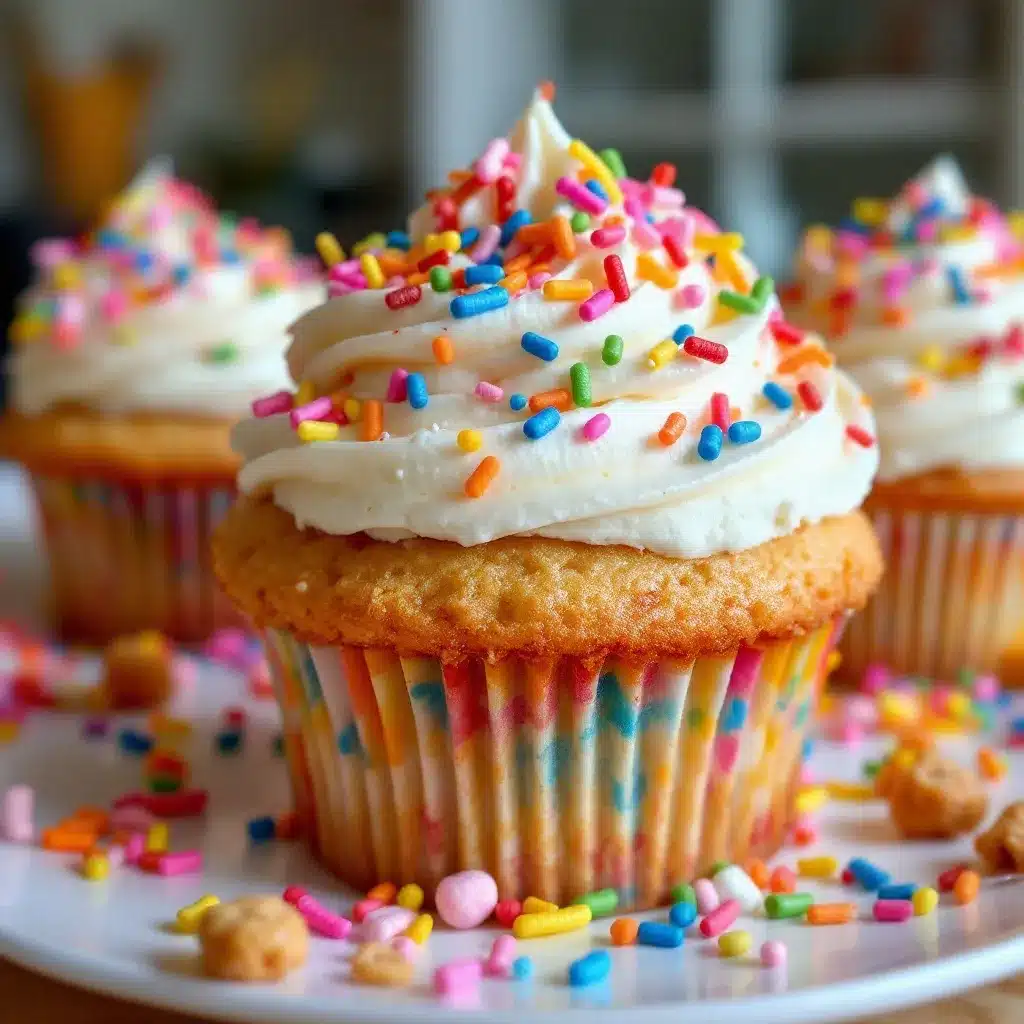
This method has been tested and refined over many batches. Follow these steps exactly, and you will get perfect cupcakes every single time.
- Preheat and Prep : Preheat your oven to 350°F (175°C). Line your muffin pan with 12 paper liners. This is the most important step—do not skip preheating, as the oven temperature affects how the cupcakes rise.
- Combine Dry Ingredients : In a medium bowl, whisk together the 2 cups of all-purpose flour, 1 ½ teaspoons of baking powder, ½ teaspoon of baking soda, and ½ teaspoon of salt. Whisk for about 20 seconds to aerate the flour and distribute the leavening agents evenly. Set this aside.
- Cream Butter and Sugar : In a large mixing bowl, beat the ½ cup of softened unsalted butter and 1 ½ cups of granulated sugar together on medium speed for 3-4 minutes. You want the mixture to look light and fluffy, almost like wet sand. Scrape down the sides of the bowl halfway through. This step is crucial—proper creaming incorporates air into the batter, which gives the cupcakes their lift.
- Add Oil and Eggs : With the mixer on low, drizzle in the ¼ cup of vegetable oil. Then add the 2 room-temperature eggs, one at a time, beating well after each addition. Add the 2 teaspoons of vanilla extract. The batter might look slightly curdled at this point—that’s completely normal and actually a good sign that the fat is properly emulsified.
- Alternate Dry and Wet Ingredients : Add half of the dry ingredients to the butter mixture and mix on low until just combined. Pour in the 1 cup of room-temperature buttermilk and mix again. Add the remaining dry ingredients and mix until you see the last streaks of flour disappear. Do not overmix—overmixing develops gluten and makes tough cupcakes. Stop the mixer as soon as the batter comes together.
- Fold in Sprinkles : Using a rubber spatula, gently fold in the ½ cup of rainbow sprinkles. Fold only 4-5 times. Overfolding can cause the sprinkles to bleed their color into the batter, turning it gray. You want the sprinkles to stay distinct and vibrant.
- Fill the Liners : Divide the batter evenly among the 12 lined cups. Fill each cup about ⅔ full—about 3 tablespoons of batter per cup. An ice cream scoop with a release mechanism works perfectly here. Do not overfill, or the cupcakes will dome too much and crack.
- Bake : Place the pan in the center of the preheated oven. Bake for 18-22 minutes. At 18 minutes, start checking for doneness. Insert a toothpick into the center of a cupcake—if it comes out clean or with a few moist crumbs, they are done. If the toothpick has wet batter on it, bake for 2 more minutes and check again. The tops should be lightly golden and spring back when touched gently.
- Cool Completely : Let the cupcakes cool in the pan for 5 minutes. Then transfer them to a wire cooling rack. Let them cool completely before frosting—this usually takes about 45 minutes. If you frost warm cupcakes, the buttercream will melt and slide right off. I learned this the hard way on my first batch.
- Make the Buttercream : While the cupcakes cool, make the frosting. In a large bowl, beat 1 cup (226g) of softened unsalted butter on medium speed for 2 minutes until pale and creamy. Gradually add the 3 cups of sifted powdered sugar, 1 cup at a time, beating on low speed. Add 3 tablespoons of heavy cream and 1 teaspoon of vanilla extract. Beat on medium-high for 3-4 minutes until light and fluffy. If the frosting is too thick, add the remaining tablespoon of heavy cream. If it’s too thin, add a little more powdered sugar.
- Frost and Decorate : Fit a piping bag with a star tip (Wilton 1M or similar). Fill the bag with buttercream and pipe a swirl onto each cooled cupcake. Start from the outside edge and work your way inward, lifting up at the end. Immediately top with additional rainbow sprinkles before the frosting sets. Press the sprinkles in gently so they stick.
Cooking Tips & Techniques
Over the years, I have made every mistake you can imagine with these cupcakes. Here is what I learned so you don’t have to repeat my failures.
Room Temperature Ingredients Matter : I used to think this was a myth until I tested it side by side. Cold eggs and cold buttermilk create a batter that doesn’t emulsify properly, resulting in dense, flat cupcakes. Leave your eggs and buttermilk on the counter for 30 minutes before starting. If you forget, place the eggs in a bowl of warm water for 5 minutes and microwave the buttermilk for 10 seconds.
Don’t Overmix the Batter : This is the number one mistake home bakers make. Once you add the flour, mix only until the streaks disappear. Overmixing develops gluten, which makes the cupcakes tough and rubbery. I actually stop the mixer a little early and finish mixing by hand with a spatula. That extra control makes a difference.
Use the Right Sprinkles : Not all sprinkles are created equal. The long, cylinder-shaped sprinkles called jimmies are your best bet. They hold their shape and color during baking. The tiny round nonpareils tend to dissolve and create a weird texture. And the sugar crystals can make the batter too sweet. Stick with jimmies—rainbow jimmies to be exact.
Bake One Batch at a Time : If you are doubling the recipe, bake one pan at a time. Placing two pans in the oven at once can cause uneven baking. The cupcakes on the bottom rack might brown too quickly, while the ones on the top rack might not rise properly. Your patience will be rewarded with consistent results.
Test for Doneness Early : Oven temperatures vary wildly. My oven runs hot, so I start checking at 16 minutes even though the recipe says 18. Get to know your oven and adjust accordingly. The toothpick test is more reliable than any timer.
Variations & Adaptations
This recipe is wonderfully adaptable. Here are some variations I have tried and loved.
Gluten-Free Version : Substitute the all-purpose flour with a 1:1 gluten-free baking flour blend that contains xanthan gum. I use Bob’s Red Mill 1:1 Baking Flour. The texture will be slightly more delicate, so handle the batter gently. Everything else stays the same.
Dairy-Free Version : Replace the unsalted butter with a plant-based butter stick (not margarine). Use almond milk or oat milk mixed with 1 tablespoon of lemon juice as a buttermilk substitute. For the frosting, use a dairy-free butter alternative and replace the heavy cream with full-fat coconut cream. The flavor will be slightly different, but the texture holds up well.
Chocolate Sprinkle Cupcakes : Reduce the all-purpose flour to 1 ¾ cups and add ¼ cup of unsweetened cocoa powder. Increase the buttermilk to 1 ¼ cups to compensate for the dry cocoa. Use chocolate sprinkles instead of rainbow for a double-chocolate experience. My kids actually prefer this version for Halloween parties.
Lemon Sprinkle Cupcakes : Add the zest of 2 lemons to the sugar and rub it in with your fingers before creaming with the butter. Replace 2 tablespoons of the buttermilk with fresh lemon juice. Use yellow sprinkles and add a drop of yellow food coloring to the frosting. This version is bright, tangy, and perfect for spring birthdays.
Mini Cupcakes for School : Use a mini muffin pan and fill the liners ⅔ full. Bake for 10-12 minutes instead of 18-22. This yields about 36 mini cupcakes. They are perfect for younger kids who might not finish a full-sized cupcake, and they look adorable on a platter.
Serving & Storage Suggestions
These cupcakes are best served at room temperature. The buttercream softens slightly, and the crumb is at its most tender. If you have made them ahead of time, let them sit on the counter for 30 minutes before serving.
For Classroom Parties : Arrange the cupcakes on a large platter or in a cupcake carrier. I use a Wilton 3-Tier Cupcake Stand for maximum visual impact. The rainbow sprinkles pop against the white buttercream, and the kids go crazy for them. Always bring a list of ingredients to the teacher in case of allergies, even though this recipe is nut-free.
Storage : Store unfrosted cupcakes in an airtight container at room temperature for up to 3 days. Frosted cupcakes can be stored in the refrigerator for up to 5 days, but let them come to room temperature before serving. The refrigerator dries out the cake slightly, so room temperature is always better.
Freezing : You can freeze unfrosted cupcakes for up to 3 months. Wrap each cupcake individually in plastic wrap, then place them in a freezer-safe bag. Thaw at room temperature for about 2 hours before frosting. Do not freeze frosted cupcakes—the buttercream can separate and become grainy upon thawing.
Flavor Development : Interestingly, these cupcakes taste even better the day after baking. The flavors meld together, and the crumb becomes more moist. If you can, make them a day ahead and frost them the morning of the party. The extra time allows the vanilla to deepen and the sprinkle colors to settle.
Nutritional Information & Benefits
These cupcakes are a treat, not a health food, but here is the nutritional breakdown per cupcake (based on 12 servings):
- Calories : 385
- Total Fat : 18g
- Saturated Fat : 10g
- Carbohydrates : 54g
- Sugar : 38g
- Protein : 4g
- Sodium : 210mg
Health Benefits : While these are definitely a dessert, there are a few redeeming qualities. The buttermilk provides calcium and probiotics. The eggs add high-quality protein. And the sprinkles? Well, they make people happy, and that counts for something. For a slightly healthier version, you can reduce the sugar in the cupcake batter to 1 cup without sacrificing too much texture. The frosting will still provide plenty of sweetness.
Allergen Notes : This recipe is nut-free, egg-free? No, it contains eggs. It contains dairy (butter, buttermilk, heavy cream). It contains gluten (wheat flour). For egg-free and dairy-free adaptations, see the Variations section above. Always check your sprinkle labels—some brands are processed in facilities that also handle nuts. Betty Crocker and Wilton are generally safe, but read the label every time.
Conclusion
These Best Rainbow Sprinkle School Birthday Cupcakes are more than just a recipe. They are a solution to the age-old problem of what to bring to a classroom celebration. They are safe, they are simple, and they are absolutely delicious. I love this recipe because it takes the stress out of school birthdays. No more worrying about nut contamination. No more complicated decorating techniques. No more running to three different stores for ingredients. Just a reliable, beautiful, crowd-pleasing cupcake that makes every kid feel included.
I encourage you to make these your own. Add a different extract. Change the color of the sprinkles to match a holiday. Pipe the frosting in a different pattern. The beauty of this recipe is that it works as a base for your creativity. And when you bring a batch to your child’s classroom, watch their face when the kids cheer. That is the real reward.
If you make these cupcakes, I would love to hear about it. Leave a comment below and tell me how they turned out. Did you make any substitutions? Did the kids love them? Share your photos and tag me on social media. And if you have a birthday party coming up, these are the cupcakes you want in your back pocket. Happy baking, friends!
Frequently Asked Questions
Can I use a boxed cake mix instead of making from scratch?
You can, but the texture and flavor won’t be the same. Boxed mixes often contain preservatives and artificial flavors that create a denser, less tender crumb. If you are short on time, look for a vanilla cake mix that is certified nut-free and follow the package instructions. Add ½ cup of rainbow sprinkles to the batter before baking. The frosting recipe above works perfectly with boxed cupcakes too.
Why did my sprinkles bleed color into the batter?
This usually happens when you overmix the batter after adding the sprinkles. The friction causes the colored coating to dissolve. To prevent this, fold the sprinkles in with a spatula using only 4-5 gentle strokes. Also, make sure you are using jimmies (the long, cylinder-shaped sprinkles) instead of nonpareils (the tiny round ones). Nonpareils are more prone to bleeding.
Can I make these cupcakes vegan?
Yes, with some adjustments. Replace the butter with a vegan butter stick, the eggs with flax eggs (1 tablespoon ground flaxseed + 3 tablespoons water per egg), and the buttermilk with almond milk mixed with 1 tablespoon of lemon juice. For the frosting, use vegan butter and full-fat coconut cream instead of heavy cream. The texture will be slightly different, but the flavor is still delicious.
How do I transport these cupcakes without ruining the frosting?
A cupcake carrier with a flat lid is your best friend. Place the cupcakes in the carrier and make sure the lid is secure. If you don’t have a carrier, place the cupcakes in a single layer on a large baking sheet and cover with a clean cardboard box that is tall enough to clear the frosting. Never stack cupcakes on top of each other—the frosting will get smashed.
Can I use natural food coloring for the sprinkles?
Natural rainbow sprinkles are available from brands like India Tree and Watkins. They use vegetable-based colors instead of artificial dyes. The flavor is slightly different—they can taste a bit earthy—but they work well in this recipe. Note that natural sprinkles are more expensive and may fade slightly during baking. They are a great option if you are avoiding artificial colors.
Pin This Recipe!
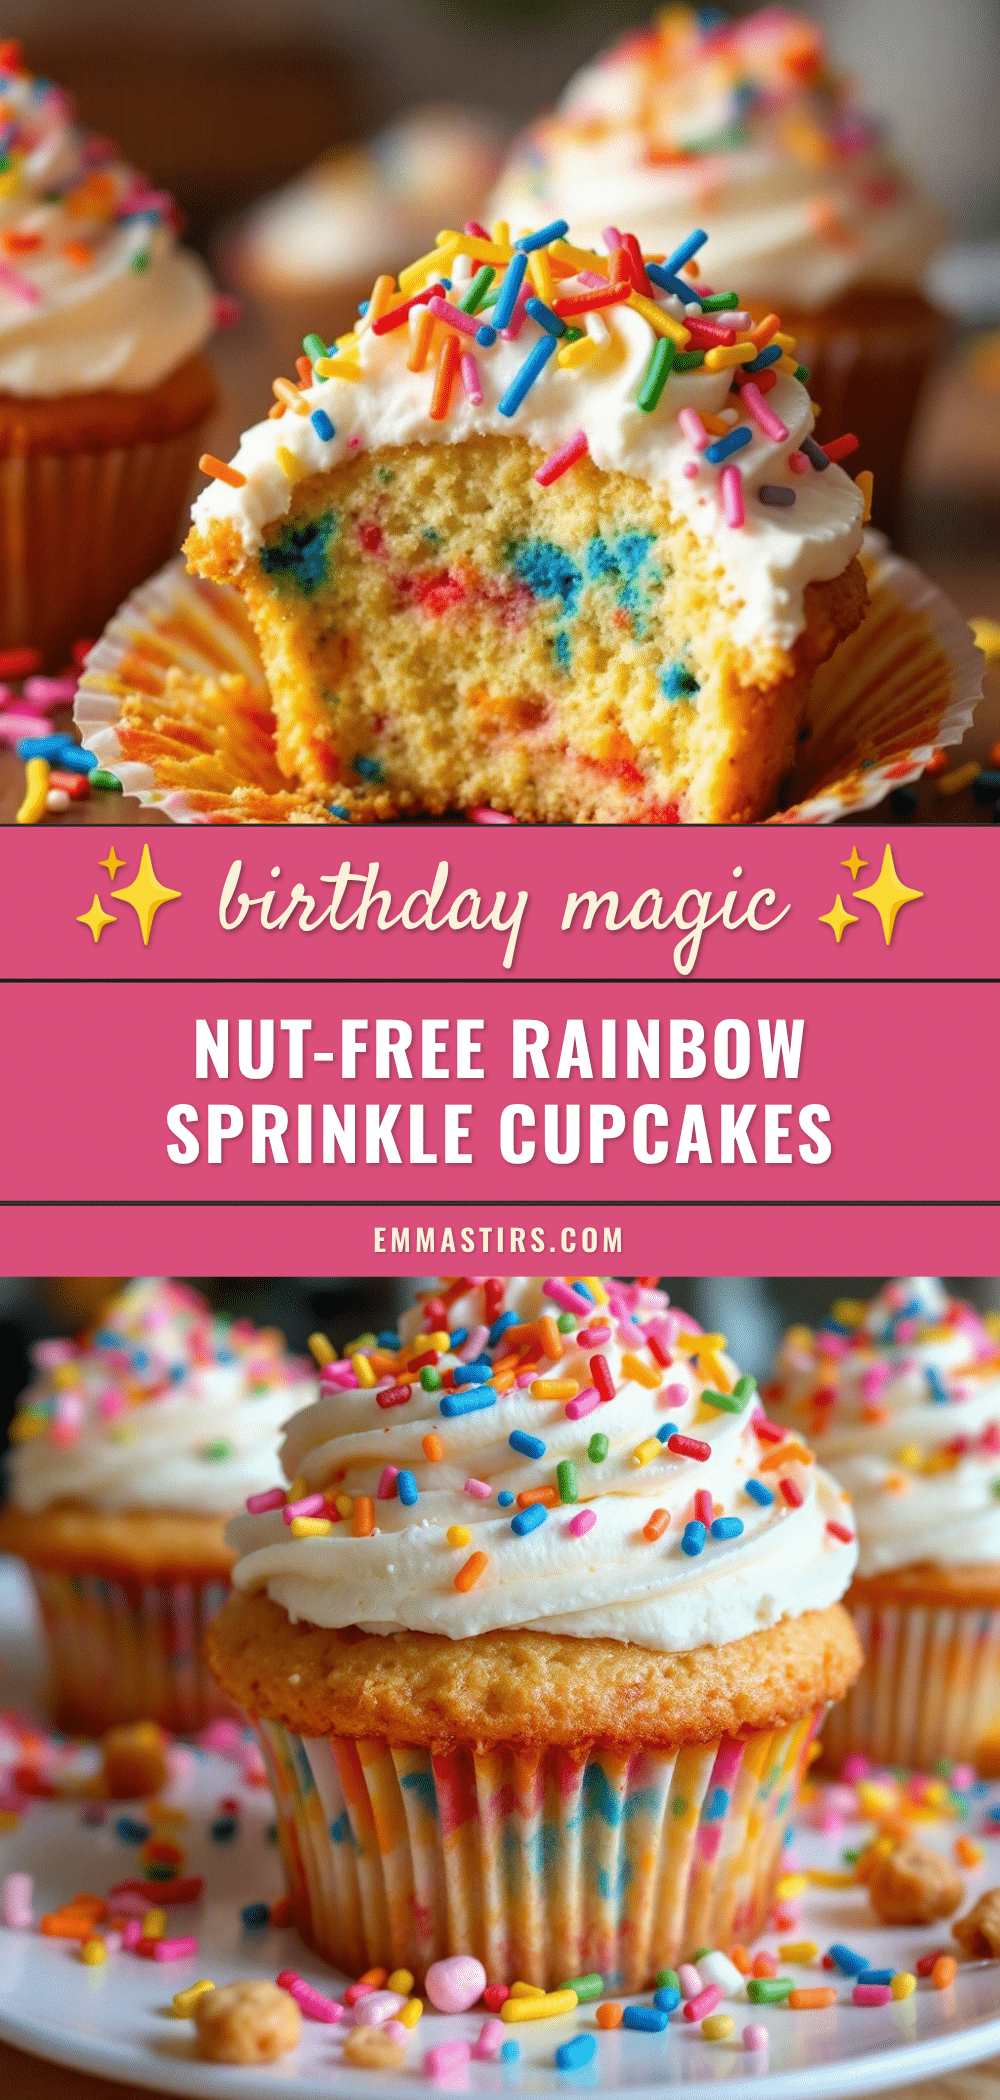
Best Rainbow Sprinkle Cupcakes: Easy Nut-Free Birthday Recipe
These nut-free rainbow sprinkle cupcakes are soft, buttery, and covered in sprinkles. Perfect for school birthday parties, they are easy to make and safe for classmates with allergies.
- Prep Time: 20 minutes
- Cook Time: 20 minutes
- Total Time: 1 hour 25 minutes
- Yield: 12 cupcakes 1x
- Category: Dessert
- Cuisine: American
Ingredients
- 2 cups (240g) all-purpose flour
- 1 ½ cups (300g) granulated sugar
- ½ cup (113g) unsalted butter, softened
- ¼ cup (60ml) vegetable oil
- 2 large eggs, room temperature
- 1 cup (240ml) buttermilk, room temperature
- 2 teaspoons vanilla extract
- 1 ½ teaspoons baking powder
- ½ teaspoon baking soda
- ½ teaspoon salt
- ½ cup (80g) rainbow sprinkles (jimmies), plus extra for topping
- 3 cups (360g) powdered sugar, sifted
- 1 cup (226g) unsalted butter, softened (for frosting)
- 3–4 tablespoons (45-60ml) heavy cream
- 1 teaspoon vanilla extract (for frosting)
Instructions
- Preheat oven to 350°F (175°C). Line a 12-cup muffin pan with paper liners.
- In a medium bowl, whisk together flour, baking powder, baking soda, and salt.
- In a large bowl, beat softened butter and sugar on medium speed for 3-4 minutes until light and fluffy.
- With mixer on low, drizzle in oil. Add eggs one at a time, beating well after each. Add vanilla extract.
- Add half the dry ingredients to the butter mixture and mix on low until just combined. Pour in buttermilk and mix. Add remaining dry ingredients and mix until just combined. Do not overmix.
- Gently fold in ½ cup rainbow sprinkles with a rubber spatula, folding only 4-5 times.
- Divide batter evenly among the 12 liners, filling each about ⅔ full.
- Bake for 18-22 minutes, until a toothpick inserted in the center comes out clean or with a few moist crumbs. Cool in pan for 5 minutes, then transfer to a wire rack to cool completely.
- For frosting: Beat 1 cup softened butter on medium speed for 2 minutes until pale and creamy. Gradually add sifted powdered sugar, 1 cup at a time, beating on low. Add 3 tablespoons heavy cream and 1 teaspoon vanilla. Beat on medium-high for 3-4 minutes until light and fluffy. Add more cream if needed.
- Fit a piping bag with a star tip (Wilton 1M). Pipe frosting onto cooled cupcakes. Top with additional sprinkles.
Notes
Use jimmies (long cylinder-shaped sprinkles) to prevent color bleeding. Room temperature ingredients are crucial for proper emulsification. Do not overmix the batter. For best results, make cupcakes a day ahead and frost the morning of serving.
Nutrition
- Serving Size: 1 cupcake
- Calories: 385
- Sugar: 38
- Sodium: 210
- Fat: 18
- Saturated Fat: 10
- Carbohydrates: 54
- Protein: 4
Keywords: rainbow sprinkle cupcakes, nut-free birthday cupcakes, easy vanilla cupcakes, school birthday treat, sprinkle cupcakes


