Love this? Save it for later!
Share the inspiration with your friends
The lady at the farmer’s market booth watched me eyeing her basket of blood oranges for a solid minute before she finally spoke. “You’re trying to figure out if those are for eating or for showing off,” she said, not unkindly. I laughed because she’d caught me red-handed—literally. I was already picturing them sliced into something dramatic for a Halloween party I’d been planning for weeks. She reached into her basket, handed me three of the most beautiful oranges I’d ever seen, and said, “These want to be a cupcake. Trust me on this.”
Honestly, I almost didn’t take her advice. I mean, orange velvet cupcakes sounded lovely, but Halloween cupcakes needed to be spooky, right? Black frosting, spiderwebs, the works. But something about the way she said it stuck with me. So I bought a bag of regular oranges too, just in case, and went home to experiment. Let me tell you, that first batch came out looking more like sad pumpkin blobs than velvet anything. I’d used too much orange extract and the color was all wrong—muddy, not vibrant. My kitchen looked like a crime scene of zest and batter.
But I kept at it. Three batches later, I finally cracked the code. The secret turned out to be a combination of fresh orange zest and a specific ratio of liquid and dry ingredients that gives these cupcakes that signature velvet crumb—tender, moist, with just the right amount of tang. And the color? It’s naturally gorgeous, thanks to a little trick I picked up from that market lady. These cupcakes have become my Halloween signature, the ones people actually request weeks in advance. Maybe you’ve been there, hunting for that one recipe that feels both festive and genuinely delicious, not just a gimmick. These are it.
Why You’ll Love This Recipe
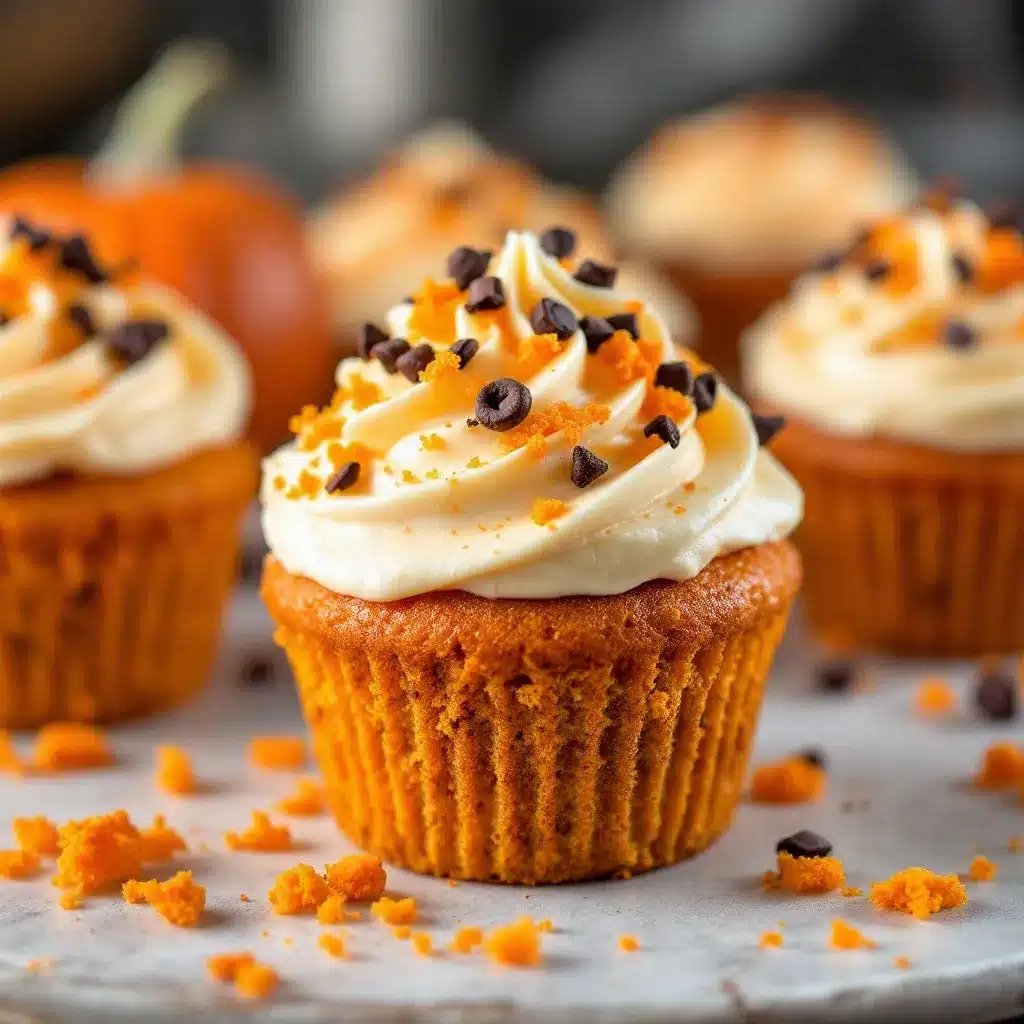
These Best Orange Velvet Halloween Cupcakes with Cream Cheese Frosting aren’t just another pretty face at the dessert table. They’ve earned their spot through countless taste tests, party platter appearances, and even a few “can I get this recipe?” texts the next morning.
- Perfectly Balanced Flavor: The orange is bright and natural, not artificial or cloying. It pairs beautifully with the tangy cream cheese frosting in a way that makes you take a second bite just to confirm how good it is.
- Naturally Vibrant Color: No neon food coloring needed here. The orange hue comes from a combination of fresh zest and a tiny bit of natural coloring, giving you that Halloween-appropriate look without the chemical aftertaste.
- That Velvet Texture: We’re talking tender, moist crumbs that practically melt. The buttermilk and vinegar combo creates that classic velvet reaction, while the orange keeps everything fresh and bright.
- Crowd-Pleasing Appeal: Kids love the color and the fun factor. Adults appreciate that it’s not overwhelmingly sweet. Everyone goes back for seconds.
- Make-Ahead Friendly: The cupcakes freeze beautifully, and the frosting can be prepped a day ahead. Perfect for busy Halloween schedules.
What sets these apart from every other Halloween cupcake recipe is the attention to detail. I tested this six times to get the crumb just right—not too dense, not too fluffy, with that unmistakable velvet softness. The cream cheese frosting is stabilized just enough to hold its shape for piping, but still tastes like the real deal. These aren’t cupcakes that look good and taste mediocre. They’re the kind that makes you close your eyes after the first bite, even if you’re standing at a party full of people.
What Ingredients You Will Need
This recipe uses simple, wholesome ingredients to deliver that bold orange flavor and velvety texture without any fuss. Most of these are pantry staples, which makes last-minute Halloween baking totally doable.
For the Cupcakes
- 2 ½ cups all-purpose flour (spooned and leveled; I prefer Gold Medal for consistent results)
- 1 ½ cups granulated sugar
- 1 teaspoon baking soda
- 1 teaspoon baking powder
- ½ teaspoon salt
- 2 tablespoons unsweetened cocoa powder (this is the velvet secret—just enough to deepen the color and add complexity, not chocolate flavor)
- 1 cup buttermilk, room temperature (adds tenderness; see substitution below)
- ½ cup vegetable oil (keeps the cupcakes moist for days)
- 2 large eggs, room temperature
- 2 tablespoons fresh orange zest (from about 2 large oranges—don’t skip this)
- ¼ cup fresh orange juice
- 1 teaspoon vanilla extract
- 1 tablespoon white vinegar (reacts with the baking soda for that velvet lift)
- Orange gel food coloring (optional, but a tiny drop enhances the natural color)
For the Cream Cheese Frosting
- 8 ounces cream cheese, softened (full-fat is best; Philadelphia is my go-to)
- ½ cup unsalted butter, softened
- 4 cups powdered sugar, sifted
- 1 teaspoon vanilla extract
- 1 tablespoon heavy cream (or milk, for consistency)
- Pinch of salt
For Decoration
- Orange and black sprinkles
- Mini candy eyeballs
- Black decorating gel
- Optional: crushed graham crackers (for a “dirt” effect)
Substitution Notes: If you don’t have buttermilk, add 1 tablespoon of lemon juice to regular milk and let it sit for 5 minutes. For a dairy-free version, use almond milk with the same lemon trick and vegan cream cheese (I like Miyoko’s for frosting). The cocoa powder is non-negotiable—it’s what makes velvet, velvet—but you can use Dutch-process for a darker color.
Equipment Needed
You don’t need a professional bakery setup for these, but a few key tools make the process smoother. I’ve made these in a tiny apartment kitchen and a full-size one, so I know what works.
- 12-cup muffin pan (standard size; non-stick is great, but I line mine anyway)
- Paper cupcake liners (orange or black for Halloween vibes; I’ve used plain white and they work fine too)
- Electric hand mixer or stand mixer (a whisk and some elbow grease works for the cupcakes, but the frosting needs power)
- Large mixing bowls (at least two)
- Zester or microplane (for that fresh orange zest—a box grater works in a pinch)
- Measuring cups and spoons
- Piping bag with star tip (I use Wilton 1M for that classic swirl; a zip-top bag with the corner snipped off works too)
- Cooling rack (crucial for even cooling—don’t skip this)
- Spatula (rubber or silicone for scraping every bit of batter)
If you’re on a budget, skip the piping bag and just spread the frosting with a knife. I’ve done it plenty of times, and honestly, the rustic look is charming for Halloween. Just make sure your cream cheese is truly softened—cold cream cheese in frosting is a heartbreak I’ve experienced twice.
Preparation Method
Let’s get baking. I’ve broken this down so even if it’s your first time making velvet cake, you’ll nail it.
- Preheat and Prep: Preheat your oven to 350°F (175°C). Line your muffin pan with cupcake liners. This recipe makes exactly 12 standard cupcakes—no weird leftover batter situation.
- Mix Dry Ingredients: In a large bowl, whisk together the flour, sugar, baking soda, baking powder, salt, and cocoa powder. Make sure there are no lumps—the cocoa tends to hide. I use a fork to break up any clumps before whisking.
- Combine Wet Ingredients: In a separate bowl (or a large liquid measuring cup), whisk together the buttermilk, oil, eggs, orange zest, orange juice, and vanilla extract. The mixture should look slightly separated at first—that’s normal. Keep whisking until it’s homogenous and smells like a dream.
- Make the Velvet Reaction: Make a well in the center of your dry ingredients. Pour in the wet mixture and stir gently with a spatula until just combined. A few streaks of flour are okay at this point. In a small bowl, mix the vinegar with a drop of orange gel food coloring (if using). Pour this over the batter and fold it in gently. The batter will start to lighten slightly and get a bit bubbly—that’s the vinegar reacting with the baking soda. Don’t overmix! Stop as soon as you don’t see flour streaks.
- Fill the Liners: Divide the batter evenly among the 12 liners. I use a ¼-cup scoop for accuracy. Each liner should be about ⅔ full. Tap the pan gently on the counter to release any air bubbles.
- Bake: Bake for 18-20 minutes, rotating the pan halfway through. The cupcakes are done when a toothpick inserted in the center comes out clean or with a few moist crumbs. The tops should spring back when lightly touched. My oven runs hot, so I check at 17 minutes.
- Cool Completely: Let the cupcakes cool in the pan for 5 minutes, then transfer them to a wire rack. This is non-negotiable—if you frost them while warm, you’ll have a melty mess. I once tried to rush this and ended up with frosting soup. Let them cool completely, about 45 minutes to an hour.
- Make the Frosting: While the cupcakes cool, beat the softened cream cheese and butter together until smooth and creamy, about 2-3 minutes. Scrape the bowl. Add the vanilla and salt, then gradually add the powdered sugar, 1 cup at a time, beating on low speed. Once all the sugar is in, add the heavy cream and beat on medium-high for 2 minutes until light and fluffy. Don’t overbeat or it’ll get runny.
- Pipe the Frosting: Transfer the frosting to a piping bag fitted with a star tip. Pipe a swirl onto each cooled cupcake. If you don’t have a piping bag, use a zip-top bag with a corner snipped off, or just spread with a knife in a swooping motion.
- Decorate: While the frosting is still soft, add your Halloween decorations. I do a sprinkle of orange and black jimmies, then press in two mini candy eyeballs for a silly monster look. You can also pipe little spiderwebs with black decorating gel.
Cooking Tips & Techniques
After making these cupcakes more times than I care to count, I’ve collected a few hard-won lessons. Let me save you the trouble.
The Zest Matters More Than You Think: Don’t skip the fresh orange zest. Bottled orange extract tastes artificial and can make your cupcakes bitter. I learned this the hard way when I was out of fresh oranges and thought I could substitute. The cupcakes were edible but sad. Zest the oranges before you juice them—it’s so much easier.
Room Temperature Ingredients Are Not Optional: I know, I know, you’re in a hurry. But cold eggs and cold buttermilk will make your batter seize up and your cupcakes dense. Take everything out 30 minutes before you start. If you forgot, place the eggs in a bowl of warm water for 5 minutes and microwave the buttermilk for 10 seconds.
The Vinegar Trick: Adding the vinegar at the end, right before baking, creates the most tender crumb. If you mix it in too early, the reaction happens in the bowl instead of the oven. I’ve tested this side by side—the difference is noticeable.
Don’t Overmix: Velvet batter is delicate. Overmixing develops gluten and makes the cupcakes tough. Stir until the flour disappears, then stop. A few tiny lumps are fine. Trust the process.
Frosting Temperature Is Everything: If your frosting seems too soft to pipe, pop it in the fridge for 15 minutes. If it’s too stiff, add another tablespoon of cream. The perfect consistency should hold its shape but still be spreadable. I’ve had frosting disasters on both ends of the spectrum—too runny and it slides off the cupcake, too stiff and it breaks your piping bag.
Variations & Adaptations
One of the best things about this recipe is how flexible it is. I’ve tried several variations over the years, and some have become favorites in their own right.
Chocolate Orange Velvet: Add ½ cup of mini chocolate chips to the batter. The combination of orange and dark chocolate is classic for a reason. I made these for a friend’s Halloween party and they disappeared first.
Gluten-Free Version: Substitute the all-purpose flour with a 1:1 gluten-free baking flour blend (I use Bob’s Red Mill). Add 1 teaspoon of xanthan gum if your blend doesn’t include it. The texture will be slightly more tender, but still delicious.
Vegan Adaptation: Use flax eggs (1 tablespoon ground flaxseed + 3 tablespoons water per egg), a dairy-free milk with lemon juice for buttermilk, and vegan cream cheese for the frosting. I’ve tested this with Miyoko’s cream cheese and it pipes beautifully.
Spooky Spiderweb Design: Instead of sprinkles, pipe a spiral of black decorating gel on top of the frosting, then drag a toothpick from the center outward to create web lines. It takes 10 seconds per cupcake and looks incredibly impressive.
Mini Cupcakes: Use a mini muffin pan and bake for 10-12 minutes. This yields about 36 mini cupcakes, perfect for Halloween parties where people want to sample multiple treats.
Serving & Storage Suggestions
These cupcakes are best served at room temperature, which lets the cream cheese frosting soften to that perfect creamy consistency. If you’ve refrigerated them, let them sit out for 20 minutes before serving.
For a Halloween party spread, I arrange them on a black cake stand with some fake spiderwebs draped around the base. They also look fantastic on a tiered tray with other spooky treats like caramel apples or ghost-shaped cookies.
Storage: Store unfrosted cupcakes in an airtight container at room temperature for up to 2 days. Frosted cupcakes should be refrigerated in a single layer (or with parchment between layers) for up to 4 days. The frosting will firm up in the fridge, so bring them to room temperature before serving.
Freezing: You can freeze unfrosted cupcakes for up to 3 months. Wrap each one individually in plastic wrap, then place in a freezer bag. Thaw at room temperature before frosting. I’ve also frozen the frosting itself in a piping bag—just thaw in the fridge overnight and beat briefly before using.
Flavor Development: Honestly, these cupcakes taste even better the day after baking. The orange flavor mellows and melds with the vanilla, and the crumb stays moist. So don’t stress about baking them the morning of your party—day-old is actually ideal.
Nutritional Information & Benefits
While these are definitely a treat, there are a few redeeming qualities worth noting. Each cupcake (with frosting) contains approximately 380 calories, 18g fat, 52g carbohydrates, and 4g protein.
The fresh orange zest and juice provide a small dose of vitamin C and antioxidants. The buttermilk adds calcium and probiotics (if using cultured buttermilk). And hey, the cream cheese frosting has protein—I’m counting it.
For dietary considerations: This recipe contains dairy, eggs, and gluten. For a lower-sugar version, you can reduce the sugar in the cupcakes to 1 cup and use a sugar substitute in the frosting. The texture will be slightly less tender, but still good. If you’re watching your fat intake, you can substitute half the oil with unsweetened applesauce—just know the cupcakes will be a bit denser.
I’m not going to pretend these are health food. They’re Halloween cupcakes, meant to be enjoyed in the spirit of the season. But using real ingredients and fresh citrus makes me feel a little better about having two.
Conclusion
These Best Orange Velvet Halloween Cupcakes with Cream Cheese Frosting have become my go-to for every October gathering, and I think they’ll become yours too. They’re festive without being fussy, delicious without being overly sweet, and they bring a little bit of that market lady’s wisdom into my kitchen every time I make them.
What I love most is how adaptable they are. You can go full spooky with spiderwebs and candy eyeballs, or keep it elegant with just a swirl of frosting and a sprinkle of zest. They work for kids’ parties, adult gatherings, or just a quiet night in with a scary movie and a cupcake (no judgment here).
I’d love to hear how yours turn out. Did you try a fun variation? Did your kids help decorate? Drop a comment below and let me know—I read every single one and I’m always inspired by what you all come up with. And if you’re looking for more Halloween baking ideas, you might enjoy these spiderweb brownies or this pumpkin cheesecake bars recipe. Happy baking, and may your kitchen smell like oranges and vanilla all season long!
Frequently Asked Questions
Can I use orange extract instead of fresh orange juice?
You can, but I really recommend fresh. Orange extract can taste artificial and sometimes bitter. Fresh zest and juice give you that bright, natural flavor that makes these cupcakes special. If you’re in a pinch, use 1 teaspoon of orange extract and increase the buttermilk by ¼ cup to replace the juice.
Why did my cream cheese frosting turn out runny?
This usually happens for two reasons: either your cream cheese was too soft (almost melted) or you overbeat the frosting. Make sure your cream cheese and butter are softened but still cool to the touch. Beat just until smooth and fluffy—stopping after 2-3 minutes on medium-high speed. If it’s already runny, pop it in the fridge for 20 minutes and try again.
Can I make these cupcakes ahead of time?
Absolutely. Bake the cupcakes up to 2 days ahead and store them unfrosted in an airtight container at room temperature. Make the frosting up to 3 days ahead and refrigerate it in a piping bag. When you’re ready to serve, let the frosting soften for 15 minutes at room temperature, then pipe and decorate. The cupcakes actually taste better on day two.
How do I get that vibrant orange color without artificial dye?
The natural color from fresh orange zest and juice gives a lovely pale orange hue. For a more vibrant color, I recommend using a natural food coloring made from annatto or turmeric. A tiny drop of orange gel food coloring works too, but you only need a smidge—too much can affect the flavor. I’ve also used carrot juice powder in a pinch, which adds a nice earthy sweetness.
Can I turn this into a layer cake instead of cupcakes?
Yes, this recipe works beautifully as a two-layer 8-inch cake. Bake the batter in two greased and floured 8-inch round pans for 25-30 minutes. The frosting recipe will need to be doubled to cover the layers. Just keep in mind that the baking time will be longer, and you’ll want to let the layers cool completely before assembling.
Pin This Recipe!
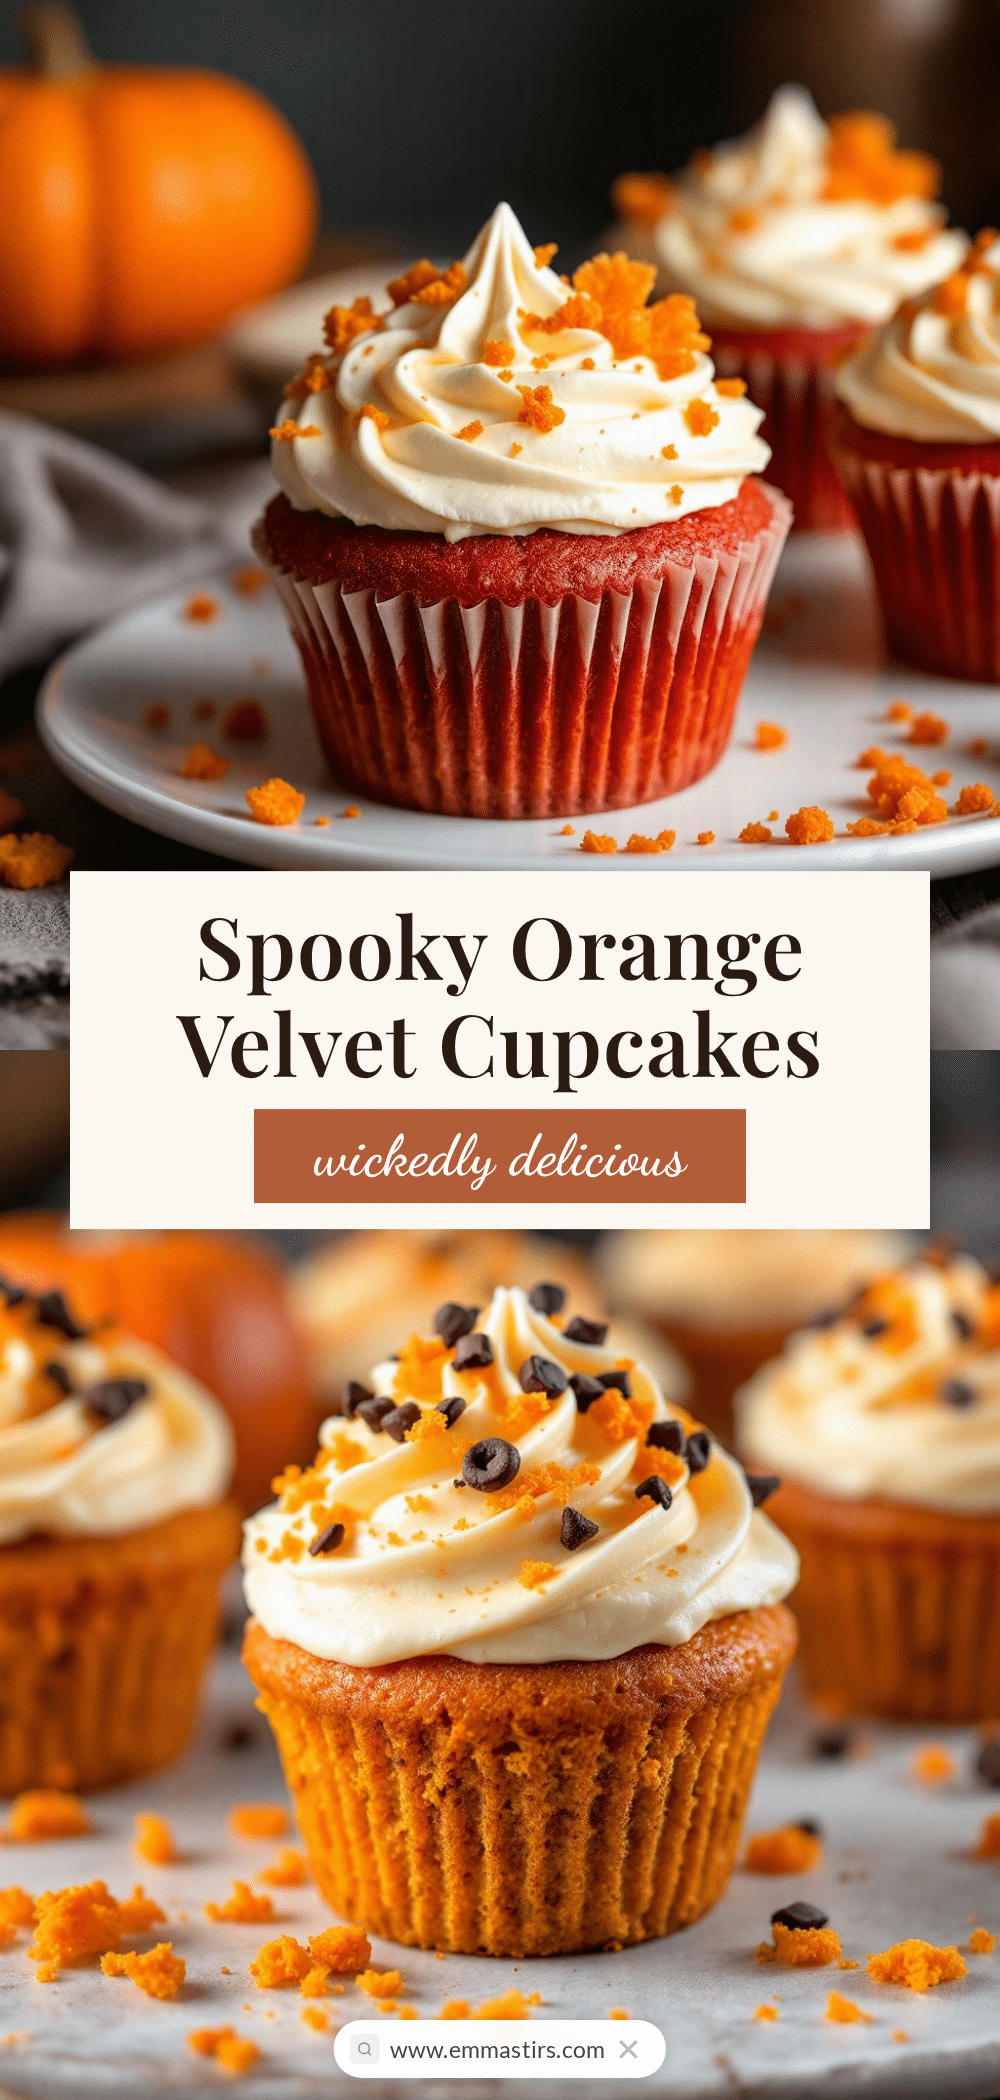
Best Orange Velvet Halloween Cupcakes with Cream Cheese Frosting
These naturally vibrant orange velvet cupcakes are tender, moist, and perfectly balanced with tangy cream cheese frosting. A Halloween favorite that’s both festive and genuinely delicious.
- Prep Time: 20 minutes
- Cook Time: 20 minutes
- Total Time: 1 hour 25 minutes
- Yield: 12 cupcakes 1x
- Category: Dessert
- Cuisine: American
Ingredients
- 2 ½ cups all-purpose flour (spooned and leveled)
- 1 ½ cups granulated sugar
- 1 teaspoon baking soda
- 1 teaspoon baking powder
- ½ teaspoon salt
- 2 tablespoons unsweetened cocoa powder
- 1 cup buttermilk, room temperature
- ½ cup vegetable oil
- 2 large eggs, room temperature
- 2 tablespoons fresh orange zest (from about 2 large oranges)
- ¼ cup fresh orange juice
- 1 teaspoon vanilla extract
- 1 tablespoon white vinegar
- Orange gel food coloring (optional)
- 8 ounces cream cheese, softened
- ½ cup unsalted butter, softened
- 4 cups powdered sugar, sifted
- 1 teaspoon vanilla extract
- 1 tablespoon heavy cream (or milk)
- Pinch of salt
- Orange and black sprinkles
- Mini candy eyeballs
- Black decorating gel
- Crushed graham crackers (optional)
Instructions
- Preheat oven to 350°F (175°C). Line a 12-cup muffin pan with cupcake liners.
- In a large bowl, whisk together flour, sugar, baking soda, baking powder, salt, and cocoa powder until no lumps remain.
- In a separate bowl, whisk together buttermilk, oil, eggs, orange zest, orange juice, and vanilla extract until homogenous.
- Make a well in the center of the dry ingredients. Pour in the wet mixture and stir gently with a spatula until just combined. In a small bowl, mix vinegar with a drop of orange gel food coloring (if using). Pour over batter and fold gently until just incorporated. Do not overmix.
- Divide batter evenly among the 12 liners, filling each about ⅔ full. Tap pan gently on counter to release air bubbles.
- Bake for 18-20 minutes, rotating pan halfway through, until a toothpick inserted in center comes out clean or with a few moist crumbs.
- Let cupcakes cool in pan for 5 minutes, then transfer to a wire rack to cool completely (about 45 minutes to 1 hour).
- For frosting: Beat softened cream cheese and butter together until smooth and creamy, about 2-3 minutes. Scrape bowl. Add vanilla and salt, then gradually add powdered sugar, 1 cup at a time, beating on low speed. Add heavy cream and beat on medium-high for 2 minutes until light and fluffy.
- Transfer frosting to a piping bag fitted with a star tip. Pipe a swirl onto each cooled cupcake.
- Decorate with sprinkles, candy eyeballs, and black decorating gel while frosting is still soft.
Notes
Room temperature ingredients are crucial for best texture. Don’t overmix the batter. The vinegar should be added at the end for the most tender crumb. Frosting can be refrigerated for 15 minutes if too soft to pipe. Cupcakes taste even better the day after baking.
Nutrition
- Serving Size: 1 cupcake
- Calories: 380
- Sugar: 38
- Sodium: 220
- Fat: 18
- Saturated Fat: 8
- Carbohydrates: 52
- Fiber: 1
- Protein: 4
Keywords: Halloween cupcakes, orange velvet cupcakes, cream cheese frosting, Halloween dessert, orange cupcakes, velvet cupcakes, spooky cupcakes


