Love this? Save it for later!
Share the inspiration with your friends
My neighbor wasn’t making a big deal of it. I’d stopped by to drop off their mail that got delivered to my house by mistake, and this smell hit me before I even made it past the front door. It wasn’t the usual roasting chicken or weekend baking I’d come to expect from their kitchen. This was something deeper—earthy, a little sweet, with that unmistakable tang that made me stop mid-step and just breathe in.
“Oh, that’s just stuffing,” she said when I asked, wiping her hands on her apron like it was nothing. “Using up some sourdough I had lying around.”
Just stuffing. She said it like it wasn’t the most incredible thing I’d smelled in weeks. I mean, I’d made stuffing before. Boxed stuff, homemade stuff, my grandma’s cornbread version that I swear by. But this was different. The sourdough gave it this depth—a slight tanginess that played off the sweet apples and savory sage in a way that made my brain stop and pay attention.
She let me take a container home, and honestly? I ate it cold from the fridge at midnight. That’s when I knew I had to figure this out myself. Maybe you’ve been there—tasting something so unexpectedly perfect that you can’t stop thinking about it. This homemade sourdough discard stuffing with sage and apple became my new obsession. I’ve made it four times since that day, tweaking and adjusting until it hit that same magic I smelled on her front porch. And now I’m sharing it with you, because good food like this deserves to be passed around.
Why You’ll Love This Recipe
Let me tell you why this stuffing is different from everything else you’ve tried. I’ve tested this recipe more times than I care to admit, and every single batch confirmed what I suspected from that first bite at my neighbor’s house.
- Uses Up Sourdough Discard: No more throwing away that starter discard! This recipe puts it to delicious use, reducing food waste while adding incredible flavor. You’ll feel good about using every bit of your sourdough starter.
- Perfect Texture Every Time: The combination of crispy edges and soft, tender center is hard to beat. The sourdough absorbs the broth just enough without turning mushy—a problem I’ve had with regular bread stuffing for years.
- Sweet and Savory Balance: The apples add a natural sweetness that pairs beautifully with the earthy sage and tangy sourdough. It’s the kind of flavor combination that makes you take another bite before you’ve finished chewing the first one.
- Make-Ahead Friendly: You can prep this the day before and bake it when you’re ready. Perfect for busy holidays or meal prep Sundays when you want to get ahead.
- Crowd-Pleaser: I’ve served this at Thanksgiving, Christmas, and random Tuesday dinners. Everyone asks for the recipe. Kids eat it. Adults fight over the crispy bits. It’s that good.
This isn’t just another stuffing recipe. The sourdough discard gives it a subtle tang that boxed mixes can’t replicate. The apples add freshness that cuts through the richness. And the sage? It ties everything together like a warm hug on a plate. Honestly, it’s the kind of side dish that steals the show—and I’m not mad about it.
What Ingredients You Will Need
This recipe uses simple, wholesome ingredients to deliver bold flavor and satisfying texture without the fuss. Most of these are pantry staples, especially if you keep a sourdough starter at home. Here’s what you’ll need:
For the Stuffing Base
- Sourdough bread, cubed (8 cups): Day-old or slightly stale works best. I prefer using a crusty artisan loaf for better texture. If you have sourdough discard, you can also make fresh bread cubes from a discard loaf—double win!
- Sourdough discard (½ cup): This is the star ingredient. Use unfed discard straight from the fridge. It adds moisture and that signature tang without making the stuffing wet.
- Unsalted butter (4 tablespoons): Adds richness. I use Kerrygold for the best flavor, but any good-quality butter works.
- Yellow onion, diced (1 large): Provides savory depth. Sweet onions work too if that’s what you have.
- Celery stalks, diced (3): Classic stuffing ingredient that adds crunch and freshness. Don’t skip it—it’s essential for texture.
- Granny Smith apples, diced (2 medium): Their tartness holds up against the savory elements. Honeycrisp or Fuji work too if you want a sweeter result.
- Fresh sage leaves, chopped (2 tablespoons): Dried sage works in a pinch (use 1 tablespoon), but fresh really shines here. I grow my own, and the difference is noticeable.
- Fresh thyme leaves (1 teaspoon): Adds an earthy, lemony note. Dried thyme works too—use ½ teaspoon.
- Chicken or vegetable broth (2 cups): Low-sodium is best so you can control the salt. Homemade broth takes this to another level if you have it.
- Eggs, lightly beaten (2 large): Helps bind everything together. For a vegan version, use flax eggs or just omit—the bread will still hold up.
- Salt and black pepper (to taste): I use kosher salt and freshly ground pepper for the best flavor.
Optional Add-Ins
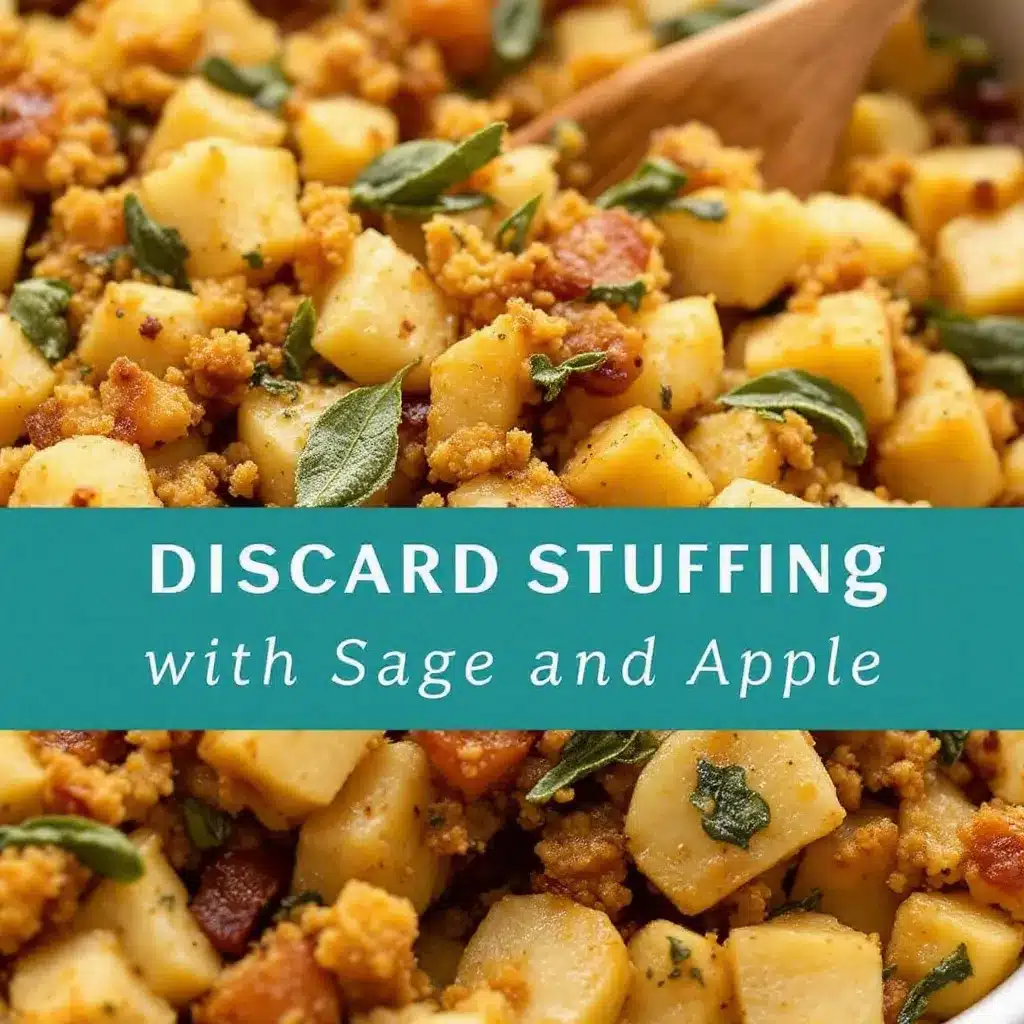
- Cooked sausage (1 cup, crumbled): Adds heartiness for a main dish version. I like using sweet Italian or breakfast sausage.
- Dried cranberries (½ cup): For extra sweetness and chew. They pair beautifully with the apples and sage.
- Toasted pecans or walnuts (½ cup): Adds crunch and nuttiness. Toast them first for maximum flavor.
- Fresh parsley, chopped (2 tablespoons): For a fresh finish and color contrast.
Ingredient Tips: For the best texture, use bread that’s at least a day old. Fresh bread can turn mushy. If you only have fresh bread, cube it and spread it on a baking sheet at 300°F for 10 minutes to dry it out. I recommend using Bob’s Red Mill flour for your sourdough starter—it gives consistent results. For the apples, don’t peel them unless you prefer a softer texture. The skins add color and fiber.
Equipment Needed
You don’t need fancy equipment for this recipe, which is part of its charm. Here’s what you’ll need:
- Large skillet or sauté pan: For cooking the vegetables and apples. A 12-inch skillet gives you plenty of room.
- Large mixing bowl: For combining all the ingredients. I use a stainless steel bowl, but any large bowl works.
- 9×13-inch baking dish: Standard size for this amount of stuffing. A ceramic or glass dish works best for even baking.
- Sharp knife and cutting board: For dicing vegetables and apples. A good chef’s knife makes prep much faster.
- Wooden spoon or spatula: For stirring the vegetables and mixing the stuffing. I prefer wooden spoons because they don’t scratch pans.
- Measuring cups and spoons: For accurate measurements. I’ve learned the hard way that eyeballing doesn’t always work with baking.
- Whisk: For beating the eggs and mixing the broth. A fork works in a pinch.
- Aluminum foil: For covering the dish during the first part of baking to prevent over-browning.
If you don’t have a 9×13 dish, you can use a 10-inch cast iron skillet or a 3-quart casserole dish. Just adjust the baking time slightly—cast iron heats faster, so check for doneness a few minutes early. I’ve also made this in a disposable aluminum pan for potlucks, and it works perfectly. No need to buy anything special for this one.
Preparation Method
Let me walk you through this step by step. I’ve made this enough times to know where things can go wrong, so I’ll share those tips along the way.
- Preheat your oven to 375°F (190°C). Get this going first so it’s ready when you are. Position the rack in the middle of the oven for even baking.
- Prepare the sourdough bread cubes. If your bread is fresh, cut it into ½-inch cubes and spread them on a baking sheet. Toast them in the oven for 10 minutes at 300°F (150°C) to dry them out. If using day-old bread, you can skip this step. Let the cubes cool while you prep everything else. I forgot to do this once and ended up with soggy stuffing—learn from my mistake!
- Cook the vegetables and apples. In a large skillet, melt the butter over medium heat. Add the diced onion and celery, and cook for 5-6 minutes until softened but not browned. Stir occasionally so they cook evenly. Add the diced apples and cook for another 3 minutes. The apples should start to soften but still hold their shape. The smell at this point is incredible—sweet apples mingling with savory butter.
- Add the herbs. Stir in the chopped sage and thyme, and cook for 1 minute until fragrant. This wakes up the herbs and releases their essential oils. Season with a pinch of salt and pepper. Remove the skillet from heat and let it cool slightly.
- Combine the bread and vegetable mixture. In a large mixing bowl, add the toasted bread cubes and the cooked vegetable-apple mixture. Toss gently to combine. Don’t stir too vigorously—you want the bread to stay in chunks for texture.
- Mix the wet ingredients. In a separate bowl, whisk together the sourdough discard, beaten eggs, and broth until smooth. The discard should blend in completely. If you see lumps, keep whisking. This mixture is what gives the stuffing its moisture and binding power.
- Pour the wet mixture over the bread. Slowly pour the broth mixture over the bread and vegetables, using a spatula to gently fold everything together. Make sure every cube gets some liquid, but don’t stir too much. Let it sit for 5 minutes so the bread absorbs the liquid. This resting time is crucial—it prevents dry spots.
- Transfer to the baking dish. Grease your 9×13-inch baking dish with butter or cooking spray. Spread the stuffing evenly in the dish. Don’t press it down—you want some air pockets for crispy edges. The top should be slightly uneven for better browning.
- Bake covered. Cover the dish with aluminum foil and bake for 25 minutes. This steams the stuffing and ensures the center is cooked through without drying out the top.
- Bake uncovered. Remove the foil and bake for another 20-25 minutes until the top is golden brown and crispy. The edges should be crunchy, and the center should be set but still moist. If you want extra crispy bits, broil for 2-3 minutes at the end—but watch it closely so it doesn’t burn.
- Let it rest. Remove from the oven and let it sit for 5-10 minutes before serving. This allows the stuffing to set and makes it easier to scoop. I know it’s hard to wait, but trust me on this one.
Sensory cues: At step 9, you should smell the sage and apples mingling with the toasty sourdough. The top should be deep golden brown with some darker spots where the edges got extra crispy. When you scoop it, the inside should be tender and moist without being wet. The perfect bite has a crunchy exterior and a soft, flavorful interior.
Cooking Tips & Techniques
I’ve learned a few things the hard way so you don’t have to. Here are my best tips for perfect sourdough discard stuffing every time:
Don’t overmix the stuffing. I made this mistake my second time around. I stirred the bread too much, and it turned into a paste. Gently fold the ingredients together until just combined. You want distinct bread cubes, not mush. Think of it like folding whipped cream into a batter—gentle and deliberate.
Toast your bread properly. Fresh bread will turn your stuffing into a soggy mess. I learned this when I was in a hurry and skipped the toasting step. The result was a dense, wet brick that nobody wanted to eat. Dry bread absorbs the broth without falling apart. If you’re short on time, spread the cubes on a baking sheet and toast at 350°F for 8-10 minutes.
Use room temperature eggs and broth. Cold ingredients can shock the mixture and prevent even absorption. Take your eggs and broth out of the fridge 30 minutes before starting. If you forget, place the eggs in a bowl of warm water for 5 minutes—that trick has saved me more times than I can count.
Season in layers. Add salt and pepper at each stage—when cooking the vegetables, when mixing the broth, and a final pinch before baking. This builds depth of flavor that you can’t get from seasoning at the end. I learned this from a chef friend who said, “Season every layer, and the final dish will sing.” She was right.
Check for doneness with a thermometer. The stuffing should reach 165°F (74°C) in the center. This ensures it’s heated through and safe to eat, especially if you’re adding eggs. I use an instant-read thermometer for accuracy. It’s saved me from undercooked stuffing more than once.
Make it ahead for better flavor. This stuffing actually tastes better the next day. The flavors meld together, and the texture improves. Assemble the stuffing, cover it, and refrigerate for up to 24 hours before baking. Add 10 minutes to the covered baking time if starting from cold. I always make this the day before Thanksgiving—it’s one less thing to worry about.
Variations & Adaptations
This recipe is incredibly flexible. Here are some ways to make it your own:
Dietary Variations
- Gluten-Free: Use gluten-free sourdough bread or your favorite gluten-free artisan loaf. The rest of the ingredients are naturally gluten-free. I’ve tested this with Against the Grain brand, and it works beautifully.
- Vegan: Substitute the butter with olive oil or vegan butter, use flax eggs (2 tablespoons ground flaxseed mixed with 6 tablespoons water), and vegetable broth. The texture will be slightly different but still delicious.
- Dairy-Free: Use olive oil or dairy-free butter instead of regular butter. The rest of the recipe is dairy-free. I like using Miyoko’s vegan butter for the best flavor.
Flavor Variations
- Sausage and Sage: Brown 1 pound of Italian sausage (casings removed) before cooking the vegetables. Set it aside and stir it in with the bread cubes. This makes it hearty enough for a main dish.
- Mushroom and Thyme: Sauté 8 ounces of sliced mushrooms with the onions and celery. The umami from the mushrooms pairs beautifully with the tangy sourdough. I use cremini or shiitake for the best flavor.
- Apple and Cranberry: Add ½ cup dried cranberries along with the apples. The tartness of the cranberries complements the sweetness of the apples and the savory herbs. This is my favorite holiday version.
- Herb and Garlic: Add 3 minced garlic cloves with the herbs, and increase the fresh herbs to 3 tablespoons total. Use a mix of sage, thyme, rosemary, and parsley for a more complex flavor.
Cooking Method Variations
- Slow Cooker: Prepare the stuffing as directed but transfer it to a greased slow cooker instead of a baking dish. Cook on low for 3-4 hours or on high for 1.5-2 hours. The texture will be softer and more moist, without the crispy top. If you want crispy edges, spread the stuffing on a baking sheet and broil for 3-4 minutes after slow cooking.
- Stuffed Inside a Turkey: Use this stuffing to fill a turkey cavity, but make sure it reaches 165°F (74°C) internally. I don’t recommend this for food safety reasons unless you’re experienced—it’s harder to get the stuffing to the right temperature without overcooking the bird.
- Individual Servings: Divide the stuffing among greased muffin tins for individual portions. Bake at 375°F for 15-18 minutes. These are perfect for portion control or holiday buffets. Plus, everyone gets crispy edges on all sides!
Serving & Storage Suggestions
This stuffing is versatile enough for any occasion. Here’s how to serve and store it:
Serving Temperature: Serve warm, straight from the oven. The contrast between the crispy top and soft interior is best when it’s fresh. If you’re making it ahead, reheat it in a 350°F oven for 15-20 minutes covered, then 5 minutes uncovered to re-crisp the top.
Presentation Ideas: Transfer the stuffing to a serving platter and garnish with fresh sage leaves or chopped parsley for color. A drizzle of balsamic glaze adds a touch of elegance and complements the sweet apples. For holidays, I serve it in a ceramic baking dish with nice serving spoons—it looks rustic and inviting.
Complementary Dishes: This stuffing pairs beautifully with roasted turkey, chicken, or pork. It’s also great alongside roasted vegetables like Brussels sprouts, carrots, or butternut squash. For a complete meal, serve with a simple green salad dressed with lemon vinaigrette to cut through the richness. A glass of dry Riesling or crisp apple cider is the perfect drink pairing.
Storage Instructions: Store leftovers in an airtight container in the refrigerator for up to 4 days. The flavors actually deepen over time, so day-old stuffing might taste even better. To freeze, wrap the cooled stuffing tightly in plastic wrap and then aluminum foil, or use a freezer-safe container. It will keep for up to 3 months. Thaw overnight in the refrigerator before reheating.
Reheating Methods: For best results, reheat in a 350°F oven for 15-20 minutes. If you’re in a hurry, the microwave works, but the texture will be softer. To restore some crispiness, reheat in a skillet over medium heat with a little butter, stirring occasionally until heated through and edges are crispy. I actually prefer leftovers reheated this way—the extra butter makes everything better.
Flavor Development: This stuffing tastes even better the next day. The sourdough tang mellows out, the herbs infuse more deeply, and the apples soften further. If you can resist eating it all the first day, you’re in for a treat the next morning. I’ve been known to eat cold stuffing straight from the fridge for breakfast—don’t judge until you’ve tried it.
Nutritional Information & Benefits
Here’s the approximate nutritional breakdown per serving (based on 8 servings):
| Nutrient | Amount per Serving |
|---|---|
| Calories | 285 |
| Total Fat | 12g |
| Saturated Fat | 6g |
| Cholesterol | 65mg |
| Sodium | 480mg |
| Total Carbohydrates | 35g |
| Dietary Fiber | 3g |
| Sugars | 8g |
| Protein | 8g |
Health Benefits: This stuffing has some surprising nutritional perks. The sourdough fermentation process makes the bread easier to digest and may improve gut health by promoting beneficial bacteria. Apples provide fiber and vitamin C, plus antioxidants that support immune health. Sage is known for its anti-inflammatory properties and has been used traditionally to support digestion. Celery adds hydration and is a good source of vitamin K. Plus, using sourdough discard means you’re reducing food waste—a win for your wallet and the planet.
Dietary Considerations: This recipe can be adapted for gluten-free, dairy-free, and vegan diets (see variations above). It contains eggs and gluten in its standard form. If you have celiac disease, make sure to use certified gluten-free sourdough bread. The sodium content can be reduced by using low-sodium broth and reducing added salt. For a lower-carb option, use almond flour bread or cauliflower rice instead of sourdough—though the texture will be quite different.
Personal Note: I appreciate that this recipe lets me enjoy a classic comfort food while feeling good about what I’m eating. The sourdough discard adds nutritional value that regular bread doesn’t have, and the apples and herbs bring natural vitamins and antioxidants. It’s not health food, but it’s definitely a smarter choice than boxed stuffing mixes loaded with preservatives and artificial flavors.
Conclusion
This homemade sourdough discard stuffing with sage and apple has become a staple in my kitchen, and I have a feeling it will become one in yours too. It’s the kind of recipe that started as a happy accident—a neighbor using up what she had—and turned into something I genuinely look forward to making every year. The tangy sourdough, sweet apples, and earthy sage come together in a way that’s both comforting and surprising.
What I love most about this recipe is how forgiving it is. You can tweak the herbs, swap the apples, add sausage or mushrooms, and it still turns out delicious. It’s perfect for using up sourdough discard that would otherwise go to waste, and it’s impressive enough to serve at holiday dinners without causing stress. Plus, it makes your kitchen smell absolutely amazing while it bakes.
I’d love to hear how this turns out for you. Did you add any fun variations? Did your family fight over the crispy edges like mine does? Drop a comment below and let me know—I read every single one and I love seeing your photos. And if you’re looking for more sourdough discard recipes, check out my sourdough discard crackers or easy sourdough pancakes for more ways to use up that starter. Happy cooking, friends!
Frequently Asked Questions
Can I use any type of sourdough bread for this stuffing?
Yes, absolutely. A crusty artisan loaf works best because it holds its shape well. But you can use any sourdough bread you have—sandwich bread, boules, batards, even sourdough baguettes. The key is making sure the bread is at least a day old or toasted before using. Fresh bread will absorb too much liquid and turn mushy. If you only have fresh bread, cube it and toast it at 300°F for 10 minutes to dry it out.
Can I make this stuffing ahead of time?
Definitely! This is actually one of the best make-ahead recipes I know. Assemble the stuffing completely, cover it tightly with plastic wrap or aluminum foil, and refrigerate for up to 24 hours. When you’re ready to bake, add about 10 minutes to the covered baking time since you’re starting from cold. The flavors actually meld together and get better overnight. I always make this the day before Thanksgiving to save time and stress.
How do I prevent my stuffing from being too dry or too wet?
The key is getting the bread-to-liquid ratio right. Start with the recommended 2 cups of broth and ½ cup sourdough discard. After mixing, let it sit for 5 minutes so the bread absorbs the liquid. If it looks dry, add more broth a tablespoon at a time. If it looks too wet, add more toasted bread cubes. The ideal texture is moist but not soggy—the bread should hold its shape when you press it. Also, make sure your bread is properly dried out before mixing.
Can I freeze this stuffing?
Yes, and it freezes beautifully. Let the baked stuffing cool completely, then wrap it tightly in plastic wrap followed by aluminum foil, or transfer it to a freezer-safe container. It will keep for up to 3 months. To reheat, thaw overnight in the refrigerator, then bake at 350°F for 20-25 minutes covered, then 5-10 minutes uncovered to re-crisp the top. You can also freeze unbaked stuffing—just assemble it, wrap it well, and freeze. Bake directly from frozen, adding 15-20 minutes to the covered baking time.
What can I substitute for sourdough discard?
If you don’t have sourdough discard, you can still make this stuffing. Simply increase the broth to 2½ cups and add 1 tablespoon of vinegar or lemon juice to mimic the tanginess of sourdough. Alternatively, use buttermilk instead of some of the broth for a similar tangy flavor. The texture will be slightly different, but it will still be delicious. If you’re a regular sourdough baker, though, this is the perfect recipe to use up that discard you’ve been saving.
Pin This Recipe!
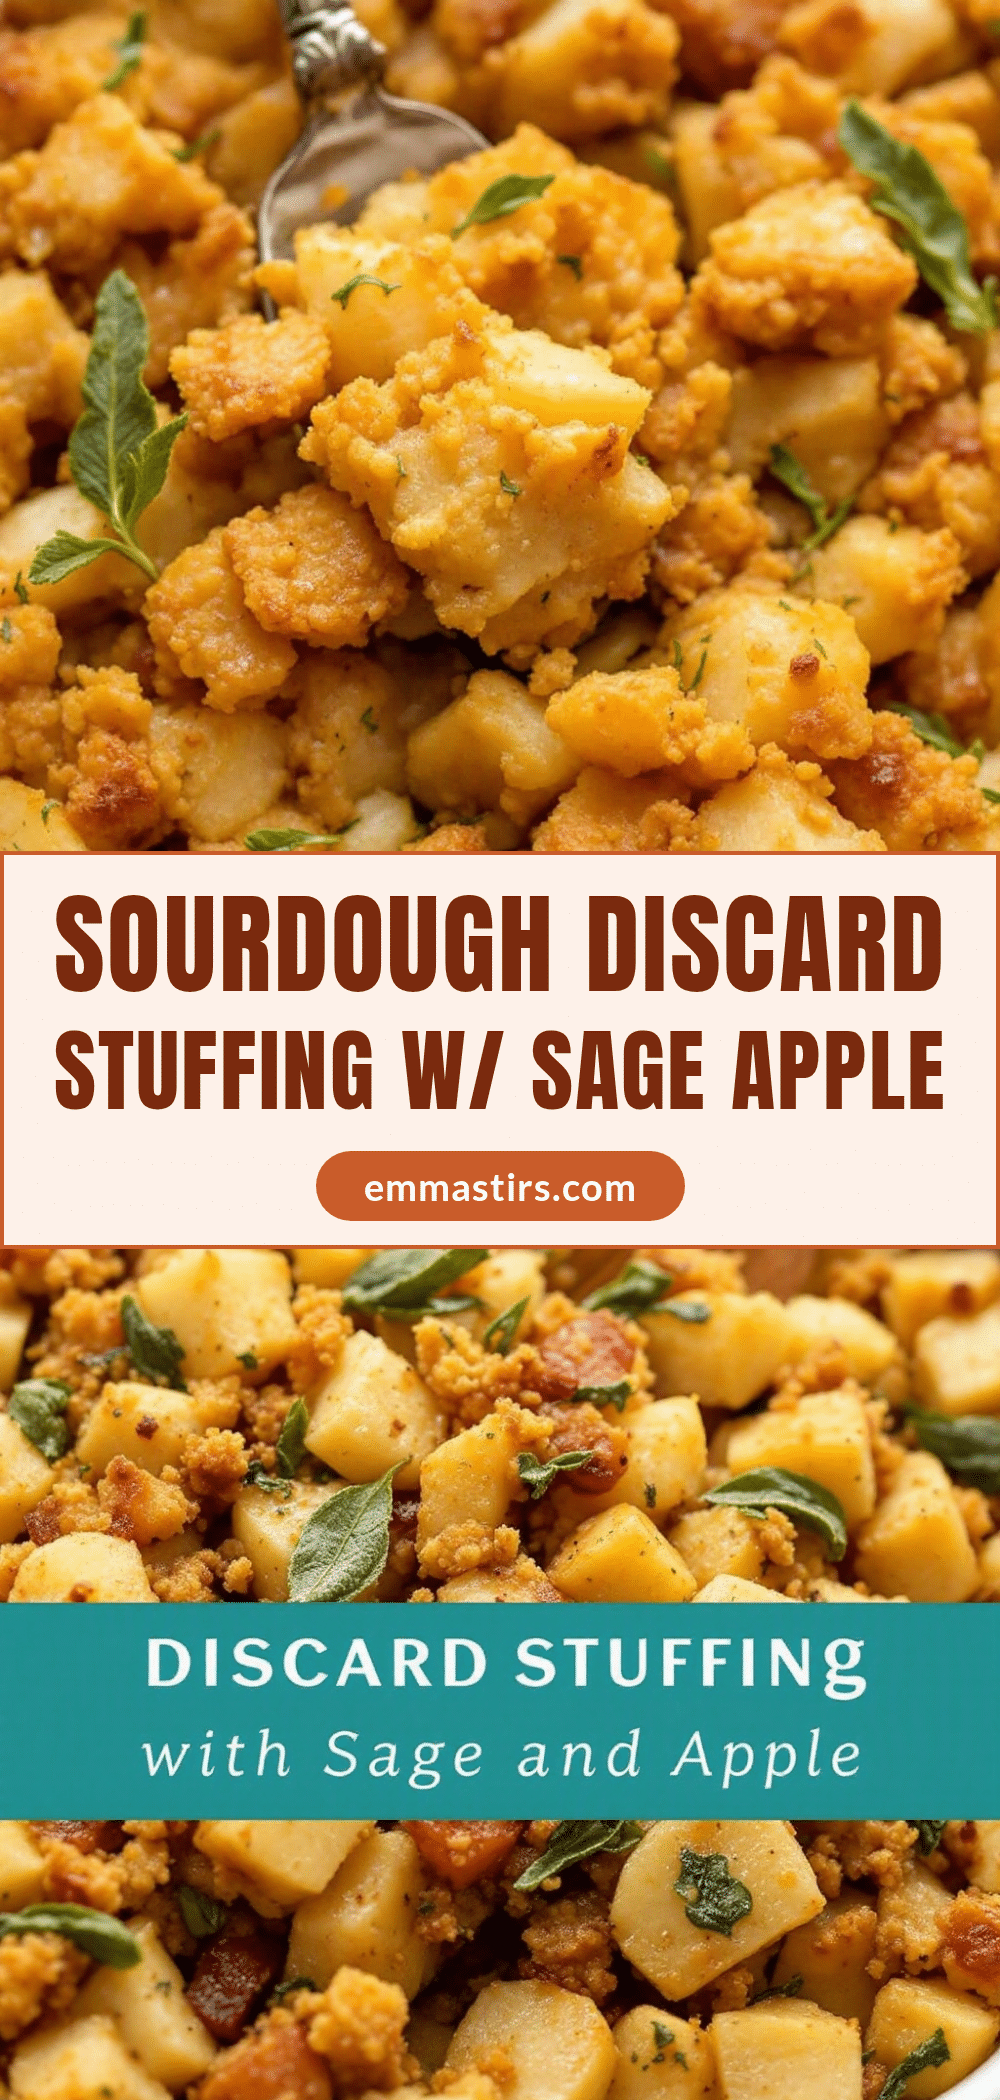
Easy Homemade Sourdough Discard Stuffing with Sage & Apple

This tangy, savory stuffing uses sourdough discard for incredible depth of flavor, balanced with sweet apples and earthy sage. It’s a crowd-pleasing side dish perfect for holidays or any occasion.
- Prep Time: 20 minutes
- Cook Time: 50 minutes
- Total Time: 1 hour 10 minutes
- Yield: 8 servings 1x
- Category: Side Dish
- Cuisine: American
Ingredients
- 8 cups sourdough bread, cubed (day-old or slightly stale)
- ½ cup sourdough discard (unfed, straight from the fridge)
- 4 tablespoons unsalted butter
- 1 large yellow onion, diced
- 3 celery stalks, diced
- 2 medium Granny Smith apples, diced
- 2 tablespoons fresh sage leaves, chopped
- 1 teaspoon fresh thyme leaves
- 2 cups chicken or vegetable broth (low-sodium)
- 2 large eggs, lightly beaten
- Salt and black pepper to taste
- 1 cup cooked sausage, crumbled (optional)
- ½ cup dried cranberries (optional)
- ½ cup toasted pecans or walnuts (optional)
- 2 tablespoons fresh parsley, chopped (optional)
Instructions
- Preheat your oven to 375°F (190°C). Position the rack in the middle of the oven.
- If your bread is fresh, cut it into ½-inch cubes and spread on a baking sheet. Toast at 300°F (150°C) for 10 minutes to dry out. If using day-old bread, skip this step. Let cubes cool.
- In a large skillet, melt butter over medium heat. Add diced onion and celery, cook for 5-6 minutes until softened. Add diced apples and cook for another 3 minutes until they start to soften.
- Stir in chopped sage and thyme, cook for 1 minute until fragrant. Season with a pinch of salt and pepper. Remove from heat and let cool slightly.
- In a large mixing bowl, combine toasted bread cubes and cooked vegetable-apple mixture. Toss gently to combine.
- In a separate bowl, whisk together sourdough discard, beaten eggs, and broth until smooth.
- Pour the broth mixture over the bread and vegetables. Gently fold until every cube is coated. Let sit for 5 minutes so the bread absorbs the liquid.
- Grease a 9×13-inch baking dish with butter or cooking spray. Spread the stuffing evenly in the dish without pressing down.
- Cover the dish with aluminum foil and bake for 25 minutes.
- Remove foil and bake for another 20-25 minutes until the top is golden brown and crispy. For extra crispiness, broil for 2-3 minutes at the end.
- Remove from oven and let rest for 5-10 minutes before serving.
Notes
For best texture, use day-old bread or toast fresh bread cubes. Let the stuffing rest for 5 minutes after adding liquid to prevent dry spots. Make ahead: assemble and refrigerate up to 24 hours before baking; add 10 minutes to covered baking time. Leftovers can be stored in the refrigerator for up to 4 days or frozen for up to 3 months.
Nutrition
- Serving Size: 1 serving (about 1 c
- Calories: 285
- Sugar: 8
- Sodium: 480
- Fat: 12
- Saturated Fat: 6
- Carbohydrates: 35
- Fiber: 3
- Protein: 8
Keywords: sourdough discard stuffing, sage apple stuffing, homemade stuffing, Thanksgiving stuffing, sourdough stuffing, easy stuffing recipe


