Love this? Save it for later!
Share the inspiration with your friends
My husband took one sip of my iced coffee last Tuesday, raised an eyebrow, and said, “Wait—you made this? This tastes exactly like the one from the drive-thru.” He wasn’t trying to be sweet. He was genuinely confused. And honestly? That moment made my whole week.
I’d been chasing that pumpkin cream cold brew feeling for weeks. You know the one—that first sip where the spiced, velvety cream hits your tongue before it slowly swirls into the cold brew below. It’s practically a fall rite of passage. But paying five bucks a pop (or more, depending on where you live) adds up fast. I wanted that same cozy coffee shop experience without leaving my kitchen in my pajamas.
So I started tinkering. I tested different cream-to-milk ratios. I tried pumpkin puree straight from the can (too thick), then thinned it out (just right). I even burned through a few batches of cold brew before I figured out the sweet spot. This easy copycat Starbucks pumpkin cream cold brew recipe is the result of all that trial and error—and honestly, it’s better than the original. It’s richer, more pumpkin-forward, and you control exactly how sweet it gets.
The best part? It takes about five minutes to pull together. No fancy equipment, no barista skills required. Just a little patience while the cream does its thing on top of your coffee. And trust me—once you taste that first sip, you’ll never look at a drive-thru line the same way again.
Why You’ll Love This Recipe
This isn’t just another pumpkin coffee recipe. I tested this version at least a dozen times before I got the texture right—that thick, pourable cream that sits on top of your cold brew like a little cloud. Here’s why this one works:
- Ready in 5 Minutes : No stove, no blending, no complicated steps. Just shake or whisk everything together and pour over ice. Perfect for busy mornings when you need caffeine fast.
- Simple Pantry Ingredients : You probably already have most of these in your fridge and pantry. No specialty syrups or hard-to-find extracts. Just real cream, pumpkin, and a few spices.
- Way Cheaper Than Starbucks : One batch of this cream topping costs about what you’d pay for a single drink at the coffee shop. Make it at home all season long without breaking the bank.
- Completely Customizable : Want it sweeter? Add more maple syrup. Prefer a dairy-free version? Coconut cream works beautifully. You’re in control here.
- That Authentic Texture : The cream sits thick on top before slowly cascading down into the coffee. It’s not watery, not too heavy—just perfectly velvety.
I’ve made this for friends who swear they can’t tell the difference from the drive-thru version. One friend actually asked me to bottle the cream topping for her. That’s when I knew I’d cracked the code.
What Ingredients You Will Need
This recipe uses simple, honest ingredients to create that signature pumpkin cream topping. Nothing weird, nothing complicated—just real food that tastes incredible together.
For the Pumpkin Cream Topping
- Heavy cream, 1/2 cup (120 ml) — cold from the fridge works best. The colder your cream, the thicker it whips up. I use organic when I can find it, but any heavy cream works fine.
- Pumpkin puree, 2 tablespoons (30 g) — make sure you grab 100% pure pumpkin puree, not pumpkin pie filling. They look similar but are very different. The pie filling has added sugar and spices already mixed in, which throws off the balance.
- Maple syrup, 1 to 2 tablespoons (15 to 30 ml) — this adds natural sweetness and a subtle warmth that pairs beautifully with pumpkin. Start with 1 tablespoon and taste before adding more.
- Vanilla extract, 1/2 teaspoon (2.5 ml) — pure vanilla extract makes a difference here. Skip the imitation stuff if you can.
- Pumpkin pie spice, 1/2 teaspoon (1 g) — you can use store-bought or make your own blend with cinnamon, nutmeg, ginger, and a pinch of cloves. I prefer my homemade mix because I can control the cinnamon-to-nutmeg ratio.
- Pinch of salt — just a tiny pinch. Salt balances the sweetness and makes the pumpkin flavor pop. Don’t skip it.
For the Cold Brew Base
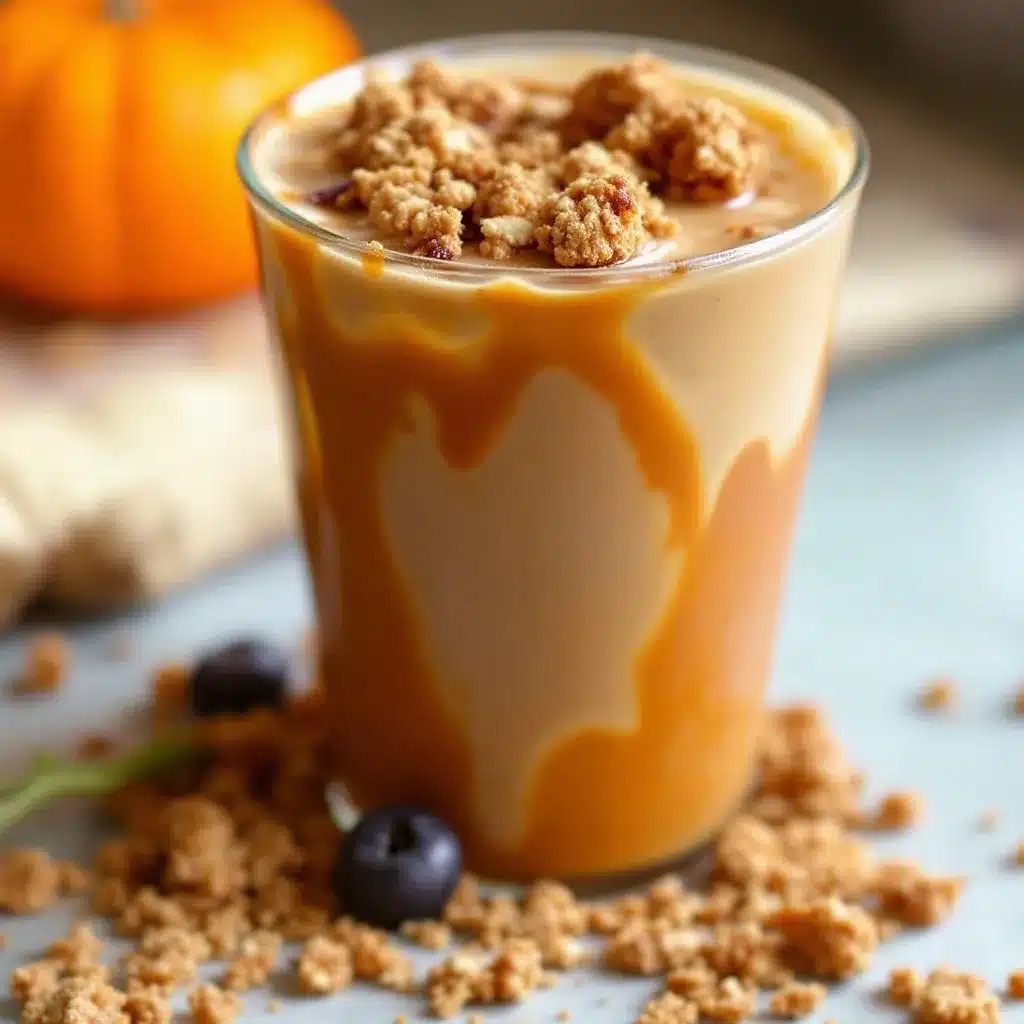
- Cold brew coffee, 1 to 1.5 cups (240 to 360 ml) — store-bought or homemade. I make my own using coarsely ground dark roast beans steeped in cold water for 12 to 18 hours. It’s smoother and less acidic than regular iced coffee.
- Ice cubes — enough to fill your glass. Use large cubes if you have them; they melt slower and keep your drink from getting watery.
- Milk or milk alternative, 2 to 3 tablespoons (30 to 45 ml) — optional, but I like adding a splash of oat milk or whole milk to the cold brew before topping with the cream. It softens the coffee’s edge.
I recommend using canned pumpkin puree from Libby’s or Trader Joe’s—both have a consistent texture that blends smoothly into the cream. Fresh pumpkin puree works too, but you’ll need to strain it through a cheesecloth first to remove excess water. Otherwise your cream topping might turn out runny.
Equipment Needed
You don’t need much for this recipe, which is part of the charm. Here’s what I use:
- Medium mixing bowl — any bowl works, but a narrow, deep bowl helps the cream whip up faster. I use a stainless steel bowl because it stays cold longer.
- Whisk or electric hand mixer — a whisk works if you’ve got some arm strength and patience. An electric hand mixer (or even a milk frother) cuts the time down to about 30 seconds. I usually start with a whisk and switch to the mixer when my arm gets tired.
- Measuring spoons and cups — precision matters here, especially with the pumpkin puree. Too much and the cream gets heavy. Too little and you lose that pumpkin flavor.
- Tall glass — a 16-ounce glass is perfect for layering. You want to see those distinct layers of coffee and cream.
- Fine-mesh strainer — optional but helpful if your cold brew has sediment. I strain mine before pouring to keep the drink smooth.
If you don’t have a hand mixer, a mason jar with a tight lid works surprisingly well. Just add all the cream ingredients, screw the lid on tight, and shake vigorously for about 60 seconds. The cream thickens up beautifully this way, and there’s less cleanup.
Preparation Method
- Make the pumpkin cream topping. In your medium bowl, combine 1/2 cup cold heavy cream, 2 tablespoons pumpkin puree, 1 to 2 tablespoons maple syrup, 1/2 teaspoon vanilla extract, 1/2 teaspoon pumpkin pie spice, and a tiny pinch of salt. Whisk everything together until the pumpkin puree is fully incorporated and no orange streaks remain. This takes about 30 seconds of steady whisking.
- Whip the cream. Using your hand mixer or whisk, whip the mixture until it thickens to a pourable consistency. You’re looking for soft peaks—the cream should hold its shape briefly before slowly settling back down. This usually takes 1 to 2 minutes with a mixer, or 3 to 4 minutes with a whisk. Don’t overwhip it into stiff peaks; you want it loose enough to pour but thick enough to float on top of your coffee.
- Taste and adjust. Dip a clean spoon into the cream and taste it. Is it sweet enough? Does it have enough pumpkin spice? Adjust now before you assemble the drink. I usually end up adding an extra pinch of cinnamon because I love the warmth it brings.
- Prepare your glass. Fill a tall glass with ice cubes. Pour in 1 to 1.5 cups of cold brew coffee, leaving about 2 inches of space at the top. If you’re using milk, add a splash now and stir gently.
- Layer the cream. Slowly pour the pumpkin cream topping over the back of a spoon held just above the coffee’s surface. This technique helps the cream float instead of sinking. Pour gently and steadily—rushing this step creates a muddy mess instead of those beautiful distinct layers.
- Watch it happen. The cream should sit on top like a thick blanket, slowly starting to cascade down the sides as you sip. That’s the magic right there. If your cream sinks immediately, it might be too thin. Next time, whip it a little longer.
- Serve immediately. This drink is best enjoyed right after assembly. The cream will gradually mix into the coffee over time, which is delicious too—just different. I like to snap a quick photo first (because it’s genuinely gorgeous), then stir everything together after a few sips.
One thing I learned the hard way: don’t pour the cream directly into the center of the coffee. It sinks every time. Pouring it over the back of a spoon along the inside edge of the glass gives you that perfect layered look every single time.
Cooking Tips & Techniques
I’ve made this recipe more times than I care to count, and I’ve definitely made my share of mistakes along the way. Here’s what I’ve learned:
Temperature matters. Cold cream whips up thicker and faster than room-temperature cream. I keep my heavy cream in the coldest part of the fridge (usually the back, not the door). If your kitchen is warm, pop your bowl and whisk in the freezer for 5 minutes before you start. That little chill makes a noticeable difference in how quickly the cream comes together.
Don’t skip the salt. I know it sounds weird in a sweet coffee drink, but that tiny pinch of salt does something magical. It balances the sweetness, deepens the pumpkin flavor, and makes the whole thing taste more complex. I once forgot to add it and the drink tasted flat—like something was missing but I couldn’t figure out what. Now I never skip it.
Watch your pumpkin-to-cream ratio. Too much pumpkin puree and your cream turns heavy and almost grainy. Too little and you barely taste the pumpkin at all. Two tablespoons is the sweet spot for half a cup of cream. If you’re doubling the recipe, keep that ratio consistent.
Make ahead tip. You can whip the pumpkin cream ahead of time and store it in the fridge for up to 24 hours. Just give it a quick whisk or shake before using, because it will separate slightly as it sits. I’ve prepped it the night before for busy mornings, and it works perfectly.
Cold brew vs. iced coffee. Cold brew is smoother and less acidic, which lets the pumpkin cream shine. Regular iced coffee works in a pinch, but it can taste slightly bitter against the sweet cream. If you’re using iced coffee, consider adding a tiny splash more maple syrup to balance things out.
I once tried to rush the whipping process by using warm cream straight from the counter. It took forever to thicken, and the final texture was more like thin milk than velvety cream. Lesson learned: patience pays off here.
Variations & Adaptations
This recipe is incredibly forgiving, so feel free to play around with it. Here are some variations I’ve tried and loved:
Dairy-Free Version : Swap the heavy cream with full-fat coconut cream (the solid part from a can of coconut milk). Whip it the same way, and add an extra pinch of pumpkin pie spice to mask the coconut flavor. It’s not identical to the original, but it’s surprisingly close—and my dairy-free friends absolutely love it.
Extra Pumpkin Spice Kick : If you’re like me and want maximum fall flavor, add an extra 1/4 teaspoon of cinnamon and a tiny pinch of nutmeg directly into the cream mixture. I’ve also tried adding a dash of cardamom, which adds a warm, slightly floral note that’s unexpected but delicious.
Protein-Packed Version : For a more filling morning drink, add a scoop of vanilla or unflavored collagen powder to the cream mixture before whipping. It dissolves smoothly and adds about 10 grams of protein without changing the taste. This is my go-to on days when I skip breakfast.
Hot Pumpkin Coffee : This cream topping works on hot coffee too. Brew a strong cup of hot coffee, pour it into a mug, and gently spoon the pumpkin cream on top. It melts slightly into the hot coffee, creating a creamy, latte-like drink. Perfect for chilly mornings.
Pumpkin Cream Frappuccino : Blend the cold brew, a splash of milk, a handful of ice, and a few spoonfuls of the pumpkin cream together until smooth. Pour into a glass and top with extra cream. It’s thicker, colder, and dangerously addictive.
I tried a version with almond milk cream once (using almond milk and a thickener), and honestly? It was a flop. The texture was watery and the flavor was off. Stick with full-fat cream or coconut cream for best results.
Serving & Storage Suggestions
This drink is best served immediately, while the cream is still thick and the layers are distinct. But I’ve got a few tricks for making it work for your schedule.
Serving temperature: Serve over plenty of ice. The cold brew should be chilled, not room temperature, to keep the cream from melting too fast. If your cold brew is warm, let it cool in the fridge for 30 minutes before assembling.
Garnish ideas: A light dusting of cinnamon or pumpkin pie spice on top of the cream makes it look extra special. I sometimes add a cinnamon stick as a stirrer—it looks pretty and adds a subtle warmth as you sip.
Storage: The pumpkin cream topping keeps in an airtight container in the fridge for up to 3 days. It will separate slightly as it sits, so give it a good whisk or shake before using. I’ve found it’s actually easier to pour after it’s been refrigerated because it thickens up even more.
Reheating: This is a cold drink, so reheating isn’t really a thing. But if you want to use leftover cream on hot coffee, just spoon it directly onto the surface and let it melt in. It’s a completely different experience—creamier and more integrated—but still delicious.
Flavor development: The pumpkin spice flavor actually deepens after the cream sits in the fridge for a few hours. I’ve made the cream the night before and it tasted even better the next morning. The spices have time to meld with the cream and maple syrup, creating a more rounded flavor.
If you’re serving this for a brunch or gathering, make the cream ahead of time and keep it in a pitcher in the fridge. Let guests pour their own cold brew and top it with cream. It’s interactive, beautiful, and way easier than making individual drinks.
Nutritional Information & Benefits
This recipe is a treat, but it’s not as indulgent as you might think. Here’s what you’re looking at per serving (using 1 tablespoon maple syrup and 1 cup cold brew):
- Calories: Approximately 280 to 320
- Fat: 22 to 25 grams (mostly from the heavy cream)
- Carbohydrates: 18 to 22 grams (from maple syrup and pumpkin)
- Protein: 3 to 4 grams
- Fiber: 1 to 2 grams (from the pumpkin puree)
- Sugar: 14 to 17 grams (mostly added maple syrup)
Health highlights: Pumpkin puree is packed with vitamin A and fiber, which supports eye health and digestion. The heavy cream provides calcium and healthy fats that keep you satisfied longer. Cold brew coffee is lower in acidity than regular coffee, making it gentler on your stomach. And maple syrup contains antioxidants and minerals like zinc and manganese—though let’s be honest, we’re mostly here for the flavor.
Dietary notes: This recipe is naturally gluten-free and vegetarian. For a dairy-free option, use coconut cream as mentioned above. To reduce sugar, use just 1 tablespoon of maple syrup or swap in a sugar-free sweetener like monk fruit syrup.
Allergens: Contains dairy (heavy cream). The pumpkin puree and spices are generally allergen-friendly, but always check your spice blends for hidden additives.
I don’t pretend this is a health drink, but it’s certainly better for you than the drive-thru version—fewer additives, no artificial flavors, and real ingredients you can pronounce. That counts for something, right?
Conclusion
This easy copycat Starbucks pumpkin cream cold brew has become my fall ritual. It’s the thing I look forward to on crisp October mornings, the drink I make when I want a little treat without leaving the house. And honestly? It’s become one of those recipes I’m genuinely proud of—the kind that friends ask for and family requests when they visit.
What I love most is how simple it is. Five minutes, a handful of ingredients, and you’ve got something that tastes like it came from a café. No fancy equipment, no barista skills, no drive-thru line. Just you, your kitchen, and a really good cup of coffee.
I’d love to hear how yours turns out. Did you add extra cinnamon? Try it with oat milk? Make a double batch for a crowd? Drop a comment below and let me know—I read every single one, and your variations often inspire my next kitchen experiment.
Now go make yourself a glass. You deserve it.
Frequently Asked Questions
Can I use pumpkin pie filling instead of pumpkin puree?
I wouldn’t recommend it. Pumpkin pie filling already has sugar and spices mixed in, which throws off the balance of this recipe. Stick with 100% pure pumpkin puree for the best texture and flavor. If you accidentally grab the wrong can, just reduce the maple syrup and spices to compensate.
How do I get the cream to float on top instead of sinking?
The trick is pouring the cream slowly over the back of a spoon held just above the coffee’s surface. This breaks the fall and lets the cream settle gently on top. Also, make sure your cold brew is cold—warm coffee will melt the cream and make it sink immediately.
Can I make this without a hand mixer or whisk?
Absolutely. Use a mason jar with a tight lid. Add all the cream ingredients, screw the lid on, and shake vigorously for about 60 seconds. The cream thickens up beautifully this way, and it’s actually easier to clean up than a bowl and whisk.
How long does the pumpkin cream topping last in the fridge?
Up to 3 days in an airtight container. It will separate slightly as it sits, so give it a good whisk or shake before using. The flavor actually deepens after a few hours in the fridge as the spices meld with the cream.
Can I make this dairy-free?
Yes! Use full-fat coconut cream instead of heavy cream. Whip it the same way, and add an extra pinch of pumpkin pie spice to complement the coconut flavor. It’s not identical to the original, but it’s delicious in its own right.
Pin This Recipe!
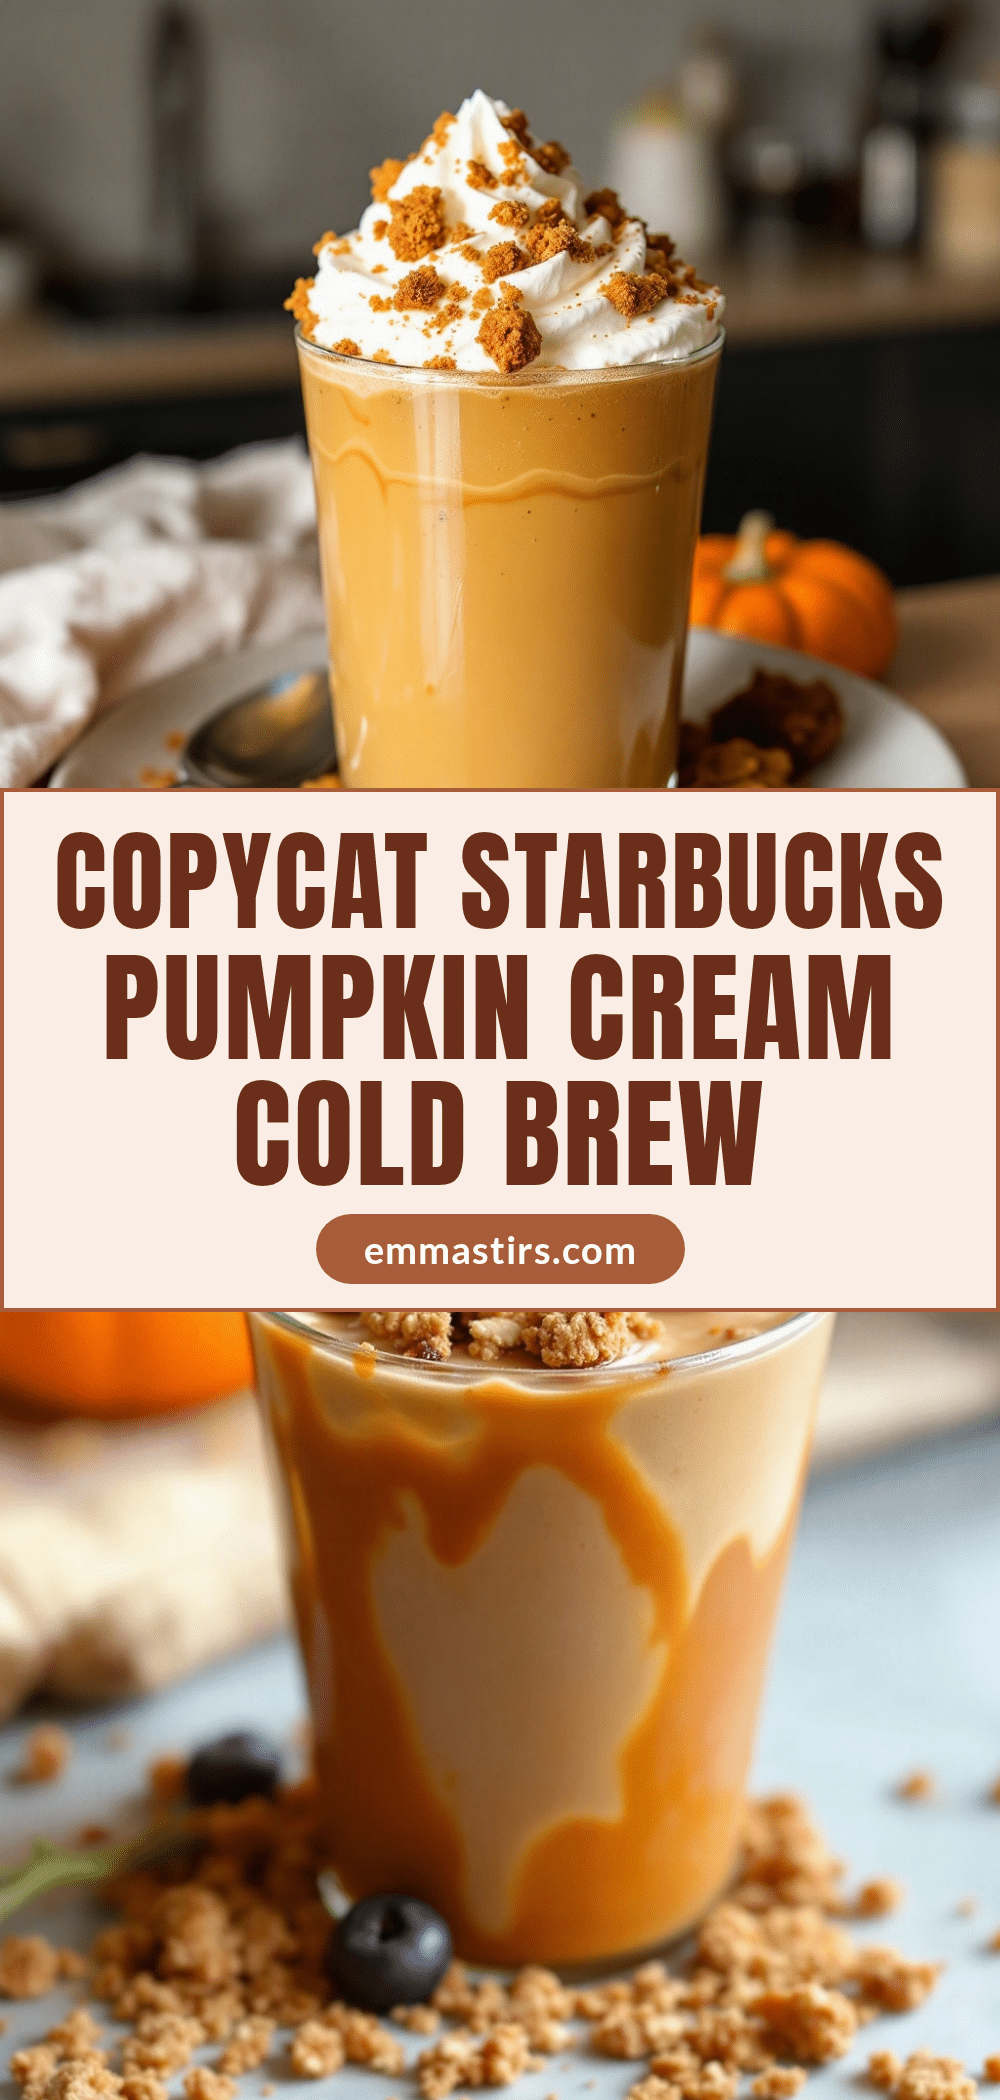
Best Easy Copycat Starbucks Pumpkin Cream Cold Brew Recipe

This easy copycat Starbucks pumpkin cream cold brew is ready in 5 minutes with simple pantry ingredients. It’s richer, more pumpkin-forward, and way cheaper than the drive-thru version.
- Prep Time: 5 minutes
- Cook Time: 0 minutes
- Total Time: 5 minutes
- Yield: 1 serving 1x
- Category: Beverage
- Cuisine: American
Ingredients
- 1/2 cup (120 ml) cold heavy cream
- 2 tablespoons (30 g) 100% pure pumpkin puree
- 1 to 2 tablespoons (15 to 30 ml) maple syrup
- 1/2 teaspoon (2.5 ml) pure vanilla extract
- 1/2 teaspoon (1 g) pumpkin pie spice
- Pinch of salt
- 1 to 1.5 cups (240 to 360 ml) cold brew coffee
- Ice cubes
- 2 to 3 tablespoons (30 to 45 ml) milk or milk alternative (optional)
Instructions
- Make the pumpkin cream topping: In a medium bowl, combine 1/2 cup cold heavy cream, 2 tablespoons pumpkin puree, 1 to 2 tablespoons maple syrup, 1/2 teaspoon vanilla extract, 1/2 teaspoon pumpkin pie spice, and a tiny pinch of salt. Whisk until fully incorporated and no orange streaks remain.
- Whip the cream: Using a hand mixer or whisk, whip the mixture until it thickens to a pourable consistency with soft peaks (1-2 minutes with a mixer, 3-4 minutes with a whisk). Do not overwhip.
- Taste and adjust: Dip a clean spoon into the cream and taste. Adjust sweetness or spice as desired.
- Prepare your glass: Fill a tall glass with ice cubes. Pour in 1 to 1.5 cups of cold brew coffee, leaving about 2 inches of space at the top. If using milk, add a splash now and stir gently.
- Layer the cream: Slowly pour the pumpkin cream topping over the back of a spoon held just above the coffee’s surface. Pour gently and steadily to create distinct layers.
- Serve immediately: Enjoy right after assembly. The cream will gradually mix into the coffee over time.
Notes
For best results, use cold cream and chill your bowl and whisk in the freezer for 5 minutes before whipping. Don’t skip the salt—it balances sweetness and deepens the pumpkin flavor. The cream can be made ahead and stored in the fridge for up to 3 days; whisk before using. For dairy-free, substitute full-fat coconut cream.
Nutrition
- Serving Size: 1 drink (about 16 ou
- Calories: 280320
- Sugar: 1417
- Sodium: 5080
- Fat: 2225
- Saturated Fat: 1416
- Carbohydrates: 1822
- Fiber: 12
- Protein: 34
Keywords: pumpkin cream cold brew, copycat Starbucks, pumpkin coffee, fall coffee, cold brew recipe, pumpkin spice


