Love this? Save it for later!
Share the inspiration with your friends
The whole platter was gone by halftime. I’m not exaggerating—my brother-in-law actually texted me the next morning asking if I’d made “that potato thing” again for the Super Bowl. I had to laugh because this board started as a total accident. I had a bag of russet potatoes staring at me, some leftover bacon from breakfast, and a block of cheddar that needed using up. I wasn’t trying to be clever. I just wanted something hearty that didn’t require me to stand at the stove while everyone else was yelling at the TV.
So I baked the potatoes, scooped them into skins, and laid everything out on a big wooden board like a baked potato bar meets grazing platter. Honestly? It worked way better than I expected. People love building their own food—there’s something about customization that makes even adults light up like kids at a toppings bar. And because it’s a charcuterie-style setup, you can prep almost everything ahead and just assemble before kickoff.
This isn’t a fussy recipe. It’s the kind of thing you throw together when you want people to feel taken care of without spending your whole party in the kitchen. The potatoes stay warm, the toppings stay cold, and everyone gets exactly what they want. That’s the whole point.
Why You’ll Love This Recipe
This loaded baked potato football charcuterie board checks so many boxes it’s almost unfair. Here’s why it’s become my go-to for game day, movie nights, and pretty much any gathering where people need to eat with their hands while watching something.
- Party-Perfect Presentation: A big board piled high with golden potato skins and colorful toppings looks impressive without requiring any fancy plating skills. It’s naturally Instagrammable—and trust me, people will take photos before they dig in.
- Customizable for Everyone: Set out a variety of toppings and let guests build their own loaded potato. It accommodates picky eaters, dietary preferences, and adventurous palates all at once. No one feels left out.
- Make-Ahead Friendly: Bake the potatoes, cook the bacon, and prep your toppings earlier in the day. When guests arrive, you just reheat the potato skins and arrange everything on the board. You actually get to hang out at your own party.
- Crowd-Pleasing Comfort Food: Baked potatoes are basically edible hugs. When you load them up with cheese, bacon, sour cream, and all the fixings, they become the kind of food that makes people go quiet because they’re too busy enjoying it.
- No Fancy Equipment Needed: You don’t need a special board—a large cutting board, baking sheet, or even a clean countertop works. Just some bowls for toppings and you’re set.
This board has saved me during multiple game days, birthday parties, and even a casual dinner with friends. It’s the kind of recipe that makes you look like you tried way harder than you actually did. And honestly? That’s my favorite kind of recipe.
What Ingredients You Will Need
This recipe uses simple, grocery-store ingredients to deliver maximum flavor and fun. Most of these are probably already in your fridge and pantry. Let’s break it down by category so you can shop smart and prep easy.
For the Potato Skins (The Base)
- 8 medium russet potatoes (scrubbed clean, about 3 pounds total) – Russets are ideal because they get fluffy on the inside and crispy on the outside. Look for firm potatoes without green spots or sprouts.
- 3 tablespoons olive oil (or avocado oil) – This helps the skins crisp up beautifully. I prefer extra virgin olive oil for flavor.
- 1 teaspoon kosher salt – Don’t skimp here. Salting the outside of the potatoes makes a difference.
- ½ teaspoon black pepper – Freshly ground if you have it.
- 1 cup shredded sharp cheddar cheese (about 4 ounces) – Cheddar melts beautifully and has that classic baked potato flavor. I recommend Tillamook or Kerrygold for the best melt.
- ½ cup shredded Monterey Jack cheese (about 2 ounces) – Adds creaminess and balances the sharp cheddar. You can use all cheddar if that’s what you have.
For the Classic Toppings (The Essentials)
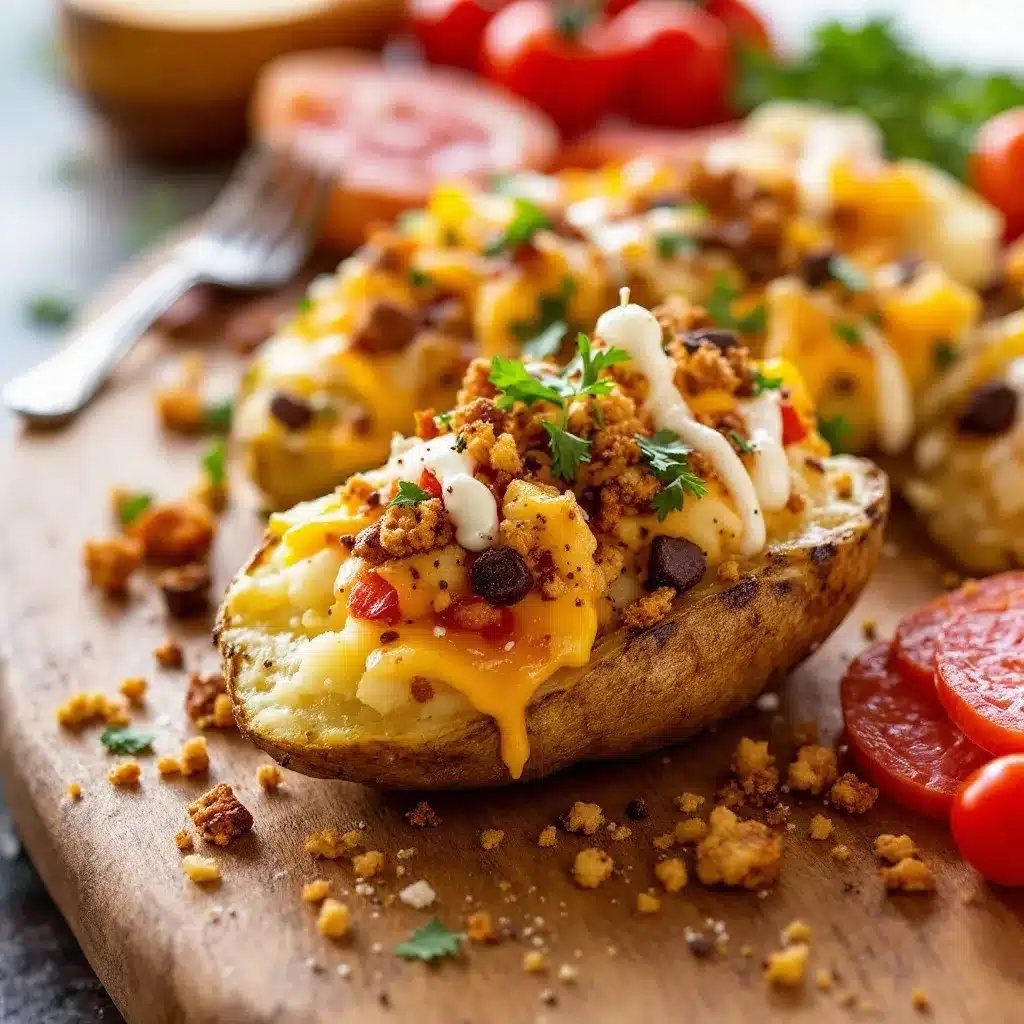
- 8 slices thick-cut bacon (cooked until crispy and crumbled) – Bacon is non-negotiable in my house. Cook it on a sheet pan in the oven at 400°F for 15-18 minutes for perfectly even crispiness.
- 1 cup sour cream (full-fat or light) – For that cool, tangy contrast to the warm potato. Place it in a small bowl on the board.
- 4 green onions (sliced thin, white and green parts) – Adds freshness and a mild onion bite.
- ½ cup chopped fresh chives – Optional but lovely. Chives are milder than green onions and add a nice visual pop.
For the Extra Toppings (The Fun Stuff)
- ½ cup cooked and crumbled Italian sausage (or ground beef) – For heartier appetites. Brown it with a pinch of fennel seeds for extra flavor.
- ½ cup shredded sharp white cheddar – Adds visual contrast and a slightly different flavor.
- ¼ cup pickled jalapeños (drained) – For heat seekers. These cut through the richness beautifully.
- ¼ cup chopped fresh cilantro – If you’re a cilantro person, this brightens everything up.
- ½ cup diced cherry tomatoes – Adds freshness and color. Pat them dry so they don’t make the board watery.
- ¼ cup crumbled blue cheese – For the adventurous eaters. It pairs surprisingly well with potato and bacon.
- Hot sauce of choice – Set out a couple bottles. Sriracha, Cholula, and Tabasco are all great options.
Optional Additions for Variety
- ¼ cup butter (softened) – Because some people just want a classic buttered potato. Place it in a small ramekin.
- ¼ cup ranch dressing – For dipping. Yes, it’s extra. No, I don’t apologize.
- ¼ cup BBQ sauce – Drizzle over the sausage or bacon for a sweet-savory twist.
You really can customize the toppings based on what your crowd loves. I’ve done versions with pulled pork, sautéed mushrooms, and even leftover chili. The beauty of a charcuterie board is that it’s flexible by design.
Equipment Needed
You don’t need much for this recipe, which is part of why I love it. Here’s what you’ll want to have on hand:
- Large baking sheet (half-sheet pan works great) – For baking the potatoes. Line it with parchment for easier cleanup.
- Sharp knife and cutting board – For halving the potatoes and prepping toppings. A serrated knife works well for cutting through the crispy skins.
- Small bowls and ramekins (4-6) – For holding toppings like sour cream, cheese, and jalapeños. I use my favorite little ceramic dishes.
- Large wooden board or platter (at least 16×12 inches) – For arranging everything. A large cutting board, a clean baking sheet, or even a sheet of parchment paper on the counter works fine.
- Small spoon or offset spatula – For scooping out the potato flesh. A regular spoon works, but an offset spatula makes it neater.
- Pastry brush – For brushing oil onto the potato skins. You can also just drizzle and rub with your hands.
- Oven mitts – Those potatoes get hot, and the skins crisp up beautifully—which means they’re also hot to handle.
If you don’t have a wooden board, don’t stress. I’ve used a large white platter, a rimmed baking sheet wrapped in foil, and even a clean countertop with parchment underneath. The presentation matters less than the experience of everyone building their own loaded potato.
Preparation Method
Let’s walk through this step by step. I’ll include time estimates and sensory cues so you know exactly what to look for at each stage.
Step 1: Preheat and Prep the Potatoes (10 minutes active, 5 minutes inactive)
Preheat your oven to 425°F (220°C). While it’s heating, scrub your russet potatoes thoroughly under cold water. Pat them completely dry with a clean kitchen towel—moisture is the enemy of crispy skins. Prick each potato 4-5 times with a fork so steam can escape while they bake. (Trust me, you don’t want potato explosions in your oven. I learned that the hard way.)
Step 2: Oil and Season the Potatoes (5 minutes)
Place the dried potatoes on your baking sheet. Drizzle with the olive oil and use your hands to rub it all over each potato—every inch should be coated. Sprinkle generously with kosher salt and black pepper. The salt helps draw out moisture and creates that crackly, salty skin we’re after. Place them evenly spaced on the baking sheet, not touching each other.
Step 3: Bake the Potatoes (50-60 minutes)
Bake for 50-60 minutes, flipping halfway through. You’ll know they’re done when the skins are golden brown and crispy, and a fork slides easily into the center with no resistance. The potatoes should feel light and fluffy when you pick them up. If they’re still dense and heavy, give them another 10 minutes. Every oven runs a little differently, so trust your senses over the timer.
Step 4: Cool and Halve (10 minutes)
Remove the baking sheet from the oven and let the potatoes cool for about 10 minutes—just until they’re cool enough to handle. You want them warm but not scorching. Using a sharp knife, carefully cut each potato in half lengthwise. Let the steam escape for a minute or two.
Step 5: Scoop and Create Skins (10 minutes)
Using a small spoon or offset spatula, scoop out the fluffy potato flesh from each half, leaving about a ¼-inch border against the skin. You want a sturdy boat that can hold toppings without collapsing. Save the scooped-out potato for another use—mashed potatoes, potato pancakes, or just a snack with butter and salt. Place the hollowed potato skins back on the baking sheet, cut side up.
Step 6: Crisp the Skins (10-15 minutes)
Return the potato skins to the 425°F oven and bake for another 10-15 minutes. They should turn deep golden brown and feel rigid when you tap them. This second bake is what makes them actually crispy—don’t skip it. If you want extra crunch, brush them with a little more oil before this second bake.
Step 7: Add Cheese and Melt (3-5 minutes)
Sprinkle the shredded cheddar and Monterey Jack evenly over the hot potato skins. Return to the oven for 3-5 minutes, just until the cheese is melted and bubbly. Watch closely—you want melted cheese, not burnt cheese. Remove from the oven and let them rest for 2 minutes while you arrange the board.
Step 8: Arrange the Board (10 minutes)
Place your large board or platter in the center of your serving area. Arrange the warm, cheesy potato skins in a single layer, leaving room between them for toppings. Place your small bowls of sour cream, ranch, hot sauce, and any wet toppings around the board. Sprinkle the crumbled bacon, sliced green onions, chives, and any other dry toppings directly onto the board in little piles. Add the pickled jalapeños, cherry tomatoes, and blue cheese in separate clusters. Tuck in any extra bowls or ramekins as needed.
And that’s it. You’ll have a stunning, interactive loaded baked potato charcuterie board that feeds a crowd and requires almost no last-minute work. The potatoes stay warm for a good 20-30 minutes on the board, and guests can grab and build at their own pace.
Cooking Tips & Techniques
I’ve made this board more times than I can count, and I’ve definitely learned a few things along the way. Here are my best tips for getting it right every time.
Getting Perfectly Crispy Potato Skins
The secret is the double bake. Baking the whole potatoes first, then scooping and baking again, creates that shatteringly crisp exterior that holds up to heavy toppings. Don’t rush this step. If you try to scoop the potatoes when they’re too hot, they’ll fall apart. If you don’t bake them long enough the second time, they’ll be floppy. Patience pays off here.
Making the Board Look Full
Use small bowls and ramekins to create height and structure on the board. Place them first, then fill in around them with the potato skins and loose toppings. This prevents everything from sliding together and makes the board look intentional rather than thrown together. I like to put the sour cream and hot sauce in opposite corners so guests don’t have to reach over each other.
Keeping Everything Warm
If you’re serving this at a party that lasts a few hours, consider keeping the potato skins warm in a 200°F oven until you’re ready to assemble. You can also place the board on a warming tray or use a chafing dish setup for the potatoes. Just be careful not to let the toppings get warm—sour cream and fresh veggies should stay cold.
My Biggest Fail and What I Learned
The first time I made this, I didn’t scoop out enough potato, and the skins were thick and doughy instead of crispy. I also put all the toppings directly on the potatoes before guests arrived, which meant the cheese got cold and the bacon got soggy. Now I always let people build their own, and I keep the toppings separate until the last minute. It makes a huge difference.
Multitasking Like a Pro
While the potatoes are on their first bake, cook your bacon, shred your cheese, and prep all your toppings. By the time the potatoes are done, everything else is ready to go. You can even assemble the board (minus the potatoes) ahead of time and just add the warm potato skins right before serving.
Variations & Adaptations
One of the best things about this loaded baked potato football charcuterie board is how endlessly adaptable it is. Here are some of my favorite variations.
Game Day Meat Lover’s Board
Swap the bacon for crispy prosciutto, add slices of smoked sausage, and include a bowl of shredded BBQ chicken. This version is for the folks who want their potato to be a full meal. I’ve also added meatballs in marinara sauce on the side—unexpected, but it works.
Vegetarian Loaded Potato Board
Skip the bacon and sausage entirely. Load up on roasted broccoli, sautéed mushrooms, caramelized onions, roasted red peppers, and a generous sprinkle of everything bagel seasoning. The umami from the mushrooms and caramelized onions more than makes up for the missing meat. Add a bowl of cottage cheese for extra protein and creaminess.
Spicy Southwestern Twist
Add black beans, corn salsa, pickled red onions, sliced jalapeños, and a drizzle of crema or ranch. Use pepper jack cheese instead of cheddar for extra heat. This version is bright, colorful, and always a hit with people who like a little kick.
Breakfast for Dinner Board
Yes, you can absolutely serve this for brinner. Top the potato skins with scrambled eggs, crumbled breakfast sausage, shredded cheddar, and a drizzle of hollandaise or hot sauce. Serve with a side of fresh fruit to balance the richness. It’s a fun twist that works surprisingly well.
Low-Carb/Keto-Friendly Option
Use small sweet potatoes or even halved bell peppers as the base instead of russets. Load them up with cheese, bacon, sour cream, and avocado. It’s not quite the same texture, but it scratches the itch if you’re watching your carbs. I’ve also made this with cauliflower halves roasted until tender—not bad at all.
Serving & Storage Suggestions
This board is best served warm, right when the potatoes come out of the oven. Arrange everything on the board and let guests dig in immediately. The potatoes will stay warm for about 20-30 minutes at room temperature, especially if you keep them clustered together on the board.
What to Serve Alongside
This board is hearty enough to be a main course, but it pairs beautifully with a simple green salad or a watermelon cucumber feta salad for freshness. I also like to set out a bowl of whipped feta with honey and seasonal fruit as a lighter option. For drinks, cold beer, sparkling water with lime, or even a bold red wine all work well.
Storing Leftovers
If you somehow have leftovers (rare in my house, but it happens), store the potato skins and toppings separately in airtight containers in the refrigerator. The potato skins will keep for 2-3 days, and the toppings will last 3-4 days. Do not assemble the board ahead of time—the potatoes will get soggy, and the toppings will lose their texture.
Reheating Instructions
To reheat leftover potato skins, place them on a baking sheet in a 375°F oven for 8-10 minutes, or until heated through and crispy again. You can also use an air fryer at 375°F for 5-6 minutes. Avoid the microwave—it will make the skins rubbery and sad. Add fresh toppings after reheating for the best experience.
Flavors actually improve slightly overnight as the seasonings meld into the potato skins. So if you’re making these a day ahead (just the skins, not the toppings), you’re in for a treat. Reheat and top fresh for best results.
Nutritional Information & Benefits
While this loaded baked potato football charcuterie board is definitely indulgent, it does offer some nutritional benefits worth noting. Here’s a rough estimate per serving (one potato half with a moderate amount of toppings):
| Nutrient | Amount (per serving) |
|---|---|
| Calories | 280-350 |
| Protein | 12-15g |
| Carbohydrates | 28-32g |
| Fat | 16-20g |
| Fiber | 3-4g |
| Sodium | 450-550mg |
Russet potatoes are actually a good source of vitamin C, potassium, and vitamin B6—especially if you eat the skin. The bacon and cheese add protein and calcium, while the fresh toppings like tomatoes and green onions contribute antioxidants and fiber. If you’re looking to lighten things up, use turkey bacon, reduced-fat cheese, and Greek yogurt in place of sour cream. You can also load up on veggie toppings to increase the nutrient density without sacrificing flavor.
For those with dietary concerns, this recipe contains dairy (cheese, sour cream) and gluten-free ingredients (potatoes, bacon, vegetables). It’s naturally nut-free and egg-free. If you’re avoiding pork, use turkey bacon or beef sausage instead. This board is also easy to make vegetarian by skipping the meat toppings entirely.
Conclusion
This loaded baked potato football charcuterie board has become my secret weapon for game day, parties, and any time I need to feed a crowd without spending the whole event in the kitchen. It’s interactive, endlessly customizable, and honestly? It just makes people happy. There’s something about building your own loaded potato that brings out the kid in everyone.
I love this recipe because it’s forgiving. You can swap toppings based on what you have, adjust the spice level for your crowd, and make it as simple or as elaborate as you want. The crispy potato skins, the melty cheese, the cool sour cream, the salty bacon—it all comes together in a way that feels special but requires almost no real effort.
Give it a try for your next gathering. Customize it with your family’s favorite toppings, and let me know how it turns out. Did you add something unexpected? Did someone ask for the recipe? Drop a comment below or tag me in your photos—I genuinely love seeing how people make this their own. Happy snacking, friends!
Frequently Asked Questions
Can I make the potato skins ahead of time?
Yes! Bake, scoop, and crisp the potato skins up to 2 days in advance. Store them in an airtight container in the refrigerator. When you’re ready to serve, add the cheese and reheat in a 375°F oven for 8-10 minutes until hot and crispy again. Then arrange on the board with fresh toppings.
What’s the best way to keep the potato skins warm during a party?
Place the assembled board on a warming tray set to low, or keep the potato skins in a 200°F oven until guests arrive. You can also use a slow cooker on the “warm” setting for the potato skins only—just be careful not to overcrowd them or they’ll steam instead of staying crispy.
Can I use sweet potatoes instead of russet potatoes?
Absolutely. Sweet potatoes will be slightly softer and sweeter, but they work beautifully. Follow the same baking and scooping method. You might need to adjust the second bake time slightly since sweet potatoes tend to cook faster. They pair especially well with toppings like black beans, corn, and avocado.
How many people does this board serve?
This recipe with 8 potatoes (16 halves) serves about 8-10 people as a main dish or 12-15 as an appetizer. If you’re serving other dishes alongside, you can easily cut the potato quantity in half. For a big party crowd, double the recipe and use two boards or a larger platter.
What if I don’t have a wooden board?
No worries at all. A large white platter, a rimmed baking sheet lined with parchment, or even a clean countertop covered with butcher paper works perfectly. The beauty of a charcuterie board is in the arrangement, not the vessel. Use small bowls to contain wet toppings and let everything else mingle freely.
Pin This Recipe!
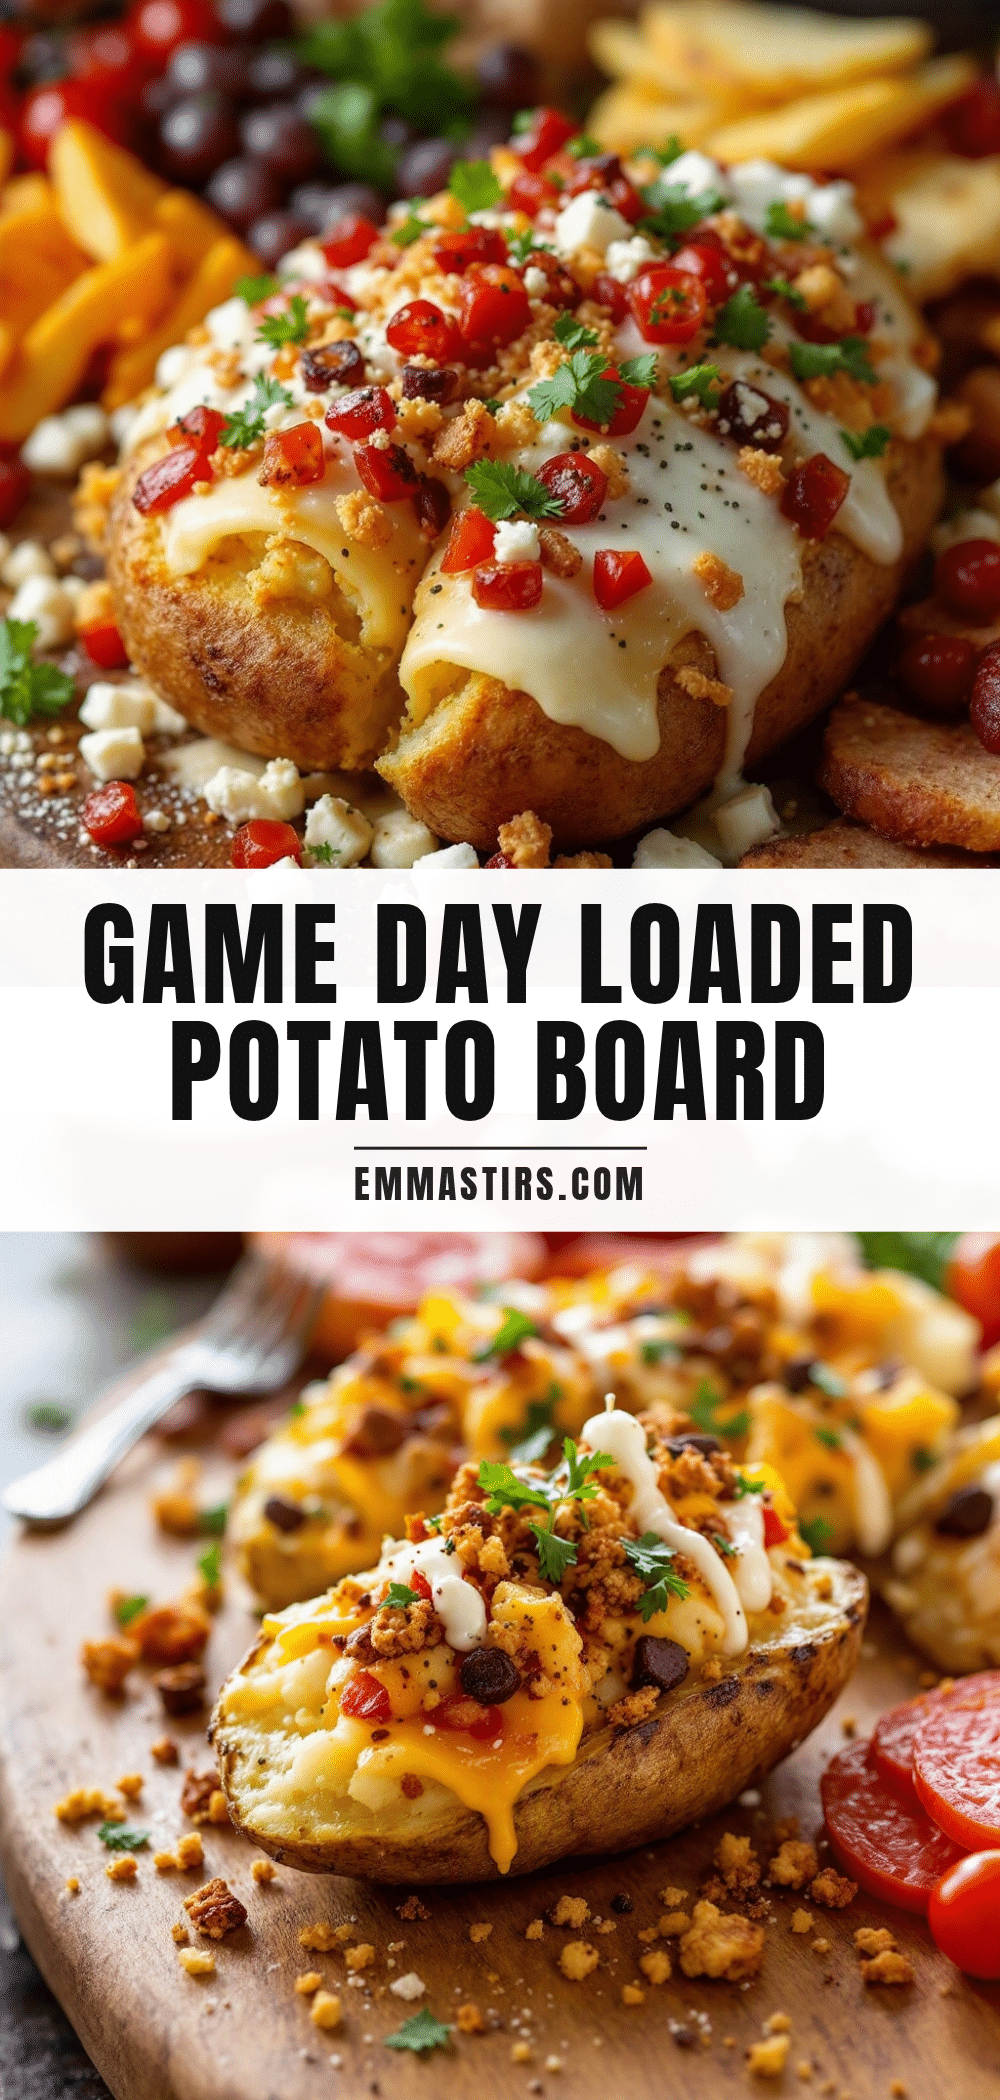
Easy Loaded Baked Potato Football Charcuterie Board

A hearty, interactive baked potato bar arranged on a charcuterie board with crispy potato skins, melted cheese, bacon, and a variety of toppings. Perfect for game day or any gathering where guests love to build their own food.
- Prep Time: 30 minutes
- Cook Time: 1 hour 15 minutes
- Total Time: 1 hour 45 minutes
- Yield: 8-10 servings as main dish, 12-15 as appetizer 1x
- Category: Appetizer
- Cuisine: American
Ingredients
- 8 medium russet potatoes (about 3 pounds), scrubbed clean
- 3 tablespoons olive oil (or avocado oil)
- 1 teaspoon kosher salt
- ½ teaspoon black pepper, freshly ground
- 1 cup shredded sharp cheddar cheese (about 4 ounces)
- ½ cup shredded Monterey Jack cheese (about 2 ounces)
- 8 slices thick-cut bacon, cooked until crispy and crumbled
- 1 cup sour cream (full-fat or light)
- 4 green onions, sliced thin (white and green parts)
- ½ cup chopped fresh chives (optional)
- ½ cup cooked and crumbled Italian sausage (or ground beef)
- ½ cup shredded sharp white cheddar
- ¼ cup pickled jalapeños, drained
- ¼ cup chopped fresh cilantro
- ½ cup diced cherry tomatoes, patted dry
- ¼ cup crumbled blue cheese
- Hot sauce of choice (Sriracha, Cholula, Tabasco)
- ¼ cup butter, softened (optional)
- ¼ cup ranch dressing (optional)
- ¼ cup BBQ sauce (optional)
Instructions
- Preheat oven to 425°F (220°C). Scrub potatoes, pat dry, and prick each 4-5 times with a fork.
- Place potatoes on a baking sheet. Drizzle with olive oil and rub to coat evenly. Sprinkle with salt and pepper.
- Bake for 50-60 minutes, flipping halfway, until skins are golden and a fork slides easily into the center.
- Let potatoes cool for 10 minutes until warm but handleable. Cut each in half lengthwise.
- Scoop out fluffy flesh, leaving a ¼-inch border against the skin. Save flesh for another use.
- Return hollowed skins to the baking sheet, cut side up. Bake for 10-15 minutes until deep golden and rigid.
- Sprinkle cheddar and Monterey Jack evenly over hot skins. Bake 3-5 minutes until cheese is melted and bubbly.
- Remove from oven and let rest 2 minutes. Arrange skins on a large board or platter.
- Place small bowls of sour cream, ranch, hot sauce, and wet toppings around the board.
- Sprinkle crumbled bacon, green onions, chives, and dry toppings in piles directly on the board.
- Add pickled jalapeños, cherry tomatoes, and blue cheese in separate clusters. Serve immediately.
Notes
The secret to crispy skins is the double bake. Don’t skip the second bake after scooping. For best results, let guests build their own potatoes to keep toppings fresh. Store leftover skins and toppings separately in the fridge for 2-3 days. Reheat skins in a 375°F oven for 8-10 minutes or air fryer at 375°F for 5-6 minutes. Avoid microwaving.
Nutrition
- Serving Size: 1 potato half with m
- Calories: 280350
- Sugar: 23
- Sodium: 450550
- Fat: 1620
- Saturated Fat: 810
- Carbohydrates: 2832
- Fiber: 34
- Protein: 1215
Keywords: loaded baked potato, charcuterie board, game day, football, potato skins, bacon, cheese, party food, appetizer, interactive


