Love this? Save it for later!
Share the inspiration with your friends
October in New Mexico is a thing you can taste. The air gets that sharp, clean bite, and every roadside stand spills over with bushel baskets of those fat, blushing green chiles. The smell of roasting chiles—that smoky, almost floral scent—drifts through entire neighborhoods, clinging to your jacket and your hair. I was standing in my kitchen, the windows fogged up from a pot of something bubbling on the stove, and the only thing I wanted was a pan of those creamy, spicy, utterly comforting enchiladas.
This wasn’t a planned recipe. It was a craving born from a late-season haul of Hatch chiles I couldn’t resist at the farmer’s market. I had a rotisserie chicken from the night before, a block of cream cheese that needed using, and a deep, almost primal need for something warm and smothered. I just started pulling things together, hoping for the best. And honestly? The first bite was so quiet, so good, I just stood there over the counter, fork in hand, not even bothering with a plate.
That’s the thing about this recipe. It’s not fussy. It doesn’t demand a special trip to a gourmet store. It starts with a simple, honest craving for something deeply satisfying. It’s the kind of meal you make when you want to feel like you’ve accomplished something wonderful with very little actual effort. Let me show you how this little kitchen accident became my most-requested dinner.
Why You’ll Love This Recipe
I’ve tested more enchilada recipes than I can count, and most fall into two camps: the ones that are dry and sad, or the ones that are so complicated they require a sous-chef. These creamy Hatch green chile chicken enchiladas are the perfect middle ground—and honestly, they’re better than both. Here’s why I keep coming back to this version:
- Quick & Easy: We’re talking 40 minutes from start to finish. No simmering sauces for hours, no complicated rolling techniques. It’s a weeknight hero.
- Simple Ingredients: You probably have most of this in your fridge and pantry right now. The star of the show—the Hatch chiles—do all the heavy lifting flavor-wise.
- Crowd-Pleaser: I’ve served these at casual family dinners and slightly more ambitious potlucks. They disappear every single time. Even my friend who swears she doesn’t like “green stuff” asked for the recipe.
- Unbelievably Creamy: The secret is a blend of cream cheese and sour cream in the sauce. It creates this luxurious, velvety texture that coats every single bite without being heavy. It’s the kind of creamy that makes you close your eyes for a second.
- Perfect for Meal Prep: These enchiladas actually get better after a day in the fridge. The flavors meld together, and the sauce thickens beautifully. It’s a gift for your future self.
- That Smoky, Spicy Kick: Hatch green chiles have a unique flavor—earthy, slightly sweet, with a gentle heat that builds. It’s not a face-melter, but it’s definitely not boring. It’s the soul of the dish.
This isn’t just another enchilada recipe. It’s the one that makes you look like a hero with minimal stress. It’s comfort food that feels a little bit special, and a little bit like a warm hug on a plate.
What Ingredients You Will Need
This recipe relies on a handful of quality ingredients to build deep, layered flavor. Don’t be intimidated by the list—it’s mostly pantry staples and a few key stars. The magic really happens in the sauce.
- For the Creamy Green Chile Sauce:
- 2 tablespoons unsalted butter (adds richness and helps form the roux)
- 2 tablespoons all-purpose flour (thickens the sauce to that perfect, clingy consistency)
- 1 cup low-sodium chicken broth (I prefer Swanson for its clean flavor; low-sodium lets you control the salt)
- 1 cup whole milk (adds creaminess without being as heavy as heavy cream)
- 4 ounces cream cheese, softened (this is the secret to the ultra-creamy, tangy sauce. Let it come to room temp so it melts smoothly)
- ½ cup sour cream (adds a final touch of tang and velvety texture)
- 1 (4-ounce) can diced Hatch green chiles, mild or medium (the star! I love 505 Southwestern brand for consistent flavor. If you can get fresh roasted, even better)
- ½ teaspoon ground cumin (adds warmth and earthiness)
- ½ teaspoon garlic powder (for savory depth)
- Salt and black pepper, to taste
- For the Chicken Filling:
- 3 cups cooked, shredded chicken (about 1 large rotisserie chicken or 2 large chicken breasts. This is a fantastic way to use leftover tender slow-cooker chicken breast with garlic herb broth)
- 4 ounces cream cheese, softened (this binds the filling and keeps it from drying out)
- ½ cup shredded Monterey Jack cheese (melts beautifully and adds a mild, buttery note)
- ¼ cup chopped fresh cilantro (for freshness and color)
- ¼ cup diced yellow onion (adds a little bite and texture)
- ¼ teaspoon salt
- ¼ teaspoon black pepper
- For Assembly:
- 8-10 (6-inch) flour or corn tortillas (flour gives a softer, more pliable texture; corn is more traditional and holds up slightly better. Your choice!)
- 1 cup shredded Monterey Jack cheese (for that glorious, bubbly top)
- ¼ cup chopped green onions, for garnish
- Fresh cilantro, for garnish
Ingredient Tips: If you can’t find Hatch chiles, you can substitute with canned diced green chiles from another brand, but the flavor will be milder. For a spicier kick, use the “hot” variety or add a finely chopped jalapeño to the sauce. And yes, full-fat cream cheese is non-negotiable here for that perfectly smooth, non-grainy sauce.
Equipment Needed
You don’t need a fancy kitchen to pull these off. Here’s what you’ll need:
- 9×13-inch baking dish (a glass or ceramic dish works best for even heating)
- Medium saucepan (for making the creamy sauce)
- Large mixing bowl (for combining the filling)
- Whisk (essential for a lump-free sauce)
- Wooden spoon or silicone spatula
- Sharp knife and cutting board
- Measuring cups and spoons
Alternative Suggestions: No whisk? A fork works in a pinch. If you don’t have a 9×13, you can use a 10-inch cast-iron skillet or two smaller 8×8 dishes. Just adjust the baking time slightly. A good, sharp serrated knife makes cutting the finished enchiladas much cleaner, but a regular chef’s knife does the job.
Preparation Method
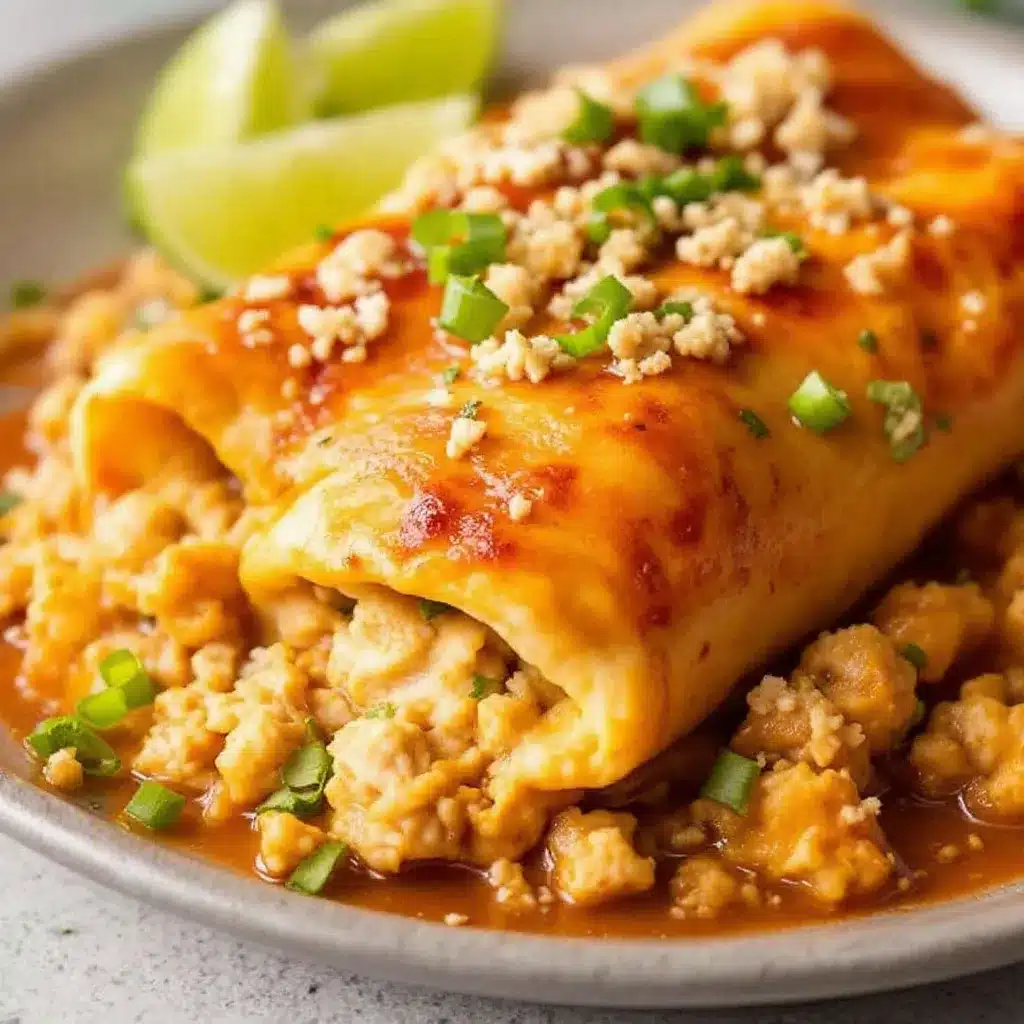
Let’s get cooking. This process is straightforward, but a few small steps make a big difference.
- Preheat and Prep: Preheat your oven to 375°F (190°C). Lightly grease your 9×13-inch baking dish with a little butter or non-stick spray. This prevents sticking and helps the edges get golden and crispy.
- Make the Creamy Green Chile Sauce: In a medium saucepan over medium heat, melt the 2 tablespoons of butter. Once it’s foamy, whisk in the 2 tablespoons of flour. Cook, whisking constantly, for about 1 minute. This cooks the raw flour taste out and creates a roux. It should smell a little nutty.
- Slowly pour in the chicken broth while whisking continuously to prevent lumps. Then, whisk in the milk. Bring the mixture to a gentle simmer, whisking often, until it thickens slightly, about 2-3 minutes.
- Reduce the heat to low. Add the softened 4 ounces of cream cheese for the sauce, whisking until it’s completely melted and smooth. The sauce will look glossy and beautiful. Whisk in the sour cream, the can of diced Hatch green chiles (including the liquid), cumin, garlic powder, and a pinch of salt and pepper. Taste it—it should be rich, tangy, and gently spicy. Remove from heat and set aside.
- Prepare the Filling: In a large bowl, combine the shredded chicken, the remaining 4 ounces of softened cream cheese, ½ cup of shredded Monterey Jack, chopped cilantro, diced onion, salt, and pepper. Use a fork or your hands to mix everything together until it’s well combined. The cream cheese should coat the chicken evenly. This is a great step to do while the sauce simmers.
- Assemble the Enchiladas: This is the fun part. Pour about ½ cup of the creamy sauce into the bottom of your greased baking dish and spread it around. This prevents the tortillas from sticking and adds a layer of flavor to the bottom.
- Take a tortilla and place about ⅓ cup of the chicken filling down the center. Don’t overfill, or they’ll be hard to roll. Roll it up tightly and place it seam-side down in the baking dish. Repeat with the remaining tortillas and filling, nestling them snugly together in a single row.
- Top and Bake: Pour the remaining sauce evenly over the rolled enchiladas, making sure to cover the ends so they don’t dry out. Sprinkle the top with the remaining 1 cup of shredded Monterey Jack cheese.
- Bake uncovered for 20-25 minutes, until the cheese is bubbly and lightly golden brown around the edges. Let the dish rest for at least 5-10 minutes before serving. This is crucial—it allows the filling to set so the enchiladas hold their shape when you cut into them.
- Garnish and Serve: Sprinkle with fresh chopped green onions and a little more cilantro. Serve immediately while they’re hot and gloriously cheesy.
Cooking Tips & Techniques
I’ve made this recipe more times than I can count, and I’ve learned a few things the hard way. Here are my best tips:
- Don’t Overcook the Roux: The key to a smooth sauce is not browning the flour-butter mixture. You just want to cook it until it smells faintly nutty and is bubbling. If it turns brown, your sauce will have a slightly different flavor.
- Warm Your Tortillas: Cold corn tortillas are brittle and will crack when you roll them. To prevent this, lightly warm them in the microwave (stacked between damp paper towels for 30 seconds) or in a dry skillet for a few seconds per side. Flour tortillas are more forgiving but benefit from being slightly warm, too.
- Don’t Skip the Resting Time: I know, it’s the hardest part. But letting the enchiladas rest for 5-10 minutes after they come out of the oven allows the sauce to absorb into the tortillas and the filling to set. If you cut into them immediately, you’ll get a soupy mess.
- For Extra Crispy Edges: If you like those crispy, caramelized edges on your enchiladas, bake them for an extra 5 minutes uncovered. The edges of the tortillas that poke above the sauce will get wonderfully crunchy.
- Make it a Complete Meal: These enchiladas are rich and satisfying on their own, but they pair beautifully with a simple side salad. A fresh watermelon cucumber feta salad or a crisp Mediterranean chickpea bowl with creamy tzatziki would be a fantastic, refreshing counterpoint to the richness.
Variations & Adaptations
This recipe is a fantastic base for experimentation. Here are a few ways I’ve played with it:
- Make It Spicier: For a serious heat kick, use hot Hatch chiles and add a finely chopped chipotle pepper in adobo sauce along with the green chiles. A pinch of cayenne pepper in the sauce also works wonders.
- Vegetarian Version: Swap the chicken for two cans of black beans (rinsed and drained) or a large can of pinto beans. You can also use sautéed mushrooms and spinach for a heartier filling. The creamy sauce works beautifully with vegetables.
- Add More Veggies: Sauté a bell pepper and some corn kernels with the onion before adding them to the chicken filling. It adds sweetness, color, and texture.
- Different Cheese: Monterey Jack is my go-to for its meltability, but a mix of cheddar and pepper jack is fantastic. You can also use a good melting Oaxaca cheese for a more authentic, stringy texture.
- Gluten-Free Option: Use certified gluten-free corn tortillas and substitute the all-purpose flour in the sauce with a 1-to-1 gluten-free flour blend. The sauce will still thicken beautifully.
I once made a version with leftover flavorful grilled lemon herb chicken breast, and the subtle lemon and herb notes added a completely unexpected but delightful layer to the creamy, spicy sauce. It was a happy accident.
Serving & Storage Suggestions
These enchiladas are best served hot, straight from the oven. The contrast between the bubbly, golden cheese and the creamy, tender filling is everything. A dollop of extra sour cream, a spoonful of fresh pico de gallo, or a few slices of avocado on top take them to another level.
Storage: Leftover enchiladas are a gift. They store beautifully in an airtight container in the refrigerator for up to 4 days. The flavors actually meld together and get even better overnight.
Reheating: The best way to reheat them is in the oven at 350°F (175°C) for about 15-20 minutes, or until warmed through. The microwave works in a pinch, but it can make the tortillas a bit soggy. For a single serving, I often use the air fryer at 350°F for 5-7 minutes—the edges get perfectly crispy again.
Freezing: These enchiladas freeze wonderfully. Assemble the entire dish (without baking), cover it tightly with plastic wrap and then a layer of foil, and freeze for up to 3 months. To bake from frozen, thaw overnight in the refrigerator, then bake as directed, adding about 10 minutes to the cooking time.
Nutritional Information & Benefits
While these are definitely a comfort food, they offer some surprising nutritional perks. A single serving (about 2 enchiladas) provides a good balance of protein and healthy fats.
- Estimated per serving (2 enchiladas): Calories: 580, Fat: 38g, Protein: 38g, Carbohydrates: 22g, Fiber: 2g.
- High in Protein: The chicken and cheese provide a significant protein boost, making this a very satisfying meal that will keep you full for hours.
- Good Source of Calcium: Thanks to the generous amount of cheese and milk, this dish is a great source of calcium for bone health.
- Vitamin C from Chiles: Hatch green chiles are surprisingly high in Vitamin C, which supports a healthy immune system.
- Dietary Considerations: This recipe is naturally low-carb and can be made gluten-free with a simple swap. It is not suitable for a dairy-free or vegan diet without significant modifications.
I see this as a balanced indulgence. It’s rich and satisfying enough to feel like a treat, but packed with enough protein to make it a smart choice for a filling family dinner.
Conclusion
These creamy Hatch green chile chicken enchiladas are more than just a recipe—they’re a feeling. They’re the smell of roasted chiles in the fall air, the quiet satisfaction of a well-made meal, and the pure joy of that first creamy, spicy, cheesy bite. They’re forgiving enough for a Tuesday night and impressive enough for company.
I truly believe this is the best version of this classic dish. The sauce is impossibly creamy, the filling is perfectly seasoned, and the whole thing comes together with less than 45 minutes of active time. It’s the kind of recipe that becomes a staple, the one you’ll find yourself making again and again without even thinking about it.
I’d love to hear how yours turn out! Did you add any fun variations? Did your family love them as much as mine does? Drop a comment below and let me know. And if you’re looking for another cozy, crowd-pleasing dinner, you absolutely have to try my creamy one-pan Tuscan chicken with spinach and sun-dried tomatoes—it’s another one-pot wonder that disappears fast. Happy cooking!
Frequently Asked Questions
Can I use a different type of chile if I can’t find Hatch?
Absolutely. While Hatch chiles have a unique, smoky-sweet flavor, you can substitute with any canned diced green chile. Anaheim or Poblano chiles are good alternatives. For a spicier kick, you can use a serrano or jalapeño, but use them sparingly.
Can I make this recipe ahead of time?
Yes! You can assemble the enchiladas completely (without baking), cover them, and store them in the refrigerator for up to 24 hours. When you’re ready to bake, simply add 5-10 minutes to the baking time since you’ll be starting from a cold dish.
How do I prevent my enchiladas from getting soggy?
The key is to not over-saturate the tortillas before rolling. A thin layer of sauce on the bottom of the dish is perfect. Also, letting the enchiladas rest after baking is crucial—it allows the excess moisture to be absorbed and the filling to set.
Can I use corn tortillas instead of flour?
Yes, corn tortillas are traditional and work wonderfully. Just be sure to warm them first so they are pliable and don’t crack when you roll them. They will hold their shape slightly better than flour tortillas.
What can I serve with these enchiladas?
These are rich and satisfying on their own, but they pair beautifully with a simple side of Mexican rice, refried beans, or a light, crisp salad with a citrus vinaigrette. A dollop of guacamole or a few slices of avocado are also fantastic additions.
Pin This Recipe!
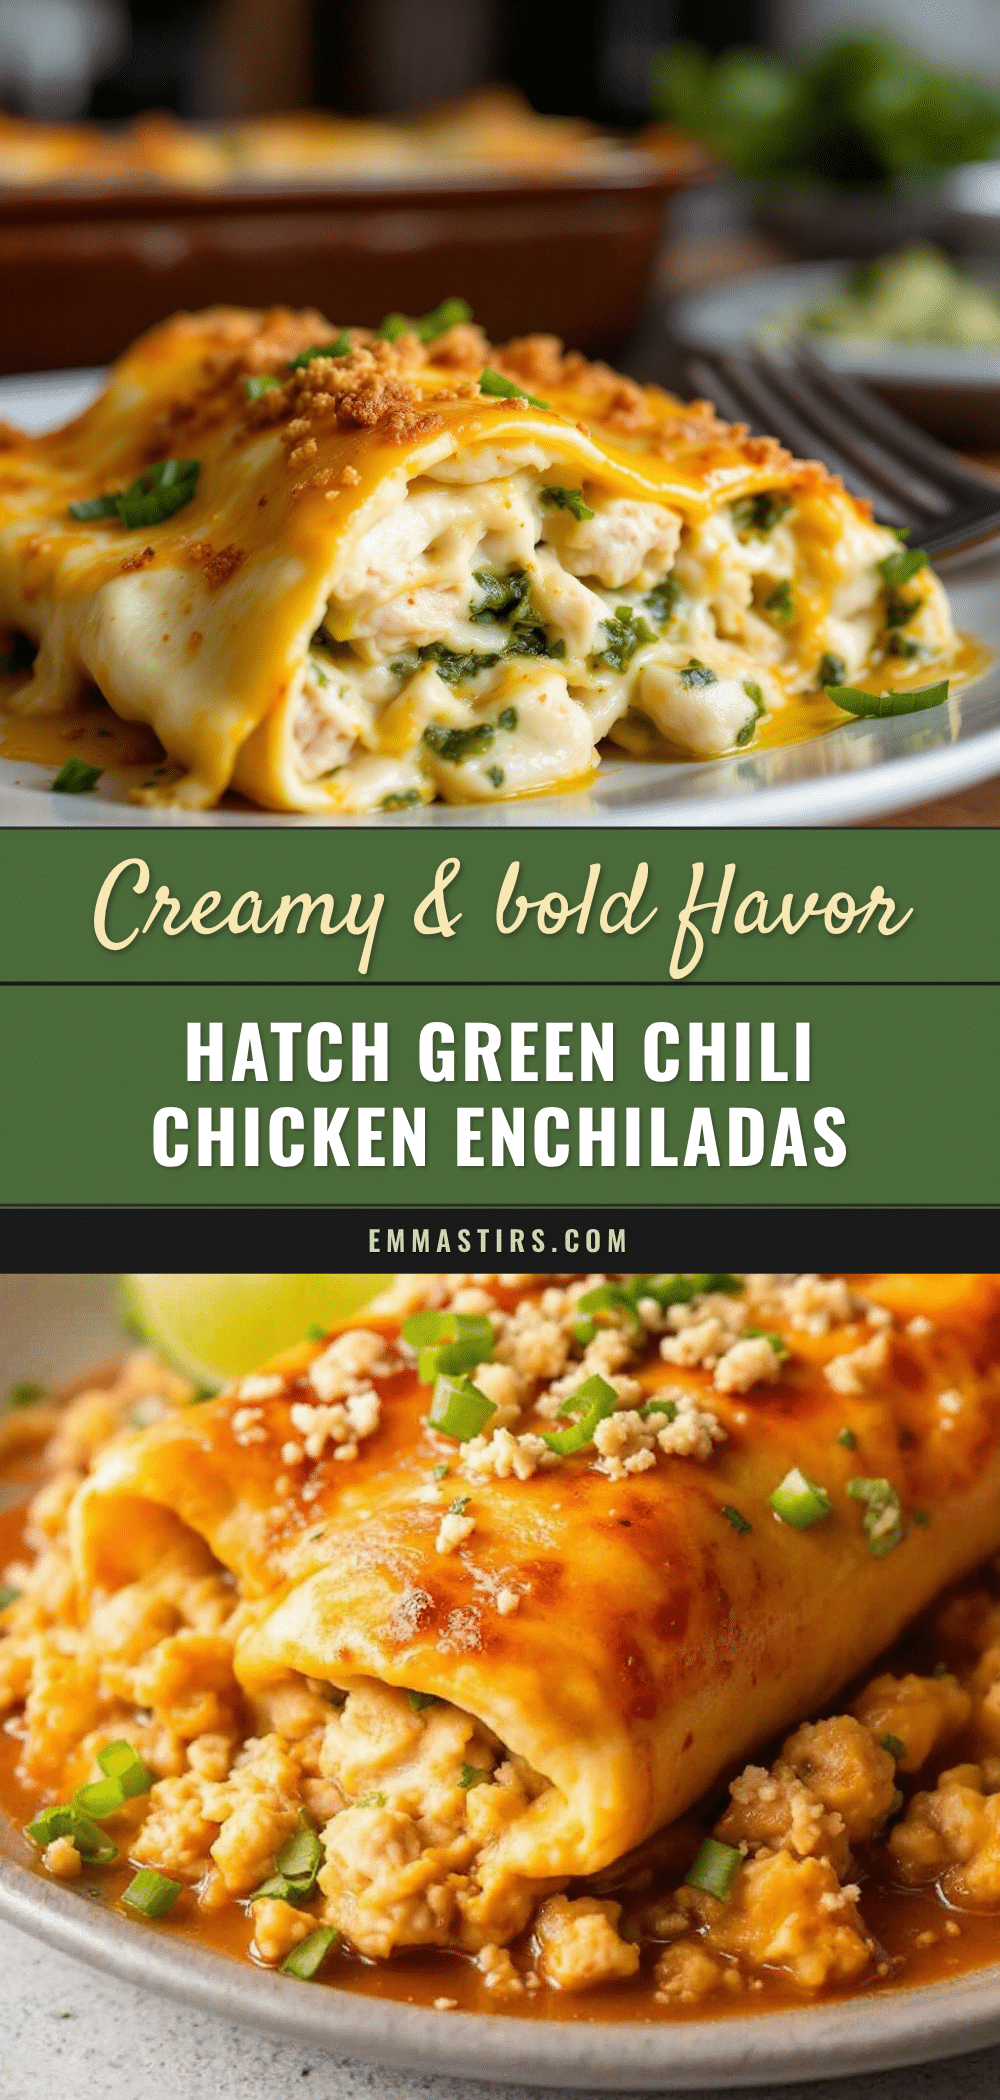
Best Creamy Hatch Green Chili Chicken Enchiladas

These creamy Hatch green chile chicken enchiladas are a comforting, crowd-pleasing dinner made with a velvety cream cheese and sour cream sauce, tender shredded chicken, and smoky Hatch chiles. Ready in just 40 minutes, they’re perfect for weeknights and meal prep.
- Prep Time: 15 minutes
- Cook Time: 25 minutes
- Total Time: 40 minutes
- Yield: 4 servings 1x
- Category: Main Course
- Cuisine: Mexican
Ingredients
- 2 tablespoons unsalted butter
- 2 tablespoons all-purpose flour
- 1 cup low-sodium chicken broth
- 1 cup whole milk
- 4 ounces cream cheese, softened (for sauce)
- ½ cup sour cream
- 1 (4-ounce) can diced Hatch green chiles, mild or medium
- ½ teaspoon ground cumin
- ½ teaspoon garlic powder
- Salt and black pepper, to taste
- 3 cups cooked, shredded chicken (about 1 large rotisserie chicken or 2 large chicken breasts)
- 4 ounces cream cheese, softened (for filling)
- ½ cup shredded Monterey Jack cheese (for filling)
- ¼ cup chopped fresh cilantro
- ¼ cup diced yellow onion
- ¼ teaspoon salt
- ¼ teaspoon black pepper
- 8–10 (6-inch) flour or corn tortillas
- 1 cup shredded Monterey Jack cheese (for topping)
- ¼ cup chopped green onions, for garnish
- Fresh cilantro, for garnish
Instructions
- Preheat your oven to 375°F (190°C). Lightly grease a 9×13-inch baking dish with butter or non-stick spray.
- Make the creamy green chile sauce: In a medium saucepan over medium heat, melt the butter. Whisk in the flour and cook for 1 minute, whisking constantly, until the mixture is bubbling and smells nutty.
- Slowly pour in the chicken broth while whisking continuously, then whisk in the milk. Bring to a gentle simmer, whisking often, until thickened slightly, about 2-3 minutes.
- Reduce heat to low. Add the softened cream cheese (for the sauce) and whisk until completely melted and smooth. Whisk in the sour cream, diced Hatch green chiles (with liquid), cumin, garlic powder, and a pinch of salt and pepper. Remove from heat and set aside.
- Prepare the filling: In a large bowl, combine the shredded chicken, remaining 4 ounces of softened cream cheese, ½ cup shredded Monterey Jack, chopped cilantro, diced onion, salt, and pepper. Mix until well combined.
- Assemble the enchiladas: Pour about ½ cup of the creamy sauce into the bottom of the greased baking dish and spread it around.
- Place a tortilla on a work surface and spoon about ⅓ cup of the chicken filling down the center. Roll it up tightly and place seam-side down in the baking dish. Repeat with remaining tortillas and filling, arranging them snugly in a single row.
- Pour the remaining sauce evenly over the rolled enchiladas, covering the ends. Sprinkle the top with the remaining 1 cup of shredded Monterey Jack cheese.
- Bake uncovered for 20-25 minutes, until the cheese is bubbly and lightly golden brown around the edges. Let the dish rest for at least 5-10 minutes before serving.
- Garnish with chopped green onions and fresh cilantro. Serve hot.
Notes
For a spicier version, use hot Hatch chiles or add a finely chopped chipotle pepper in adobo sauce. To prevent tortillas from cracking, warm them in the microwave between damp paper towels for 30 seconds or in a dry skillet. Letting the enchiladas rest after baking is crucial for the filling to set. Leftovers can be stored in an airtight container in the refrigerator for up to 4 days. To freeze, assemble without baking, cover tightly, and freeze for up to 3 months; thaw overnight in the refrigerator before baking.
Nutrition
- Serving Size: 2 enchiladas
- Calories: 580
- Sugar: 5
- Sodium: 800
- Fat: 38
- Saturated Fat: 18
- Carbohydrates: 22
- Fiber: 2
- Protein: 38
Keywords: Hatch green chile, chicken enchiladas, creamy enchiladas, New Mexican recipe, easy dinner, weeknight meal, comfort food


