Love this? Save it for later!
Share the inspiration with your friends
The crunch. That’s the thing you don’t expect. When you bite into one of these Easy 3-Ingredient Candy Corn Rice Krispie Treats, your teeth sink through a soft, marshmallowy top layer, and then—bam—you hit that snap. It’s not just a texture, it’s a tiny little event happening in your mouth. The candy corn gives way with a gentle, sugary give, and the cereal keeps its integrity, never turning into a soggy mess. I made these for the first time because I had a bag of candy corn sitting on my counter from a party I didn’t even want to host, and I needed to use it up before I ate it all straight from the bag (which, let’s be honest, I was absolutely going to do). The result was this weird, wonderful, three-ingredient bar that tastes like October. Not the fancy, pumpkin-spice-latte kind of October. The kind where you’re wearing a scratchy costume and your hands are sticky from a caramel apple. It’s unapologetically silly, and that’s sort of the whole point.
These treats aren’t trying to be gourmet. They’re trying to be fun. And honestly, sometimes that’s a much harder thing to pull off. I’ve made a lot of complicated desserts in my time, but nothing disappears faster from a party table than a tray of these. They’re bright, cheerful, and have that specific crunch that makes everyone around you stop mid-conversation and say, “Wait, what is that?”
Why You’ll Love This Recipe
I tested this recipe three times before I got it right. The first batch was too sticky. The second was too hard. The third—this one—hit that perfect balance where the candy corn just barely melts into the marshmallow mixture, creating a subtle orange-vanilla flavor that doesn’t overpower the classic taste. You don’t need to be a pastry chef to nail this. You just need a microwave and a little patience.
- Only 3 Ingredients: Butter, marshmallows, and candy corn. That’s it. You probably already have two of them in your kitchen right now.
- No Fancy Equipment: A microwave-safe bowl and a 9×13 pan are all you need. No stand mixers, no candy thermometers, no stress.
- Ready in 15 Minutes: From start to finish, you’re looking at about a quarter of an hour. Perfect for last-minute school treats or a quick Halloween party contribution.
- Kid-Friendly: My nephew (who refuses to eat anything green) ate four of these in one sitting. They’re approachable, recognizable, and totally non-threatening to picky eaters.
- Unbelievably Satisfying: That crunch I mentioned? It stays crunchy. Even the next day. That’s not an accident—it’s a specific ratio I worked out so the cereal stays crisp while the candy corn softens just a little.
What makes these different from every other rice krispie treat recipe out there is the candy corn itself. Most people just add it as a topping, but I melt a portion of it directly into the marshmallow mixture. This gives the whole bar a faint, creamy sweetness that you can’t quite identify—it just tastes like fall. It’s the kind of treat that makes people close their eyes after the first bite, trying to figure out what’s different about it. And when you tell them it’s candy corn, they always laugh. It’s comfort food reimagined—less serious, more joyful, and exactly what you need on a cool October afternoon.
What Ingredients You Will Need
This recipe keeps things refreshingly simple. You’re working with three pantry staples that come together in a way that feels almost magical. The key is understanding how each ingredient behaves so you don’t end up with a rock-hard block of sugar or a sticky mess that falls apart.
- Unsalted Butter (3 tablespoons): Don’t use salted butter here. The candy corn and marshmallows already bring enough sweetness, and you want to control the salt level yourself. If all you have is salted butter, just skip the extra pinch of salt I mention later. The butter helps the marshmallows melt smoothly and prevents the treats from sticking to the pan. I always use a good quality butter like Kerrygold for the richest flavor, but any unsalted brand works fine.
- Mini Marshmallows (10 ounces or about 5 ½ cups): Mini marshmallows melt faster and more evenly than the big ones. You’ll need two separate bags—one for melting and one to stir in at the end for that extra gooey texture. If you can only find jumbo marshmallows, cut them into quarters with kitchen shears before melting. It’s a pain, but it works. I’ve used both jet-puffed and store-brand, and honestly, the store-brand works just as well here since we’re melting them down anyway.
- Candy Corn (1 ½ cups, divided): This is where the magic happens. You’ll use 1 cup melted into the marshmallow mixture and ½ cup reserved for stirring in at the end and pressing on top. Brach’s is the classic brand, and it’s what I grew up with, but any candy corn will work. Avoid the “autumn mix” with the pumpkins and leaves—the pumpkins have a different texture and don’t melt the same way. Stick with straight candy corn for the best results. I’ve also tried the candy corn flavored with honey, and while it’s tasty, it changes the final flavor profile significantly.
- Crispy Rice Cereal (6 cups): The classic brand is Kellogg’s Rice Krispies, but I’ve used generic versions and they work just fine. The key is to measure by volume, not weight. Don’t pack the cereal down into the measuring cup—just scoop and level. This ensures you get the right ratio of marshmallow to cereal, which is what gives you that perfect crunch.
- Optional Pinch of Salt (⅛ teaspoon): This is my secret weapon. A tiny pinch of flaky sea salt (like Maldon) stirred in with the marshmallows cuts through the sweetness and makes the candy corn flavor pop. It’s not traditional, but it’s the difference between “good” and “I can’t stop eating these.”
Equipment Needed
You don’t need a professional kitchen for this. In fact, you probably already own everything required. But a few specific tools make the process much smoother.
- Large Microwave-Safe Bowl: You need a bowl big enough to hold all six cups of cereal plus the melted marshmallow mixture. I use a 4-quart Pyrex glass bowl. Glass heats evenly and doesn’t retain weird flavors. Avoid plastic bowls—they can warp in the microwave and sometimes leave a plasticky taste.
- 9×13-Inch Baking Pan: A metal pan works best because it cools quickly and doesn’t hold heat like glass. If you only have a glass baking dish, that’s fine, but your treats might take a little longer to set. Just be patient.
- Parchment Paper: This is non-negotiable. Line your pan with parchment paper, leaving an overhang on two sides. This creates “handles” that let you lift the entire block of treats out of the pan cleanly. I’ve tried using just butter to grease the pan, and I always end up with torn, sticky treats. Parchment paper is your friend.
- Silicone Spatula: A rubber or silicone spatula is essential for folding the cereal into the marshmallow mixture without crushing the cereal. Metal spoons can break the delicate rice puffs. Get a good, sturdy spatula that won’t melt in the hot mixture.
- Sharp Knife: Once the treats are set, you’ll need a sharp chef’s knife to cut clean squares. A dull knife will squish the treats and make a mess. Run the knife under hot water, wipe it dry, then slice. Repeat this between each cut for perfect edges.
If you don’t have a microwave, you can melt the butter and marshmallows in a large saucepan over low heat on the stovetop. Just stir constantly so nothing burns. It takes a few minutes longer, but the results are identical.
Preparation Method
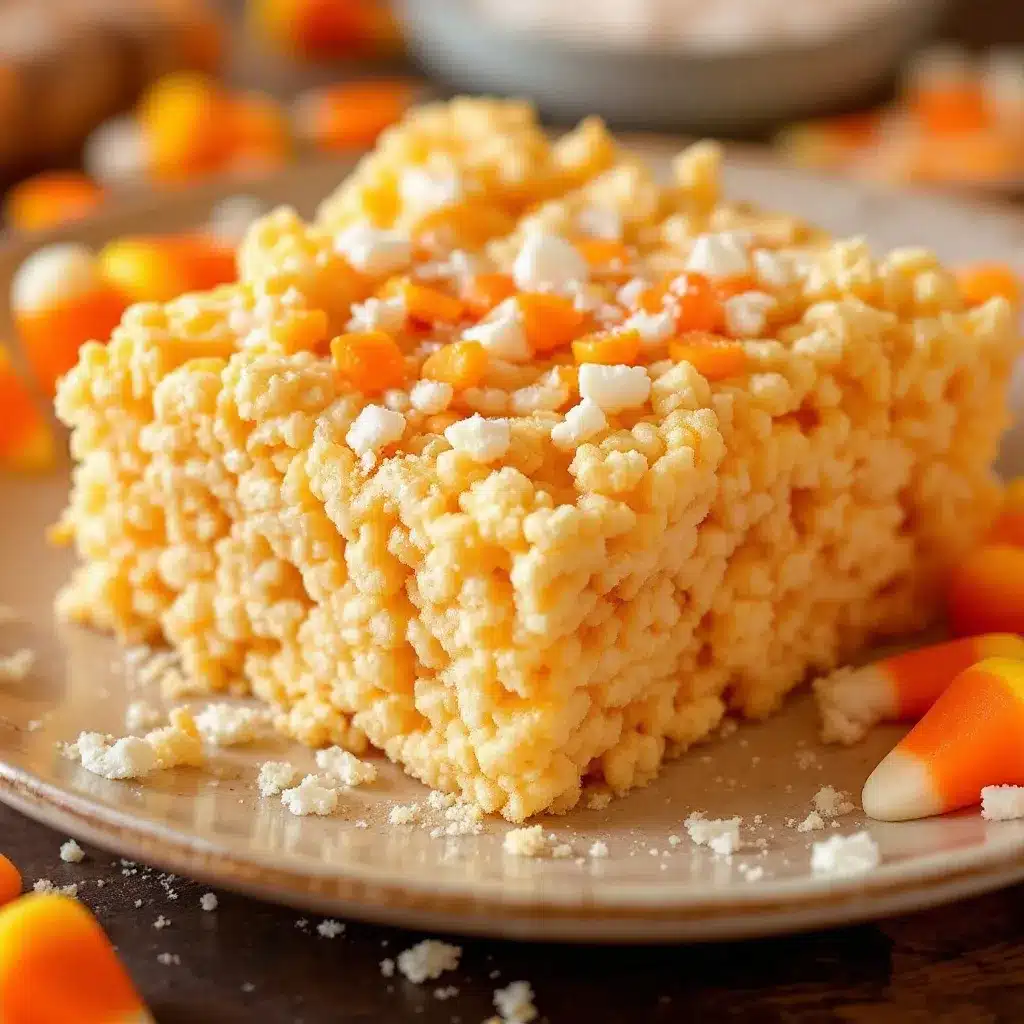
This is where the magic happens. Follow these steps carefully, and you’ll have perfect treats every time. I’ve included all the little details I learned through trial and error so you don’t have to make the same mistakes I did.
- Prepare Your Pan: Line a 9×13-inch baking pan with parchment paper, leaving about 2 inches of overhang on the long sides. Lightly spray the parchment with nonstick cooking spray. This ensures the treats won’t stick to the paper when you lift them out. Set the pan aside.
- Melt the Butter and Marshmallows: Place the 3 tablespoons of unsalted butter in a large microwave-safe bowl. Microwave on high for 30 seconds, or until the butter is fully melted. Add 5 cups of the mini marshmallows (reserve the remaining ½ cup for later) and the optional pinch of salt. Microwave on high for 1 minute. Stir with your silicone spatula. If the marshmallows aren’t fully melted, microwave in 20-second intervals, stirring between each, until the mixture is smooth and glossy. This usually takes about 1 minute and 20 seconds total. Don’t overheat—burnt marshmallow smells awful and tastes even worse.
- Melt the Candy Corn: Add 1 cup of the candy corn to the hot marshmallow mixture. Stir vigorously. The candy corn will start to soften and melt into the mixture, creating a pale orange color. Keep stirring until the candy corn is mostly dissolved. Some small lumps are okay—they’ll add little pockets of concentrated candy corn flavor throughout the treats. This step takes about 2 minutes of constant stirring. Be patient here; rushing this step means you’ll end up with hard chunks of candy corn in your treats.
- Fold in the Cereal: Add the 6 cups of crispy rice cereal to the marshmallow mixture. Use your silicone spatula to fold the cereal in gently. Start from the bottom and work your way up, turning the mixture over on itself. Don’t stir too aggressively—you want to coat the cereal without crushing it. Fold until no dry cereal remains. The mixture will look streaky with orange and white, which is exactly what you want.
- Add the Remaining Marshmallows and Candy Corn: Gently fold in the reserved ½ cup of mini marshmallows and the remaining ½ cup of candy corn. This creates pockets of gooey marshmallow and crunchy candy corn throughout the treats. Fold just until distributed—you don’t want the marshmallows to melt completely. They should stay in distinct white puffs.
- Press Into the Pan: Scrape the mixture into your prepared pan. Use a second piece of parchment paper (or lightly greased hands) to press the mixture into an even layer. Press firmly but don’t smash it flat—you want some texture. Pay special attention to the corners and edges. If the mixture sticks to your hands, just spray them with a little cooking spray. This step is messy, but it’s worth it for even treats.
- Cool and Set: Let the treats cool at room temperature for at least 1 hour. Don’t rush this by putting them in the refrigerator—condensation will form and make the treats soggy. The treats need to set slowly so the marshmallow firms up properly. After an hour, they should be firm enough to cut cleanly.
- Cut and Serve: Lift the entire block of treats out of the pan using the parchment paper overhang. Place on a cutting board. Use a sharp knife to cut into 24 squares (6 rows by 4 rows). For the cleanest cuts, run the knife under hot water, wipe it dry, then slice. Wipe the blade clean between each cut. This gives you those perfect, bakery-style edges.
A quick note: if your treats seem too hard after cooling, you probably overcooked the marshmallow mixture. Next time, microwave for slightly less time. If they’re too soft and falling apart, you didn’t press them firmly enough into the pan. Both issues are fixable on your next batch, so don’t stress about it.
Cooking Tips & Techniques
I’ve made this recipe at least a dozen times now, and I’ve learned a few things the hard way. Here are my best tips for getting it right every single time.
Don’t Overheat the Marshmallows. This is the number one mistake people make. Marshmallows are essentially sugar, corn syrup, and gelatin. When you overheat them, the sugar recrystallizes as the mixture cools, leaving you with rock-hard treats. Microwave just until the marshmallows are melted and smooth—no more than 1 minute 20 seconds total. If you need more time, do it in 10-second bursts. Trust me, I’ve made hockey pucks before, and they’re not fun to eat.
Work Quickly but Gently. Once the marshmallows are melted, you’re on the clock. The mixture starts to set as it cools, so you need to fold in the cereal and press it into the pan within about 5 minutes. But don’t rush so much that you crush the cereal. Gentle folds, firm but not aggressive pressing—that’s the sweet spot.
Use a Light Touch When Pressing. I used to press my treats down so hard they came out dense and almost chewy. You want the mixture to hold together, but you also want those air pockets between the cereal pieces. Press just firmly enough to create an even layer. If you see the cereal pieces flattening, you’re pressing too hard.
Grease Everything. The marshmallow mixture is incredibly sticky. Grease your spatula, your hands (if you’re pressing by hand), and the parchment paper. A light spray of cooking oil makes everything easier. I keep a can of nonstick spray next to my work station just for this purpose.
Let Them Cool Completely. I know it’s tempting to cut into them while they’re still warm, but patience pays off. Warm treats will squish under the knife and fall apart. Give them the full hour at room temperature. If you’re in a hurry, you can pop them in the fridge for 30 minutes, but watch out for condensation. Pat the surface dry with a paper towel before cutting if you see moisture.
Store Properly. These treats stay fresh for up to 3 days at room temperature in an airtight container. Separate layers with wax paper to prevent sticking. Don’t refrigerate them—the cold makes the marshmallow tough and the cereal stale. If they start to get a little dry, add a slice of fresh bread to the container. The bread releases moisture that the treats will absorb, reviving them slightly.
Variations & Adaptations
This recipe is incredibly flexible. I’ve played around with it quite a bit, and here are some of my favorite variations. Feel free to experiment and make it your own.
Chocolate Drizzle Version: After pressing the treats into the pan, melt ½ cup of dark chocolate chips with 1 teaspoon of coconut oil (microwave in 30-second bursts, stirring between each). Drizzle the melted chocolate over the top of the warm treats. Let the chocolate set before cutting. The bitterness of dark chocolate balances the sweetness of the candy corn beautifully. I did this for a Halloween party last year, and people lost their minds.
Peanut Butter Twist: Add ¼ cup of creamy peanut butter to the marshmallow mixture right after it melts. Stir until smooth before adding the candy corn. The peanut butter adds a savory, salty note that makes the treats taste like a candy bar. If you’re allergic to peanuts, sunflower seed butter works too—just know that it will turn the mixture a slightly greenish color (that’s normal, it’s a chemical reaction with the baking soda in the marshmallows).
Spiced Fall Version: Stir in ½ teaspoon of pumpkin pie spice and ¼ teaspoon of cinnamon with the melted butter. This gives the treats a warm, autumnal flavor that pairs perfectly with the candy corn. I also like to add ½ cup of chopped pecans (toasted first for maximum flavor) for extra crunch. This version feels a little more grown-up, if that’s what you’re going for.
Vegan Adaptation: Use vegan butter (like Earth Balance) and vegan marshmallows (like Dandies). Vegan marshmallows behave a little differently—they take longer to melt and the final texture is slightly chewier. But they work. All candy corn is naturally vegan (no gelatin), so you’re good there. I’ve made this version for a friend with dairy allergies, and she said it was even better than the original. I’m not sure I agree, but it’s definitely close.
Gluten-Free Option: Rice Krispies are made from rice, so they’re naturally gluten-free. However, some generic brands may contain malt flavoring (which is made from barley and contains gluten). Check the label carefully. I recommend Nature’s Path Organic Crispy Rice Cereal for a guaranteed gluten-free option. Everything else in the recipe is naturally gluten-free, so you’re good to go.
If you’re looking for other easy, no-bake treats, you might enjoy these no-bake peanut butter chocolate protein energy balls—they’re just as simple but a little healthier. And if you’re in the mood for something warm and cozy, these campfire banana s’mores boats have that same fun, nostalgic energy.
Serving & Storage Suggestions
These treats are best served at room temperature, right after they’ve set. The texture is perfect—soft, chewy, with just the right amount of crunch. If you’re serving them at a party, arrange them on a platter in a single layer so they don’t stick together. I like to sprinkle a little extra candy corn on top of the platter for visual appeal. It makes them look festive without any extra effort.
For a Halloween Party: Cut the treats into small squares (about 1.5 inches) and serve them in paper cupcake liners. They look cute and are easy for guests to grab. You can also insert a lollipop stick into each square for a “treat on a stick” presentation that kids absolutely love.
For Gifting: Wrap individual treats in cellophane bags tied with orange and black ribbon. They make fantastic party favors or last-minute hostess gifts. I’ve brought these to several Halloween gatherings, and they’re always the first thing to disappear from the dessert table.
Storage: Store leftover treats in an airtight container at room temperature for up to 3 days. Separate layers with wax paper or parchment paper to prevent sticking. Do not refrigerate—the cold temperature will make the marshmallows tough and the cereal stale. If you live in a humid climate, add a food-safe silica gel packet to the container to absorb excess moisture. The treats will stay fresh longer.
Freezing: You can freeze these treats for up to 2 months. Wrap each square individually in plastic wrap, then place them in a freezer-safe bag. To thaw, let them sit at room temperature for about 30 minutes. The texture will be slightly softer after freezing, but they’re still delicious. I often make a double batch and freeze half for later—they’re perfect for unexpected guests or last-minute school events.
Reheating: If your treats have gotten a little hard (which happens if they’re exposed to air), microwave them for 5-10 seconds. This softens the marshmallow and makes them taste freshly made. Just be careful not to overheat them, or they’ll become sticky and fall apart.
For a fun presentation, serve these alongside a batch of brown butter banana bread for a fall-themed dessert spread. The combination of sweet, crunchy treats and moist, nutty banana bread is absolutely perfect for a cozy autumn afternoon.
Nutritional Information & Benefits
Let’s be honest—these are a treat, not a health food. But that doesn’t mean they can’t fit into a balanced diet. Here’s what you need to know.
Per Serving (1 square, based on 24 servings):
| Nutrient | Amount |
|---|---|
| Calories | 145 |
| Total Fat | 3g |
| Saturated Fat | 2g |
| Cholesterol | 8mg |
| Sodium | 115mg |
| Total Carbohydrates | 30g |
| Dietary Fiber | 0g |
| Sugars | 18g |
| Protein | 1g |
Health Benefits: The crispy rice cereal provides a small amount of iron and B vitamins (thanks to fortification). The butter contains vitamin A and healthy fats. And the candy corn? Well, it makes you happy. Sometimes that’s enough. These treats are portion-controlled (if you cut them into 24 squares), so you can enjoy one without going overboard. They’re also nut-free (unless you add the peanut butter variation), making them safe for school events.
Dietary Considerations: This recipe is naturally nut-free and gluten-free (check your cereal label). It’s not vegan, low-fat, or low-sugar, but it’s a fun occasional indulgence. If you’re watching your sugar intake, you can reduce the candy corn to 1 cup total (½ cup melted, ½ cup stirred in), but the flavor won’t be as pronounced. It’s a trade-off.
For a healthier snack option that still satisfies your sweet tooth, try these high-protein cottage cheese bowls with fresh berries. They’re completely different from these treats, but they scratch that same “I want something sweet and satisfying” itch without the sugar crash.
Conclusion
These Easy 3-Ingredient Candy Corn Rice Krispie Treats are proof that you don’t need a long ingredient list or complicated techniques to make something genuinely fun and delicious. They’re the kind of recipe that brings people together—whether it’s kids at a Halloween party, coworkers at a fall potluck, or just you on a quiet October evening with a cup of tea and a good book.
I love how forgiving this recipe is. You can mess up the timing, forget to grease the spatula, or press too hard, and the treats still come out pretty great. They’re not precious. They’re not fussy. They’re just good, simple, honest food that makes people smile. And honestly, that’s the best kind of recipe to have in your back pocket.
I’d love to hear how these turn out for you! Did you try any of the variations? Did you add your own twist? Drop a comment below and let me know. And if you share a photo on Pinterest or Instagram, tag me—I love seeing your creations. Happy baking (or rather, happy no-baking)!
Frequently Asked Questions
Can I use full-size marshmallows instead of mini marshmallows?
Yes, but you’ll need to cut them into smaller pieces first. Full-size marshmallows take longer to melt and can create hot spots in the microwave. Cut each marshmallow into quarters with kitchen shears before melting. This ensures even melting and prevents burnt marshmallow bits. You’ll need about 40 full-size marshmallows to equal 10 ounces.
Why did my treats turn out hard and crunchy?
You likely overheated the marshmallow mixture. When marshmallows are heated too long or at too high a temperature, the sugar recrystallizes as the mixture cools, creating a hard, crunchy texture. Next time, microwave in shorter bursts (30 seconds at a time) and stir between each burst. Stop as soon as the marshmallows are melted and smooth—don’t keep microwaving.
Can I use a different type of candy corn?
Stick with classic candy corn for best results. The “autumn mix” with pumpkins and leaves has a different texture and sugar content, which affects how they melt. Candy corn pumpkins, in particular, are much denser and don’t melt as smoothly. If you want to experiment, try the candy corn flavored with honey or caramel, but know that the final flavor will be different.
How do I prevent the treats from sticking to the knife when cutting?
Run your knife under hot water, wipe it dry with a clean towel, then slice. The heat helps the knife glide through the marshmallow without sticking. Wipe the blade clean between each cut. For extra insurance, spray the knife blade with a light coat of nonstick cooking spray before cutting. This works like a charm every time.
Can I add food coloring to make them more orange?
Absolutely! If you want a brighter orange color (the candy corn gives a pale orange tint, not a vibrant one), add a few drops of orange gel food coloring to the melted marshmallow mixture before adding the cereal. Gel coloring works better than liquid because it doesn’t add extra moisture. Start with 2 drops and add more until you reach your desired shade.
Pin This Recipe!
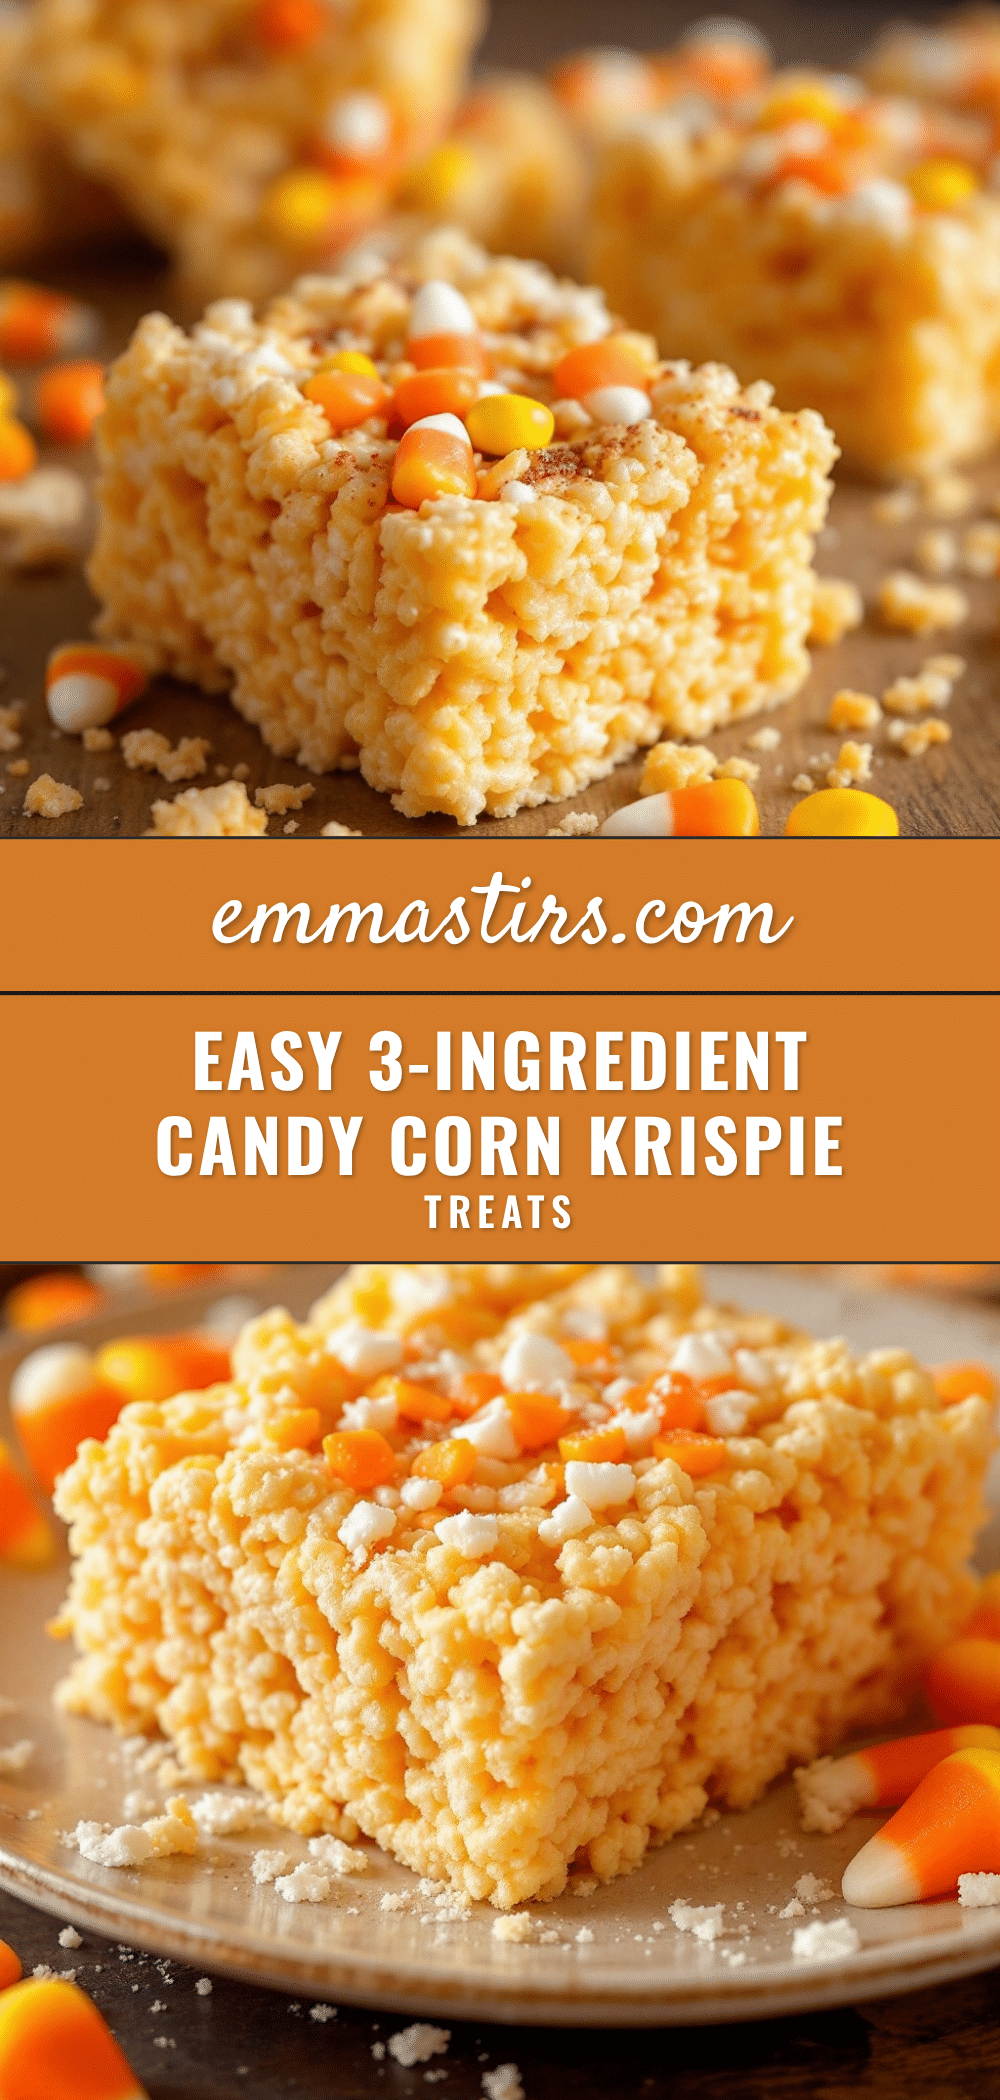
Easy 3-Ingredient Candy Corn Rice Krispie Treats
These Easy 3-Ingredient Candy Corn Rice Krispie Treats are a fun, no-bake fall dessert with a perfect crunch. Made with butter, marshmallows, and candy corn, they’re ready in 15 minutes and disappear fast from any party table.
- Prep Time: 10 minutes
- Cook Time: 5 minutes
- Total Time: 15 minutes
- Yield: 24 servings 1x
- Category: Dessert
- Cuisine: American
Ingredients
- 3 tablespoons unsalted butter
- 10 ounces mini marshmallows (about 5 ½ cups), divided
- 1 ½ cups candy corn, divided
- 6 cups crispy rice cereal
- ⅛ teaspoon salt (optional)
Instructions
- Line a 9×13-inch baking pan with parchment paper, leaving about 2 inches of overhang on the long sides. Lightly spray the parchment with nonstick cooking spray. Set aside.
- Place the 3 tablespoons of unsalted butter in a large microwave-safe bowl. Microwave on high for 30 seconds, or until the butter is fully melted.
- Add 5 cups of the mini marshmallows (reserve the remaining ½ cup for later) and the optional pinch of salt. Microwave on high for 1 minute. Stir with a silicone spatula. If the marshmallows aren’t fully melted, microwave in 20-second intervals, stirring between each, until the mixture is smooth and glossy (about 1 minute 20 seconds total).
- Add 1 cup of the candy corn to the hot marshmallow mixture. Stir vigorously until the candy corn is mostly dissolved (about 2 minutes). Some small lumps are okay.
- Add the 6 cups of crispy rice cereal to the marshmallow mixture. Fold gently with a silicone spatula until no dry cereal remains.
- Gently fold in the reserved ½ cup of mini marshmallows and the remaining ½ cup of candy corn until just distributed.
- Scrape the mixture into the prepared pan. Use a second piece of parchment paper or lightly greased hands to press the mixture into an even layer. Press firmly but don’t smash flat.
- Let the treats cool at room temperature for at least 1 hour.
- Lift the entire block of treats out of the pan using the parchment paper overhang. Place on a cutting board. Use a sharp knife to cut into 24 squares (6 rows by 4 rows). For clean cuts, run the knife under hot water, wipe dry, then slice. Wipe the blade clean between each cut.
Notes
Don’t overheat the marshmallows or they will become hard. Work quickly but gently. Let treats cool completely before cutting. Store in an airtight container at room temperature for up to 3 days. Do not refrigerate.
Nutrition
- Serving Size: 1 square
- Calories: 145
- Sugar: 18
- Sodium: 115
- Fat: 3
- Saturated Fat: 2
- Carbohydrates: 30
- Protein: 1
Keywords: candy corn, rice krispie treats, Halloween, no-bake, 3-ingredient, fall dessert


