Love this? Save it for later!
Share the inspiration with your friends
That sharp, tangy-sweet pop of black elderberry syrup hitting the back of my tongue — the kind that makes you pucker just a little before the honey smooths it all out — still takes me straight to my grandmother’s kitchen. She had this ancient bottle of dark purple syrup tucked behind the flour canister, and every time a sniffle started, out it came. “Taste it,” she’d say, holding out a spoon. “It’s your armor.” I’d scrunch my nose but take the dose anyway, because somehow that sticky, homemade concoction felt more like a secret weapon than medicine.
Fast forward to my own kitchen, with a toddler who treats any spoonful of something “good for you” like a personal betrayal. I knew elderberry was my go-to for immune support, but the syrup routine was a battle I was losing. So I did what any slightly desperate parent would do — I turned that potent, immune-boosting syrup into something my kid actually asks for. Homemade elderberry gummies for kids. No gelatinous blobs from the store, no artificial colors, no sugar crashes. Just real food, cleverly disguised as a treat.
These little gummies are a game-changer. They’re soft, chewy, and have that perfect balance of sweet and tart that makes them disappear from the jar way too fast. And honestly? Watching my daughter reach for one without being reminded feels like a small parenting victory I’ll take every single time.
Why You’ll Love This Recipe
Let’s be real for a second — getting kids to take anything that’s actually good for them is a constant negotiation. These homemade elderberry gummies for kids skip the drama entirely. They taste like a fruity snack, not a supplement, and that’s the whole point.
- No Junk, All Good Stuff : You control exactly what goes in. No high-fructose corn syrup, no artificial flavors, no weird preservatives. Just elderberries, honey (or maple syrup), and grass-fed gelatin.
- Immune Support in Every Bite : Elderberries are packed with antioxidants and vitamin C. Studies suggest they can help shorten the duration of colds and support the immune system. It’s like giving your kids a little shield, one gummy at a time.
- Kid-Approved Texture : These aren’t rubbery or weird. They’re soft, bouncy, and have a natural fruitiness that actually tastes good. My picky eater devours them.
- Super Simple to Make : You don’t need a candy thermometer or any fancy equipment. A saucepan, a silicone mold, and about 20 minutes of active time. That’s it.
- Budget-Friendly : A bag of dried elderberries makes multiple batches for a fraction of the cost of store-bought gummies or immune gummies.
- Perfect for Lunchboxes : They’re shelf-stable for a few days at room temp (though I keep mine in the fridge), making them an easy addition to a school lunch or an after-school snack.
I’ve tested this recipe about a dozen times to get the texture just right — not too firm, not too sticky. My first batch was a gummy disaster (think: rubber cement). But after tweaking the gelatin-to-liquid ratio and figuring out the perfect steeping time for the elderberries, this version is foolproof. It’s the one I make every single week during cold season, and it’s become a little ritual my daughter and I do together on Sunday afternoons.
What Ingredients You Will Need
This recipe uses simple, wholesome ingredients that pull double duty — they’re good for you and they taste great. Most of these are pantry staples once you start making your own remedies.
- Dried Elderberries : The star of the show. These tiny dark purple berries are the immune-boosting powerhouse. Don’t use fresh elderberries — they need to be cooked before eating to avoid stomach upset. Dried are perfect. You can find them at health food stores, online, or sometimes in the bulk section of your grocery store. I buy a big bag from Mountain Rose Herbs and it lasts me all winter.
- Water : Just plain filtered water. We’re making a concentrated elderberry syrup first, so the water pulls out all those beneficial compounds.
- Raw Honey : This is my sweetener of choice. It adds natural sweetness, a touch of floral flavor, and honey itself has antimicrobial properties. Important : Do not give honey to children under 1 year old. Use maple syrup or agave instead if needed.
- Grass-Fed Gelatin : This is what gives the gummies their bouncy, chewy texture. I use grass-fed beef gelatin (like Vital Proteins or Great Lakes) because it’s higher quality and dissolves smoothly. You cannot substitute agar-agar or pectin here — the texture and setting properties are completely different.
- Lemon Juice : A squeeze of fresh lemon does two things. It adds a bright tang that balances the sweetness, and the vitamin C in lemon works synergistically with the elderberry for an extra immune boost.
- Optional: Cinnamon Stick or Ginger : I sometimes toss in a cinnamon stick and a few slices of fresh ginger while steeping the elderberries. They add warmth and extra anti-inflammatory properties. Totally optional but highly recommended.
Ingredient Selection Tips : Look for dried elderberries that are deep purple-black, not brown or faded. They should smell fruity and slightly earthy. For the gelatin, avoid flavored or sweetened dessert gelatins — we want unflavored, pure gelatin. I’ve tried a few brands and Vital Proteins consistently gives me the clearest, bounciest gummies without any weird aftertaste.
Substitution Guidance : If you’re vegan, this recipe won’t work with gelatin. You could try agar-agar, but the texture will be much firmer and less gummy-like. For a low-sugar version, use monk fruit sweetener or stevia drops instead of honey, though the flavor profile will change. And yes, you can use frozen elderberries instead of dried — just double the amount and reduce the water slightly since they release their own liquid.
Equipment Needed
You don’t need a fancy kitchen setup for this. Here’s what I use every single time:
- Silicone Gummy Molds : These are non-negotiable. I use bear-shaped molds because, well, bears are cute. But you can use any shape — hearts, stars, dinosaurs. Silicone is essential because the gummies pop right out without sticking. I found a pack of 4 on Amazon for under $10.
- Small Saucepan : For steeping the elderberries and making the syrup. A 1-quart saucepan works perfectly.
- Fine-Mesh Strainer : To strain out the cooked elderberries. You want a fine mesh so no seeds or berry bits end up in your gummies. Cheesecloth also works in a pinch.
- Glass Measuring Cup or Small Bowl : For blooming the gelatin. A 2-cup Pyrex measuring cup is ideal because it has a spout for pouring.
- Whisk : A small whisk helps incorporate the gelatin smoothly without lumps.
- Dropper or Small Spoon : For filling the molds. A dropper makes it less messy, but a small spoon works fine.
- Baking Sheet : To hold the filled molds steady in the fridge.
Budget-Friendly Tip : If you don’t have silicone molds, you can pour the mixture into a shallow glass dish (like an 8×8 baking pan), let it set, and then cut it into small squares. They won’t be as cute, but they’ll taste the same. I did this for my first few batches and it worked perfectly fine.
Preparation Method
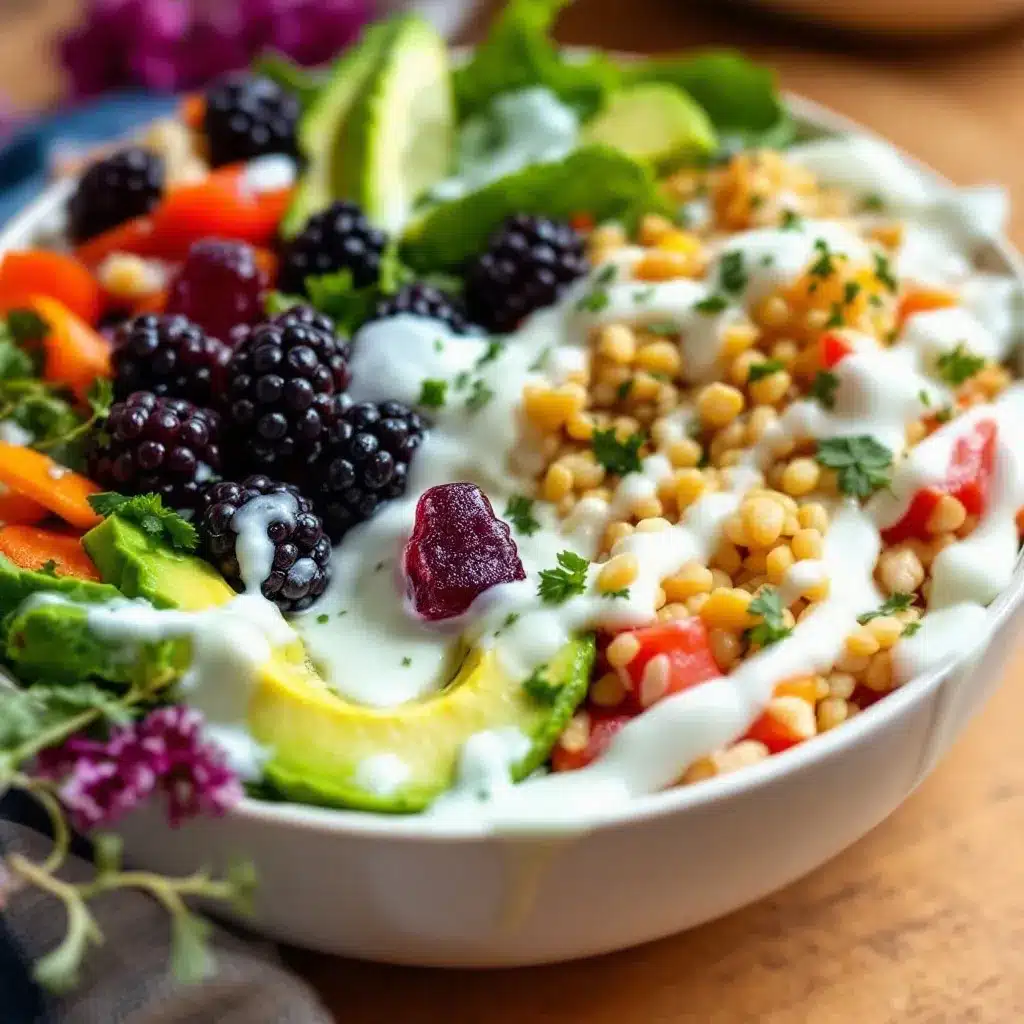
Making these homemade elderberry gummies for kids is surprisingly straightforward. Here’s how I do it, step by step.
- Make the Elderberry Syrup Concentrate : In your small saucepan, combine ½ cup dried elderberries, 2 cups of water, and (if using) a cinnamon stick and a few slices of fresh ginger. Bring to a boil over medium-high heat, then reduce to a simmer. Let it simmer uncovered for 20-25 minutes, until the liquid has reduced by about half and the berries look plumped and soft. The liquid will be a deep, dark purple. Don’t boil it too hard or you’ll lose too much liquid.
- Strain the Berries : Place your fine-mesh strainer over a glass measuring cup or bowl. Carefully pour the hot mixture through the strainer, pressing down on the berries with the back of a spoon to extract every last drop of that purple goodness. Discard the spent berries (or compost them). You should have about 1 cup of concentrated elderberry syrup. Let it cool for 5 minutes until it’s warm but not hot.
- Bloom the Gelatin : While the syrup cools slightly, pour ½ cup of the warm elderberry syrup into a separate small bowl. Sprinkle 4 tablespoons (about 4 packets) of grass-fed gelatin evenly over the top. Do not stir yet. Let it sit for 2-3 minutes. This is called “blooming” and it prevents lumps. The gelatin will absorb the liquid and look like a thick, jiggly paste. Trust the process.
- Combine Everything : Pour the remaining ½ cup of warm elderberry syrup back into the saucepan. Add ¼ cup of raw honey and 1 tablespoon of fresh lemon juice. Warm it over low heat, stirring gently, just until the honey dissolves. Do not let it boil — high heat can damage the beneficial properties of both the elderberries and the honey.
- Incorporate the Bloomed Gelatin : Remove the saucepan from the heat. Add the bloomed gelatin mixture and whisk continuously until it’s completely smooth and dissolved. This takes about 1-2 minutes. You should see no streaks or lumps. The mixture will be thin and liquidy — that’s perfect.
- Fill the Molds : Place your silicone molds on a baking sheet (makes them easier to move). Use a dropper or a small spoon to carefully fill each cavity. Don’t overfill — the gummies will expand slightly as they set. If you get bubbles on the surface, pop them with a toothpick. Work quickly because the mixture will start to thicken as it cools.
- Set the Gummies : Carefully transfer the baking sheet to the refrigerator. Let the gummies set for at least 2-3 hours, or until they are firm and pop easily out of the molds. I usually leave them overnight for the best texture.
- Pop and Store : Once set, gently flex the silicone mold to release each gummy. They should come out cleanly. Transfer them to an airtight glass jar or container.
Sensory Cues : When the elderberries are done steeping, your kitchen will smell like a cozy autumn day — fruity, slightly earthy, with a hint of spice if you added cinnamon. The syrup should be thick enough to coat the back of a spoon. When you whisk in the gelatin, the mixture should be completely smooth with no visible lumps, like a thin, dark purple sauce.
Troubleshooting Tip : If your gummies are too hard, you used too much gelatin or cooked the mixture too long. If they’re too soft and don’t set, you didn’t use enough gelatin or the mixture wasn’t hot enough to dissolve it fully. My first batch was a sticky mess because I got impatient and didn’t let the gelatin bloom properly. Patience pays off here.
Cooking Tips & Techniques
I’ve made more batches of these than I can count, and I’ve learned a few things the hard way. Let me save you the trouble.
Don’t Overheat the Honey . Raw honey is amazing because it contains natural enzymes and antimicrobial properties. But those benefits start to degrade when honey is heated above 95°F. I warm the syrup just enough to dissolve the honey — barely above lukewarm. If you’re using maple syrup instead, same rule applies.
Work Quickly After Adding Gelatin . Once the gelatin is fully dissolved, the clock starts ticking. The mixture will begin to thicken as it cools. If it gets too thick to pour easily, gently reheat it over very low heat while whisking. Don’t let it boil.
Grease the Molds (Just a Little) . Even with silicone molds, I sometimes give them a very light spray of coconut oil before filling. It makes popping the gummies out even easier, especially if you’re using intricate shapes.
Control the Sweetness . Some kids like things sweeter, some prefer more tart. Start with ¼ cup of honey and taste the mixture before adding the gelatin. You can always add a little more honey, but you can’t take it out. I’ve found my kids prefer it on the tarter side, so I use just 3 tablespoons.
Batch Size Matters . This recipe makes about 60-80 small bear-shaped gummies, depending on your mold size. I usually double it and freeze half. They thaw perfectly in about 10 minutes at room temperature.
My Biggest Failure : I once tried to speed things up by using boiling water to bloom the gelatin. Disaster. The gelatin seized up into rubbery clumps that wouldn’t dissolve no matter how much I whisked. I ended up with a lumpy, textured mess that looked (and tasted) awful. Always use warm liquid, not hot.
Variations & Adaptations
Once you’ve mastered the basic recipe, the possibilities are endless. Here are some variations I’ve tried and loved.
- Berry Blast Gummies : Replace ¼ cup of the water with ¼ cup of unsweetened 100% cranberry juice or blueberry juice. It adds extra antioxidants and a different fruity flavor. My kids love the cranberry version — it’s tarter and more like a sour candy.
- Warm Spice Version : Add a pinch of ground turmeric (for anti-inflammatory benefits) and a pinch of black pepper (to help your body absorb the turmeric) to the syrup while it steeps. The color becomes a gorgeous deep amber, and the flavor is subtly earthy. My husband calls these his “grown-up gummies.”
- Low-Sugar Option : Use 2 tablespoons of monk fruit sweetener or stevia glycerite instead of honey. The texture remains the same, but the sweetness level drops significantly. I make these for myself when I’m watching my sugar intake.
- Vitamin C Boost : After removing the syrup from the heat, stir in 500 mg of powdered vitamin C (ascorbic acid) or the contents of a vitamin C capsule. It dissolves completely and adds an extra immune punch. Just don’t add it while the mixture is hot, as heat can degrade vitamin C.
- Gummy “Soda” Flavor : Replace ¼ cup of the water with ¼ cup of unsweetened cherry juice concentrate. The result tastes remarkably like cherry soda — in gummy form. My daughter calls these her “special treats.”
Dietary Adaptations : For a completely gelatin-free version (vegan), you can try using agar-agar powder. Use 2 teaspoons of agar-agar instead of the gelatin, and bring the mixture to a full boil for 2 minutes to activate it. The texture will be much firmer and more like a fruit jelly than a gummy. It works, but it’s not quite the same.
Serving & Storage Suggestions
These gummies are best enjoyed cold, straight from the fridge. The texture is at its peak — firm but with a satisfying bounce. I serve them to my kids as a morning “vitamin” (they don’t know it’s basically the same as the syrup their grandma used to make) or as an after-school snack.
Serving Ideas :
- Pack 3-4 gummies in a small container for a lunchbox treat.
- Serve them on a small plate alongside fresh fruit for a fun snack plate.
- Use them as a topping for yogurt or oatmeal — the kids love the surprise.
- Bring them to a playdate as a healthier alternative to candy. (The other moms will ask for the recipe.)
Storage Instructions :
- Refrigerator : Store in an airtight glass jar in the fridge for up to 2 weeks. They’ll stay fresh and bouncy.
- Freezer : These freeze beautifully. Lay the gummies in a single layer on a parchment-lined baking sheet and freeze for 1 hour. Then transfer them to a freezer-safe bag or container. They’ll keep for up to 3 months. Thaw in the fridge for 10 minutes or at room temperature for 5 minutes.
- Room Temperature : They’re okay at room temperature for a day or two, but they’ll start to get soft and sticky, especially in warm weather. I always keep mine in the fridge.
Flavor Development : Interestingly, the flavor actually mellows and becomes more balanced after a day in the fridge. The honey and elderberry flavors meld together, and the tartness from the lemon softens. They’re good on day one, but they’re amazing on day three.
Nutritional Information & Benefits
Per serving (about 6 gummies, depending on size):
- Calories: 45-55
- Carbohydrates: 10-12g
- Sugar: 8-10g (from honey and elderberries)
- Protein: 3-4g
- Vitamin C: 15% DV (from elderberries and lemon)
- Antioxidants: High
Health Benefits : Elderberries are one of the most antioxidant-rich berries out there. They’re packed with anthocyanins (the compounds that give them their deep purple color) and flavonoids, which help support the immune system. Some research suggests elderberry can reduce the duration of colds by up to 4 days when taken at the first sign of symptoms. The gelatin provides collagen, which is great for gut health, skin, and joints. And honey is a natural cough suppressant and has antimicrobial properties. These little gummies are basically a health powerhouse in a cute, chewy package.
Dietary Considerations : This recipe is naturally gluten-free, dairy-free, and nut-free. It’s also free from artificial colors and preservatives. The only potential allergen is honey (which some people avoid for dietary reasons) and gelatin (which is animal-derived). For a vegan version, see the variations section above.
Personal Wellness Note : I don’t see these as a cure-all. They’re a tool in the toolbox — a tasty, fun way to incorporate immune-supporting ingredients into my kids’ daily routine. I still make sure they eat well, get enough sleep, and wash their hands. But having these gummies in the fridge feels like a little extra insurance, and that gives this mom some peace of mind.
Conclusion
These homemade elderberry gummies for kids have become a staple in our house for a reason. They’re simple to make, they use real ingredients you can feel good about, and they actually taste good enough that kids ask for them. No battles, no bribes, no “just take one spoonful.” Just a little purple gummy that does a whole lot of good.
I love that this recipe lets me take something my grandmother believed in — that elderberry syrup was liquid armor — and make it work for my own family in a way that fits our modern, busy life. It’s a small tradition I’m proud to carry on.
I’d love to hear how yours turn out. Did your kids love them? Did you try a fun variation? Drop a comment below and let me know — I read every single one. And if you found this recipe helpful, share it with a friend who’s tired of fighting the immune-boosting battle. Together, we can make healthy eating a little easier and a lot more fun.
Here’s to happy, healthy kids — one gummy at a time.
Frequently Asked Questions
Can I use fresh elderberries instead of dried?
Yes, but you’ll need to adjust the amount. Use 1 cup of fresh elderberries instead of ½ cup dried. Fresh berries contain more water, so you may need to simmer them a little longer to reduce the liquid properly. Never eat raw fresh elderberries — they can cause stomach upset. Always cook them first.
How many gummies can my child have per day?
For general immune support, I give my kids (ages 3 and 6) about 3-4 gummies per day. For younger children (over 1 year old), start with 1-2 gummies. Think of them as a supplement, not a snack to be eaten freely. Too many can cause digestive upset due to the gelatin and natural sugars.
Why did my gummies turn out cloudy instead of clear?
Cloudy gummies usually mean the elderberry syrup wasn’t strained well enough, or the gelatin wasn’t fully dissolved. Make sure you’re using a fine-mesh strainer and pressing the berries firmly. Also, whisk the gelatin mixture until it’s completely smooth — no streaks or lumps. Clear gummies are possible, but they take a little practice.
Can I use flavored gelatin packets instead of plain gelatin?
I don’t recommend it. Flavored gelatins (like Jell-O) contain sugar, artificial flavors, and colors that defeat the purpose of making these healthy. They also have a different setting strength, so the texture won’t be the same. Stick with unflavored grass-fed gelatin and control the flavor yourself.
My gummies are too sticky and don’t hold their shape. What went wrong?
This usually happens for one of two reasons: not enough gelatin, or the mixture wasn’t heated enough to fully dissolve the gelatin. Double-check your measurements — 4 tablespoons of gelatin for 1 cup of liquid is the sweet spot. Also, make sure the liquid is warm (not hot) when you bloom the gelatin, and warm again when you whisk it in. If the mixture is too cool, the gelatin won’t incorporate properly.
Pin This Recipe!
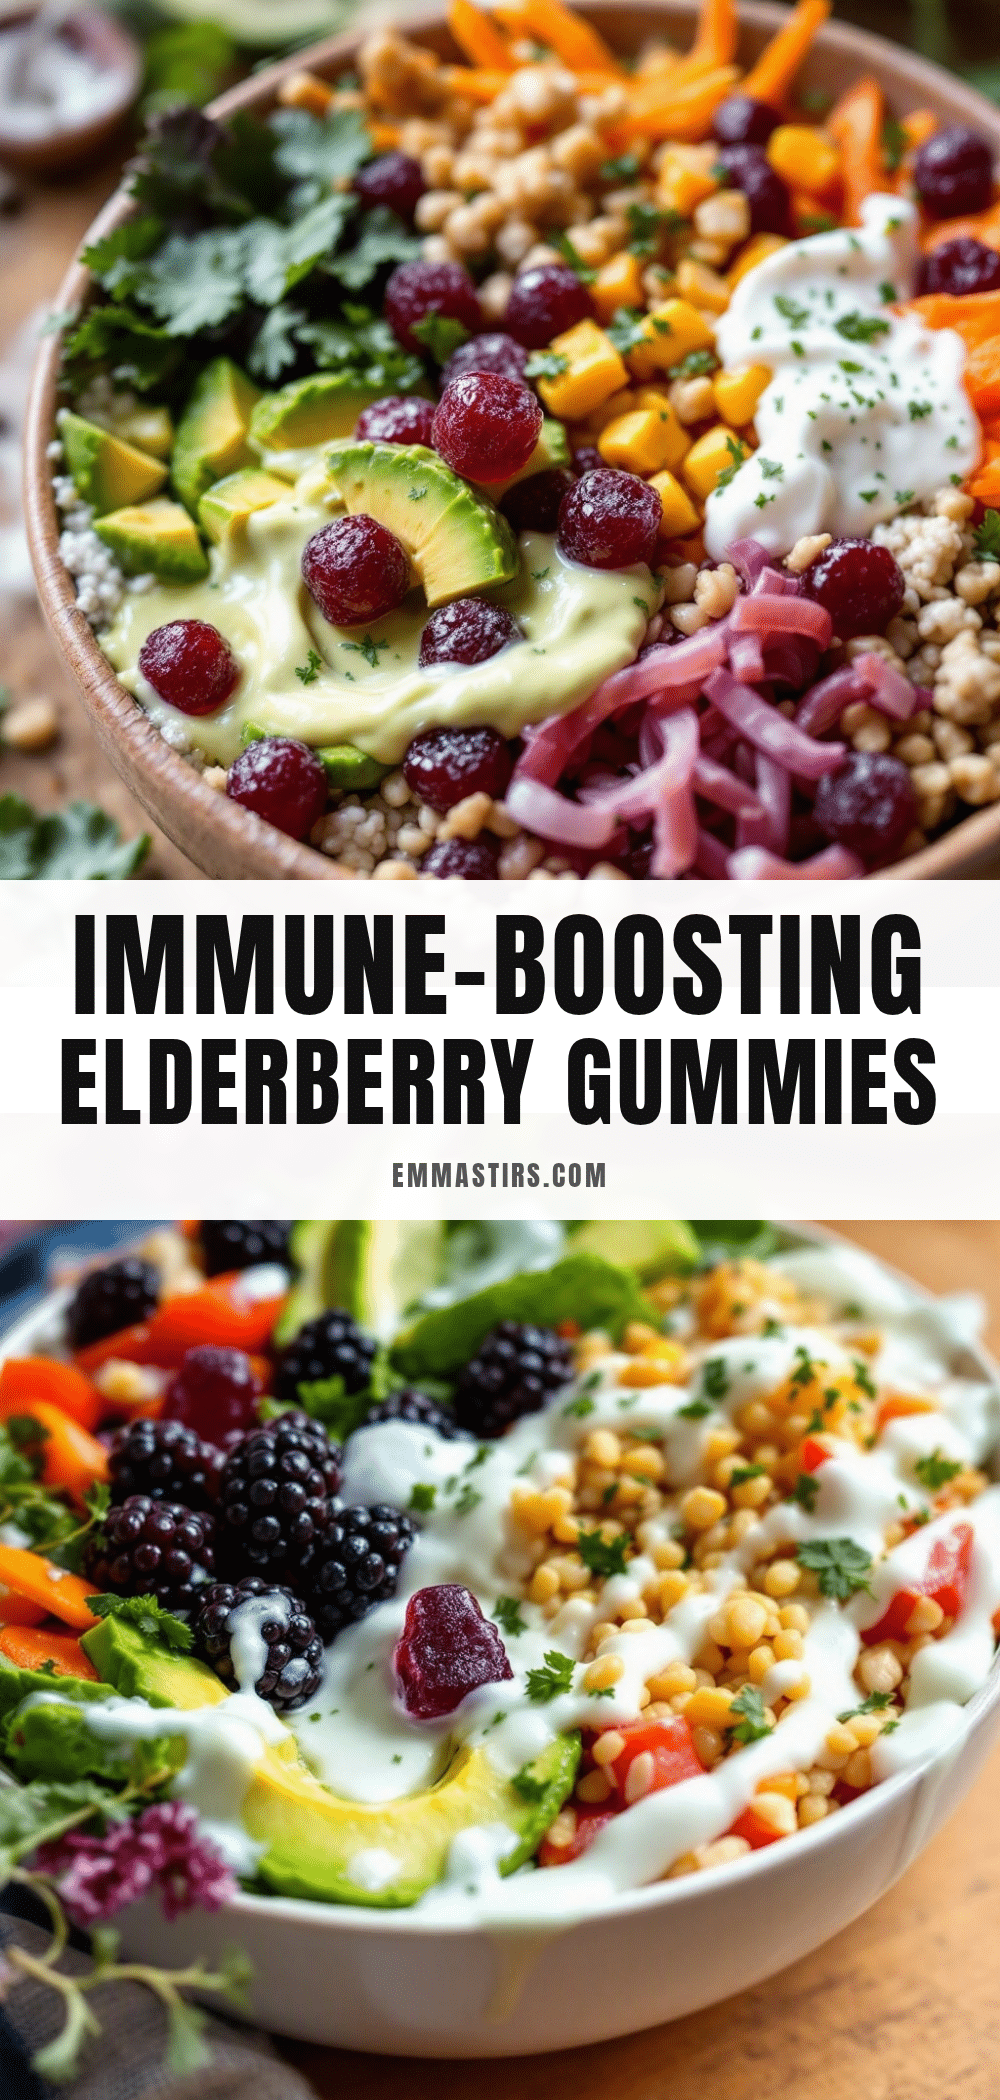
Homemade Elderberry Gummies for Kids: Easy Immune Boost
These homemade elderberry gummies for kids are a fun, tasty way to support their immune system. Made with real elderberries, honey, and grass-fed gelatin, they’re a healthy treat that kids actually ask for.
- Prep Time: 20 minutes
- Cook Time: 25 minutes
- Total Time: 45 minutes (plus 2-3 hours setting time)
- Yield: 60-80 small gummies 1x
- Category: Snack
- Cuisine: American
Ingredients
- ½ cup dried elderberries
- 2 cups water
- ¼ cup raw honey (or maple syrup for children under 1 year)
- 4 tablespoons grass-fed gelatin (about 4 packets)
- 1 tablespoon fresh lemon juice
- Optional: 1 cinnamon stick
- Optional: a few slices fresh ginger
Instructions
- Make the Elderberry Syrup Concentrate: In a small saucepan, combine ½ cup dried elderberries, 2 cups water, and optional cinnamon stick and ginger slices. Bring to a boil over medium-high heat, then reduce to a simmer. Simmer uncovered for 20-25 minutes until liquid reduces by half and berries are plump.
- Strain the Berries: Place a fine-mesh strainer over a glass measuring cup. Pour the hot mixture through the strainer, pressing on berries to extract all liquid. Discard berries. You should have about 1 cup of concentrated syrup. Let cool for 5 minutes until warm but not hot.
- Bloom the Gelatin: Pour ½ cup of the warm elderberry syrup into a small bowl. Sprinkle 4 tablespoons of grass-fed gelatin evenly over the top. Let sit for 2-3 minutes without stirring until it forms a thick, jiggly paste.
- Combine Everything: Pour the remaining ½ cup of warm elderberry syrup back into the saucepan. Add ¼ cup raw honey and 1 tablespoon fresh lemon juice. Warm over low heat, stirring gently, just until honey dissolves. Do not let it boil.
- Incorporate the Bloomed Gelatin: Remove saucepan from heat. Add the bloomed gelatin mixture and whisk continuously until completely smooth and dissolved, about 1-2 minutes. The mixture should be thin and liquidy.
- Fill the Molds: Place silicone molds on a baking sheet. Use a dropper or small spoon to carefully fill each cavity without overfilling. Pop any surface bubbles with a toothpick. Work quickly as mixture thickens as it cools.
- Set the Gummies: Transfer the baking sheet to the refrigerator. Let gummies set for at least 2-3 hours, or until firm and they pop easily out of molds. Overnight is best for optimal texture.
- Pop and Store: Gently flex the silicone mold to release each gummy. Transfer to an airtight glass jar or container.
Notes
Do not give honey to children under 1 year old; use maple syrup or agave instead. For vegan version, use 2 teaspoons agar-agar powder instead of gelatin, but texture will be firmer. Gummies can be stored in the refrigerator for up to 2 weeks or frozen for up to 3 months. Work quickly after adding gelatin as mixture thickens as it cools.
Nutrition
- Serving Size: 6 gummies
- Calories: 4555
- Sugar: 810
- Sodium: 5
- Carbohydrates: 1012
- Protein: 34
Keywords: elderberry gummies, homemade gummies, immune boost, kids snacks, healthy treats, elderberry recipe, gelatin gummies, natural remedies


