Love this? Save it for later!
Share the inspiration with your friends
My neighbor knocked on my door at 5:45 PM holding a bottle of white wine and a look of pure exhaustion. She’d just finished a double shift, her fridge was bare, and she smelled something good coming from my kitchen. I had exactly four chicken thighs thawed, a head of garlic that was starting to sprout, and half a stick of butter. That was it. No fancy marinades, no produce drawer finds, no backup plan. I told her to grab a fork and give me fifteen minutes. What came out of that pan was so ridiculously good we ate standing up at the counter, using the same fork, neither of us saying much because we were too busy making those happy noises you can’t really describe. She asked for the recipe before she left, and I had to scribble it on the back of an old receipt because I honestly wasn’t sure what I’d done differently. This easy one-pan garlic butter chicken thighs recipe was born from absolute necessity and a very empty fridge — and honestly, that’s where the best cooking happens.
There’s something about garlic butter that just works on chicken thighs. The skin gets this crackly, golden crust while the meat underneath stays so tender it practically falls apart. And the best part? Everything happens in one skillet. No transferring, no extra dishes, no complicated steps. Just a hot pan, some patience, and a few pantry staples that turn into something that tastes like you spent hours on it. I’ve made this recipe more times than I can count now, and it never gets old. It’s become my go-to for those nights when cooking feels like a chore but I still want something that makes dinner feel special.
This isn’t a fussy recipe. It’s the kind of meal that saves your evening when you’re tired, hungry, and running out of ideas. The garlic gets all sweet and jammy in the butter, the chicken develops that deep golden crust you usually only get from restaurant kitchens, and the whole thing comes together in under thirty minutes. One pan, minimal cleanup, maximum flavor. That’s the kind of cooking I can get behind.
Why You’ll Love This Recipe
I’ve tested this recipe at least a dozen times to get it just right. Too many recipes for one-pan chicken end up with soggy skin or dry meat, and I was determined not to let that happen here. After years of cooking professionally and even more years cooking for my family, I’ve learned that the best recipes are the ones that work every single time without a lot of fuss. This one delivers on that promise.
- Ready in 30 Minutes: From fridge to table in half an hour. That’s faster than takeout in most neighborhoods, and it tastes a hundred times better.
- Simple Pantry Ingredients: You probably already have everything you need. Chicken, butter, garlic, salt, pepper, and maybe some fresh herbs if you’re feeling fancy. No obscure ingredients or specialty store runs required.
- Perfect for Busy Weeknights: This is the dinner you make when you have zero energy but still want something that feels like a real meal. It’s also impressive enough for company, which is a nice bonus.
- One Pan, Minimal Cleanup: The whole thing happens in one skillet. No baking sheets, no separate bowls, no complicated equipment. Just one pan and a pair of tongs.
- Guaranteed Crowd-Pleaser: I’ve served this to picky kids, skeptical in-laws, and friends who claim they don’t like dark meat. Every single person has asked for seconds. The garlic butter situation is just that good.
What makes this recipe different from the hundreds of other chicken thigh recipes out there? It’s the technique. Most recipes rush the searing step or crowd the pan, which leads to steaming instead of browning. I figured out the exact heat level and timing to get that perfect crust without burning the butter. The garlic goes in at just the right moment so it infuses the oil without turning bitter. And the resting time? Non-negotiable. That’s where the magic happens. This isn’t just another version of garlic butter chicken — it’s the version I’d serve to anyone who asked what I’m really good at making.
Honestly, this recipe makes me close my eyes after the first bite every single time. It’s comfort food that doesn’t weigh you down, a quick dinner that tastes like a slow-cooked Sunday supper. It’s the kind of meal that reminds you why cooking at home is worth it.
What Ingredients You Will Need
This recipe keeps things simple with ingredients that do the heavy lifting. Each one plays a specific role in building flavor and texture, and I’ve tested enough variations to know exactly what works best. Here’s what you’ll need and why each ingredient matters.
- Chicken Thighs (4-6 pieces, bone-in, skin-on): This is non-negotiable for the best results. Bone-in, skin-on thighs have more fat and connective tissue than breasts, which means they stay juicy and tender even with high-heat cooking. The skin crisps up beautifully in the butter, and the bone adds flavor to the pan drippings. If you only have boneless skinless thighs, you can use them, but reduce the cooking time by about 8-10 minutes and expect less crispy skin. I prefer thighs from [Brand Name] or your local butcher for the best quality.
- Unsalted Butter (4 tablespoons, divided): Butter is the star here, so use good quality. Unsalted gives you control over the salt level. You’ll use some for searing the chicken and some for basting at the end. The milk solids in butter help create that deep golden crust and add richness that oil alone can’t match.
- Garlic (8-10 cloves, smashed): Fresh garlic is essential. Don’t use pre-minced jarred garlic here — it burns too easily and lacks the sweet, mellow flavor you get from fresh cloves. Smash each clove with the side of your knife to release the oils, but leave them mostly whole so they don’t burn. The garlic will soften and caramelize in the butter, becoming sweet and spreadable.
- Kosher Salt (1 teaspoon): I use Diamond Crystal kosher salt because it’s less dense than table salt and easier to control. If you’re using table salt, reduce to about ¾ teaspoon. Salt the chicken at least 15 minutes before cooking for best results.
- Black Pepper (½ teaspoon, freshly ground): Freshly ground pepper makes a noticeable difference here. Pre-ground pepper is fine in a pinch, but fresh adds a floral, spicy note that complements the garlic beautifully.
- Fresh Thyme (4-5 sprigs): Thyme adds an earthy, slightly lemony flavor that cuts through the richness of the butter. If you don’t have fresh, use ½ teaspoon dried thyme added to the butter when you add the garlic. Rosemary also works well as a substitute.
- Chicken Broth (¼ cup): This deglazes the pan and creates a quick pan sauce. Use low-sodium broth so you can control the salt. The broth picks up all the browned bits from the bottom of the pan, which is where most of the flavor lives.
- Lemon Juice (1 tablespoon, fresh): A squeeze of fresh lemon at the end brightens everything up and balances the richness of the butter. Don’t skip this — it’s what keeps the dish from feeling heavy.
- Optional Garnishes: Fresh parsley, flaky sea salt, extra lemon wedges. These aren’t essential, but they make the dish look restaurant-quality and add a pop of freshness.
For the best results, look for chicken thighs that are roughly the same size so they cook evenly. If some are much larger than others, you can pound them gently to even them out. And don’t be shy with the garlic — this recipe loves garlic, and the flavor mellows significantly as it cooks.
Equipment Needed
You don’t need a lot of fancy equipment for this recipe, which is part of why I love it so much. Here’s what you’ll need and a few notes from my own kitchen experience.
- Large Cast Iron or Heavy-Bottomed Skillet (12-inch): This is my top recommendation. Cast iron holds heat evenly and gets screaming hot, which is exactly what you need for a good sear. My 12-inch Lodge skillet has been with me for years and it’s perfect for this recipe. If you don’t have cast iron, a heavy stainless steel or enameled skillet works well too. Avoid nonstick if possible — you won’t get the same browning.
- Paper Towels: For patting the chicken dry. This step is crucial for crispy skin, so don’t skip it.
- Tongs: A good pair of metal tongs makes flipping the chicken easy without piercing the skin. I’ve ruined more than a few pieces of chicken by using a fork and losing all those precious juices.
- Instant-Read Thermometer: Not strictly necessary if you’re experienced, but it takes the guesswork out of cooking chicken. Look for an internal temperature of 165°F (74°C) in the thickest part of the thigh, away from the bone.
- Cutting Board and Knife: For smashing garlic and chopping herbs. A chef’s knife or santoku works great.
If you don’t have a cast iron skillet, don’t run out and buy one just for this recipe. A heavy-bottomed stainless steel pan will work fine — just make sure it’s preheated properly before adding the chicken. And if all you have is nonstick, you can still make this, but reduce the heat slightly and expect less browning. Your chicken will still taste great, it just won’t have that same crackly crust.
Preparation Method
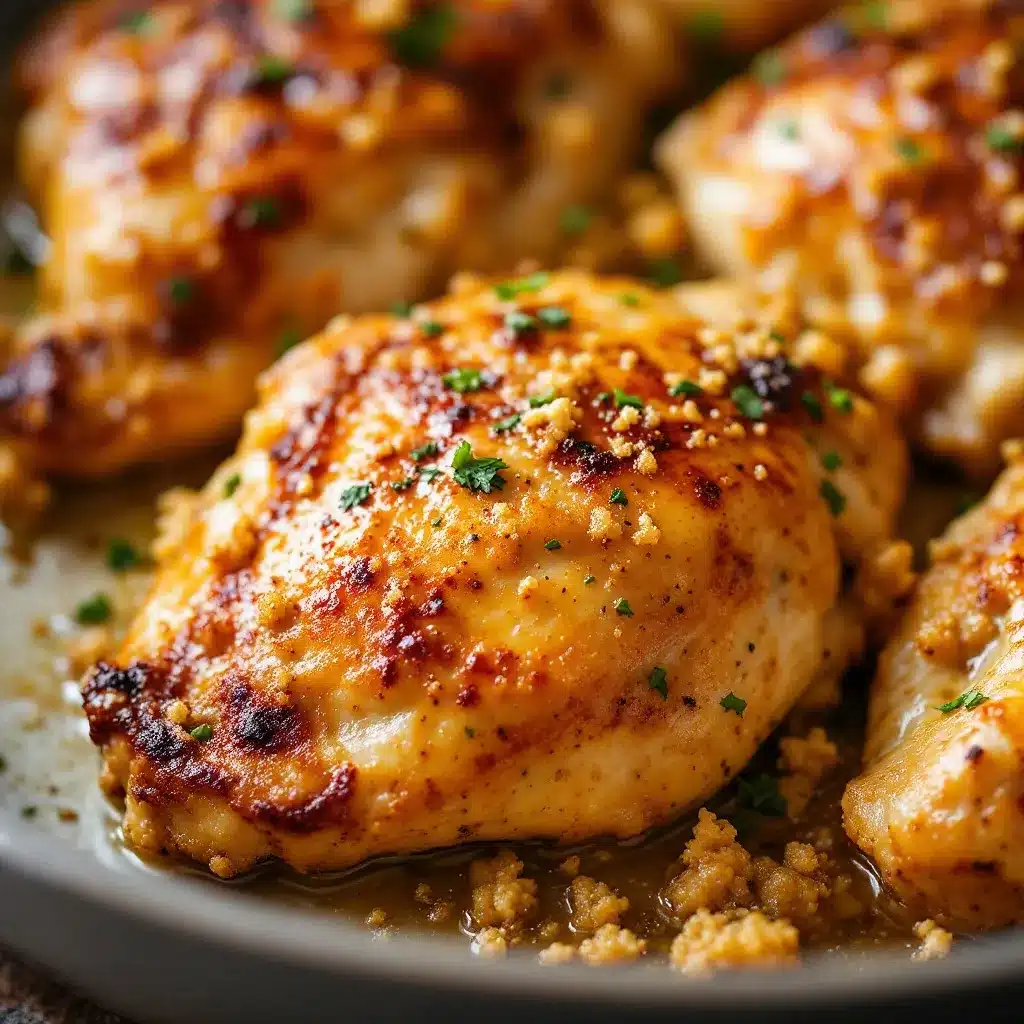
This recipe moves fast once you start cooking, so I recommend reading through the entire method before you begin. Set your ingredients out, have your tools ready, and give yourself a few minutes of uninterrupted time. Trust me, it’s worth it.
- Prep the Chicken (10 minutes before cooking): Take your chicken thighs out of the refrigerator and pat them completely dry with paper towels. This is the most important step for crispy skin — moisture is the enemy of browning. Season both sides generously with kosher salt and freshly ground black pepper. Let them sit at room temperature for 10-15 minutes. This helps them cook more evenly and gives the salt time to penetrate the meat.
- Prepare the Garlic and Herbs (5 minutes): While the chicken rests, smash 8-10 garlic cloves with the flat side of your knife. Remove the papery skins but leave the cloves mostly intact. Pick the leaves from 4-5 sprigs of fresh thyme. Cut a lemon in half and set aside. Having everything ready before you start cooking makes the whole process smoother.
- Heat the Pan (3 minutes): Place your skillet over medium-high heat and add 2 tablespoons of the unsalted butter. Let it melt and foam, then swirl the pan to coat the bottom evenly. The butter should be sizzling but not browning when you add the chicken. If it starts to brown, reduce the heat slightly.
- Add the Chicken Skin-Side Down (6-7 minutes): Carefully place the chicken thighs in the skillet, skin-side down, making sure not to crowd the pan. If your pan is too full, cook in batches. You should hear a vigorous sizzle when the chicken hits the pan. Let it cook undisturbed for 6-7 minutes. Don’t peek, don’t move it, don’t poke at it. The skin needs uninterrupted contact with the hot pan to develop that deep golden crust. You’ll know it’s ready to flip when the skin releases easily from the pan.
- Flip and Continue Cooking (5-6 minutes): Using your tongs, flip each thigh over. The skin should be beautifully golden and crispy. Add the smashed garlic cloves and fresh thyme sprigs to the pan around the chicken. Cook for another 5-6 minutes, basting the chicken occasionally with the butter in the pan. The garlic will soften and start to caramelize. If the butter starts to brown too much, reduce the heat to medium.
- Add the Broth and Baste (2-3 minutes): Pour ¼ cup of low-sodium chicken broth into the pan. It will sizzle and steam — that’s good. Use a wooden spoon or spatula to scrape up any browned bits from the bottom of the pan. These bits are pure flavor. Continue cooking for 2-3 minutes, spooning the garlic butter sauce over the chicken as it bubbles. The sauce will reduce slightly and thicken.
- Check Temperature (1 minute): Insert an instant-read thermometer into the thickest part of a thigh, avoiding the bone. You’re looking for 165°F (74°C). If it’s not quite there, continue cooking for another 1-2 minutes. If it’s above 170°F, remove from heat immediately to prevent drying out.
- Rest the Chicken (5 minutes): Transfer the chicken to a clean plate or cutting board and let it rest for at least 5 minutes. This allows the juices to redistribute throughout the meat. Don’t skip this step — cutting into hot chicken releases all those juices and leaves you with dry meat.
- Finish the Sauce (2 minutes): While the chicken rests, squeeze the juice of half a lemon into the pan. Stir to combine with the garlic butter sauce. Taste and adjust seasoning with salt and pepper as needed. If the sauce seems too thin, let it simmer for another minute to reduce. If it’s too thick, add a splash more broth.
- Serve (2 minutes): Place the rested chicken on a serving platter or individual plates. Spoon the garlic butter sauce over the top, making sure to include those soft, caramelized garlic cloves. Garnish with fresh parsley and flaky sea salt if you’re feeling fancy. Serve immediately with your favorite sides.
Cooking Tips & Techniques
After making this recipe more times than I can count, I’ve learned a few things the hard way. Here are my best tips for getting perfect results every time, along with a few mistakes I’ve made so you don’t have to.
Pat That Chicken Dry: I cannot stress this enough. The first time I made this recipe, I skipped the drying step because I was in a hurry. The skin came out pale and rubbery instead of crispy and golden. Moisture creates steam, and steam prevents browning. Take the extra 30 seconds to pat every surface dry with paper towels. Your future self will thank you.
Don’t Crowd the Pan: If your skillet is too full, the chicken will steam instead of sear. This is one of the most common mistakes home cooks make. If you’re cooking for a crowd, cook the chicken in two batches. Yes, it takes a little longer, but the results are worth it. You can keep the first batch warm in a low oven while you finish the second.
Let the Chicken Release Naturally: When you go to flip the chicken, it should release easily from the pan. If it sticks, it’s not ready yet. Give it another minute or two and try again. Forcing it will tear the skin and leave half of it stuck to the pan. Patience is key here.
Watch Your Heat: Butter has a lower smoke point than oil, so you need to be careful not to burn it. If you see the butter starting to turn dark brown or smell nutty, reduce the heat immediately. You want a deep golden brown, not burnt. If you’re nervous about burning the butter, you can start with a tablespoon of oil and add the butter later in the cooking process.
Baste, Baste, Baste: Spooning the hot garlic butter over the chicken as it cooks does two things: it keeps the meat moist and it builds layers of flavor. I like to baste every minute or so during the final cooking stage. It’s a small effort that makes a big difference.
Let It Rest: I know it’s tempting to dig in right away, but resting the chicken is essential. The internal temperature will continue to rise by about 5-10 degrees during resting, and the juices will redistribute throughout the meat. If you cut into it too soon, all those flavorful juices will end up on your cutting board instead of in your mouth.
Variations & Adaptations
One of the best things about this recipe is how adaptable it is. I’ve played around with different flavors and techniques, and here are some of my favorite variations.
Spicy Garlic Butter Chicken: Add ½ teaspoon of red pepper flakes along with the garlic for a kick of heat. You can also add a thinly sliced fresno or serrano pepper for fresh heat and color. The spice cuts through the richness of the butter beautifully. I make this version when I’m craving something with a little more excitement.
Herb-Infused Version: Swap the thyme for rosemary, sage, or a combination of both. Rosemary pairs particularly well with garlic and butter. Add a couple of fresh bay leaves to the pan for extra depth. This version feels more rustic and is perfect for fall or winter dinners.
Lemon Garlic Version: Add thin lemon slices to the pan along with the garlic. The lemon slices caramelize and become almost candy-like, and they infuse the butter with bright citrus flavor. This is my go-to for spring and summer when I want something lighter.
Dairy-Free Adaptation: Substitute the butter with a high-quality vegan butter or ghee (if you can tolerate dairy). You can also use a combination of olive oil and coconut oil, though the flavor will be different. The technique remains the same, and you’ll still get a nice crust on the chicken.
Oven-Finished Method: If you’re cooking for a crowd or want to free up stovetop space, sear the chicken as directed, then transfer the skillet to a 400°F (200°C) oven for 15-20 minutes to finish cooking. This method is more hands-off and works great for larger batches.
Air Fryer Adaptation: For an even quicker version, season the chicken and cook it in an air fryer at 380°F (193°C) for 18-20 minutes, flipping halfway through. While the chicken cooks, melt the butter with the garlic and thyme in a small saucepan. Drizzle the garlic butter over the finished chicken. This version isn’t technically one-pan, but it’s incredibly fast and the skin gets unbelievably crispy. If you love air fryer recipes, you might also enjoy this crispy air fryer chicken thighs recipe for another quick option.
Serving & Storage Suggestions
This chicken is incredibly versatile when it comes to serving. Here’s how I like to enjoy it and how to store leftovers properly.
Serving Suggestions: Serve the chicken hot, straight from the pan, with plenty of the garlic butter sauce spooned over the top. The caramelized garlic cloves are a treat — spread them on bread or mash them into the sauce. I love serving this with simple sides that let the chicken shine. Mashed potatoes are classic and soak up the sauce beautifully. Steamed green beans or roasted asparagus add a fresh, green contrast. A simple green salad with a lemon vinaigrette cuts through the richness. For a low-carb option, serve with cauliflower mash or zucchini noodles. If you’re looking for a complete meal idea, this chicken pairs wonderfully with a fresh Mediterranean chickpea bowl for a balanced and satisfying dinner.
Storage Instructions: Store leftover chicken in an airtight container in the refrigerator for up to 3-4 days. Keep the sauce separate if possible, or store everything together. The flavors actually deepen and meld overnight, so leftovers are often even better the next day.
Reheating Tips: The best way to reheat this chicken is in a skillet over medium heat with a splash of chicken broth or water. Cover the pan and let it steam for 3-4 minutes until heated through. This helps restore some of the moisture to the meat. You can also reheat in a 350°F (175°C) oven for about 10 minutes. Avoid the microwave if possible — it tends to make the skin rubbery and the meat dry.
Freezing Instructions: This chicken freezes well for up to 3 months. Let it cool completely, then wrap each piece individually in plastic wrap and place in a freezer bag. To serve, thaw overnight in the refrigerator and reheat as directed above. The skin won’t be as crispy after freezing, but the flavor will still be fantastic. I often double the recipe and freeze half for busy nights.
Flavor Development: One thing I’ve noticed is that this chicken tastes even better the next day. The garlic and herb flavors have time to meld, and the meat becomes even more tender. I’ve been known to make extra on purpose just so I can have leftovers for lunch the next day. Cold garlic butter chicken, straight from the fridge, is one of life’s simple pleasures.
Nutritional Information & Benefits
I’m not a nutritionist, but I’ve done my research on the ingredients in this dish. Here’s a general overview of what you’re getting in each serving.
Estimated Nutrition Per Serving (1 thigh with sauce):
- Calories: 380-420
- Protein: 28-32g
- Fat: 28-32g
- Carbohydrates: 2-4g
- Fiber: 0g
- Sugar: 0g
Health Benefits: Chicken thighs are an excellent source of high-quality protein, which is essential for muscle repair and overall health. They also contain iron, zinc, and B vitamins, particularly B12 and niacin. Garlic is known for its immune-boosting properties and contains compounds that may help reduce inflammation. Butter, when used in moderation, provides fat-soluble vitamins A, D, E, and K. The lemon juice adds a small amount of vitamin C and helps your body absorb the iron from the chicken.
Dietary Considerations: This recipe is naturally low-carb and keto-friendly. It’s gluten-free, grain-free, and sugar-free. If you’re dairy-sensitive, you can use ghee or a dairy-free butter alternative. For a lower-fat option, remove the skin before eating (though you’ll lose the crispy texture). As always, consult with a healthcare provider about your specific dietary needs.
Conclusion
This easy one-pan garlic butter chicken thighs recipe has become a staple in my kitchen for good reason. It’s quick enough for a busy weeknight but impressive enough for company. The ingredients are simple, the technique is straightforward, and the results are consistently delicious. Every time I make it, I’m reminded that you don’t need complicated recipes or fancy techniques to create something truly satisfying. Sometimes the best meals come from a hot pan, a few good ingredients, and a little bit of patience.
I’d love to hear how this recipe turns out for you. Did you make any substitutions? Serve it with something unexpected? Discover a new favorite variation? Drop a comment below and let me know. Your feedback helps me create better recipes, and I genuinely love hearing about your kitchen adventures. If you enjoyed this recipe, consider sharing it with a friend who needs a reliable weeknight dinner in their rotation. And if you’re looking for more one-pan meals, check out this creamy one-pan Tuscan chicken recipe for another weeknight winner.
Happy cooking, friends. May your pans be hot, your garlic be plentiful, and your dinner be delicious.
Frequently Asked Questions
Can I use chicken breasts instead of thighs?
Yes, but the results will be different. Chicken breasts cook faster and are leaner, so they can dry out more easily. If using boneless skinless breasts, reduce cooking time to about 4-5 minutes per side and check temperature early. Bone-in skin-on breasts work better but still won’t be as juicy as thighs.
How do I keep the butter from burning?
Start with medium-high heat and watch the butter carefully. If it starts to turn dark brown or smell nutty, reduce the heat immediately. You can also start with a tablespoon of oil and add the butter later in the cooking process for more control.
Can I make this recipe ahead of time?
Absolutely. Cook the chicken as directed, let it cool, and store in the refrigerator for up to 3 days. Reheat in a skillet with a splash of broth to restore moisture. The flavors actually improve overnight, making this a great make-ahead meal.
What sides go best with this chicken?
Mashed potatoes, rice, or crusty bread are classic choices for soaking up the garlic butter sauce. For vegetables, try roasted asparagus, green beans, or a simple green salad. The chicken also works well over pasta or zucchini noodles for a low-carb option.
Can I freeze the leftovers?
Yes, this chicken freezes well for up to 3 months. Wrap each piece individually in plastic wrap and place in a freezer bag. Thaw overnight in the refrigerator and reheat in a skillet. The skin won’t be as crispy after freezing, but the flavor will still be excellent.
Pin This Recipe!
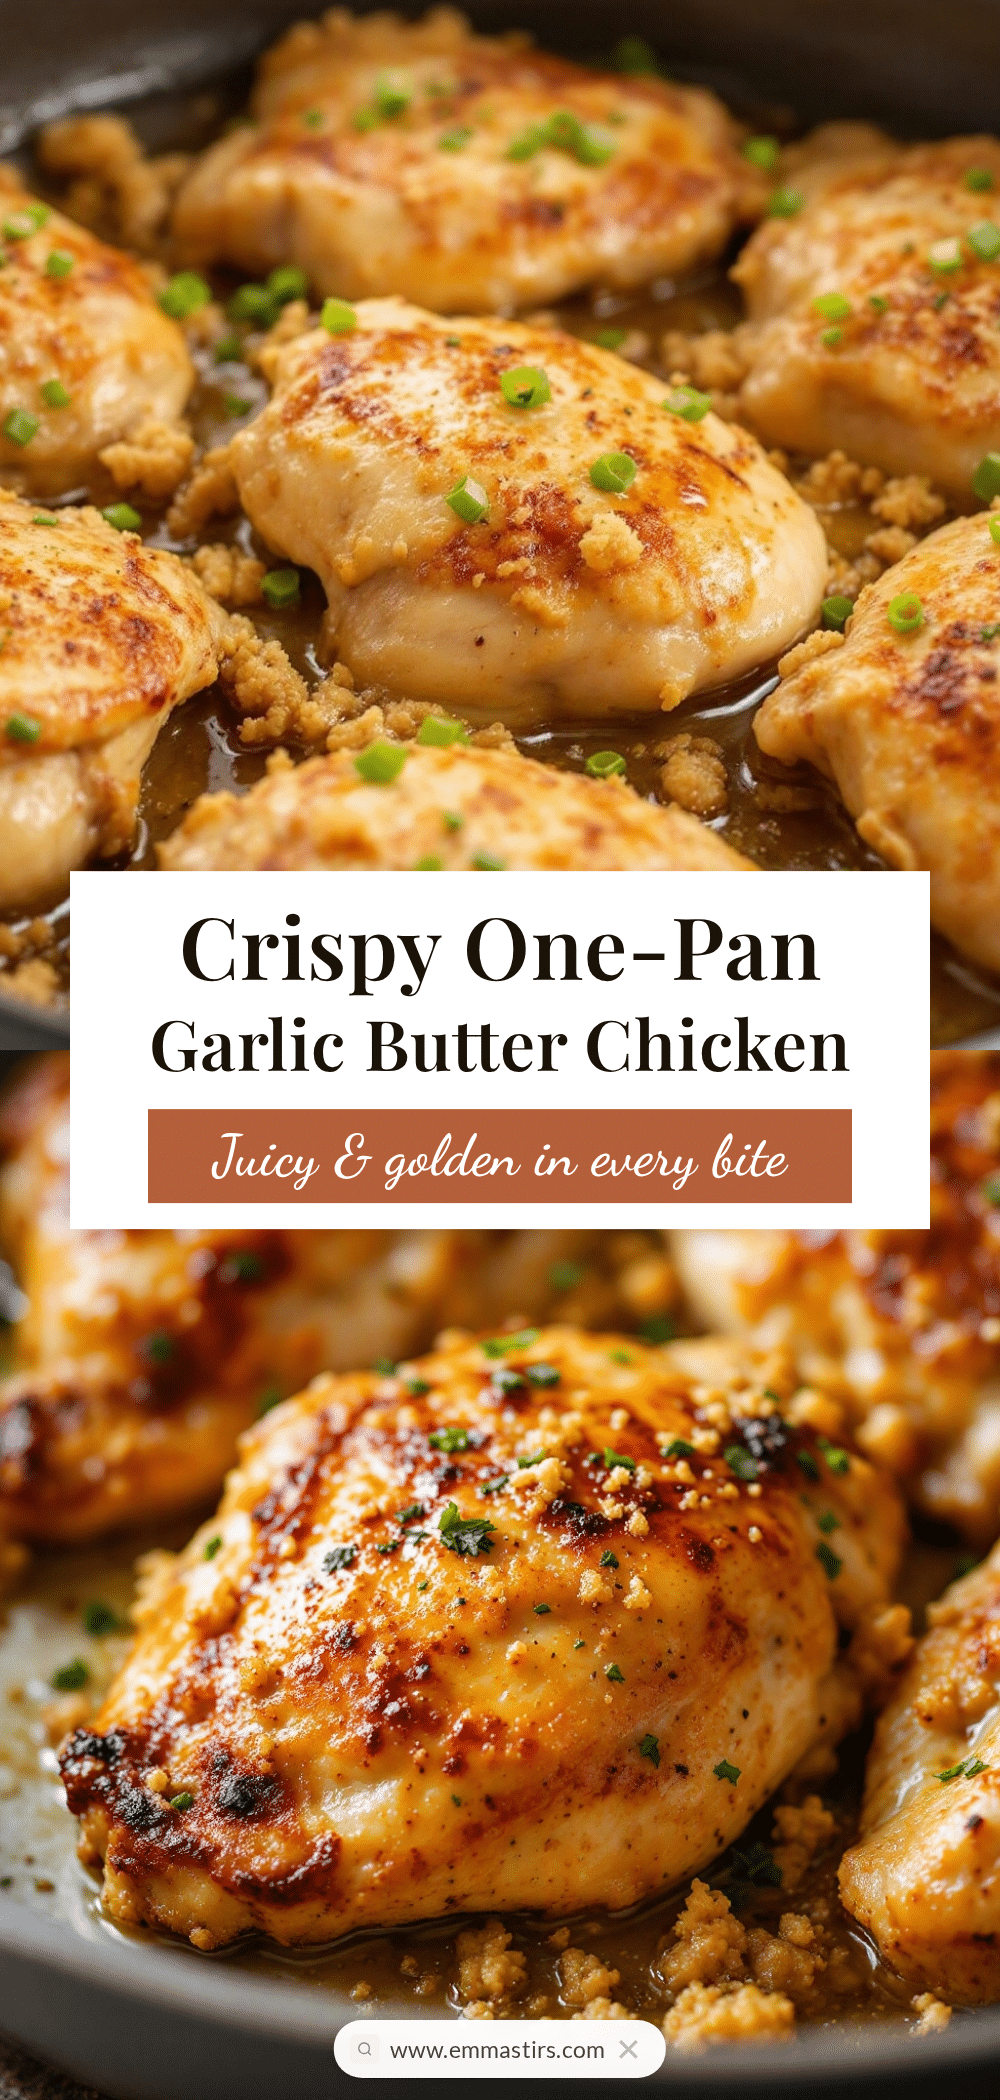
Easy One-Pan Garlic Butter Chicken Thighs – Best 30-Minute Dinner

This easy one-pan garlic butter chicken thighs recipe is ready in 30 minutes with simple pantry ingredients. Perfect for busy weeknights, it delivers crispy skin, tender meat, and a rich garlic butter sauce—all in one skillet.
- Prep Time: 15 minutes
- Cook Time: 15 minutes
- Total Time: 30 minutes
- Yield: 4 servings 1x
- Category: Main Course
- Cuisine: American
Ingredients
- 4–6 bone-in, skin-on chicken thighs
- 4 tablespoons unsalted butter, divided
- 8–10 garlic cloves, smashed
- 1 teaspoon kosher salt
- ½ teaspoon freshly ground black pepper
- 4–5 sprigs fresh thyme
- ¼ cup low-sodium chicken broth
- 1 tablespoon fresh lemon juice
- Optional: fresh parsley, flaky sea salt, lemon wedges for garnish
Instructions
- Prep the chicken: Pat chicken thighs dry with paper towels. Season both sides with kosher salt and black pepper. Let sit at room temperature for 10-15 minutes.
- Prepare garlic and herbs: Smash garlic cloves with the flat side of a knife, remove skins, and leave mostly intact. Pick thyme leaves from sprigs. Cut lemon in half.
- Heat the pan: Place a large cast iron or heavy-bottomed skillet over medium-high heat. Add 2 tablespoons butter, let melt and foam, then swirl to coat.
- Add chicken skin-side down: Place chicken in skillet skin-side down without crowding. Cook undisturbed for 6-7 minutes until skin is deep golden and releases easily.
- Flip and cook: Flip chicken. Add smashed garlic and thyme sprigs to pan. Cook 5-6 minutes, basting occasionally with butter. Reduce heat if butter browns too much.
- Add broth and baste: Pour in chicken broth. Scrape up browned bits from pan bottom. Cook 2-3 minutes, spooning sauce over chicken.
- Check temperature: Insert instant-read thermometer into thickest part of thigh (avoid bone). Target 165°F (74°C). Cook 1-2 minutes more if needed.
- Rest the chicken: Transfer chicken to a plate and let rest 5 minutes.
- Finish the sauce: Squeeze lemon juice into pan, stir, and adjust seasoning. Simmer to reduce if too thin, or add broth if too thick.
- Serve: Place chicken on platter, spoon garlic butter sauce over top, garnish with parsley and flaky salt if desired. Serve immediately.
Notes
Pat chicken dry for crispy skin. Don’t crowd the pan—cook in batches if needed. Let chicken rest before serving. Butter can burn easily; reduce heat if it darkens too much. Leftovers keep 3-4 days in fridge and freeze up to 3 months.
Nutrition
- Serving Size: 1 thigh with sauce
- Calories: 400
- Sodium: 600
- Fat: 30
- Saturated Fat: 12
- Carbohydrates: 3
- Protein: 30
Keywords: garlic butter chicken, one-pan chicken, 30-minute dinner, chicken thighs, easy weeknight dinner, crispy chicken, skillet chicken


