Love this? Save it for later!
Share the inspiration with your friends
I want tacos tonight. Not the kind that requires dragging out six different bowls and chopping a mountain of toppings. The kind that hits every single taco flavor note—the cumin, the garlic, the little kick of chili—but lands in a bowl with a spoon. That’s the craving. And honestly, I have everything except the will to dirty more than one pan.
This is how the Easy 15-Minute Ground Beef Taco Skillet was born in my kitchen on a Tuesday that felt like a Thursday and definitely called for something fast. It started as a desperate weeknight experiment—browning beef, tossing in whatever taco seasoning I had left, and praying the pantry would cooperate. It did. One pan, fifteen minutes, and a dinner that made everyone at the table actually stop talking and eat.
There’s something about a one-pan meal that just feels right. Less cleanup, more eating. And when that one pan delivers the same bold, beefy, taco-night satisfaction as the full spread? That’s not just convenient. That’s dinner magic.
I have made this skillet easily over fifty times now. It has saved me on nights when the fridge looked bare and the takeout menu felt boring. It has become the recipe I text to friends when they ask, “What can I make for dinner that doesn’t suck and takes no time?” This is that answer.
Why You’ll Love This Recipe
Let me be straight with you. I have tested a lot of taco skillet recipes over the years. Some were too watery. Some were bland. Some required a laundry list of ingredients that defeated the whole “easy dinner” purpose. This one is different.
- Quick & Easy: Fifteen minutes. That is not a typo. From the moment you turn on the stove to the moment you sit down, it takes less time than scrolling through delivery apps.
- Simple Ingredients: Ground beef, pantry spices, canned tomatoes, and a few basics. No fancy grocery runs. No chasing down obscure ingredients.
- Perfect for Busy Weeknights: This is the dinner you make when you have zero energy but still want something that tastes like you tried.
- Crowd-Pleaser: Kids eat it. Adults love it. Picky eaters clear their plates. I have served this to friends, family, and even skeptical in-laws—it always works.
- Unbelievably Delicious: The secret is in the technique. We are not just browning beef and calling it a day. We are building layers of flavor in one pan, letting the spices bloom in the hot fat, and finishing with melty cheese that ties it all together.
What makes this recipe different from every other taco skillet out there? It is the ratio. The perfect balance of beef to tomatoes to seasoning. Not too saucy, not too dry. And that little trick of letting the cheese melt right into the hot mixture instead of just sprinkling it on top? Game changer.
This is the kind of recipe that makes you close your eyes after the first bite. It is comfort food reimagined—faster, easier, but with the same soul-soothing satisfaction. Perfect for those nights when you need a win.
What Ingredients You Will Need
This recipe uses simple, wholesome ingredients that come together to deliver big, bold taco flavor without any fuss. Most of these are pantry staples you probably already have on hand.
- Ground beef, 1 pound (450g) – I use 85/15 for the best balance of flavor and not-too-greasy. 80/20 works too, just drain off excess fat after browning. You can also use ground turkey or chicken if you prefer.
- Yellow onion, 1 medium, diced – About 1 cup. Adds sweetness and depth. Red onion works in a pinch.
- Garlic, 3 cloves, minced – Fresh is best here. The jarred stuff is okay in a hurry, but fresh garlic really makes a difference.
- Chili powder, 1 tablespoon – This is your base spice. I prefer the mild kind from the grocery store—nothing fancy.
- Ground cumin, 1 teaspoon – Non-negotiable for that authentic taco flavor. It is the backbone of the whole dish.
- Smoked paprika, 1 teaspoon – Adds a subtle smokiness that regular paprika just cannot match. Trust me on this one.
- Dried oregano, ½ teaspoon – A little earthy note that rounds everything out. Mexican oregano is lovely if you have it.
- Salt, 1 teaspoon – Adjust to taste. Different brands of broth and tomatoes have varying salt levels.
- Black pepper, ¼ teaspoon – Freshly ground if you can.
- Canned diced tomatoes with green chiles, 1 can (10 ounces or 283g) – Rotel is the classic choice. If you cannot find it, use regular diced tomatoes plus a small can of diced green chiles.
- Beef broth, ½ cup (120ml) – Low-sodium is best so you can control the salt. Chicken broth or even water works in a pinch.
- Shredded cheddar cheese, 1 cup (about 100g) – Sharp cheddar gives the most flavor. Monterey Jack or a Mexican blend are great too.
- Optional toppings: Fresh cilantro, diced avocado, sour cream, sliced jalapeños, hot sauce, crushed tortilla chips for crunch.
I have made this skillet with different brands over the years, and I have to say—the quality of your chili powder really matters. I reach for McCormick for consistency, but any brand you trust will work. Just make sure your spices are fresh. If your chili powder has been sitting in the cabinet for two years, it is time for a new bottle.
For the tomatoes, Rotel Original is my go-to. The green chiles add a little something extra without being spicy. If you want more heat, grab the Hot version or add a minced jalapeño along with the onion.
Equipment Needed
The beauty of this recipe is how little gear it requires. Here is what you will need:
- Large skillet or frying pan, 12-inch (30cm) – A non-stick skillet makes cleanup even easier, but stainless steel or cast iron work beautifully too. Just make sure it has high sides to hold all the saucy goodness.
- Wooden spoon or spatula – For breaking up the ground beef as it browns. A flat-edged wooden spoon works best.
- Chef’s knife and cutting board – For dicing the onion and mincing the garlic. Nothing fancy needed.
- Measuring spoons – For the spices. Eyeballing works if you are confident, but measuring ensures consistency.
- Can opener – Unless you buy the pull-tab cans.
- Box grater – If you are shredding your own cheese (which I highly recommend—it melts so much better than pre-shredded).
I have made this in a well-seasoned cast iron skillet and also in a cheap non-stick pan from the discount store. Both worked perfectly. The cast iron holds heat better and gives a little more browning action, but the non-stick is easier to clean. Pick your tool based on what you have, not what you think you need.
One tip: if your skillet is on the smaller side, the mixture will be very full and might splatter. Stick with a 12-inch pan if you can. It gives you room to stir without sending beef bits flying across your stovetop.
Preparation Method
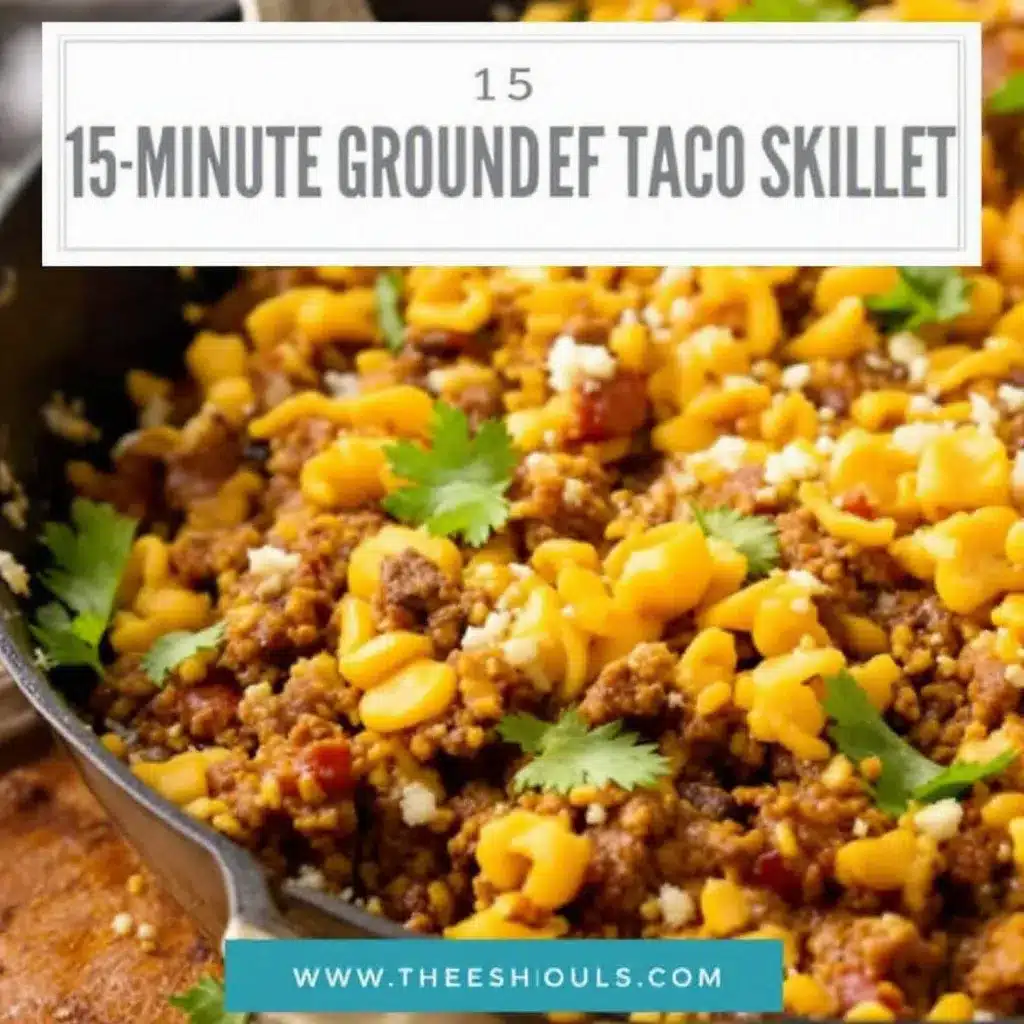
This comes together fast, so I recommend having all your ingredients measured and ready before you turn on the heat. Trust me—once that beef starts sizzling, you do not want to be hunting for the cumin.
- Heat your skillet over medium-high heat. Add a drizzle of oil—about 1 tablespoon of olive or avocado oil. Let it get hot until it shimmers. You want that first sizzle when the beef hits the pan.
- Add the ground beef and diced onion. Break the beef up with your wooden spoon as it cooks. Let it brown without stirring too much for the first 2-3 minutes—this gives you those nice browned bits that equal flavor. Cook for about 5-6 minutes total, until the beef is no longer pink and the onion is softened.
- Drain excess fat if needed. If you used 80/20 beef, you will probably want to tilt the pan and spoon out some of the grease. Leave about a tablespoon in there for flavor. If you used leaner beef, you can skip this step.
- Add the minced garlic and all the spices. Sprinkle the chili powder, cumin, smoked paprika, oregano, salt, and pepper right over the beef. Stir constantly for about 30 seconds until the spices are fragrant and toasted. This step is crucial—blooming the spices in the hot fat wakes them up and makes the whole dish taste deeper and more complex.
- Pour in the diced tomatoes with their juices and the beef broth. Stir everything together, scraping up any browned bits from the bottom of the pan. Those bits are pure flavor gold.
- Bring the mixture to a simmer. Let it bubble gently for 3-4 minutes, stirring occasionally. The liquid will reduce slightly and the flavors will meld together. You want it thick enough to cling to the beef, not soupy.
- Taste and adjust seasoning. This is your moment. Need more salt? Another pinch. Want more heat? Add a dash of cayenne or hot sauce. Trust your taste buds here.
- Sprinkle the shredded cheese evenly over the top. Cover the skillet with a lid (or a piece of foil if you do not have a lid) and let it sit for 1-2 minutes off the heat. The residual heat will melt the cheese into a glorious, gooey blanket.
- Remove the lid and serve immediately. Scoop into bowls, top with whatever you like, and eat while it is hot. The cheese should be stretchy and the beef should be tender and saucy.
Your kitchen will smell incredible at this point. Honestly, the aroma alone is worth the fifteen minutes. The beef should be tender, the sauce should be thick enough to coat a spoon, and the cheese should be completely melted and slightly golden around the edges.
One thing I learned the hard way: do not skip the step where you let the spices toast in the hot fat. I did once when I was in a hurry, and the difference was noticeable. The flavor was flat, one-dimensional. That thirty seconds of blooming makes everything taste like it cooked for an hour.
Cooking Tips & Techniques
I have made this skillet enough times to know exactly where things can go wrong. Here is what I have learned:
Don’t overcrowd the pan. If you are doubling the recipe, use a larger skillet or cook in batches. Overcrowding steams the beef instead of browning it, and you lose that deep, savory flavor. You want contact between the meat and the hot pan surface.
Let the beef actually brown. I know it is tempting to stir constantly, but resist the urge. Let the beef sit undisturbed for a couple of minutes after it hits the pan. That is how you develop the fond—those brown bits on the bottom that add so much flavor. Stirring too early just gives you gray, steamed meat.
Season in layers. Do not just dump all the salt in at the end. Season the beef as it browns, then adjust after you add the tomatoes and broth. Layering the seasoning builds complexity.
Watch your heat. Medium-high for browning, then reduce to medium-low once you add the liquids. If you keep it too high, the liquid will evaporate too quickly and you will end up with dry, scorched beef. Low and slow(ish) is the move for the simmering stage.
Use freshly shredded cheese. Pre-shredded cheese is coated with anti-caking agents that prevent it from melting smoothly. If you have five minutes to shred a block of cheddar, do it. The texture difference is real.
I once forgot to drain the fat from a particularly greasy batch of ground beef. The result was an oily, unappealing skillet that no amount of cheese could save. Learn from my mistake. If there is more than a tablespoon of fat in the pan after browning, spoon it out. Your waistline and your taste buds will thank you.
Variations & Adaptations
This recipe is a fantastic base for experimentation. Here are some variations I have tried and loved:
Low-Carb / Keto Version: Skip the beans (if you were thinking of adding them) and serve the skillet over cauliflower rice or a bed of shredded lettuce. The beef mixture itself is naturally low in carbs. Add extra cheese and a dollop of sour cream for fat and flavor.
Vegetarian Twist: Swap the ground beef for two cans of black beans (drained and rinsed) or a plant-based ground meat substitute. Cook the onion and garlic the same way, then add the beans or substitute along with the spices and tomatoes. Simmer for 5 minutes to let the flavors meld. It is surprisingly satisfying.
Spicy Upgrade: Add one finely diced jalapeño along with the onion. Use hot Rotel instead of original. Stir in a teaspoon of chipotle powder or a minced chipotle pepper in adobo sauce. Finish with a drizzle of hot sauce at the table.
Loaded Skillet: Stir in a cup of frozen corn kernels and a can of drained and rinsed black beans along with the tomatoes. Top with crushed tortilla chips, sliced avocado, pickled red onions, and a squeeze of lime. This turns it into a full meal bowl.
Breakfast Version: Yes, really. Make the beef mixture as directed, then crack a few eggs on top during the last few minutes of cooking. Cover and let the eggs steam until the whites are set but the yolks are still runny. Serve with warm tortillas for the best breakfast tacos of your life.
My personal favorite variation? I add a handful of fresh spinach right at the end, stirring until it wilts into the hot beef mixture. It adds a pop of green and a little extra nutrition without changing the flavor at all. My kids do not even notice.
Serving & Storage Suggestions
This skillet is best served hot, straight from the pan. The cheese should be melty and the beef should be piping hot. Here is how I like to serve it:
Scoop the beef mixture into bowls and top with your favorite taco fixings. I always go for fresh cilantro, diced avocado, a dollop of sour cream, and a squeeze of lime. Crushed tortilla chips on top add the perfect crunch. You can also serve it with warm flour or corn tortillas on the side for DIY tacos.
For drinks, an ice-cold Mexican beer or a spicy margarita pairs beautifully. For a non-alcoholic option, try a tart limeade or horchata. The richness of the beef loves something bright and acidic to cut through it.
Storage: Let the skillet cool completely, then transfer to an airtight container. It will keep in the refrigerator for up to 4 days. The flavors actually get better overnight as they meld together.
Freezing: This freezes beautifully. Portion the cooled beef mixture into freezer-safe bags or containers. It will keep for up to 3 months. Thaw overnight in the refrigerator before reheating.
Reheating: The best way to reheat is in a skillet over medium-low heat with a splash of water or broth to loosen it up. Stir occasionally until hot throughout. You can also microwave it in 30-second bursts, stirring in between. The cheese will not be as melty the second time around, but the flavor will still be there.
One thing I have noticed: this skillet tastes even better the next day. The spices settle and the beef absorbs all the tomato goodness. I often make a double batch just so I have leftovers for lunch.
Nutritional Information & Benefits
Here is the approximate nutritional breakdown for one serving (about 1 cup of the beef mixture, without toppings):
| Nutrient | Amount per Serving |
|---|---|
| Calories | 380 |
| Protein | 32g |
| Fat | 22g |
| Saturated Fat | 10g |
| Carbohydrates | 8g |
| Fiber | 2g |
| Sugar | 4g |
| Sodium | 780mg |
This recipe is naturally high in protein thanks to the ground beef, which also provides iron, zinc, and B vitamins. The tomatoes offer a good dose of vitamin C and lycopene, a powerful antioxidant. If you use grass-fed beef, you will get a higher concentration of omega-3 fatty acids and conjugated linoleic acid (CLA).
For those watching their carb intake, this skillet is a great option. Without any beans or rice, it is naturally low-carb and keto-friendly. If you need to reduce sodium, use low-sodium broth and no-salt-added canned tomatoes, and go easy on the added salt.
Potential allergens: dairy (cheese). The recipe is gluten-free as written, but always double-check your spice blends and broth for hidden gluten.
I personally love that this recipe feels indulgent but is actually pretty balanced. It is the kind of meal that satisfies a craving without making you feel heavy or sluggish afterward. That is a win in my book.
Conclusion
This Easy 15-Minute Ground Beef Taco Skillet has become a staple in my kitchen for good reason. It is fast, it is flavorful, and it uses ingredients I almost always have on hand. But more than that, it is reliable. On nights when I am tired, stressed, or just plain over it, this recipe shows up and delivers. Every single time.
I encourage you to make this your own. Add your favorite toppings, tweak the spice level, throw in whatever vegetables are lingering in your fridge. The base is solid, but the possibilities are endless. That is the beauty of a good one-pan meal.
If you love quick, satisfying dinners as much as I do, you might also enjoy this creamy cheeseburger soup for another cozy one-pot meal, or these cheesy ground beef stuffed bell peppers for a fun twist on taco night. For a lighter option that still packs protein, this shrimp and avocado salad is a refreshing change of pace.
I would love to hear how this recipe turns out for you. Did you add your own twist? Did your kids ask for seconds? Drop a comment below and let me know. And if you loved it, share it with a friend who needs a quick dinner win. Happy cooking!
Frequently Asked Questions
Can I use ground turkey or chicken instead of beef?
Absolutely. Ground turkey or chicken works perfectly. Just be aware that poultry is leaner, so you may need to add a tablespoon of oil to the pan before cooking to prevent sticking. The flavor will be slightly milder, so you might want to bump up the spices a little.
Can I make this recipe ahead of time for meal prep?
Yes, this is a great meal prep recipe. Cook the skillet as directed, let it cool, and portion it into containers. It will keep in the fridge for up to 4 days. Reheat in a skillet or microwave with a splash of water to refresh the sauce. Add fresh toppings after reheating.
Is this recipe gluten-free?
Yes, as written, this recipe is gluten-free. The ingredients—ground beef, vegetables, spices, tomatoes, broth, and cheese—are all naturally gluten-free. Just make sure your spice blends and broth are certified gluten-free if you have celiac disease or a severe sensitivity.
Can I add beans or rice to make it stretch further?
Definitely. Stir in one can of drained and rinsed black beans or pinto beans along with the tomatoes for extra fiber and protein. For rice, cook it separately and serve the beef mixture over it, or stir in about 2 cups of cooked rice at the end for a heartier dish. You may need to add a little extra broth if adding rice.
How do I prevent the cheese from becoming greasy?
Use full-fat, freshly shredded cheese and avoid pre-shredded blends that contain anti-caking agents. Also, do not overheat the cheese. Remove the skillet from the heat before sprinkling the cheese on top, then cover and let the residual heat melt it gently. This prevents the cheese from breaking and becoming oily.
Pin This Recipe!
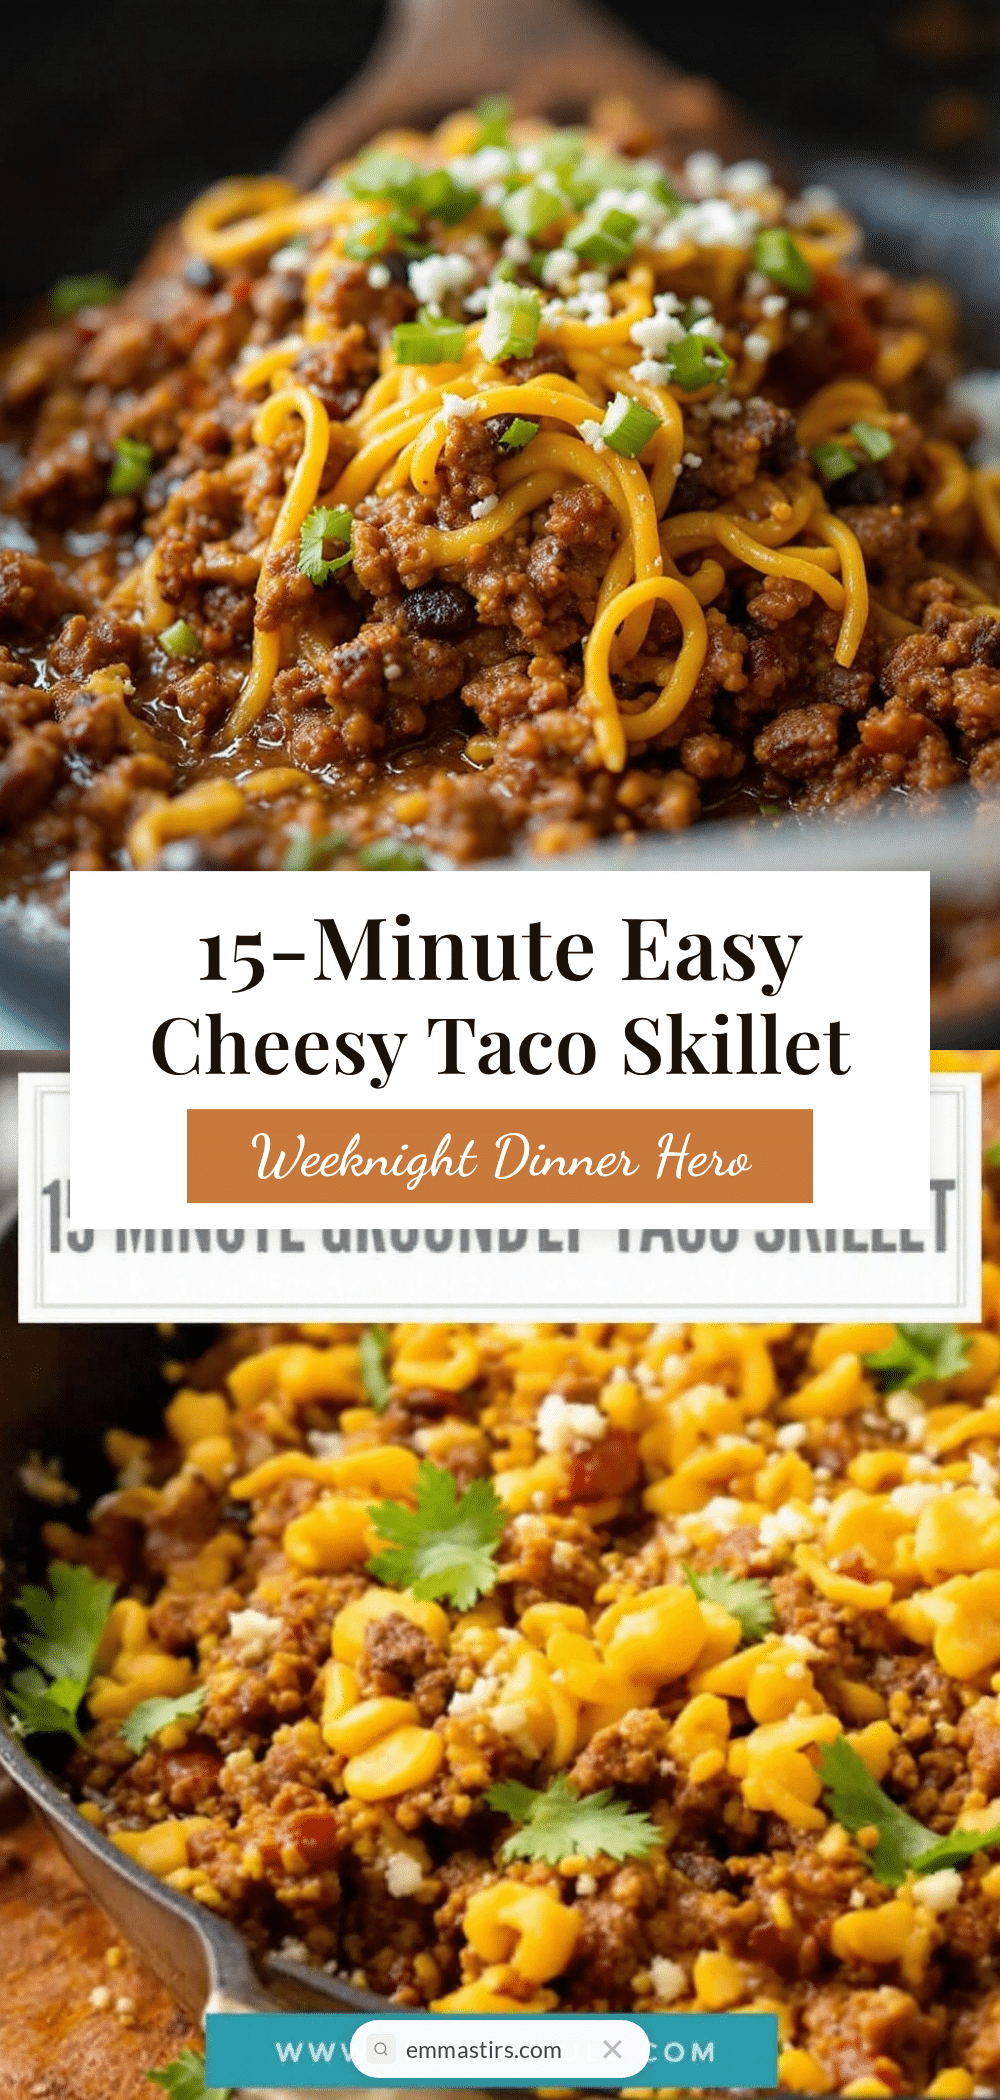
Easy 15-Minute Ground Beef Taco Skillet: Best One-Pan Dinner

A quick and flavorful one-pan taco skillet made with ground beef, pantry spices, and melty cheese. Ready in just 15 minutes, it’s the perfect weeknight dinner that delivers all the taco flavor without the fuss.
- Prep Time: 5 minutes
- Cook Time: 10 minutes
- Total Time: 15 minutes
- Yield: 4 servings 1x
- Category: Main Course
- Cuisine: Mexican
Ingredients
- 1 pound (450g) ground beef (85/15 recommended)
- 1 medium yellow onion, diced (about 1 cup)
- 3 cloves garlic, minced
- 1 tablespoon chili powder
- 1 teaspoon ground cumin
- 1 teaspoon smoked paprika
- ½ teaspoon dried oregano
- 1 teaspoon salt
- ¼ teaspoon black pepper
- 1 can (10 ounces or 283g) diced tomatoes with green chiles (e.g., Rotel)
- ½ cup (120ml) low-sodium beef broth
- 1 cup (about 100g) shredded cheddar cheese
- Optional toppings: fresh cilantro, diced avocado, sour cream, sliced jalapeños, hot sauce, crushed tortilla chips
Instructions
- Heat a large 12-inch skillet over medium-high heat. Add about 1 tablespoon of olive or avocado oil and let it shimmer.
- Add the ground beef and diced onion. Break up the beef with a wooden spoon and let it brown without stirring too much for the first 2-3 minutes. Cook for 5-6 minutes until the beef is no longer pink and the onion is softened.
- Drain excess fat if needed, leaving about 1 tablespoon in the pan.
- Add the minced garlic, chili powder, cumin, smoked paprika, oregano, salt, and pepper. Stir constantly for about 30 seconds until fragrant.
- Pour in the diced tomatoes with their juices and the beef broth. Stir, scraping up any browned bits from the bottom of the pan.
- Bring the mixture to a simmer and let it bubble gently for 3-4 minutes, stirring occasionally, until slightly thickened.
- Taste and adjust seasoning as needed.
- Sprinkle the shredded cheese evenly over the top. Cover the skillet with a lid or foil and let it sit off the heat for 1-2 minutes until the cheese is melted.
- Remove the lid and serve immediately with desired toppings.
Notes
For best flavor, let the spices bloom in the hot fat for 30 seconds. Use freshly shredded cheese for optimal melting. The skillet tastes even better the next day.
Nutrition
- Serving Size: 1 cup (about 240g)
- Calories: 380
- Sugar: 4
- Sodium: 780
- Fat: 22
- Saturated Fat: 10
- Carbohydrates: 8
- Fiber: 2
- Protein: 32
Keywords: taco skillet, ground beef, one-pan dinner, quick dinner, weeknight meal, easy recipe, 15-minute meal


