Love this? Save it for later!
Share the inspiration with your friends
That first spoonful—the kind that hits you before you even swallow—still takes me straight to my grandmother’s tiny kitchen in July. It was the sound of the spoon scraping against the glass bowl, a slow, deliberate drag that promised something cold and sweet. She never used a machine, never fussed with thermometers or ice baths. She just stirred, tasted, and tucked a bowl into the freezer like it was the most natural thing in the world. And honestly? It is.
I remember sitting on her counter, legs swinging, watching her pour that thick, golden mixture into a loaf pan. She’d sprinkle a little flaky salt on top, the kind that crunched between your teeth, and then she’d close the freezer door with a soft click. No fancy equipment. No ice cream maker. Just cream, sugar, and a little bit of patience. That memory stuck with me, long after I’d grown up and moved into my own apartment.
This easy no-churn salted caramel ice cream is my little tribute to those afternoons. It’s the kind of recipe that feels like a secret—simple ingredients, no special tools, and a result that tastes like you spent hours in the kitchen. You don’t need a degree in pastry to pull this off. You just need a whisk, a bowl, and a little faith in the magic of cold cream.
What gets me every time is how the caramel ribbons stay soft, even after a night in the freezer. They don’t freeze solid like rock candy. They stay stretchy, almost like a slow taffy, and that salty-sweet contrast hits you in the best way. It’s not complicated. It’s just good. And that’s the kind of recipe worth holding onto.
Why You’ll Love This Recipe
Let me tell you why this easy no-churn salted caramel ice cream has become my go-to for everything from summer barbecues to quiet Tuesday nights. I’ve tested this recipe more times than I can count, tweaking the caramel ratio and the salt distribution until it hit that perfect balance. It’s not just another ice cream recipe—it’s the one I reach for when I want to impress without the stress.
- No Ice Cream Maker Required: You don’t need any fancy equipment. Just a hand mixer or a whisk and some elbow grease. This is the kind of recipe that levels the playing field between a beginner and a seasoned cook.
- Simple Pantry Ingredients: Heavy cream, sweetened condensed milk, butter, brown sugar, and salt. That’s it. You probably have most of these in your kitchen right now, which means you can make this on a whim.
- Perfect for Any Occasion: Whether you’re hosting a backyard party, celebrating a birthday, or just treating yourself after a long week, this ice cream fits the bill. It’s fancy enough for guests but easy enough for a regular night in.
- Crowd-Pleaser Guaranteed: I’ve brought this to potlucks and family dinners, and it disappears every single time. The combination of sweet caramel and flaky salt hits that universal craving for something indulgent.
- Unbelievably Creamy Texture: The secret is in the whipped cream base. By folding the caramel into the whipped cream instead of stirring it in, you keep all that airy lightness while getting those gorgeous caramel ribbons throughout.
What makes this recipe different from the rest is the technique. Most no-churn recipes just mix everything together and freeze it, but that often leads to an icy, grainy texture. Here, we whip the cream to soft peaks first, which traps air and creates that smooth, scoopable consistency you’d expect from a premium brand. The caramel itself is made from scratch—no store-bought shortcuts—because honestly, the homemade stuff has a depth of flavor that you just can’t replicate.
This isn’t just good ice cream. It’s the kind that makes you close your eyes after the first bite, the kind that reminds you of summer days and lazy afternoons. It’s comfort food reimagined—rich, creamy, and just a little bit salty, with the same soul-soothing satisfaction as a warm cookie or a slice of pie. Perfect for impressing guests without breaking a sweat, or turning a simple evening into something memorable.
What Ingredients You Will Need
This recipe uses simple, wholesome ingredients to deliver that rich, creamy texture and bold caramel flavor without any fuss. Most of these are pantry staples, so you’re probably already halfway there.
- 2 cups (480 ml) heavy cream – This is the backbone of your ice cream. The high fat content is what gives it that luscious, scoopable texture. I recommend using a brand like Horizon Organic or Organic Valley for the best results. Make sure it’s cold straight from the fridge—warm cream won’t whip properly.
- 1 can (14 oz / 397 g) sweetened condensed milk – This is your sweetener and your stabilizer all in one. It adds sweetness and helps prevent ice crystals from forming. I’ve tried a few brands, and Eagle Brand or Borden work beautifully. If you’re dairy-free, you can use a coconut-based sweetened condensed milk, though the flavor will be slightly different.
- 1/2 cup (100 g) packed light brown sugar – Brown sugar gives the caramel a deeper, more complex flavor than white sugar. The molasses content adds a subtle warmth that pairs perfectly with the salt. You can use dark brown sugar for an even richer taste, but light brown is my go-to for balance.
- 4 tablespoons (56 g) unsalted butter – Butter is essential for that smooth, velvety caramel. I use unsalted so I can control the salt level myself. If you only have salted butter, just reduce the added salt by half.
- 1 teaspoon vanilla extract – A good vanilla extract rounds out the caramel and adds a layer of warmth. I prefer Nielsen-Massey or Simply Organic. Avoid imitation vanilla if you can—it has a harsh, artificial taste that can throw off the whole batch.
- 1 teaspoon flaky sea salt (plus more for topping) – This is the star of the show. Flaky sea salt like Maldon or Jacobsen gives you those little bursts of salinity that cut through the sweetness. Don’t use table salt here—it’s too fine and will dissolve completely. You want those crunchy crystals that linger on your tongue.
That’s it. Six ingredients, and you’re on your way to the best homemade ice cream of your life. No eggs, no custard base, no complicated steps. Just pure, simple goodness.
Equipment Needed
You don’t need a lot of fancy tools for this recipe, which is part of its charm. Here’s what you’ll need to get started.
- Large mixing bowl – A stainless steel or glass bowl works best. Make sure it’s clean and dry before you start whipping the cream.
- Hand mixer or stand mixer – A hand mixer is perfect for this. If you’re using a stand mixer, use the whisk attachment. You can also whip the cream by hand with a whisk, but it’ll take a few minutes of solid effort. I’ve done it both ways, and honestly, the hand mixer saves your arm.
- Medium saucepan – For making the caramel. A heavy-bottomed saucepan is ideal because it distributes heat evenly and prevents burning. I use a Calphalon or All-Clad for this.
- Loaf pan or freezer-safe container – A standard 9×5-inch loaf pan works perfectly. You can also use a metal cake pan or a plastic container with a lid. Metal pans freeze faster, which means smaller ice crystals and a creamier texture.
- Plastic wrap or parchment paper – To cover the surface of the ice cream directly. This prevents freezer burn and keeps the texture smooth.
- Spatula – A silicone spatula is ideal for folding the caramel into the whipped cream without deflating it.
If you don’t have a hand mixer, you can use a whisk and a lot of patience. It’s a good arm workout, I promise. And if you don’t have a loaf pan, any freezer-safe container will do—just make sure it’s shallow enough to freeze evenly.
Preparation Method
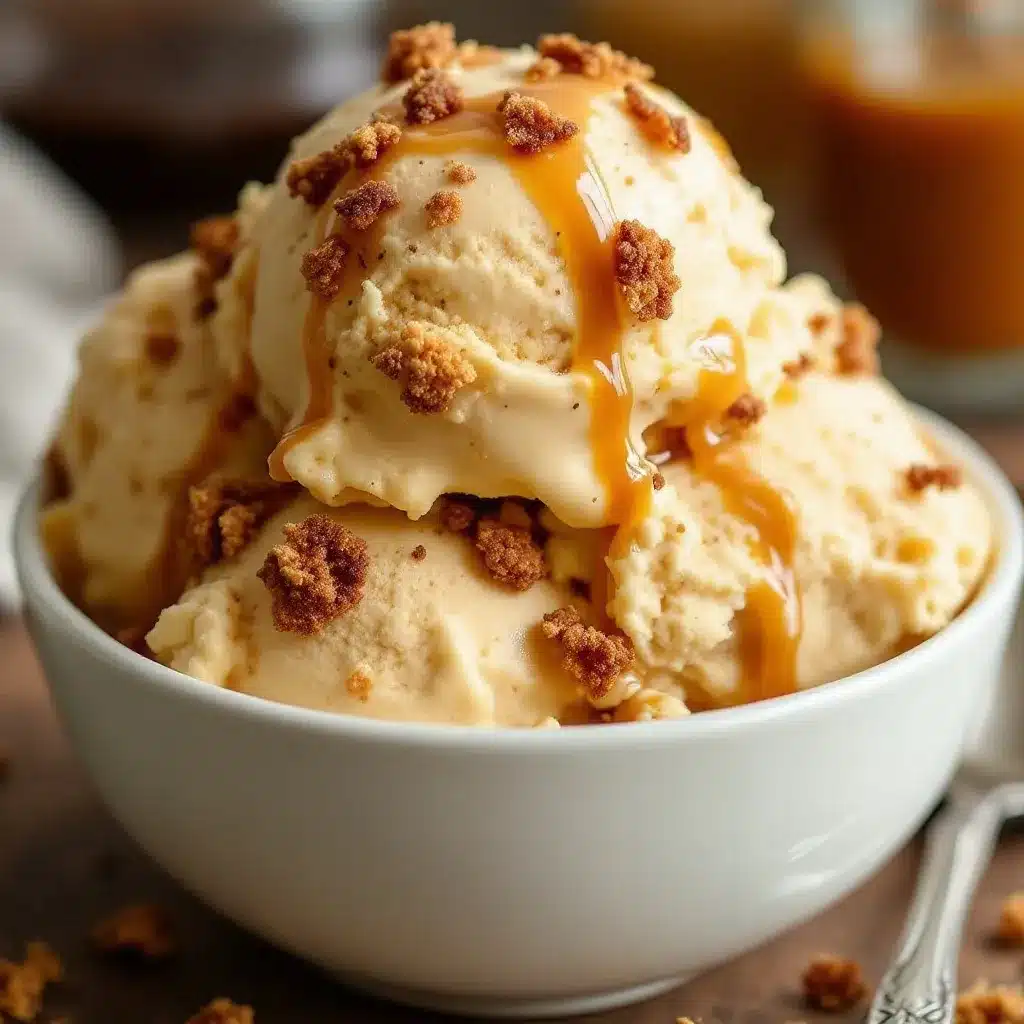
Alright, let’s get to the fun part. This recipe comes together in about 20 minutes of active time, plus a few hours in the freezer. Follow these steps, and you’ll have a batch of ice cream that rivals anything from the store.
Step 1: Make the Salted Caramel Sauce
Start by making your caramel. In a medium saucepan over medium heat, melt the 4 tablespoons of unsalted butter. Once it’s melted, add the 1/2 cup of packed light brown sugar. Stir constantly with a wooden spoon or silicone spatula until the sugar is fully dissolved and the mixture is smooth and bubbling. This takes about 2-3 minutes. You’ll see it darken slightly and smell that nutty, toasty aroma—that’s the caramel developing.
Slowly pour in the 1 cup (240 ml) of heavy cream while stirring. Be careful here—the mixture will bubble up vigorously. That’s normal. Keep stirring until everything is combined and smooth. Let it simmer for another 2-3 minutes, stirring occasionally, until it thickens slightly. It should coat the back of your spoon.
Remove the pan from the heat. Stir in the 1 teaspoon of vanilla extract and 1/2 teaspoon of the flaky sea salt. Taste it. Adjust the salt if you want—I usually add a little more because I love that salty kick. Let the caramel cool completely to room temperature. You can speed this up by pouring it into a heat-safe bowl and placing it in the fridge for 15-20 minutes, but don’t let it get cold—just cool.
Step 2: Whip the Cream
While the caramel cools, pour the remaining 1 cup (240 ml) of heavy cream into your large mixing bowl. Using a hand mixer or stand mixer with the whisk attachment, whip the cream on medium-high speed until soft peaks form. You’re looking for peaks that hold their shape but droop slightly at the tips. This takes about 2-3 minutes with a mixer. Be careful not to overwhip—if you go too far, you’ll end up with butter, and nobody wants that.
Once the cream is whipped, pour in the entire can of sweetened condensed milk. Fold it gently with a spatula until just combined. Don’t stir vigorously—you want to keep as much air in the mixture as possible. The batter should be thick, glossy, and pale ivory in color.
Step 3: Fold in the Caramel
Now for the fun part. Take your cooled caramel sauce and give it a quick stir. You want it to be pourable but not hot. If it’s too thick, microwave it for 5-10 seconds to loosen it up. Drizzle about two-thirds of the caramel over the whipped cream mixture. Reserve the rest for later.
Using a spatula, gently fold the caramel into the cream. Don’t overmix—you want ribbons of caramel running through the base, not a uniform color. A few big swirls are perfect. If you mix it too much, you’ll lose that beautiful marbled effect.
Step 4: Layer and Freeze
Pour half of the mixture into your loaf pan or freezer-safe container. Drizzle half of the remaining caramel on top. Add the rest of the ice cream base, then drizzle the last of the caramel on top. Use a knife or skewer to gently swirl the top layer—just a few passes to create those caramel veins.
Sprinkle the top with a generous pinch of flaky sea salt. This is your finishing touch, and it makes a huge difference. Cover the pan tightly with plastic wrap, pressing it directly onto the surface of the ice cream to prevent ice crystals from forming. Place it in the freezer for at least 6 hours, but preferably overnight. The longer it freezes, the firmer and creamier it gets.
Step 5: Serve and Enjoy
When you’re ready to serve, take the pan out of the freezer and let it sit at room temperature for 5-10 minutes. This softens it just enough to scoop easily. Use a warm ice cream scoop for clean, beautiful scoops. Drizzle with extra caramel sauce if you’re feeling fancy, and sprinkle a little more flaky salt on top. Serve immediately and watch it disappear.
Cooking Tips & Techniques
I’ve made this recipe more times than I can count, and I’ve learned a few things along the way. Here are my best tips to ensure your ice cream turns out perfect every time.
Don’t skip the cooling step for the caramel. I learned this the hard way. If you pour warm caramel into the whipped cream, it will melt the cream and deflate all that air you worked so hard to whip in. The result is a dense, icy ice cream instead of a light, creamy one. Let the caramel cool completely—at least to room temperature—before folding it in.
Whip the cream to soft peaks, not stiff peaks. Soft peaks mean the cream holds its shape but still has a slight droop. If you whip it to stiff peaks, you risk overworking it when you fold in the other ingredients, which can lead to a grainy texture. Stop when the cream looks like soft, billowy clouds.
Use a metal pan for faster freezing. Metal conducts cold much better than glass or plastic. If you use a metal loaf pan, your ice cream will freeze faster, which means smaller ice crystals and a creamier result. If you only have glass, just give it a little extra time in the freezer.
Press plastic wrap directly onto the surface. This is a game-changer. Air exposure is what causes freezer burn and those nasty ice crystals. By pressing the plastic wrap directly onto the surface of the ice cream, you create a seal that keeps the texture smooth and creamy. Don’t skip this step.
Let it sit before scooping. Ice cream straight from the freezer is rock hard. Let it sit on the counter for 5-10 minutes before scooping. This softens it just enough to make scooping easy without melting the edges. If you’re in a hurry, microwave the pan for 10-15 seconds—just don’t overdo it.
Variations & Adaptations
This easy no-churn salted caramel ice cream is incredibly versatile. Here are a few ways to switch it up based on your mood, dietary needs, or what you have on hand.
Chocolate Salted Caramel Swirl: Add 1/4 cup of unsweetened cocoa powder to the whipped cream mixture before folding in the caramel. You’ll get a rich chocolate base with those same salty-sweet ribbons. It’s like a fancy ice cream shop creation, but made in your own kitchen.
Vegan Version: Swap the heavy cream for full-fat coconut cream (chilled overnight) and use a dairy-free sweetened condensed milk. The coconut cream whips up beautifully and gives a subtle tropical note that pairs surprisingly well with the caramel. Just be sure to use a high-quality coconut cream for the best texture.
Nutty Crunch: Toast 1/2 cup of chopped pecans or walnuts in a dry skillet over medium heat until fragrant, about 3-4 minutes. Let them cool, then fold them into the ice cream base along with the caramel. The crunch adds a lovely contrast to the creamy texture.
Boozy Salted Caramel: Add 2 tablespoons of bourbon or dark rum to the caramel sauce after you remove it from the heat. The alcohol keeps the ice cream softer—perfect for easy scooping straight from the freezer. Plus, the warmth of the bourbon pairs beautifully with the brown sugar caramel.
Low-Sugar Option: Use a sugar-free sweetened condensed milk and replace the brown sugar with a brown sugar substitute like Swerve. The texture will be slightly different, but it’s a great option if you’re watching your sugar intake. I’ve tested this, and it works—though the caramel won’t be quite as rich.
Serving & Storage Suggestions
This ice cream is best enjoyed fresh, but it stores beautifully for up to two weeks. Here’s how to serve and store it like a pro.
Serving Temperature: Let the ice cream sit at room temperature for 5-10 minutes before scooping. This softens it to that perfect scoopable consistency. Serve it in chilled bowls or cones for an extra-special treat. Top with a drizzle of warm caramel sauce and a sprinkle of flaky sea salt for maximum effect.
Complementary Pairings: This ice cream is incredible on its own, but it also pairs beautifully with warm desserts. Try it alongside a slice of warm apple pie, a brownie, or a piece of chocolate cake. The cold, creamy ice cream against the warm, fudgy dessert is a match made in heaven. For a lighter option, serve it with fresh berries or a simple cookie.
Storage: Keep the ice cream in an airtight container with the plastic wrap pressed directly onto the surface. This prevents ice crystals and freezer burn. It will stay fresh for up to 2 weeks, though I doubt it’ll last that long. If you’re making it ahead for a party, you can freeze it for up to a month, but the texture will start to degrade after the two-week mark.
Reheating the Caramel: If you have leftover caramel sauce, store it in a jar in the fridge for up to a week. To reheat, microwave it in 10-second intervals, stirring between each, until it’s pourable. You can also warm it on the stovetop over low heat.
Flavor Development: The flavors actually deepen after a day or two in the freezer. The salt and caramel meld together, creating a more complex, balanced taste. So if you can resist digging in right away, you’ll be rewarded with an even better ice cream the next day.
Nutritional Information & Benefits
Let’s be real—this is a treat. But that doesn’t mean it can’t have a place in a balanced diet. Here’s the nutritional breakdown for one serving (about 1/2 cup) of this easy no-churn salted caramel ice cream.
- Calories: Approximately 320-350 calories per serving
- Fat: 22-25 grams (mostly from the heavy cream and butter)
- Carbohydrates: 30-35 grams (from the sweetened condensed milk and brown sugar)
- Protein: 3-4 grams
- Calcium: 10-15% of the daily value (from the dairy)
The heavy cream and butter provide a good source of healthy fats, which help keep you full and satisfied. The calcium from the dairy supports bone health, and the brown sugar offers a small amount of molasses-derived minerals like iron and potassium. Of course, this is an indulgent dessert, so enjoy it in moderation. A small scoop goes a long way when it’s this rich and flavorful.
If you’re looking for a lighter option, you can try the low-sugar variation mentioned above, or simply enjoy a smaller portion. This ice cream is so decadent that a little bit feels like a lot.
Conclusion
This easy no-churn salted caramel ice cream is one of those recipes that feels almost too good to be true. No machine, no complicated steps, and just six ingredients—yet the result is a creamy, dreamy dessert that rivals anything you’d buy at a fancy ice cream shop. It’s the kind of recipe that makes you feel like a kitchen wizard, even if you’re just starting out.
What I love most about this recipe is how customizable it is. You can keep it classic, or you can riff on it with chocolate, nuts, or a splash of bourbon. It’s forgiving, it’s foolproof, and it’s guaranteed to put a smile on everyone’s face. Whether you’re making it for a summer party, a holiday gathering, or just because it’s Tuesday and you deserve something sweet, this ice cream delivers every single time.
I’d love to hear how yours turns out. Did you add your own twist? Did you serve it with something special? Drop a comment below and let me know. And if you loved this recipe, share it with a friend who needs a little sweetness in their life. Trust me—they’ll thank you.
Now go forth and make some ice cream. You’ve got this.
Frequently Asked Questions
Can I use store-bought caramel sauce instead of making my own?
You can, but I really recommend making it from scratch. Homemade caramel has a deeper, richer flavor that you just can’t get from a jar. Plus, it’s only four ingredients and takes about 5 minutes. If you’re in a pinch, look for a high-quality caramel sauce without corn syrup or artificial flavors.
Why did my ice cream turn out icy?
Icy ice cream usually means there wasn’t enough fat or air in the mixture. Make sure you’re using full-fat heavy cream and whipping it to soft peaks. Also, pressing plastic wrap directly onto the surface of the ice cream before freezing helps prevent ice crystals from forming.
Can I make this recipe dairy-free?
Absolutely. Use full-fat coconut cream (chilled overnight) in place of the heavy cream, and look for a dairy-free sweetened condensed milk made from coconut or oat milk. The flavor will be slightly different, but it’s still delicious. Just make sure the coconut cream is cold before whipping.
How long does this ice cream last in the freezer?
It stays fresh and creamy for up to 2 weeks when stored properly. After that, the texture starts to degrade and ice crystals may form. If you’re making it ahead for a party, aim to serve it within the first week for the best texture.
Can I double this recipe?
Yes, you can easily double it. Just use a larger container for freezing, like a 9×13-inch baking dish. Keep in mind that a larger volume will take longer to freeze, so plan for an extra hour or two in the freezer. You may also need to whip the cream in batches if your mixer bowl isn’t big enough.
Pin This Recipe!
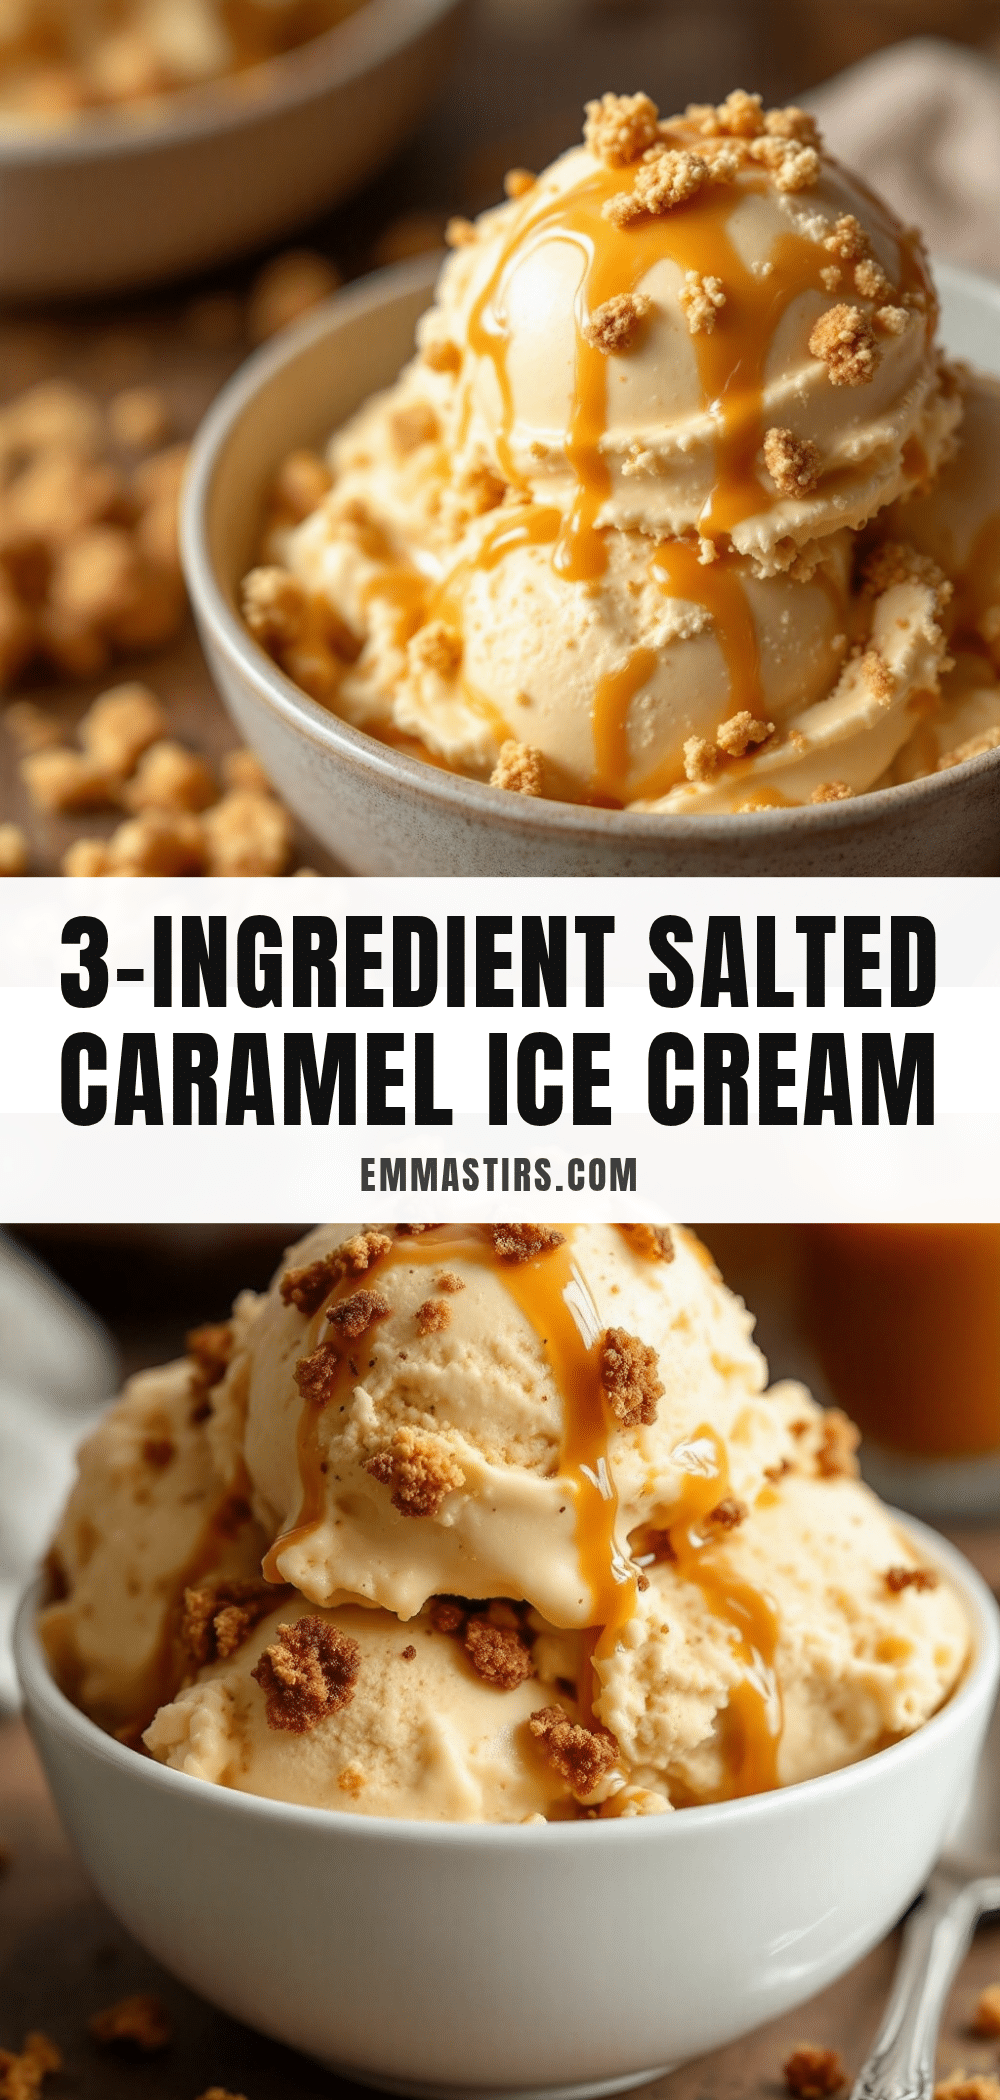
Easy No-Churn Salted Caramel Ice Cream
This easy no-churn salted caramel ice cream requires no ice cream maker and just six simple ingredients. It’s creamy, rich, and features soft caramel ribbons with a salty-sweet contrast that’s perfect for any occasion.
- Prep Time: 20 minutes
- Cook Time: 10 minutes
- Total Time: 6 hours 30 minutes (including freezing time)
- Yield: 8 servings 1x
- Category: Dessert
- Cuisine: American
Ingredients
- 2 cups (480 ml) heavy cream
- 1 can (14 oz / 397 g) sweetened condensed milk
- 1/2 cup (100 g) packed light brown sugar
- 4 tablespoons (56 g) unsalted butter
- 1 teaspoon vanilla extract
- 1 teaspoon flaky sea salt (plus more for topping)
Instructions
- Make the salted caramel sauce: In a medium saucepan over medium heat, melt the butter. Add the brown sugar and stir constantly until dissolved and bubbling, about 2-3 minutes. Slowly pour in 1 cup (240 ml) of the heavy cream while stirring; the mixture will bubble up. Simmer for 2-3 minutes until slightly thickened. Remove from heat and stir in vanilla extract and 1/2 teaspoon of flaky sea salt. Let cool completely to room temperature.
- Whip the cream: In a large mixing bowl, whip the remaining 1 cup (240 ml) of heavy cream with a hand mixer or stand mixer on medium-high speed until soft peaks form, about 2-3 minutes. Gently fold in the sweetened condensed milk until just combined.
- Fold in the caramel: Drizzle about two-thirds of the cooled caramel sauce over the whipped cream mixture. Gently fold with a spatula to create ribbons; do not overmix.
- Layer and freeze: Pour half of the mixture into a loaf pan or freezer-safe container. Drizzle half of the remaining caramel on top. Add the rest of the ice cream base, then drizzle the last of the caramel on top. Use a knife or skewer to gently swirl the top layer. Sprinkle with a generous pinch of flaky sea salt. Cover tightly with plastic wrap, pressing it directly onto the surface. Freeze for at least 6 hours, preferably overnight.
- Serve: Let the ice cream sit at room temperature for 5-10 minutes before scooping. Serve with extra caramel sauce and flaky salt if desired.
Notes
Let the caramel cool completely before folding into the whipped cream to prevent melting. Press plastic wrap directly onto the surface to prevent ice crystals. For best texture, freeze overnight. The ice cream stays fresh for up to 2 weeks when stored properly.
Nutrition
- Serving Size: 1/2 cup
- Calories: 320350
- Sugar: 2832
- Sodium: 200250
- Fat: 2225
- Saturated Fat: 1416
- Carbohydrates: 3035
- Protein: 34
Keywords: no-churn ice cream, salted caramel, homemade ice cream, easy dessert, no ice cream maker


