Love this? Save it for later!
Share the inspiration with your friends
The platter was licked clean. Not just the bones, but the actual platter. My friend Jen actually texted me at 11 PM that night: “I need that wing recipe. My husband won’t stop talking about them.” I had to laugh because I almost didn’t make them. I was tired, it was a random Saturday get-together, and I was this close to just ordering pizza. But I had a bag of chicken wings in the fridge and a brand-new air fryer I was still getting to know. So I threw together a honey garlic glaze, crossed my fingers, and hoped for the best. What came out of that air fryer was pure magic—crispy, sticky, sweet, and savory all at once. Honestly, I stood there in the kitchen eating one straight off the tray before anyone else could get to them. That’s how you know it’s a winner, right?
These Crispy Air Fryer Honey Garlic Chicken Wings have become my secret weapon. They are the thing I bring to parties, the thing I make for game days, and honestly, the thing I make for myself on a Tuesday when I just want something insanely good. The air fryer gives you that perfect crispy skin without the mess of deep frying, and the honey garlic sauce is this incredible balance of sticky sweet and savory umami. It’s one of those recipes that looks and tastes like you spent hours on it, but it comes together in under 30 minutes.
I’ve tested this recipe at least a dozen times to get the texture just right. Too many recipes end up with soggy wings or a sauce that slides right off. Not these. The secret is in the technique—a little trick I learned after a few sad, limp batches. Trust me, once you make these, you will never look at chicken wings the same way again. They are that good.
Why You’ll Love This Recipe
Let me tell you why these wings are about to become your new favorite thing. I’ve made them for picky eaters, for spice lovers, for people who “don’t really like chicken wings,” and every single time, the platter comes back empty.
- Quick & Easy: From fridge to table in under 30 minutes. No marinating overnight, no complicated steps. Just toss, cook, and glaze.
- Simple Ingredients: You probably have everything in your kitchen right now. Honey, soy sauce, garlic, chicken wings—that’s it. No fancy grocery store trips required.
- Perfect for Game Day or Weeknight Dinner: These wings work for everything. Super Bowl party? Yes. Lazy Tuesday dinner with a salad? Absolutely. Impressing last-minute guests? You bet.
- Crowd-Pleaser: Kids love the sweet honey glaze. Adults love the savory garlic kick. Everyone loves the crispy texture. It’s the rare recipe that unites the whole table.
- Unbelievably Delicious: The combination of crispy, air-fried skin with that sticky, glossy honey garlic sauce is next-level. It’s the kind of food that makes you close your eyes after the first bite.
What makes these wings different from every other recipe out there? It’s the double-cook technique. Most air fryer wing recipes just toss the wings in and hope for the best. I’ve learned that a short initial cook at a lower temperature renders the fat and crisps the skin from the inside out, and then a blast of high heat at the end seals the deal. No baking powder tricks, no cornstarch coating—just pure, perfect chicken wing science. I’ve tested it with and without the extra step, and trust me, this is the way.
What Ingredients You Will Need
This recipe uses simple, everyday ingredients to create something truly special. The magic is in how they come together, not in a long list of hard-to-find items. Here is everything you need:
For the Chicken Wings
- 2 lbs chicken wings (about 10-12 whole wings, or 20-24 flats and drumettes) — I prefer buying whole wings and cutting them myself at the joint. It saves money and the pieces are more uniform. If you buy pre-cut, just make sure the pieces are similar in size for even cooking.
- 1 tablespoon baking powder (NOT baking soda!) — This is the secret to ultra-crispy skin. It helps dry out the surface and creates tiny bubbles that get golden and crunchy. I use aluminum-free baking powder for the best taste.
- 1 teaspoon salt — I use fine sea salt. It dissolves better and seasons more evenly.
- 1/2 teaspoon black pepper — Freshly ground is always better, but pre-ground works in a pinch.
- 1/2 teaspoon garlic powder — Adds a subtle savory depth to the skin itself.
For the Honey Garlic Glaze
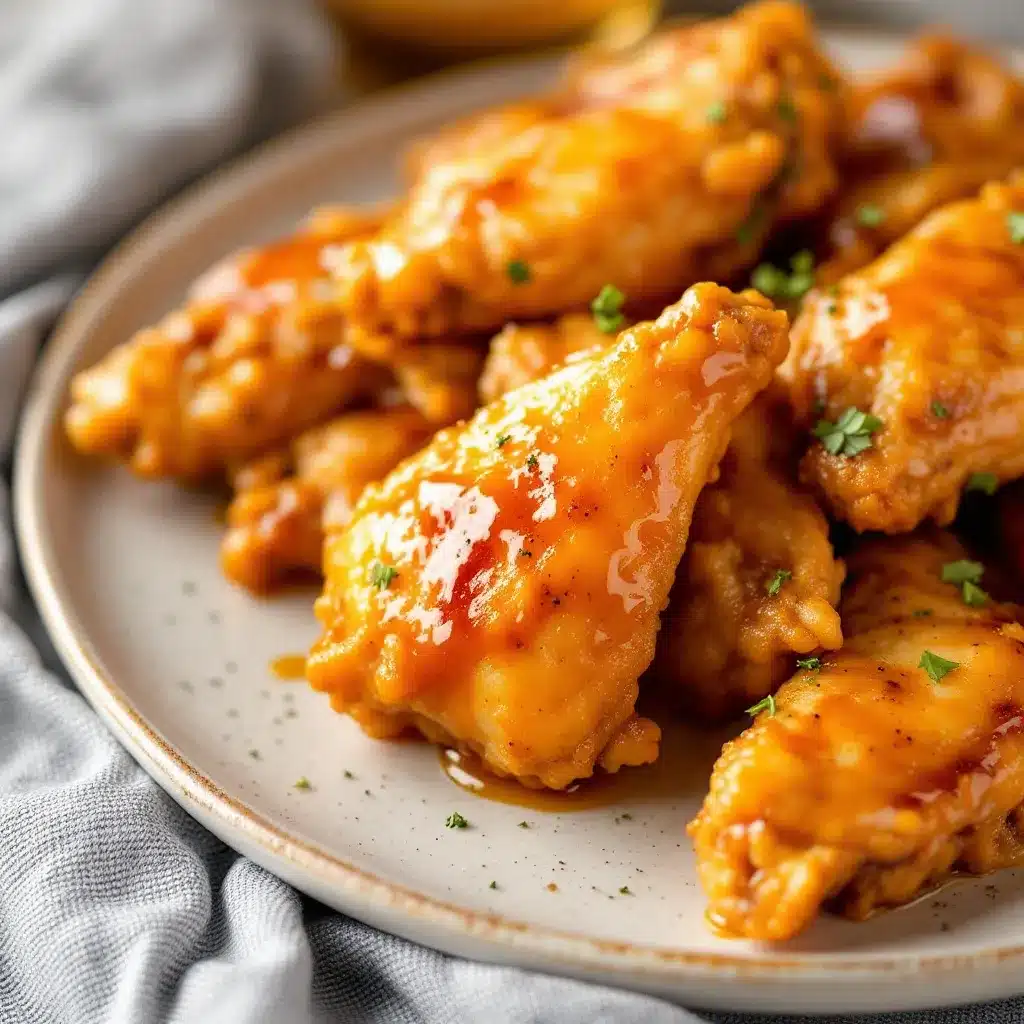
- 1/3 cup honey — Use a good-quality, runny honey. The flavor really comes through here, so skip the cheap stuff if you can. I love using local wildflower honey for its floral notes.
- 3 tablespoons soy sauce — Low-sodium is best so the sauce doesn’t get too salty. You can also use tamari or coconut aminos for a gluten-free option.
- 4 cloves garlic, minced — Fresh garlic is non-negotiable here. The pre-minced stuff in a jar has a different flavor and won’t give you that punchy, aromatic kick.
- 1 tablespoon rice vinegar — This balances the sweetness with a little acidity. Apple cider vinegar works too if that’s what you have.
- 1 tablespoon unsalted butter — This gives the sauce that silky, glossy finish and helps it cling to the wings beautifully.
- 1 teaspoon sesame oil (optional but recommended) — Adds a lovely nutty aroma that makes the wings taste restaurant-quality.
- Pinch of red pepper flakes (optional) — For a tiny hint of heat that cuts through the sweetness.
For Garnish
- Sesame seeds — Toasted white or black sesame seeds add a beautiful visual touch and a little nutty crunch.
- Sliced green onions — Fresh and bright, they balance the richness of the glaze.
Equipment Needed
You don’t need a professional kitchen to make these wings, but having the right tools makes the process so much smoother. Here is what you will need:
- Air Fryer: Any brand works, but I use a 5.8-quart basket-style air fryer. It fits about 2 pounds of wings comfortably without overcrowding. If yours is smaller, cook in batches—crowding is the enemy of crispiness.
- Large Mixing Bowl: For tossing the wings with the seasoning. A glass or stainless steel bowl is ideal.
- Paper Towels: Absolutely essential for drying the wings thoroughly. Wet wings = soggy skin.
- Small Saucepan: For making the honey garlic glaze. A non-stick pan works best for easy cleanup.
- Whisk: To combine the glaze ingredients smoothly.
- Tongs: For flipping the wings halfway through cooking and for tossing them in the glaze. Silicone-tipped tongs won’t scratch your air fryer basket.
- Pastry Brush (optional): For brushing the glaze onto the wings if you want a more even application, though tossing works just as well.
- Instant-Read Thermometer (optional but recommended): Chicken wings are safe to eat at 165°F, but I find they have the best texture at 175-180°F because the connective tissue breaks down more.
I’ve made these wings with a cheaper air fryer and a fancy one, and honestly, the results are similar as long as you follow the temperature and timing. Don’t overthink the equipment—just make sure your air fryer is clean and preheated.
Preparation Method
Alright, let’s get cooking. Follow these steps carefully, and you will have the crispiest, most delicious honey garlic wings of your life.
- Prep the chicken wings (5 minutes): If you bought whole wings, cut them at the joints. You should get three pieces: the drumette, the flat, and the tip. Discard the tips or save them for stock. Pat each piece completely dry with paper towels. This is the most important step—moisture is the enemy of crispy skin. I usually lay them out on a paper towel-lined tray and let them air-dry for 10 minutes while I prep everything else.
- Season the wings (5 minutes): In a large bowl, combine the baking powder, salt, pepper, and garlic powder. Add the dried wings and toss well with your hands until every piece is evenly coated. The baking powder might look a little dusty at first, but trust the process—it will create that beautiful golden crust.
- Preheat the air fryer (3 minutes): Set your air fryer to 250°F (120°C) and let it preheat for 3 minutes. This lower initial temperature is the secret to rendering the fat slowly without burning the outside.
- First cook (20 minutes): Place the wings in a single layer in the air fryer basket. Do not overcrowd—they need room for the hot air to circulate. Cook at 250°F for 20 minutes, flipping halfway through. At this stage, the wings will look pale and unimpressive. Don’t worry. The fat is rendering and the skin is starting to dry out and tighten.
- Second cook (10-12 minutes): Increase the air fryer temperature to 400°F (200°C). Cook for another 10-12 minutes, flipping once at the 5-minute mark. Watch them closely toward the end—air fryers vary, and you want deep golden brown, not burnt. The skin should look crispy and slightly puffed. If you have an instant-read thermometer, the internal temperature should be around 175-180°F.
- Make the honey garlic glaze (5 minutes): While the wings are doing their final cook, make the glaze. In a small saucepan over medium heat, combine the honey, soy sauce, minced garlic, and rice vinegar. Bring to a gentle simmer, then reduce the heat to low. Let it bubble gently for 3-4 minutes, stirring occasionally, until it thickens slightly. Remove from heat and whisk in the butter and sesame oil until the butter is melted and the sauce is glossy. Taste and adjust—add more honey if you want it sweeter, more vinegar if you want it tangier.
- Toss and glaze (2 minutes): Once the wings are done, transfer them to a large bowl. Pour about half the glaze over the wings and toss gently with tongs until every piece is coated. Don’t drown them—you want a glossy coat, not a soggy mess. Reserve the remaining glaze for serving or drizzling.
- Garnish and serve (2 minutes): Transfer the glazed wings to a serving platter. Sprinkle generously with sesame seeds and sliced green onions. Serve immediately while they are hot and crispy. Seriously, don’t let them sit—the glaze stays sticky and the skin stays crunchy for about 10-15 minutes, and then they start to soften.
Cooking Tips & Techniques
I have made a lot of mistakes with chicken wings so you don’t have to. Here are the things I wish someone had told me.
Pat them dry like your life depends on it. I cannot stress this enough. Wet wings steam instead of crisp. I actually leave my wings uncovered in the fridge for an hour before cooking sometimes—it dries the skin out even more and gives you an insane crunch.
Don’t skip the low-temperature first cook. The first time I made these, I just blasted them at 400°F for 20 minutes. The outside burned before the inside was done. The two-step method renders the fat slowly, so the skin gets thin and crispy instead of thick and chewy. It adds 20 minutes but the texture is worlds better.
Work in batches if you have to. My air fryer holds about 2 pounds of wings comfortably. If I’m making more, I cook them in batches and keep the finished ones warm in a 200°F oven on a wire rack. Never pile hot wings on a plate—the steam will soften the crispiness immediately.
Glaze at the last possible second. The honey garlic sauce is amazing, but it will soften the crispiness if you let it sit too long. I glaze the wings right before serving and serve any extra sauce on the side for dipping. If you are making these for a party, keep the wings and sauce separate and toss them right before people start eating.
My biggest failure: I once made a double batch for a Super Bowl party and glazed all the wings an hour before people arrived. By game time, they were sticky and soft. I had to quickly re-crisp them in the air fryer for 3 minutes at 400°F and re-glaze. It worked, but I learned my lesson. Save the glaze for the final minute.
Variations & Adaptations
One of the best things about this recipe is how easy it is to customize. Here are some of my favorite variations:
- Spicy Honey Garlic: Add 1-2 teaspoons of sriracha or gochujang to the glaze for a spicy-sweet kick. I love this version—the heat balances the honey perfectly. You can also sprinkle the finished wings with crushed red pepper flakes for extra heat.
- Garlic Lovers’ Version: Double the garlic in the glaze and add 2 cloves of roasted garlic for a deeper, sweeter garlic flavor. Roast the garlic ahead of time by wrapping a head of garlic in foil and baking at 400°F for 40 minutes until soft and caramelized.
- Lemon Herb Twist: Add the zest of one lemon and a tablespoon of fresh thyme to the glaze. Finish with fresh parsley instead of green onions. This version is brighter and less sweet—perfect for summer cookouts.
- Oven-Baked Option: If you don’t have an air fryer, you can bake these wings. Place the seasoned wings on a wire rack set over a baking sheet. Bake at 250°F for 30 minutes, then increase the temperature to 425°F and bake for another 25-30 minutes until golden and crispy. The texture is slightly different but still delicious.
- Keto/Low-Carb: Replace the honey with a sugar-free honey substitute or use allulose syrup. The glaze won’t get quite as sticky, but the flavor is still fantastic. You can also skip the glaze entirely and serve the wings with a dry rub—try a mix of garlic powder, onion powder, smoked paprika, and salt.
I personally love the spicy honey garlic version. I make it for myself on nights when I want something indulgent but don’t want to order takeout. It hits that same sweet-and-spicy craving without the delivery fee.
Serving & Storage Suggestions
These wings are best served immediately, but here is how to make the most of them.
Serving: Arrange the glazed wings on a large platter. Sprinkle with sesame seeds and sliced green onions. Serve with extra glaze on the side for dipping, along with celery sticks and carrot sticks for a classic wing experience. For a complete meal, pair them with a fresh watermelon cucumber feta salad for a refreshing contrast, or serve them alongside crispy grilled zucchini and squash for a low-carb dinner. They also go beautifully with a healthy grilled chicken Caesar salad if you want to keep things light.
Storage: Leftover wings can be stored in an airtight container in the refrigerator for up to 4 days. The glaze will soften the skin over time, so expect them to be less crispy the next day. They still taste amazing, though—the flavors actually meld together even more.
Reheating: The air fryer is your best friend here. Reheat the wings at 375°F for 3-4 minutes until warmed through and re-crisped. You can also reheat them in a 400°F oven on a wire rack for 5-7 minutes. Avoid the microwave—it will turn them into a sad, rubbery mess.
Freezing: You can freeze the cooked, unglazed wings for up to 3 months. Let them cool completely, then freeze them in a single layer on a baking sheet. Once frozen, transfer them to a freezer bag. To serve, reheat directly from frozen in the air fryer at 375°F for 8-10 minutes, then toss with fresh glaze.
Nutritional Information & Benefits
These wings are indulgent, but they also have some surprising nutritional benefits. Here is an approximate breakdown per serving (about 5-6 pieces, based on 4 servings):
| Nutrient | Amount |
|---|---|
| Calories | 380 |
| Protein | 28g |
| Fat | 22g |
| Carbohydrates | 18g |
| Sugar | 16g |
| Sodium | 780mg |
Chicken wings are a good source of protein, which helps keep you full and supports muscle health. The skin contains collagen, which is great for your joints and skin. Honey provides natural energy and contains antioxidants, while garlic is known for its immune-boosting properties. If you are watching your sodium, use low-sodium soy sauce and reduce the added salt. For a lighter option, you can skip the butter in the glaze—the wings will still be delicious, just slightly less glossy.
Conclusion
These Crispy Air Fryer Honey Garlic Chicken Wings are the kind of recipe that makes you look like a hero with almost no effort. They are crispy, sticky, sweet, savory, and absolutely impossible to stop eating. Whether you are making them for a game day crowd, a casual dinner, or just because you deserve something amazing, they deliver every single time.
I love this recipe because it proves that you don’t need a deep fryer or a complicated technique to make restaurant-quality wings at home. Just a simple air fryer, a few pantry ingredients, and a little bit of patience for that two-step cooking method. And honestly, the smell of honey and garlic filling your kitchen is worth the effort alone.
I would love to hear how these turn out for you. Did you try a variation? Did you double the garlic? Did you make them for a party and watch them disappear? Drop a comment below and let me know. And if you loved this recipe, share it with a friend who needs more crispy wings in their life. Happy cooking!
Frequently Asked Questions
Can I use frozen chicken wings?
Yes, but you need to thaw them completely first. Frozen wings release too much water as they cook, which prevents the skin from getting crispy. Thaw them in the refrigerator overnight, then pat them very dry before seasoning.
Why are my wings not crispy?
The most common reasons are: the wings weren’t dried properly before seasoning, the air fryer was overcrowded, or you skipped the low-temperature first cook. Make sure your wings are bone-dry, cook in a single layer, and follow the two-step temperature method for the best results.
Can I make the glaze ahead of time?
Absolutely. The honey garlic glaze can be made up to a week in advance and stored in an airtight container in the refrigerator. Reheat it gently on the stove or in the microwave before tossing with the wings. You may need to add a splash of water to thin it out if it thickens too much.
Is this recipe gluten-free?
As written, the recipe is not gluten-free because of the soy sauce. However, you can easily make it gluten-free by using tamari or coconut aminos instead of soy sauce. The rest of the ingredients are naturally gluten-free.
How do I prevent the glaze from burning in the air fryer?
Never put the glaze on the wings before cooking. The sugar in the honey will burn at high temperatures. Always cook the wings plain, then toss them in the glaze after they are fully cooked. If you want extra flavor during cooking, use a dry rub instead.
Pin This Recipe!
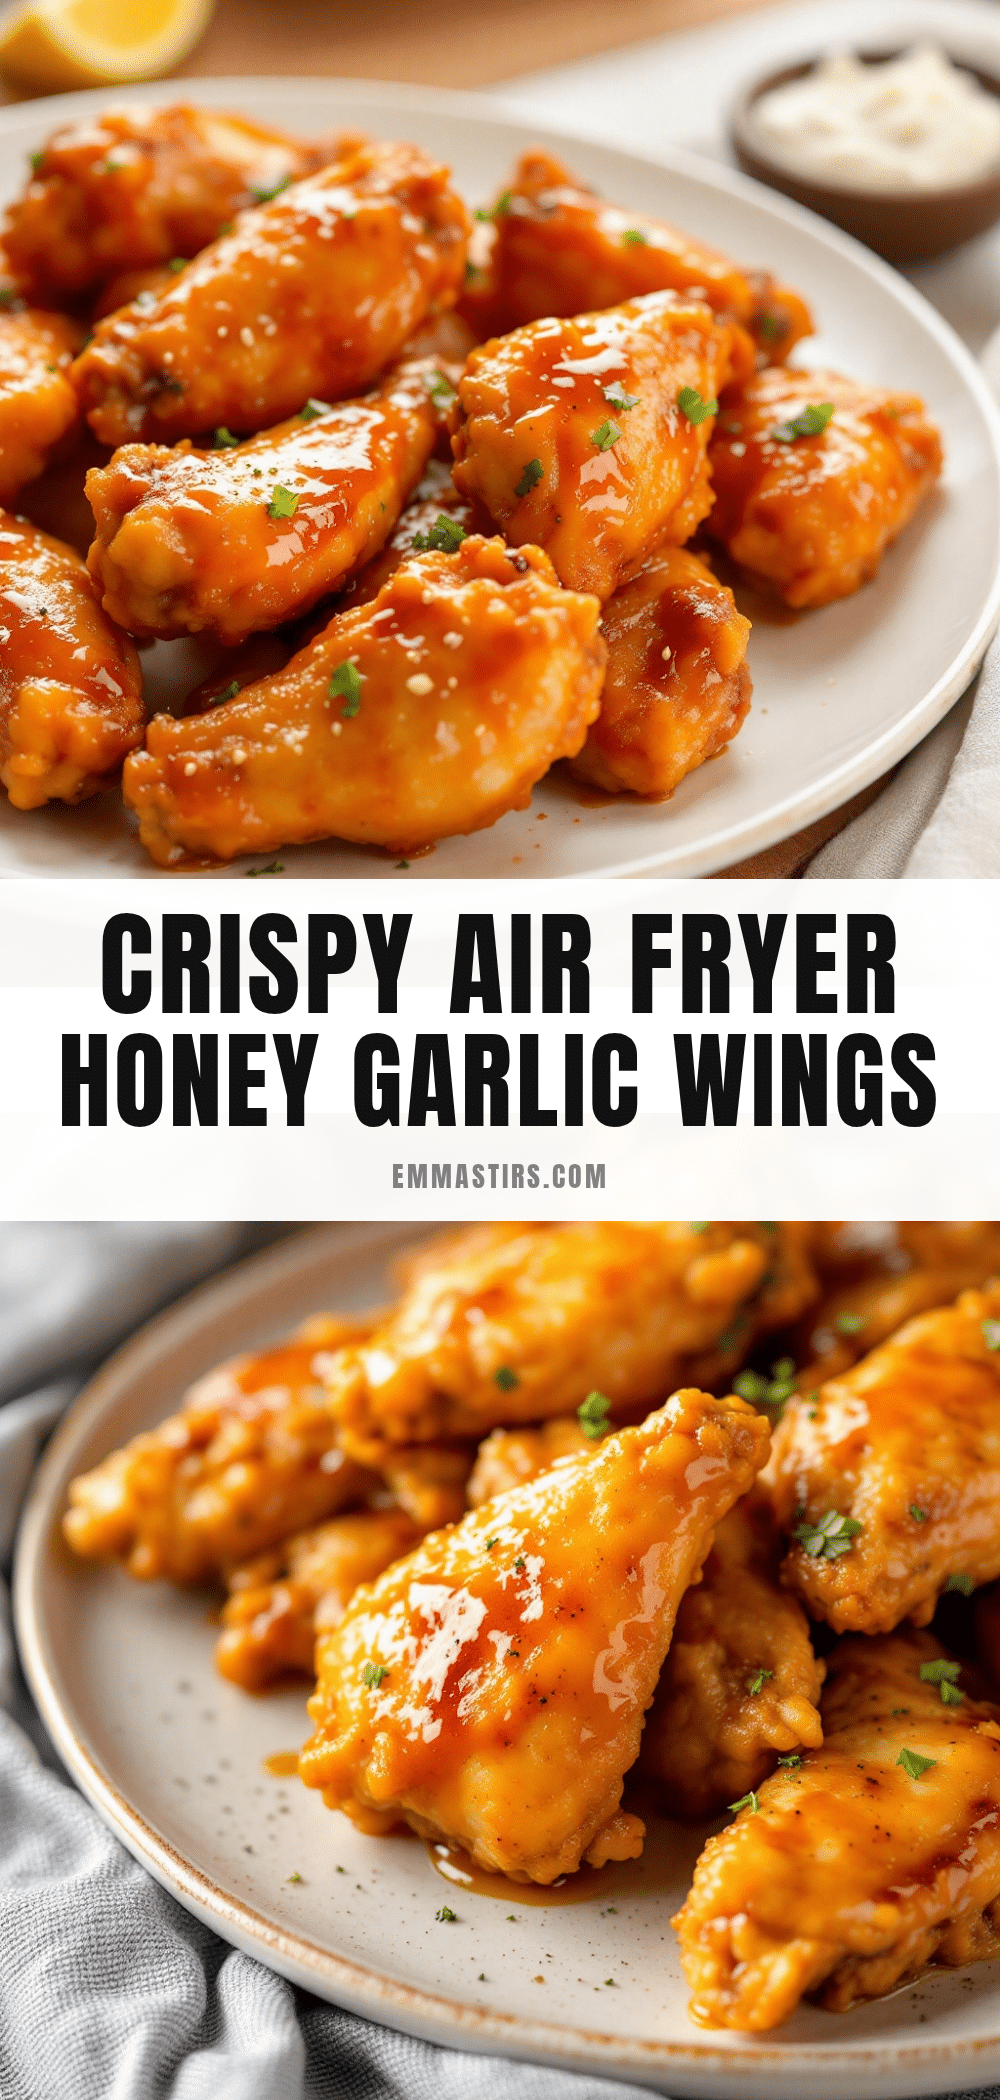
Crispy Air Fryer Honey Garlic Chicken Wings

These Crispy Air Fryer Honey Garlic Chicken Wings are perfectly crispy, sticky, sweet, and savory. Made with simple ingredients and a two-step cooking method, they come together in under 30 minutes and are a guaranteed crowd-pleaser.
- Prep Time: 15 minutes
- Cook Time: 30 minutes
- Total Time: 45 minutes
- Yield: 4 servings 1x
- Category: Appetizer
- Cuisine: American
Ingredients
- 2 lbs chicken wings (about 10–12 whole wings, or 20–24 flats and drumettes)
- 1 tablespoon baking powder (NOT baking soda)
- 1 teaspoon fine sea salt
- 1/2 teaspoon black pepper (freshly ground preferred)
- 1/2 teaspoon garlic powder
- 1/3 cup honey (runny, good-quality)
- 3 tablespoons low-sodium soy sauce (or tamari/coconut aminos for gluten-free)
- 4 cloves garlic, minced
- 1 tablespoon rice vinegar (or apple cider vinegar)
- 1 tablespoon unsalted butter
- 1 teaspoon sesame oil (optional but recommended)
- Pinch of red pepper flakes (optional)
- Sesame seeds (for garnish)
- Sliced green onions (for garnish)
Instructions
- Prep the chicken wings (5 minutes): If using whole wings, cut at the joints into drumettes, flats, and tips. Discard tips or save for stock. Pat each piece completely dry with paper towels. Lay them on a paper towel-lined tray and let air-dry for 10 minutes.
- Season the wings (5 minutes): In a large bowl, combine baking powder, salt, pepper, and garlic powder. Add dried wings and toss well with your hands until evenly coated.
- Preheat the air fryer (3 minutes): Set air fryer to 250°F (120°C) and preheat for 3 minutes.
- First cook (20 minutes): Place wings in a single layer in the air fryer basket. Do not overcrowd. Cook at 250°F for 20 minutes, flipping halfway through.
- Second cook (10-12 minutes): Increase air fryer temperature to 400°F (200°C). Cook for another 10-12 minutes, flipping once at the 5-minute mark, until deep golden brown and crispy. Internal temperature should be 175-180°F.
- Make the honey garlic glaze (5 minutes): While wings cook, combine honey, soy sauce, minced garlic, and rice vinegar in a small saucepan over medium heat. Bring to a gentle simmer, then reduce heat to low. Let bubble gently for 3-4 minutes, stirring occasionally, until slightly thickened. Remove from heat and whisk in butter and sesame oil until glossy. Taste and adjust seasoning.
- Toss and glaze (2 minutes): Transfer cooked wings to a large bowl. Pour about half the glaze over the wings and toss gently with tongs until coated. Reserve remaining glaze for serving.
- Garnish and serve (2 minutes): Transfer glazed wings to a serving platter. Sprinkle with sesame seeds and sliced green onions. Serve immediately while hot and crispy.
Notes
Pat wings extremely dry for maximum crispiness. Do not skip the low-temperature first cook—it renders fat and ensures crispy skin. Glaze wings at the last possible second to maintain crunch. For best results, serve immediately. Leftovers can be reheated in the air fryer at 375°F for 3-4 minutes.
Nutrition
- Serving Size: 5-6 pieces
- Calories: 380
- Sugar: 16
- Sodium: 780
- Fat: 22
- Saturated Fat: 7
- Carbohydrates: 18
- Protein: 28
Keywords: air fryer chicken wings, honey garlic wings, crispy wings, game day appetizer, easy chicken wings


