Love this? Save it for later!
Share the inspiration with your friends
Three baking sheets in the oven, a half-empty bag of frozen shrimp defrosting in the sink, and the distinct smell of burned coconut wafting through the kitchen—that was my first attempt at making crispy baked coconut shrimp. It was a Tuesday, I had guests coming in an hour, and I was determined to prove that you didn’t need a deep fryer to get that golden, restaurant-quality crunch. Let me tell you, that first batch was a disaster. The coating slid right off, the coconut burned before the shrimp was cooked through, and I was this close to ordering takeout.
But here’s the thing about failed recipes—they teach you exactly what not to do. After that coconut catastrophe, I went back to the drawing board. I tested different coatings, played with oven temperatures, and figured out the secret to getting that crust to actually stick. This crispy baked coconut shrimp recipe is the result of those messy, frustrating, and ultimately rewarding kitchen experiments. It’s the kind of recipe that makes you forget you’re eating something baked instead of fried.
The magic happens when you get that perfect contrast—crunchy, toasted coconut on the outside, tender and juicy shrimp on the inside, all dunked into a sweet and spicy chili sauce that ties everything together. And honestly? It comes together in under thirty minutes. No deep frying, no splattering oil, no standing over a hot stove. Just pure, unapologetic deliciousness that looks like you spent way more effort than you actually did.
This recipe has become my go-to for everything from weeknight dinners to casual get-togethers. It’s the dish people ask me to bring to parties, the one that disappears before anything else on the table. And the best part? You probably have most of the ingredients in your pantry right now. So let me show you how to make this crispy baked coconut shrimp without the drama I went through.
Why You’ll Love This Recipe
Let me be straight with you—I’ve tested this recipe more times than I care to admit. I’ve tried it with panko, with regular breadcrumbs, with crushed cornflakes, and with just coconut. I’ve baked it at different temperatures, on different rack positions, and with different types of shrimp. And here’s what I’ve learned: this version is the one. It’s the perfect balance of crunch, flavor, and ease that makes you wonder why you ever bothered with frying.
- Quick & Easy: From start to finish, you’re looking at about 30 minutes. That’s less time than it takes to order and wait for delivery. Perfect for those nights when you want something special but don’t have the energy for a complicated production.
- Simple Ingredients: Shrimp, coconut, panko, eggs, flour, and a few spices. That’s it. No weird specialty items or trips to three different stores. You can find everything at your regular grocery store.
- Perfect for Entertaining: These little guys are the ultimate party appetizer. They look fancy, taste incredible, and you can prep them ahead of time. Just pop them in the oven when your guests arrive and watch them disappear.
- Crowd-Pleaser: I’ve served these to kids, picky eaters, seafood lovers, and people who swear they don’t like shrimp. Every single person has gone back for seconds. There’s something about that sweet coconut crust paired with tangy chili sauce that just works.
- Healthier Than Fried: You get all the crunch and satisfaction of fried shrimp without the extra oil and calories. Baking gives you that golden-brown exterior without the greasy aftermath. Your waistline and your kitchen will thank you.
What really sets this recipe apart is the technique. Most baked coconut shrimp recipes end up with a soggy, sad coating that falls off the moment you try to dip it. Not this one. I’ve figured out the perfect breading station setup and baking method that locks in moisture while creating a crust that actually stays put. It’s the kind of recipe that makes you feel like a pro even if you’re just starting out in the kitchen.
And honestly, there’s something deeply satisfying about pulling a sheet pan of perfectly golden coconut shrimp out of the oven. The smell alone is enough to make your mouth water. It’s comfort food that feels a little bit fancy, a little bit tropical, and completely doable on a random Tuesday night.
What Ingredients You Will Need
This recipe keeps things simple with ingredients that work together to create that perfect crispy coating and juicy interior. Each component plays a specific role, and I’ll walk you through what to look for and why it matters.
For the Shrimp
- 1 pound large raw shrimp (21-25 count), peeled and deveined, tails on or off depending on preference. I prefer leaving the tails on for presentation—it gives guests something to hold onto and makes them feel more like appetizers. Look for shrimp that’s firm, not mushy, with a fresh sea smell. Frozen shrimp works perfectly here; just thaw them overnight in the fridge or under cold running water for about 15 minutes.
- 1 teaspoon salt for seasoning the shrimp before breading. This step is crucial—don’t skip it. The salt helps draw out excess moisture and seasons the shrimp from the inside out.
- 1/2 teaspoon black pepper, freshly ground if possible. It adds a subtle warmth that complements the sweet coconut.
For the Breading Station
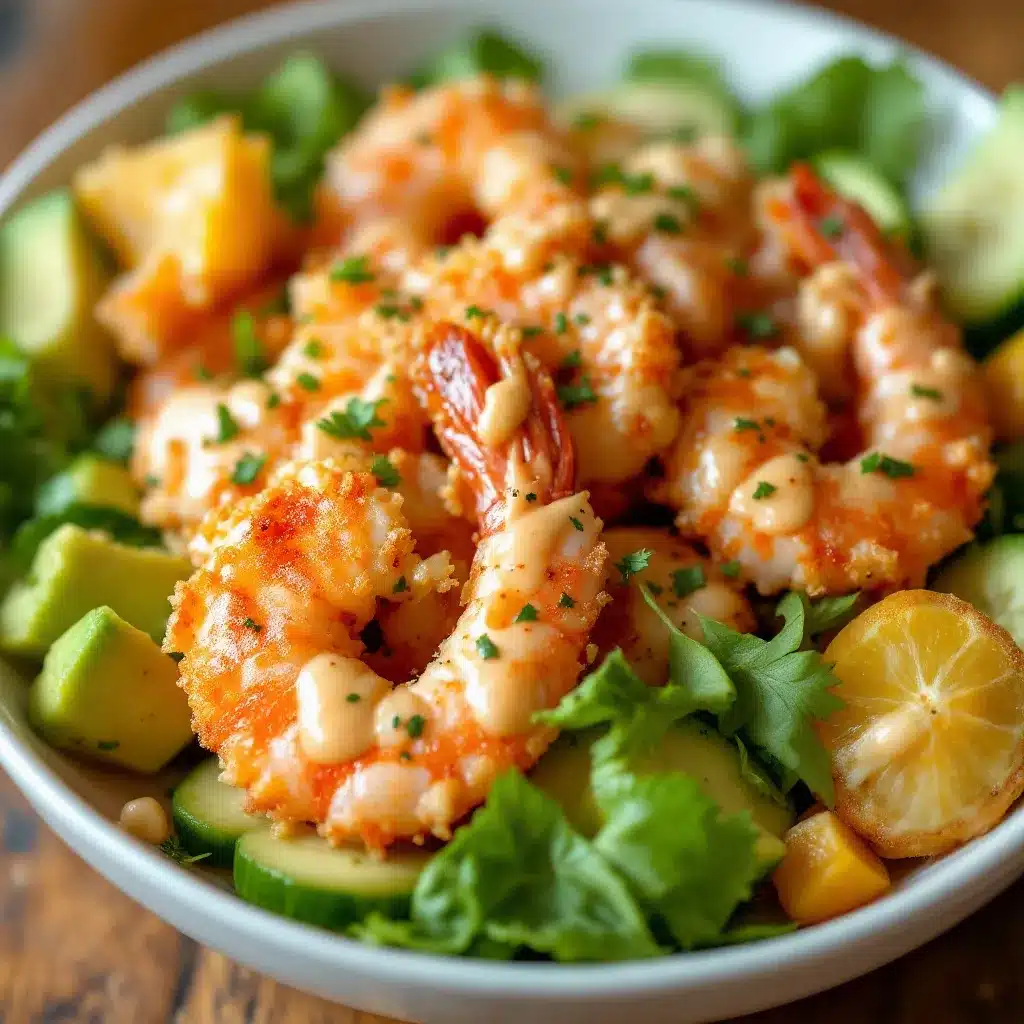
- 1/2 cup all-purpose flour — this is the first layer that helps the egg wash stick to the shrimp. I’ve tried using almond flour and coconut flour for a gluten-free version, and while they work, all-purpose gives the best texture. If you need gluten-free, use a 1:1 gluten-free baking flour blend.
- 2 large eggs, beaten — the glue that holds everything together. Make sure you beat them well so the whites and yolks are fully combined. Room temperature eggs work best because they coat the shrimp more evenly.
- 1 cup unsweetened shredded coconut — this is where the magic happens. I’ve tested both sweetened and unsweetened, and unsweetened is the winner. It gives you that toasted coconut flavor without making the shrimp overly sweet. Plus, it browns more evenly in the oven. Look for finely shredded coconut, not the large flakes, as it adheres better to the shrimp.
- 1/2 cup panko breadcrumbs — the secret to that extra-crunchy texture. Panko is lighter and crispier than regular breadcrumbs, and it creates air pockets in the coating that get beautifully golden in the oven. I’ve tried substituting with crushed pork rinds for a low-carb option, and it works surprisingly well.
- 1/2 teaspoon garlic powder — adds a savory note that balances the sweetness of the coconut.
- 1/2 teaspoon paprika — for color and a subtle smoky flavor. Smoked paprika takes this to another level if you have it.
- 1/4 teaspoon cayenne pepper — optional, but I highly recommend it. It adds a tiny kick that plays beautifully with the sweet chili dipping sauce. Adjust based on your heat tolerance.
For the Sweet Chili Sauce
- 1/2 cup sweet chili sauce — the classic dipping sauce for coconut shrimp. I prefer the Thai Kitchen brand for its balance of sweet and heat, but any brand works. You can also make your own by combining 1/4 cup rice vinegar, 1/4 cup sugar, 2 tablespoons water, 1 teaspoon red pepper flakes, and 1 clove minced garlic. Simmer until thickened, about 5 minutes.
- 1 tablespoon fresh lime juice — brightens up the sauce and cuts through the richness of the coconut. Don’t use bottled lime juice here; fresh makes a noticeable difference.
- 1 teaspoon honey — optional, adds a touch more sweetness if your chili sauce is on the tangy side.
Equipment Needed
You don’t need a professional kitchen to make this recipe work. Here’s what you’ll need and a few tips from my own trial and error.
- Baking sheet — a standard half-sheet pan works perfectly. Line it with parchment paper or a silicone baking mat for easy cleanup. I’ve made the mistake of using foil before, and the coating stuck to it. Parchment paper is your friend here.
- Wire cooling rack — this is optional but highly recommended. Placing a wire rack on top of your baking sheet allows air to circulate around the shrimp, ensuring they get crispy on all sides instead of steaming on the bottom. If you don’t have one, just flip the shrimp halfway through baking.
- Three shallow bowls — for your breading station setup. I use pie plates or wide soup bowls. You need one for flour, one for beaten eggs, and one for the coconut-panko mixture.
- Tongs or one hand wet, one hand dry — I prefer using my hands for the breading process, keeping one hand for wet ingredients and one for dry. It’s messier but gives you more control. Tongs work great if you’re squeamish about touching raw shrimp.
- Sharp knife and cutting board — for any prep work like mincing garlic for the sauce or cutting lime wedges for serving.
- Small bowl — for mixing the sweet chili dipping sauce.
That’s really it. No deep fryer, no thermometer, no specialized gadgets. Just basic kitchen equipment and a little bit of patience.
Preparation Method
Alright, let’s get to the good part. Follow these steps carefully, and you’ll have perfectly crispy baked coconut shrimp that rivals anything from a restaurant.
- Preheat your oven to 400°F (200°C). This is important—the high heat ensures the coconut toasts quickly without drying out the shrimp. While the oven heats up, line your baking sheet with parchment paper and place a wire rack on top if you’re using one.
- Prepare the shrimp. If your shrimp is frozen, thaw it completely and pat it dry with paper towels. This step is non-negotiable. Excess moisture is the enemy of crispy coatings. Season the shrimp with salt and pepper and set aside for 5 minutes. This gives the salt time to penetrate the shrimp.
- Set up your breading station. In your first shallow bowl, add the flour. In the second bowl, beat the eggs until they’re uniform in color. In the third bowl, combine the shredded coconut, panko breadcrumbs, garlic powder, paprika, and cayenne pepper. Mix them together with a fork so everything is evenly distributed.
- Bread the shrimp. Here’s the technique that makes all the difference. Take one shrimp and dredge it in the flour, shaking off any excess. Then dip it into the beaten eggs, letting any extra drip off. Finally, press it firmly into the coconut-panko mixture, making sure every inch is coated. Don’t be gentle here—really press the coating into the shrimp. Place the breaded shrimp on your prepared baking sheet. Repeat with all the shrimp.
- Chill the breaded shrimp. This step might seem annoying, but trust me, it’s the secret to coating that stays put. Place the baking sheet with the breaded shrimp in the refrigerator for 10-15 minutes. This helps the coating adhere and prevents it from sliding off during baking. I learned this the hard way after my first batch ended up with naked shrimp swimming in a pool of loose coconut.
- Bake the shrimp. Remove the shrimp from the fridge and give them a light spritz with cooking spray or a drizzle of melted coconut oil. This helps them brown evenly. Bake for 8-10 minutes, then flip each shrimp carefully and bake for another 5-7 minutes. You’re looking for a deep golden brown color and the shrimp should be opaque and firm to the touch. The internal temperature should reach 145°F (63°C).
- Make the dipping sauce. While the shrimp bakes, combine the sweet chili sauce, fresh lime juice, and honey in a small bowl. Stir to combine. Taste and adjust the sweetness or heat to your preference. I like to add a little extra lime juice for brightness.
- Serve immediately. These shrimp are best straight out of the oven while the coating is still crispy. Arrange them on a platter with the sweet chili sauce in a small bowl for dipping. Garnish with lime wedges and fresh cilantro if you’re feeling fancy.
A few things to watch for during the process. If your shrimp are different sizes, the smaller ones will cook faster. Keep an eye on them and remove any that are done early to prevent overcooking. Also, don’t overcrowd the baking sheet. Give each shrimp a little space so the hot air can circulate and crisp up all sides. If you’re making a double batch, use two baking sheets and rotate them halfway through baking.
Cooking Tips & Techniques
After making this recipe dozens of times, I’ve picked up a few tricks that make the process smoother and the results more consistent. Let me share what I’ve learned the hard way so you don’t have to.
Don’t skip the drying step. I cannot emphasize this enough. Wet shrimp will steam instead of bake, and your coating will turn into a soggy mess. Pat those shrimp dry like your life depends on it. Use paper towels and really press down to absorb any surface moisture.
The chilling step is your best friend. I know it adds an extra 15 minutes, but this is what separates good coconut shrimp from great coconut shrimp. When the coating chills, the flour absorbs the egg and the coconut-panko mixture firms up, creating a shell that stays intact during baking. I’ve tested batches with and without this step, and the difference is night and day.
Use a light hand with the cooking spray. Too much oil will make the coating greasy instead of crispy. A light mist is all you need. I use a Misto sprayer with coconut oil for the best results, but any cooking spray works. Alternatively, you can brush each shrimp with a tiny bit of melted butter or oil.
Watch your oven like a hawk. Ovens vary wildly in temperature. Your 400°F might run hotter or cooler than mine. Start checking at the 8-minute mark. You’re looking for that beautiful golden-brown color, not dark brown or burnt. The coconut can go from perfectly toasted to burnt in about 30 seconds, so stay close.
Don’t skip the flip. Flipping the shrimp halfway through ensures even browning on both sides. If you’re using a wire rack, you might not need to flip, but I still recommend it for the most even results.
Make extra sauce. Seriously, double the sweet chili sauce recipe. People go through it faster than you expect, and it’s great on everything from spring rolls to grilled chicken. I’ve even used it as a salad dressing with a little extra lime juice.
One mistake I made early on was using sweetened coconut flakes instead of unsweetened shredded coconut. The sweetened version burned way too quickly and made the shrimp cloyingly sweet. Stick with unsweetened shredded coconut for the best texture and flavor balance.
Variations & Adaptations
One of the things I love about this recipe is how versatile it is. Here are some ways to make it your own based on dietary needs, what you have on hand, or just what you’re craving.
Gluten-Free Version: Swap the all-purpose flour for almond flour or a 1:1 gluten-free baking blend. Use gluten-free panko breadcrumbs or substitute with crushed pork rinds for a keto-friendly option. The rest of the ingredients are naturally gluten-free, so this is an easy adaptation.
Spicy Coconut Shrimp: If you like things hot, add an extra teaspoon of cayenne pepper to the coconut-panko mixture. You can also mix some sriracha into the egg wash for an extra layer of heat. Serve with a spicy mayo made from mayonnaise and sriracha instead of the sweet chili sauce.
Coconut Shrimp Tacos: This is my personal favorite variation. Make the shrimp as directed, then stuff them into warm corn tortillas with shredded cabbage, pickled onions, and a drizzle of the sweet chili sauce mixed with sour cream. It’s a weeknight dinner that feels like a vacation.
Air Fryer Method: If you have an air fryer, this recipe works beautifully in it. Preheat the air fryer to 375°F (190°C). Arrange the breaded shrimp in a single layer in the basket (you might need to work in batches). Spray lightly with oil and cook for 6-8 minutes, flipping halfway through. The air fryer gives you an even crispier exterior in less time.
Coconut Shrimp Salad: For a lighter option, serve the crispy shrimp over a bed of mixed greens with mango slices, avocado, and a cilantro-lime dressing. Crumble the shrimp on top for a crunchy salad topper that adds protein and flavor.
Pineapple Coconut Shrimp: Add 1/2 cup of crushed pineapple (drained well) to the sweet chili sauce for a tropical twist. The sweetness of the pineapple pairs perfectly with the coconut and the heat from the chili sauce.
Lower-Carb Option: Skip the panko and use only coconut flakes mixed with almond flour. The coating will be slightly less crunchy but still delicious. Serve with a sugar-free sweet chili sauce or a simple lime-cilantro dipping sauce.
I’ve tried all of these variations at one point or another, and they’re all winners. The tacos are probably my favorite—there’s something about the combination of crispy shrimp, cool cabbage, and tangy sauce wrapped in a warm tortilla that just hits different.
Serving & Storage Suggestions
Coconut shrimp is one of those dishes that’s best enjoyed fresh, but I’ve got some tips for making the most of leftovers too.
How to Serve: Arrange the shrimp on a large platter with the sweet chili sauce in a small bowl in the center. Garnish with lime wedges, fresh cilantro, and maybe some sliced green onions for color. If you’re serving these as an appetizer, figure about 4-5 shrimp per person. As a main dish, plan on 6-8 shrimp per person with a side of rice or a simple salad.
What to Serve With: These shrimp pair beautifully with coconut rice, a simple cucumber salad, or steamed edamame. For a bigger spread, serve them alongside spring rolls, lettuce wraps, or grilled pineapple skewers. A cold beer or a crisp white wine like Sauvignon Blanc complements the flavors perfectly.
Storage: If you have leftovers (which is rare in my house), let the shrimp cool completely before storing them in an airtight container. They’ll keep in the refrigerator for up to 2 days. The coating will soften over time, so they’re best reheated rather than eaten cold.
Reheating: The oven is your best bet for restoring crispiness. Preheat to 350°F (175°C) and arrange the shrimp on a baking sheet. Bake for 5-7 minutes until heated through and crispy again. You can also use an air fryer at 350°F for 3-4 minutes. Avoid the microwave—it will turn your beautiful crispy shrimp into rubbery, soggy disappointment.
Freezing: You can freeze the breaded, unbaked shrimp for up to 3 months. Arrange them on a baking sheet in a single layer and freeze until solid, then transfer to a freezer bag. When you’re ready to bake, add 5-7 minutes to the cooking time and don’t thaw first. The coating might be slightly less crispy, but it’s a great option for meal prep.
Flavor Development: The sweet chili sauce actually gets better after a day in the fridge as the flavors meld together. Make it ahead of time and let it sit overnight for the best flavor.
Nutritional Information & Benefits
Here’s the nutritional breakdown for one serving (about 5-6 shrimp with sauce). Keep in mind these are estimates and will vary based on exact ingredients and portion sizes.
| Nutrient | Amount Per Serving |
|---|---|
| Calories | 320 |
| Protein | 28g |
| Carbohydrates | 22g |
| Fiber | 4g |
| Sugar | 8g |
| Fat | 14g |
| Saturated Fat | 8g |
| Sodium | 680mg |
Shrimp is an excellent source of lean protein, providing about 20 grams per 3-ounce serving. It’s also rich in selenium, vitamin B12, and iodine—nutrients that support thyroid function and immune health. Coconut, while higher in saturated fat, contains medium-chain triglycerides (MCTs) that some studies suggest may support metabolism and brain function.
This recipe is naturally dairy-free and can easily be made gluten-free with simple substitutions. The baking method keeps the fat content lower than traditional fried versions, making this a more waistline-friendly option when you’re craving something crispy and indulgent.
One thing I appreciate about this recipe is that it feels like a treat without being a total nutritional disaster. It’s the kind of meal that satisfies your craving for something crunchy and savory while still fitting into a balanced diet. Just be mindful of portion sizes if you’re watching your calorie intake, and load up on veggies on the side.
Conclusion
I’m not going to tell you this is the easiest recipe in the world—it takes a little bit of effort and attention to detail. But I will tell you this: every single time I make these crispy baked coconut shrimp, I’m reminded why it’s worth it. That first bite, when the crunchy coconut coating gives way to tender, juicy shrimp, and you dip it into that tangy-sweet chili sauce… it’s pure magic.
This recipe has become a staple in my kitchen for good reason. It’s impressive enough for company, simple enough for a weeknight, and versatile enough to adapt to whatever you’re craving. Whether you serve them as an appetizer, stuff them into tacos, or pile them on a salad, these shrimp deliver every time.
I’d love to hear how yours turn out. Did you try any variations? Did you discover a new favorite dipping sauce? Drop a comment below and let me know—I read every single one and I’m always looking for new ideas to try. And if you loved this recipe, share it with a friend who needs a little tropical escape in their kitchen.
Now go preheat that oven and make some magic. You’ve got this.
Frequently Asked Questions
Can I use frozen shrimp for this recipe?
Absolutely! In fact, I often use frozen shrimp because it’s convenient and typically flash-frozen at peak freshness. Just make sure to thaw them completely and pat them very dry before breading. Any excess moisture from thawing will ruin the crispy coating.
Why did my coconut coating fall off during baking?
This usually happens for one of three reasons: the shrimp weren’t dried properly before breading, the coating wasn’t pressed on firmly enough, or you skipped the chilling step. Make sure to pat the shrimp dry, really press the coconut-panko mixture into the egg wash, and chill the breaded shrimp for at least 10 minutes before baking.
Can I make these ahead of time for a party?
Yes! You can bread the shrimp up to 24 hours in advance and keep them covered in the refrigerator. When you’re ready to serve, just pop them in the oven. You may need to add 2-3 minutes to the baking time since they’ll be cold from the fridge. I’ve done this for parties and it works like a charm.
How do I know when the shrimp is fully cooked?
Perfectly cooked shrimp will be opaque all the way through and firm to the touch. They should curl into a loose C shape—if they curl into a tight O, they’re overcooked. For the most accurate result, use an instant-read thermometer; the internal temperature should reach 145°F (63°C).
Can I use sweetened coconut flakes instead of unsweetened?
I don’t recommend it. Sweetened coconut flakes contain added sugar that will burn at the high oven temperature before the shrimp is fully cooked. They also make the coating overly sweet, which can clash with the savory shrimp and tangy dipping sauce. Stick with unsweetened shredded coconut for the best results.
Pin This Recipe!
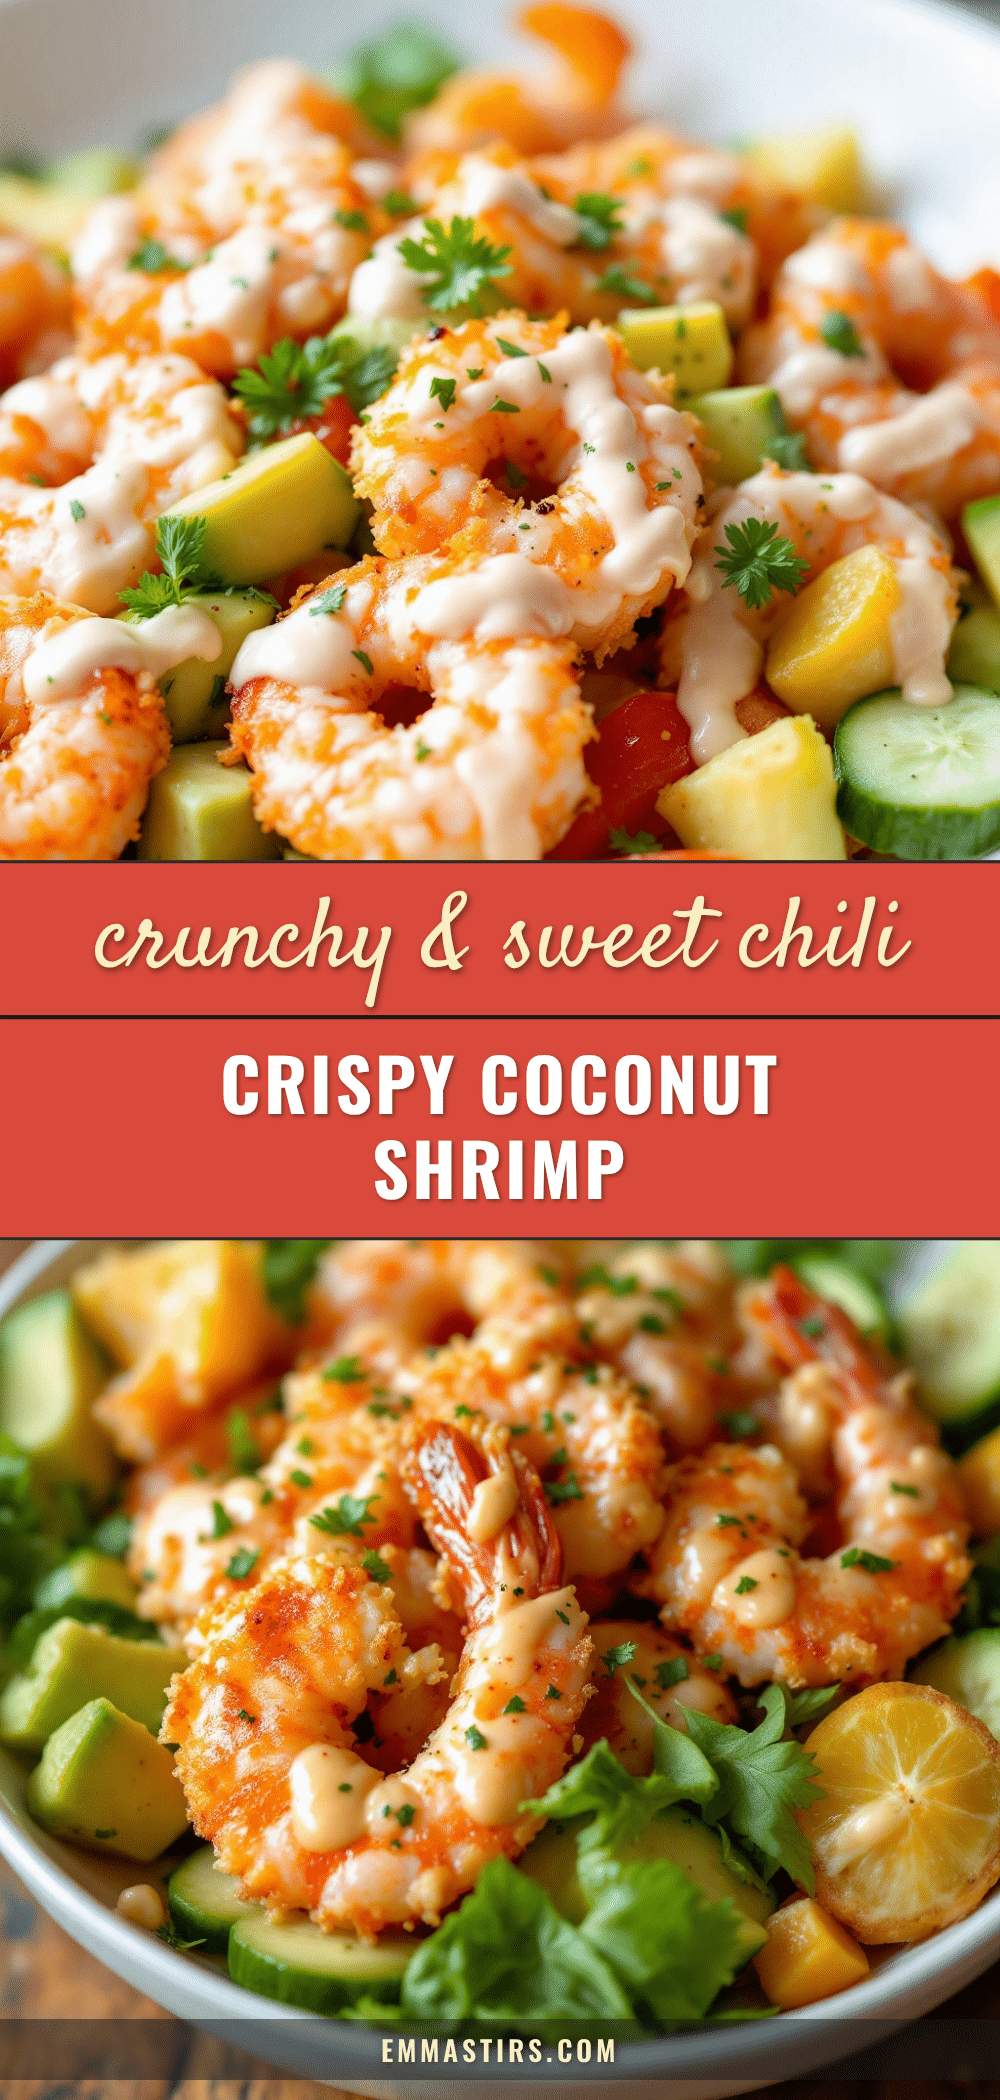
Crispy Baked Coconut Shrimp Recipe (Best 30-Minute Dinner)
This crispy baked coconut shrimp recipe delivers golden, restaurant-quality crunch without deep frying. Ready in under 30 minutes, it features tender shrimp coated in a toasted coconut-panko crust, served with a sweet and spicy chili dipping sauce.
- Prep Time: 15 minutes
- Cook Time: 15 minutes
- Total Time: 30 minutes
- Yield: 4 servings 1x
- Category: Main Course
- Cuisine: American
Ingredients
- 1 pound large raw shrimp (21–25 count), peeled and deveined, tails on or off
- 1 teaspoon salt
- 1/2 teaspoon black pepper, freshly ground
- 1/2 cup all-purpose flour
- 2 large eggs, beaten
- 1 cup unsweetened shredded coconut
- 1/2 cup panko breadcrumbs
- 1/2 teaspoon garlic powder
- 1/2 teaspoon paprika
- 1/4 teaspoon cayenne pepper (optional)
- 1/2 cup sweet chili sauce
- 1 tablespoon fresh lime juice
- 1 teaspoon honey (optional)
Instructions
- Preheat your oven to 400°F (200°C). Line a baking sheet with parchment paper and place a wire rack on top if using.
- If using frozen shrimp, thaw completely and pat dry with paper towels. Season shrimp with salt and pepper and set aside for 5 minutes.
- Set up breading station: In first shallow bowl, add flour. In second bowl, beat eggs. In third bowl, combine shredded coconut, panko, garlic powder, paprika, and cayenne pepper.
- Bread the shrimp: Dredge each shrimp in flour, shaking off excess. Dip into beaten eggs, letting extra drip off. Press firmly into coconut-panko mixture, coating all sides. Place on prepared baking sheet.
- Chill breaded shrimp in refrigerator for 10-15 minutes to help coating adhere.
- Remove shrimp from fridge and lightly spray with cooking spray or drizzle with melted coconut oil. Bake for 8-10 minutes, then flip each shrimp and bake for another 5-7 minutes, until deep golden brown and shrimp are opaque (internal temperature 145°F/63°C).
- While shrimp bakes, combine sweet chili sauce, fresh lime juice, and honey in a small bowl. Stir to combine.
- Serve immediately with sweet chili sauce for dipping. Garnish with lime wedges and fresh cilantro if desired.
Notes
Pat shrimp very dry before breading to ensure crispy coating. Chilling breaded shrimp for 10-15 minutes is essential to prevent coating from falling off. Watch oven closely as coconut can burn quickly. For best results, serve immediately. Leftovers can be reheated in oven or air fryer.
Nutrition
- Serving Size: 5-6 shrimp with sauc
- Calories: 320
- Sugar: 8
- Sodium: 680
- Fat: 14
- Saturated Fat: 8
- Carbohydrates: 22
- Fiber: 4
- Protein: 28
Keywords: coconut shrimp, baked shrimp, crispy shrimp, 30-minute dinner, easy shrimp recipe, appetizer, party food


