Love this? Save it for later!
Share the inspiration with your friends
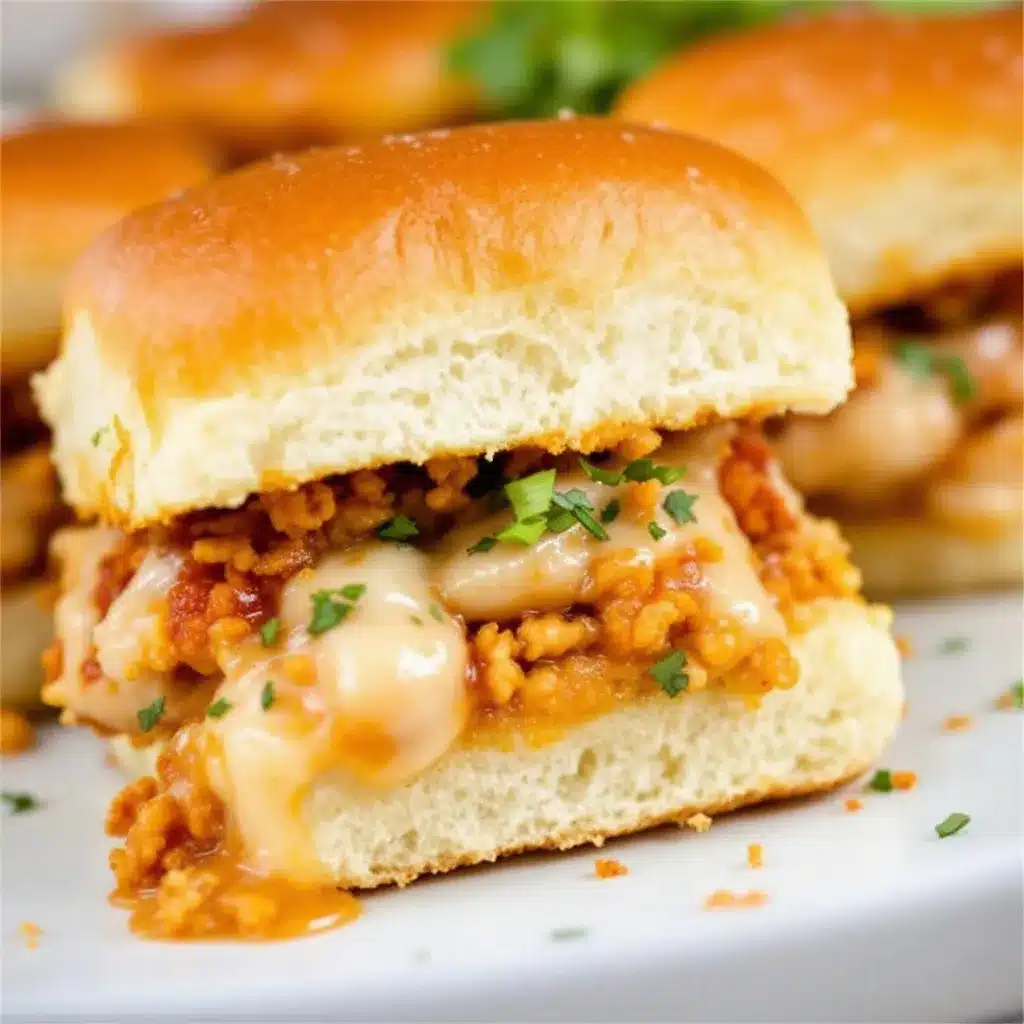
That first crunch — the shatter of panko giving way to tender chicken, all tangled up with melted provolone and a punch of marinara — still takes me straight back to my cousin Vinny’s basement. The game was on, the couch was sagging, and someone had brought a tray of these little sliders that disappeared before halftime. I remember reaching for one, napkin already in hand, and thinking, “Why doesn’t everyone make these?” They were messy, sure, but that was part of the charm. You didn’t need a fork. You needed a good grip and a willingness to lean forward.
Honestly, I’ve spent years trying to recreate that exact moment. The sliders you get at a sports bar are either too greasy or too dry, and the bread-to-filling ratio is always off. I wanted a version that felt just as satisfying but didn’t leave you feeling like you’d eaten a brick. So I started tinkering. I tested different ways to keep the chicken juicy without deep-frying, played with cheese combinations, and finally landed on a method that uses the oven to get that golden crust without the mess of a stovetop splatter. The result is this recipe for Easy Mini Chicken Parm Sliders — the kind that makes you close your eyes after the first bite.
These aren’t just another party snack. They’re the thing people hover around, grabbing two at a time, and then ask you for the recipe before the game even ends. And that’s exactly what I want for you.
Why You’ll Love This Recipe
Let’s be real — game day food can be a minefield. You want something that feels special, but you also don’t want to be stuck in the kitchen while everyone else is yelling at the TV. These sliders hit that sweet spot. They’re built for the chaos of a crowd, but they taste like you actually put effort in.
- Quick & Easy: From start to table in about 30 minutes. No standing over a fryer, no complicated steps. Just simple assembly and a hot oven.
- Simple Ingredients: You probably have most of this in your kitchen right now. Chicken cutlets, jarred marinara (the good kind), provolone, and soft slider buns. That’s it.
- Perfect for Game Day: These are designed to be eaten with one hand while you’re holding a drink and cheering. No forks, no plates, no drama.
- Crowd-Pleaser: I’ve brought these to potlucks, tailgates, and family dinners. They disappear every single time. Even the picky eaters go back for seconds.
- Unbelievably Delicious: The combination of crispy chicken, gooey cheese, and tangy marinara on a soft bun is pure comfort food magic. It’s familiar but somehow better than you remember.
What makes these different from the rest? It’s the double-breading technique. Instead of just flour and egg, I add a touch of garlic powder and Italian seasoning to the panko. It gives the chicken a flavor punch that carries through the sauce and cheese. And I bake the sliders open-faced first to get the buns toasty, then add the tops at the end so they stay soft. It’s a small trick, but it makes a huge difference. These aren’t just another version — they’re my best version.
This recipe is the kind that makes you feel like a hero without the stress. Perfect for when you want to impress but also want to actually enjoy the party.
What Ingredients You Will Need
This recipe uses simple, wholesome ingredients to deliver bold flavor and satisfying texture without the fuss. Most of these are pantry staples, and the ones that aren’t are easy to find at any grocery store.
- Chicken cutlets (1 lb): Look for thin-sliced chicken breast cutlets. They cook quickly and evenly. If you can’t find them, just butterfly regular chicken breasts and pound them to an even thickness. I prefer Bell & Evans or a local farm brand when I can find them — they’re consistently tender.
- Panko breadcrumbs (1 cup): These are key for that light, shattery crust. Regular breadcrumbs will work, but they won’t give you the same crunch. I like Ian’s brand for a reliable texture.
- Grated Parmesan cheese (1/4 cup): Adds a salty, nutty depth to the breading. Use the good stuff from a wedge, not the green can. It makes a real difference.
- Garlic powder (1 tsp): Don’t skip this. It seasons the breading from the inside out. I use Spice Islands for a consistent, non-bitter flavor.
- Italian seasoning (1 tsp): A little dried oregano, basil, and thyme goes a long way. You can use a store-bought blend or make your own.
- Salt and black pepper (to taste): Essential for bringing out the flavor of the chicken and breading.
- Large eggs (2): The glue that holds the breading to the chicken. Make sure they’re at room temperature for even coating.
- All-purpose flour (1/2 cup): The first layer in the breading station. It helps the egg stick and creates a barrier that keeps the chicken moist.
- Marinara sauce (1 cup): Use a good-quality jarred sauce. I’m partial to Rao’s Homemade — it’s thick, flavorful, and not too sweet. You can also use homemade if you have it.
- Provolone cheese (6 slices): Melts beautifully and has a mild, buttery flavor. You can also use mozzarella or fontina if you prefer. I like Boar’s Head provolone for its consistent melt.
- Slider buns (12): Soft, small buns are ideal. Look for the ones that come in a pack of 12. I use Martin’s Potato Rolls — they’re sturdy enough to hold the filling but soft enough to bite through.
- Unsalted butter (2 tbsp, melted): Brushed on the buns before baking for a golden, glossy finish. You can add a pinch of garlic powder to the butter for extra flavor.
- Fresh basil (for garnish, optional): Adds a pop of color and freshness. Totally optional, but nice if you have it.
Equipment Needed
You don’t need a fancy kitchen to pull these off. Here’s what you’ll need:
- Baking sheet (half-sheet pan): A rimmed baking sheet is perfect for holding the sliders and catching any drips. I use a Nordic Ware brand — it’s sturdy and doesn’t warp.
- Parchment paper or silicone baking mat: Keeps the sliders from sticking and makes cleanup a breeze. I prefer a silicone mat because it’s reusable and gives a nice even heat distribution.
- Three shallow bowls or pie plates: For the breading station. One for flour, one for egg, one for panko mixture. I use cheap glass pie plates — they’re the perfect size.
- Tongs: For moving the chicken through the breading and onto the baking sheet. Silicone-tipped tongs won’t scratch your pans.
- Small saucepan: For warming the marinara sauce. You can also do this in the microwave, but the stovetop gives you more control.
- Pastry brush: For brushing melted butter on the buns. A silicone brush is easy to clean and doesn’t shed bristles.
- Meat thermometer (optional but helpful): To ensure the chicken reaches 165°F. I use a ThermoPro instant-read thermometer — it’s fast and accurate.
If you don’t have a pastry brush, just use a spoon to drizzle the butter. If you don’t have a meat thermometer, cut into the thickest piece of chicken to check for doneness. No fancy equipment required.
Preparation Method
Alright, let’s get cooking. This whole process moves fast, so read through the steps once before you start. Trust me, it’ll make everything smoother.
- Preheat your oven to 400°F (200°C). Line a baking sheet with parchment paper or a silicone mat. This is important — the sliders will stick if you skip this step.
- Set up your breading station. In the first shallow bowl, add the flour, a pinch of salt, and a pinch of pepper. In the second bowl, beat the eggs with a tablespoon of water. In the third bowl, combine the panko, Parmesan, garlic powder, Italian seasoning, and another pinch of salt and pepper. Mix the panko mixture with a fork until everything is evenly distributed.
- Prep the chicken. Pat the chicken cutlets dry with paper towels. This helps the flour stick. If the cutlets are very thick, pound them to about 1/2-inch thickness between two sheets of plastic wrap. You want them to cook through quickly and evenly.
- Bread the chicken. Working one piece at a time, dredge a cutlet in the flour, shaking off any excess. Then dip it into the egg, letting the excess drip off. Finally, press it into the panko mixture, making sure it’s fully coated on both sides. Place the breaded cutlet on the prepared baking sheet. Repeat with the remaining chicken. (Your hands will get messy — that’s normal. Use one hand for dry ingredients and one for wet to keep things cleaner.)
- Bake the chicken. Place the baking sheet in the preheated oven and bake for 12-15 minutes, or until the chicken is golden brown and cooked through. The internal temperature should reach 165°F (74°C). Flip the cutlets halfway through for even browning. While the chicken bakes, warm the marinara sauce in a small saucepan over low heat.
- Toast the buns (open-faced). Once the chicken is done, remove the baking sheet from the oven. Carefully slice the slider buns in half and arrange the bottom halves on a separate baking sheet. Brush the cut sides of all the buns with the melted butter. Place the bottom halves back in the oven for 3-4 minutes, until they’re lightly golden and crisp. Keep the top halves aside for now.
- Assemble the sliders. Remove the bottom buns from the oven. Place a piece of baked chicken on each bottom bun. Spoon a generous tablespoon of warm marinara sauce over the chicken. Tear the provolone slices in half and place one half on top of the sauce. (Tearing the cheese helps it melt into the nooks and crannies.)
- Melt the cheese. Return the assembled sliders (without the tops) to the oven for 3-4 minutes, until the cheese is melted and bubbly. Keep an eye on them — you don’t want the cheese to burn.
- Add the tops and serve. Remove the baking sheet from the oven. Place the top buns on the sliders. If you want them extra toasty, you can pop them back in the oven for 1-2 minutes, but I like to keep the tops soft. Garnish with fresh basil if you’re feeling fancy. Serve immediately while they’re hot and melty.
A quick note: The chicken will be very hot right out of the oven. Let the sliders rest for a minute or two before serving — it gives the cheese a chance to set slightly so it doesn’t all slide off when you take a bite. Trust me on this one.
Cooking Tips & Techniques
I’ve made these sliders more times than I can count, and I’ve definitely learned a few things the hard way. Here are my best tips for getting them perfect every time.
Don’t skip the flour step. I know it seems like an extra step, but flour is what helps the egg stick to the chicken. If you skip it, the breading will slide right off in the oven. I learned this the first time I made them — I ended up with a tray of naked chicken and a pile of burnt panko. Not pretty.
Use a meat thermometer. Chicken can go from perfectly cooked to dry in about 30 seconds. An instant-read thermometer takes the guesswork out. I aim for 165°F, and I pull the chicken out as soon as it hits that temp. It stays juicy every time.
Toast the buns, but don’t overdo it. The bottom buns need to be sturdy enough to hold the filling without getting soggy. Toasting them for 3-4 minutes at 400°F is perfect. Any longer and they’ll be too hard to bite through. The tops should stay soft — they’re just there to hold everything together.
Work in batches if needed. If you’re making a double batch, don’t crowd the baking sheet. The chicken needs space to crisp up. If the pieces are touching, they’ll steam instead of brown. Use two baking sheets if you have them, or bake in shifts.
Let the sauce warm slowly. Don’t rush the marinara. Warming it over low heat for 5-10 minutes allows the flavors to meld. If you boil it, the sauce can become watery and thin. Low and slow is the way to go.
Plan your timing. The whole process takes about 30 minutes, but it’s all active time. I like to have the breading station set up and the buns sliced before I start cooking. It keeps the workflow smooth and prevents that frantic “where’s the salt” moment.
Variations & Adaptations
One of the best things about this recipe is how easy it is to tweak. Here are some of my favorite variations.
Spicy Buffalo Style: Swap the marinara for buffalo sauce and use blue cheese crumbles instead of provolone. It’s a completely different vibe, but just as addictive. I’ve made these for a Super Bowl party and they were gone in minutes.
Air Fryer Method: If you want an even faster option, cook the breaded chicken in an air fryer at 375°F for 10-12 minutes, flipping halfway. The texture is incredibly crispy. Just make sure not to overcrowd the basket — work in batches. I’ve found that the air fryer version is actually my favorite for a quick weeknight dinner.
Gluten-Free Version: Use gluten-free panko (I like the Ian’s brand) and a gluten-free all-purpose flour blend. The rest of the ingredients are naturally gluten-free. I’ve tested this with a friend who has celiac disease, and she said they were the best chicken sliders she’d had in years.
Vegetarian Option: Swap the chicken for large portobello mushroom caps. Slice them thick, remove the gills, and bread them the same way. Bake for 12-15 minutes until tender. They’re hearty and satisfying. I’ve served these alongside the chicken version at a party, and the vegetarians were thrilled.
Different Cheese: Provolone is classic, but mozzarella, fontina, or even a sharp cheddar work beautifully. If you want a smoky flavor, try smoked gouda. I once used a mix of provolone and mozzarella, and the stretch factor was incredible.
Make It a Meal: Serve these sliders with a side of crispy broccoli bacon cheddar salad or a simple green salad to round out the meal. The tangy dressing cuts through the richness of the sliders perfectly.
Serving & Storage Suggestions
These sliders are best served hot, right out of the oven. That’s when the cheese is at its stretchiest and the chicken is at its crispiest. But I’ve also eaten them at room temperature, and honestly, they’re still pretty great.
Serving: Arrange the sliders on a large platter, garnished with fresh basil leaves if you have them. They’re perfect for a game day spread alongside crispy air fryer chicken thighs or a bowl of creamy cheeseburger soup. For drinks, a cold lager or a crisp lemonade pairs beautifully.
Storage: If you have leftovers (unlikely, but possible), store the sliders in an airtight container in the refrigerator for up to 3 days. I recommend storing the components separately if you can — the chicken and buns in one container, and the sauce in another. This prevents the buns from getting soggy.
Reheating: The best way to reheat these is in the oven at 350°F for 5-7 minutes. The microwave will make the breading soft, but if you’re in a hurry, it works in a pinch. For the crispiest results, reheat the chicken pieces on a baking sheet in the oven, then assemble the sliders fresh. It takes an extra 5 minutes, but the texture is worth it.
Freezing: You can freeze the breaded, baked chicken pieces for up to 2 months. Let them cool completely, then wrap them individually in plastic wrap and place them in a freezer bag. When you’re ready to use them, thaw in the refrigerator overnight and reheat in the oven at 375°F for 8-10 minutes. Then assemble the sliders as directed. It’s a great make-ahead option for busy game days.
Nutritional Information & Benefits
While these sliders are definitely a treat, they’re not as heavy as you might think. Here’s a rough estimate per slider (based on 12 servings):
- Calories: Approximately 280
- Protein: 22g
- Fat: 12g
- Carbohydrates: 22g
- Fiber: 2g
The chicken provides a solid dose of lean protein, which helps keep you full and satisfied. The provolone adds calcium and a little bit of fat, which gives the sliders their rich flavor. The marinara sauce counts as a serving of vegetables — yes, really — and is packed with lycopene, an antioxidant linked to heart health.
If you’re watching your carb intake, you can serve the chicken and sauce over a bed of greens instead of on buns. Or use low-carb slider buns if you can find them. For a lighter option, pair these sliders with a fresh watermelon cucumber feta salad for a refreshing contrast.
Potential allergens: wheat (buns, flour, panko), dairy (cheese, butter), eggs. For a dairy-free version, use vegan cheese and a plant-based butter substitute. For an egg-free version, use a flax egg (1 tbsp ground flaxseed mixed with 3 tbsp water) in the breading.
Conclusion
These Easy Mini Chicken Parm Sliders are the kind of recipe that earns a permanent spot in your game day rotation. They’re quick enough for a last-minute craving, impressive enough for a party, and simple enough that you can actually relax and enjoy the game. The combination of crispy chicken, melty cheese, and tangy marinara on a soft bun is just unbeatable.
I love how customizable they are — you can make them spicy, smoky, or even vegetarian, and they always turn out great. They’ve become my go-to for every game day gathering, and I hope they become yours too. Don’t be afraid to play around with the flavors and make them your own.
I’d love to hear how yours turn out! Drop a comment below and let me know what variations you tried, or share a photo of your sliders on Pinterest. Tag me so I can see your creations. Until next time, happy cooking — and go team!
Frequently Asked Questions
Can I use pre-cooked chicken for these sliders?
You can, but I don’t recommend it. Pre-cooked chicken tends to dry out when baked again. Fresh chicken cutlets give you that juicy texture and crispy crust that makes these sliders special. If you’re in a pinch, rotisserie chicken works, but skip the breading step and just assemble the sliders with shredded chicken, sauce, and cheese. Bake at 375°F for 8-10 minutes until the cheese melts.
How do I keep the sliders from getting soggy?
The key is toasting the bottom buns before adding the chicken and sauce. That creates a barrier that prevents the moisture from soaking in. Also, make sure your chicken is well-drained after baking — pat it dry with a paper towel if it looks greasy. And don’t oversauce the sliders; a generous tablespoon per slider is plenty.
Can I make these sliders ahead of time for a party?
Absolutely! You can bread and bake the chicken up to 2 days in advance. Store it in the refrigerator, then reheat it in the oven at 375°F for 5-7 minutes before assembling the sliders. You can also toast the buns ahead of time and store them in an airtight container. Assemble and bake just before serving for the best texture.
What’s the best way to reheat leftover sliders?
The oven is your best friend here. Preheat to 350°F, place the sliders on a baking sheet, and heat for 5-7 minutes. The microwave will work in a pinch, but the breading will lose its crunch. If you’re reheating just the chicken, use the air fryer at 375°F for 3-4 minutes — it comes out almost as crispy as fresh.
Can I use a different type of cheese?
Definitely! Provolone is classic, but mozzarella gives you that perfect stretch, fontina adds a nutty flavor, and even sharp cheddar works well. I’ve also used a mix of provolone and smoked gouda for a deeper, smokier taste. Just make sure whatever cheese you choose melts well — avoid hard cheeses like Parmesan for the top layer.
Pin This Recipe!
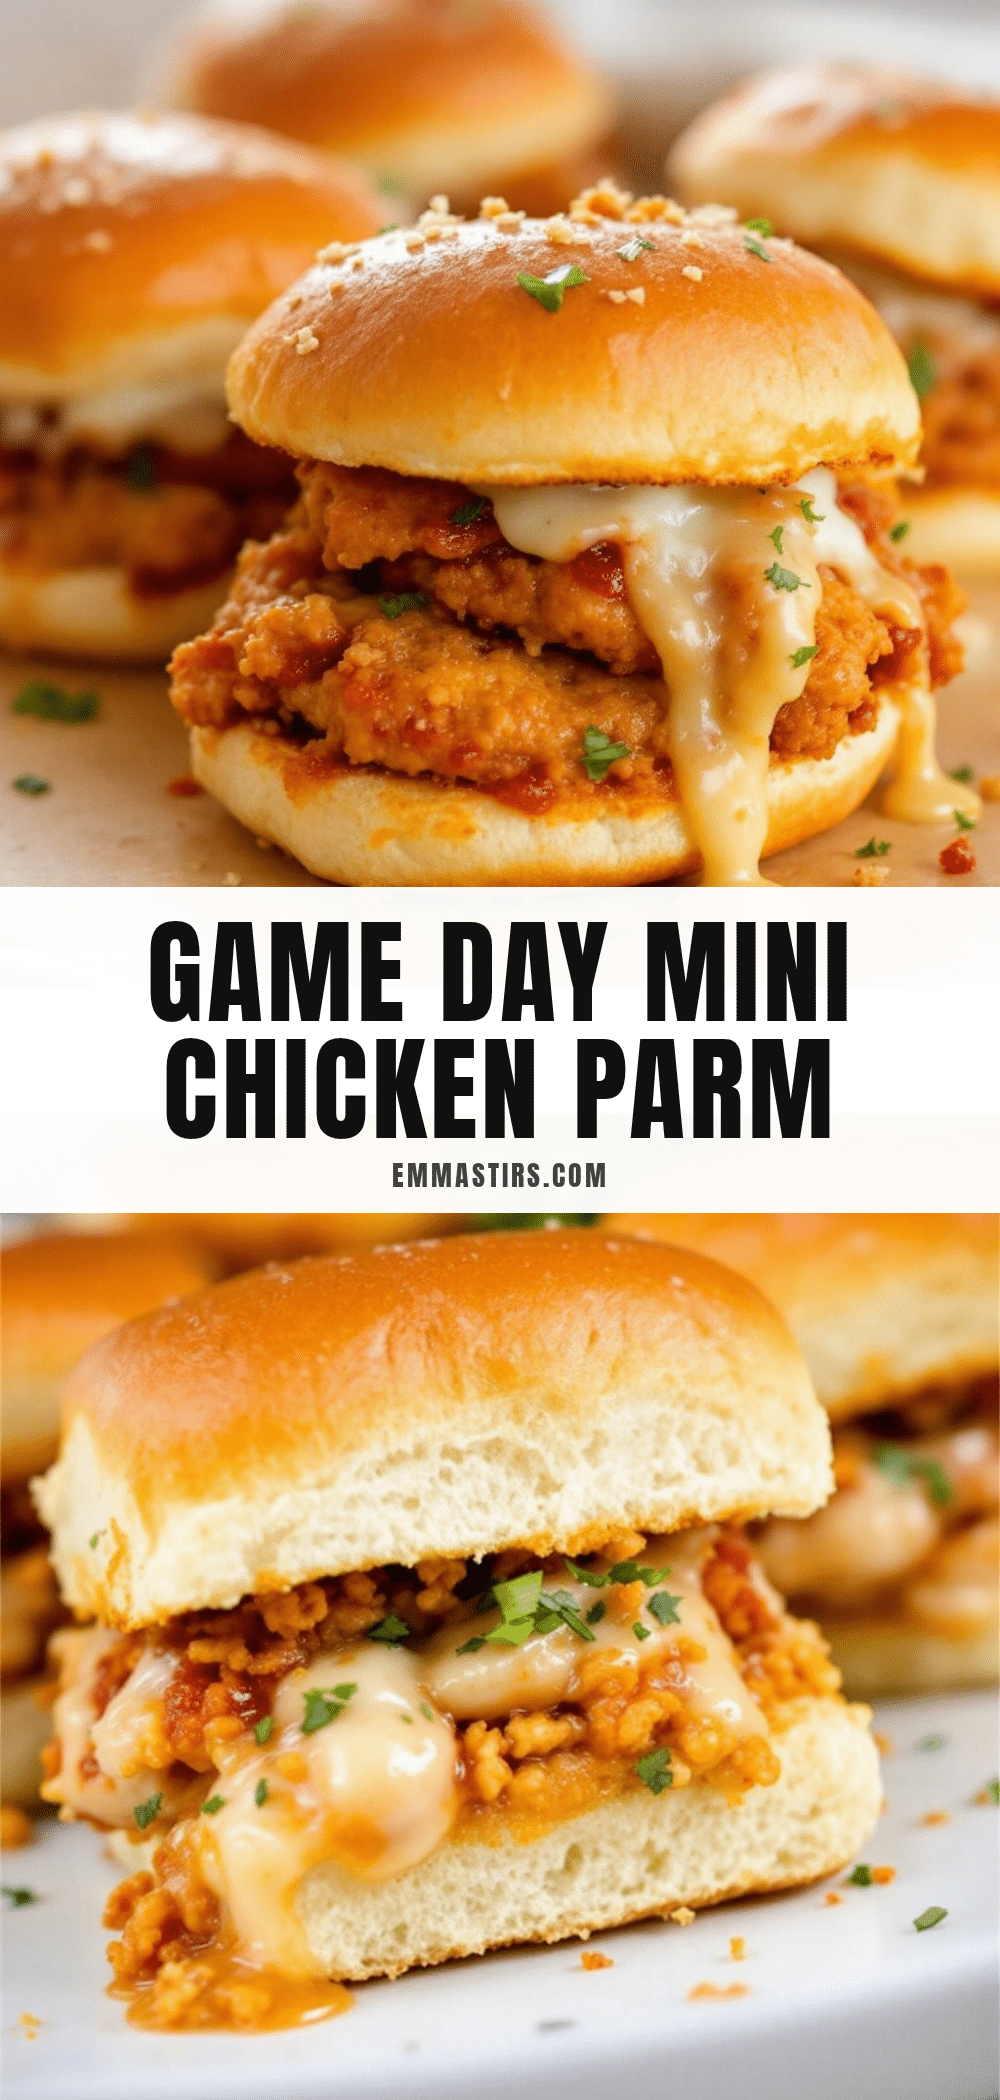
Easy Mini Chicken Parm Sliders: Perfect Game Day Bites

These Easy Mini Chicken Parm Sliders are the ultimate game day snack—crispy panko-crusted chicken, melty provolone, and tangy marinara on soft slider buns, all baked to perfection in about 30 minutes. They’re quick, crowd-pleasing, and designed for one-handed eating.
- Prep Time: 15 minutes
- Cook Time: 15 minutes
- Total Time: 30 minutes
- Yield: 12 sliders 1x
- Category: Appetizer
- Cuisine: Italian-American
Ingredients
- 1 lb chicken cutlets (thin-sliced)
- 1 cup panko breadcrumbs
- 1/4 cup grated Parmesan cheese
- 1 tsp garlic powder
- 1 tsp Italian seasoning
- Salt and black pepper to taste
- 2 large eggs (room temperature)
- 1/2 cup all-purpose flour
- 1 cup marinara sauce (e.g., Rao’s Homemade)
- 6 slices provolone cheese
- 12 slider buns (e.g., Martin’s Potato Rolls)
- 2 tbsp unsalted butter (melted)
- Fresh basil for garnish (optional)
Instructions
- Preheat oven to 400°F (200°C). Line a baking sheet with parchment paper or a silicone mat.
- Set up breading station: In first shallow bowl, mix flour with a pinch of salt and pepper. In second bowl, beat eggs with 1 tablespoon water. In third bowl, combine panko, Parmesan, garlic powder, Italian seasoning, and a pinch of salt and pepper.
- Pat chicken cutlets dry with paper towels. If thick, pound to 1/2-inch thickness between plastic wrap.
- Bread chicken: Dredge each cutlet in flour (shake off excess), dip in egg (let excess drip), then press into panko mixture until fully coated. Place on prepared baking sheet.
- Bake chicken for 12-15 minutes, flipping halfway, until golden brown and internal temperature reaches 165°F (74°C). Meanwhile, warm marinara sauce in a small saucepan over low heat.
- Once chicken is done, remove baking sheet. Slice slider buns in half. Arrange bottom halves on a separate baking sheet. Brush cut sides of all buns with melted butter. Toast bottom buns in oven for 3-4 minutes until lightly golden. Keep top halves aside.
- Assemble sliders: Place a piece of baked chicken on each toasted bottom bun. Spoon about 1 tablespoon warm marinara over chicken. Tear provolone slices in half and place one half on top of sauce.
- Return assembled sliders (without tops) to oven for 3-4 minutes until cheese is melted and bubbly.
- Remove from oven, place top buns on sliders. Garnish with fresh basil if desired. Serve immediately.
Notes
Don’t skip the flour step—it helps the egg stick. Use a meat thermometer for perfectly juicy chicken. Toast bottom buns but keep tops soft. Let sliders rest 1-2 minutes before serving to set the cheese. For variations: try buffalo sauce and blue cheese, air fryer method, gluten-free panko, or portobello mushrooms for vegetarian option.
Nutrition
- Serving Size: 1 slider
- Calories: 280
- Sugar: 4
- Sodium: 520
- Fat: 12
- Saturated Fat: 5
- Carbohydrates: 22
- Fiber: 2
- Protein: 22
Keywords: chicken parm sliders, mini chicken parmesan, game day appetizer, party sliders, easy chicken recipe, baked chicken sliders


