Love this? Save it for later!
Share the inspiration with your friends
“Wait—these have pumpkin? I don’t even like pumpkin.” That’s what my sister said, reaching for a third cookie anyway. She’d grabbed one by accident, thinking they were regular snickerdoodles. The cinnamon-sugar coating fooled her. The first bite made her pause. The second bite made her look at me suspiciously. By the third, she was trying to figure out how to steal the whole batch without me noticing.
I didn’t set out to make a pumpkin cookie that converts people. Honestly, I was just tired of dry, cakey pumpkin cookies that crumble the second you look at them. You know the ones—they taste fine but feel more like muffin tops pretending to be cookies. I wanted something chewy. Something with edges that get crisp and centers that stay soft. Something that actually tastes like a snickerdoodle, just with that cozy fall undertone.
So I browned the butter first. That nutty, almost caramel smell filled my kitchen and I knew I was onto something. The pumpkin puree adds moisture without making them gummy, and the brown butter? It changes everything. It adds this deep, toasty richness that makes the pumpkin taste more like pumpkin pie and less like, well, a vegetable. These cookies are soft in the middle, slightly crisp around the edges, and rolled in cinnamon sugar like any good snickerdoodle should be. They’re the kind of cookie you make for people who say they don’t like pumpkin cookies. And then you watch them eat four.
Why You’ll Love This Recipe
I’ve tested this recipe six times. Six. The first batch was too flat. The second was too cakey. The third had the texture of a hockey puck—don’t ask. But by batch four, I hit something special. These cookies have that perfect balance: soft centers, slightly crisp edges, and a cinnamon-sugar coating that crackles when you bite in. Here’s why they work:
- Brown butter magic: Toasting the butter adds a nutty, caramelized flavor that makes these cookies taste way more complex than they are. It’s one simple step that changes everything.
- Actually chewy: Most pumpkin cookies are fluffy and dry. Not these. The combination of brown butter and the right flour ratio gives them real chew.
- No weird ingredients: You probably have everything in your kitchen right now. No specialty flours, no obscure extracts, nothing fussy.
- Perfect for fall baking: These taste like October in cookie form. Great for Thanksgiving, Halloween parties, or just because it’s Tuesday and you want something warm.
- Crowd-pleaser: I brought these to a gathering and three people asked for the recipe. One of them was my sister, who doesn’t like pumpkin.
What makes these different from every other pumpkin cookie recipe? The brown butter, for starters. Most recipes skip this step, and you can taste the difference. Browning the butter deepens the flavor and adds a richness that complements the pumpkin without overpowering it. Plus, I use just enough pumpkin puree to add moisture and flavor without making the dough too wet. That’s the secret—pumpkin adds water, which can make cookies puffy and cakey. I’ve balanced the flour and butter ratios so you get a cookie that actually holds its shape and stays soft for days.
These cookies are the kind you make when you want to impress people without stressing out. They come together in about 30 minutes, they make your kitchen smell incredible, and they disappear fast. That’s the kind of recipe I want in my back pocket, and I think you will too.
What Ingredients You Will Need
This recipe uses simple ingredients that work together to create something way better than the sum of their parts. Nothing fancy here—just smart choices and one extra step that makes all the difference. Most of these are pantry staples, so you might not even need a grocery run.
- Unsalted butter, 1 cup (2 sticks): You’ll brown this, so unsalted is important. Salted butter can foam unpredictably and make it harder to control the salt level in the final dough. I use Kerrygold when I want a richer flavor, but any good unsalted butter works.
- Pumpkin puree, ½ cup: Not pumpkin pie filling—make sure you grab 100% pure pumpkin puree. Libby’s is my go-to because it’s consistently thick and not watery. If your pumpkin puree looks thin, blot it with a paper towel before using.
- Granulated sugar, ¾ cup: This goes into the dough. Regular white sugar adds sweetness and helps with browning.
- Light brown sugar, ½ cup, packed: Brown sugar adds moisture and a hint of molasses flavor that pairs beautifully with the brown butter. Make sure it’s packed firmly into your measuring cup.
- All-purpose flour, 2 ¼ cups: Spoon and level your flour—don’t scoop directly from the bag. Scooping packs the flour and gives you too much, which makes cookies dry.
- Large egg, 1, room temperature: Room temperature eggs incorporate more evenly into the brown butter. If you forgot to take one out, place it in a bowl of warm water for 5 minutes.
- Vanilla extract, 1 teaspoon: Pure vanilla extract adds warmth. Imitation vanilla works in a pinch but won’t give the same depth.
- Baking soda, 1 teaspoon: This helps the cookies spread just enough and gives them a tender crumb.
- Baking powder, ½ teaspoon: A little extra lift without making them puffy.
- Salt, ½ teaspoon: Balances the sweetness and enhances the brown butter flavor. I use fine sea salt for baking.
- Pumpkin pie spice, 1 ½ teaspoons: You can buy it pre-mixed or make your own with cinnamon, nutmeg, ginger, and cloves. I make my own because I like extra cinnamon.
- Cinnamon, 1 teaspoon (for dough): Adds that classic snickerdoodle warmth throughout the cookie.
For the cinnamon-sugar coating:
- Granulated sugar, ¼ cup
- Cinnamon, 1 tablespoon
Substitution notes: If you’re out of pumpkin pie spice, mix 1 teaspoon cinnamon, ¼ teaspoon nutmeg, ¼ teaspoon ginger, and a pinch of cloves. For a dairy-free version, use vegan butter—just make sure it’s a block-style butter, not spreadable. I haven’t tested this with gluten-free flour, but a 1:1 baking blend should work if you’re careful not to overmix.
Equipment Needed
You don’t need much for these cookies, which is part of why I love this recipe. Here’s what you’ll want to have on hand:
- Large skillet or saucepan: For browning the butter. A light-colored pan helps you see when the butter turns amber. Dark pans make it harder to judge the color.
- Mixing bowls: One large, one medium. I use glass or stainless steel—plastic can absorb smells over time.
- Whisk: For combining dry ingredients and mixing the wet ingredients.
- Rubber spatula: For folding everything together without overworking the dough.
- Baking sheets: Two standard half-sheet pans work great. Line them with parchment paper or silicone baking mats.
- Cookie scoop: A 1.5-tablespoon scoop makes evenly sized cookies. If you don’t have one, use two spoons—one to scoop, one to scrape.
- Cooling rack: Lets air circulate under the cookies so they don’t get soggy on the bottom.
- Small bowl: For the cinnamon-sugar coating.
I’ve made these with a cheap baking sheet and they still turned out great. The most important tool is a good pan for browning the butter. If you have a stainless steel skillet, use it. Non-stick works too, but you’ll want to watch the color closely since it’s harder to see.
Preparation Method
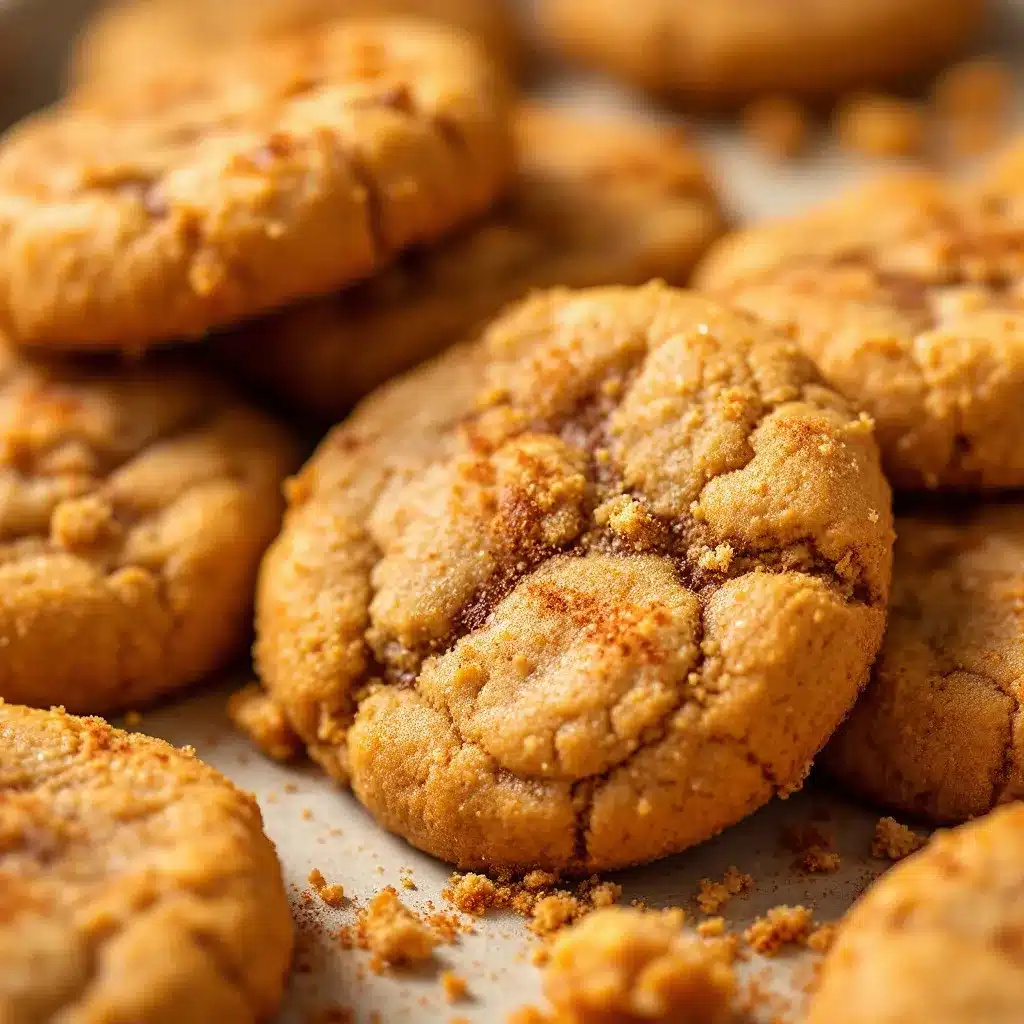
Let’s get to the good part. This recipe moves fast once you start, so read through everything first. Trust me—I learned the hard way that scrambling for ingredients mid-recipe is not fun.
- Brown the butter. Cut the butter into pieces and place it in a light-colored skillet or saucepan over medium heat. Stir constantly with a rubber spatula or whisk. The butter will melt, then foam, then start to sizzle. After about 5-7 minutes, you’ll see brown specks forming at the bottom. The butter will smell nutty and toasty. Once it turns a golden amber color, remove it from the heat immediately. Pour it into a heat-safe bowl to stop the cooking process. Let it cool for 10-15 minutes—you want it warm but not hot when you add it to the sugar.
- Mix the wet ingredients. In a large bowl, whisk together the cooled brown butter, granulated sugar, and brown sugar until smooth. It should look like wet sand. Add the pumpkin puree, egg, and vanilla extract. Whisk until fully combined. The mixture will look slightly separated at first—keep whisking until it comes together into a smooth, glossy batter.
- Combine the dry ingredients. In a separate medium bowl, whisk together the flour, baking soda, baking powder, salt, pumpkin pie spice, and cinnamon. Make sure there are no clumps. I like to use a fork to break up any stubborn spice lumps.
- Fold the dry into the wet. Add the dry ingredients to the wet mixture in two additions. Use a rubber spatula to fold gently—just until no streaks of flour remain. Do not overmix. Overmixing develops gluten and makes cookies tough. The dough will be soft and slightly sticky, but it should hold together when pressed.
- Chill the dough. Cover the bowl with plastic wrap and refrigerate for at least 30 minutes. This step is non-negotiable. Chilling solidifies the brown butter, which prevents the cookies from spreading too thin in the oven. If you’re in a rush, 20 minutes works, but 30 is better. You can also chill it for up to 3 days—the flavor gets even better.
- Preheat and prepare. While the dough chills, preheat your oven to 350°F (175°C). Line two baking sheets with parchment paper or silicone mats. In a small bowl, mix the ¼ cup sugar and 1 tablespoon cinnamon for the coating.
- Scoop and coat. Use a cookie scoop or tablespoon to portion the dough into 1.5-tablespoon balls. Roll each ball between your palms until smooth, then roll it in the cinnamon-sugar mixture until fully coated. Place the coated dough balls on the prepared baking sheets, spacing them about 2 inches apart. You should get about 24 cookies.
- Bake. Bake one sheet at a time for 10-12 minutes. The cookies will look puffed and slightly cracked on top. The edges should be set but the centers will still look soft. That’s exactly what you want. Overbaking makes them dry. For soft, chewy cookies, pull them out at 10 minutes if you like them extra gooey, or 11-12 for a firmer texture.
- Cool. Let the cookies cool on the baking sheet for 5 minutes. This allows them to set up without breaking. Then transfer them to a wire rack to cool completely. If you eat one warm—and you absolutely should—just know they’re very fragile straight out of the oven.
Sensory cues: When you brown the butter, listen for the sizzle to quiet down—that’s when the milk solids start browning. The dough should smell like warm spices and toasted nuts. When the cookies bake, your kitchen will smell like autumn. The edges will turn a light golden brown while the centers stay pale. That contrast means they’re done.
My personal tip: I always taste a tiny bit of the dough before chilling. Not because I recommend eating raw flour (please don’t), but because it helps me check the salt and spice levels. If it tastes flat, I add a pinch more salt. Better to catch it now than after baking.
If you enjoy recipes that use brown butter, you might also like my cozy one-bowl banana bread with brown butter and walnuts. Same nutty flavor, different comfort food vibe.
Cooking Tips & Techniques
I’ve made enough mistakes with this recipe to know exactly what can go wrong. Let me save you the trouble.
Don’t skip browning the butter. I know it’s an extra step. I know you’re busy. But this is what makes these cookies taste like something special. The nutty, toasty flavor can’t be replicated with anything else. Plus, browning butter removes some of the water content, which helps prevent flat, greasy cookies.
Watch the butter like a hawk. The line between browned and burned is about 15 seconds. Once you see amber-colored specks and smell that nutty aroma, pull it off the heat immediately. Pour it into a cool bowl to stop the cooking. I burned my first batch because I walked away to answer a text. Don’t be like me.
Chill the dough. I cannot stress this enough. Warm brown butter makes the dough soft and spreadable. If you bake it without chilling, your cookies will turn into flat, greasy discs. Chilling solidifies the fat and lets the flavors meld. Thirty minutes is the minimum. Overnight is even better—the spices deepen and the texture improves.
Measure flour correctly. Scooping directly from the bag packs the flour and adds up to 25% more than you need. Use the spoon-and-level method: spoon flour into your measuring cup, then level it off with a knife. Your cookies will thank you.
Don’t overbake. These cookies continue cooking on the hot baking sheet after you pull them out. If they look fully set in the oven, they’ll be overdone by the time they cool. Pull them when the edges are set and the centers still look soft and slightly underdone. That’s the sweet spot.
Use room temperature ingredients. Cold egg can seize the brown butter and make the dough lumpy. Let your egg sit out for 30 minutes before starting, or place it in warm water for 5 minutes. Same goes for the pumpkin puree—let it sit out while you brown the butter.
For another recipe that uses simple ingredients and smart techniques, check out my savory brown butter salted chocolate chip cookies. The same browning technique applies, and they’re just as addictive.
Variations & Adaptations
One of the best things about this recipe is how flexible it is. I’ve tried several variations, and here are my favorites:
Pumpkin Chocolate Chip Snickerdoodles: Fold in ½ cup of semi-sweet chocolate chips after mixing the dough. The chocolate pairs beautifully with the pumpkin and cinnamon. Dark chocolate works especially well—it balances the sweetness.
Maple Glaze Version: Whisk together ½ cup powdered sugar, 1 tablespoon maple syrup, and 1 tablespoon milk. Drizzle over cooled cookies. It adds a sweet, maple finish that tastes like fall on a plate. I did this for a Friendsgiving and they disappeared in minutes.
Vegan Adaptation: Use vegan butter (block-style, not spreadable) and a flax egg (1 tablespoon ground flaxseed mixed with 3 tablespoons water, let sit for 5 minutes). The texture will be slightly less tender, but the flavor is still incredible.
Gluten-Free Option: Substitute the all-purpose flour with a 1:1 gluten-free baking blend that contains xanthan gum. I’ve tested this with Bob’s Red Mill 1:1 and it worked well. The cookies spread a bit more, so chill the dough for an extra 15 minutes.
Extra Spicy: Add ¼ teaspoon of ground cardamom and a pinch of black pepper to the dough. It sounds weird, but the pepper enhances the pumpkin flavor. My spice-loving friends request this version every time.
Pumpkin Cream Cheese Filled: Freeze small cubes of cream cheese, then wrap each one in a portion of cookie dough before rolling in cinnamon sugar. Bake as directed. The cream cheese stays soft and creamy in the center. It’s extra work but worth it for special occasions.
If you’re looking for more fall-inspired treats, my easy overnight crockpot French toast casserole with brown sugar pecan topping is another cozy crowd-pleaser.
Serving & Storage Suggestions
These cookies are best served slightly warm, when the centers are still soft and the cinnamon-sugar coating is perfectly crisp. Let them cool for 5 minutes on the baking sheet, then transfer to a wire rack. If you can wait another 5 minutes, they’ll be warm enough to melt your heart but firm enough to hold.
For serving, arrange them on a rustic wooden board or a simple white plate. They look beautiful with a dusting of extra cinnamon on top. Pair them with a cold glass of milk, a hot cup of coffee, or a chai latte. The spices in the cookies complement chai perfectly. For a dessert spread, serve them alongside vanilla ice cream or a dollop of whipped cream.
Storage: Keep the cookies in an airtight container at room temperature for up to 5 days. Place a piece of bread in the container to help maintain moisture—the cookies will absorb it and stay soft. Replace the bread every 2 days. Do not refrigerate them; the fridge dries out baked goods.
Freezing: These cookies freeze beautifully. You have two options:
- Freeze baked cookies: Cool completely, then layer them between sheets of parchment paper in a freezer-safe container. Freeze for up to 3 months. Thaw at room temperature for 30 minutes.
- Freeze dough balls: Scoop and roll the dough, but don’t coat in cinnamon sugar. Place on a baking sheet and freeze until solid, then transfer to a freezer bag. When ready to bake, roll frozen dough balls in cinnamon sugar and bake for 12-14 minutes. No need to thaw.
Flavor development: These cookies actually taste better on day two. The spices mellow and meld together, and the texture softens slightly. If you can resist eating them all on day one, you’re stronger than me.
For a savory option that balances out all this sweetness, try my fresh savory cottage cheese bowl—it’s a great way to reset after a cookie binge.
Nutritional Information & Benefits
Let’s be real: these are cookies. They’re a treat. But they’re made with real ingredients, and there are a few bright spots worth mentioning.
Estimated nutritional values per cookie (based on 24 cookies):
- Calories: 165
- Fat: 9g
- Saturated Fat: 5g
- Carbohydrates: 21g
- Sugar: 13g
- Fiber: 1g
- Protein: 2g
- Sodium: 95mg
Health highlights: Pumpkin puree is rich in vitamin A and fiber. It adds moisture without extra fat, which means these cookies are slightly lighter than traditional butter-only snickerdoodles. The cinnamon in the coating has anti-inflammatory properties and may help regulate blood sugar. Brown butter, while indulgent, adds depth of flavor that lets you use less sugar overall compared to some recipes.
Dietary considerations: These cookies contain dairy (butter), eggs, and gluten (flour). For vegan and gluten-free adaptations, see the variations section above. They are nut-free as written, making them a good option for school bake sales or gatherings with allergy concerns.
My perspective: I believe in balance. These cookies aren’t health food, and they don’t pretend to be. But using real ingredients and smart techniques means you’re getting something made with care, not a boxed mix full of preservatives. One cookie with your afternoon coffee? That’s a win.
Conclusion
These brown butter pumpkin snickerdoodle cookies are everything I want in a fall recipe. They’re warm, spiced, and full of that nutty brown butter flavor that makes you close your eyes after the first bite. The pumpkin adds moisture without making them cakey, and the cinnamon-sugar coating gives them that classic crackly top we all love. They’re the kind of cookie that converts pumpkin skeptics and makes fall feel official.
What I love most about this recipe is how approachable it is. You don’t need fancy equipment or hard-to-find ingredients. Just a little patience for browning the butter and chilling the dough. That’s it. The result is a cookie that tastes like you spent hours in the kitchen, when really it’s just one extra step that makes all the difference.
I’d love to hear how these turn out for you. Did you add chocolate chips? Try the maple glaze? Bake them for a holiday gathering? Drop a comment below and let me know your favorite variation. And if you make them for someone who swears they don’t like pumpkin cookies, definitely tell me about that.
Happy baking, friends. Your kitchen is about to smell incredible.
Frequently Asked Questions
Can I use pumpkin pie filling instead of pumpkin puree?
No, don’t do that. Pumpkin pie filling has added sugar and spices, plus it’s thicker and more processed. It will throw off the sweetness and texture of the dough. Stick with 100% pure pumpkin puree. Libby’s is my go-to brand.
Why did my cookies turn out flat?
This usually happens for one of three reasons: the butter was too warm when you mixed the dough, you didn’t chill the dough long enough, or you used too much sugar. Make sure the brown butter has cooled to room temperature before mixing, and chill the dough for at least 30 minutes. If your kitchen is warm, go for 45 minutes.
Can I make the dough ahead of time?
Absolutely. You can refrigerate the dough for up to 3 days. Just wrap it tightly in plastic wrap or keep it in an airtight container. The flavors actually deepen as it sits. When you’re ready to bake, let it sit at room temperature for 10 minutes so it’s soft enough to scoop, then roll in cinnamon sugar and bake as directed.
How do I know when the butter is properly browned?
Look for three signs: the butter will turn a golden amber color, you’ll see small brown specks at the bottom of the pan, and it will smell nutty and toasty—almost like hazelnuts. The whole process takes about 5-7 minutes over medium heat. Stir constantly and don’t walk away. The line between browned and burned is very short.
Can I freeze the baked cookies?
Yes! Let them cool completely, then layer them between sheets of parchment paper in a freezer-safe container or bag. They’ll keep for up to 3 months. Thaw at room temperature for about 30 minutes, or pop them in a 300°F oven for 5 minutes to warm them up. They taste almost as good as fresh.
Pin This Recipe!
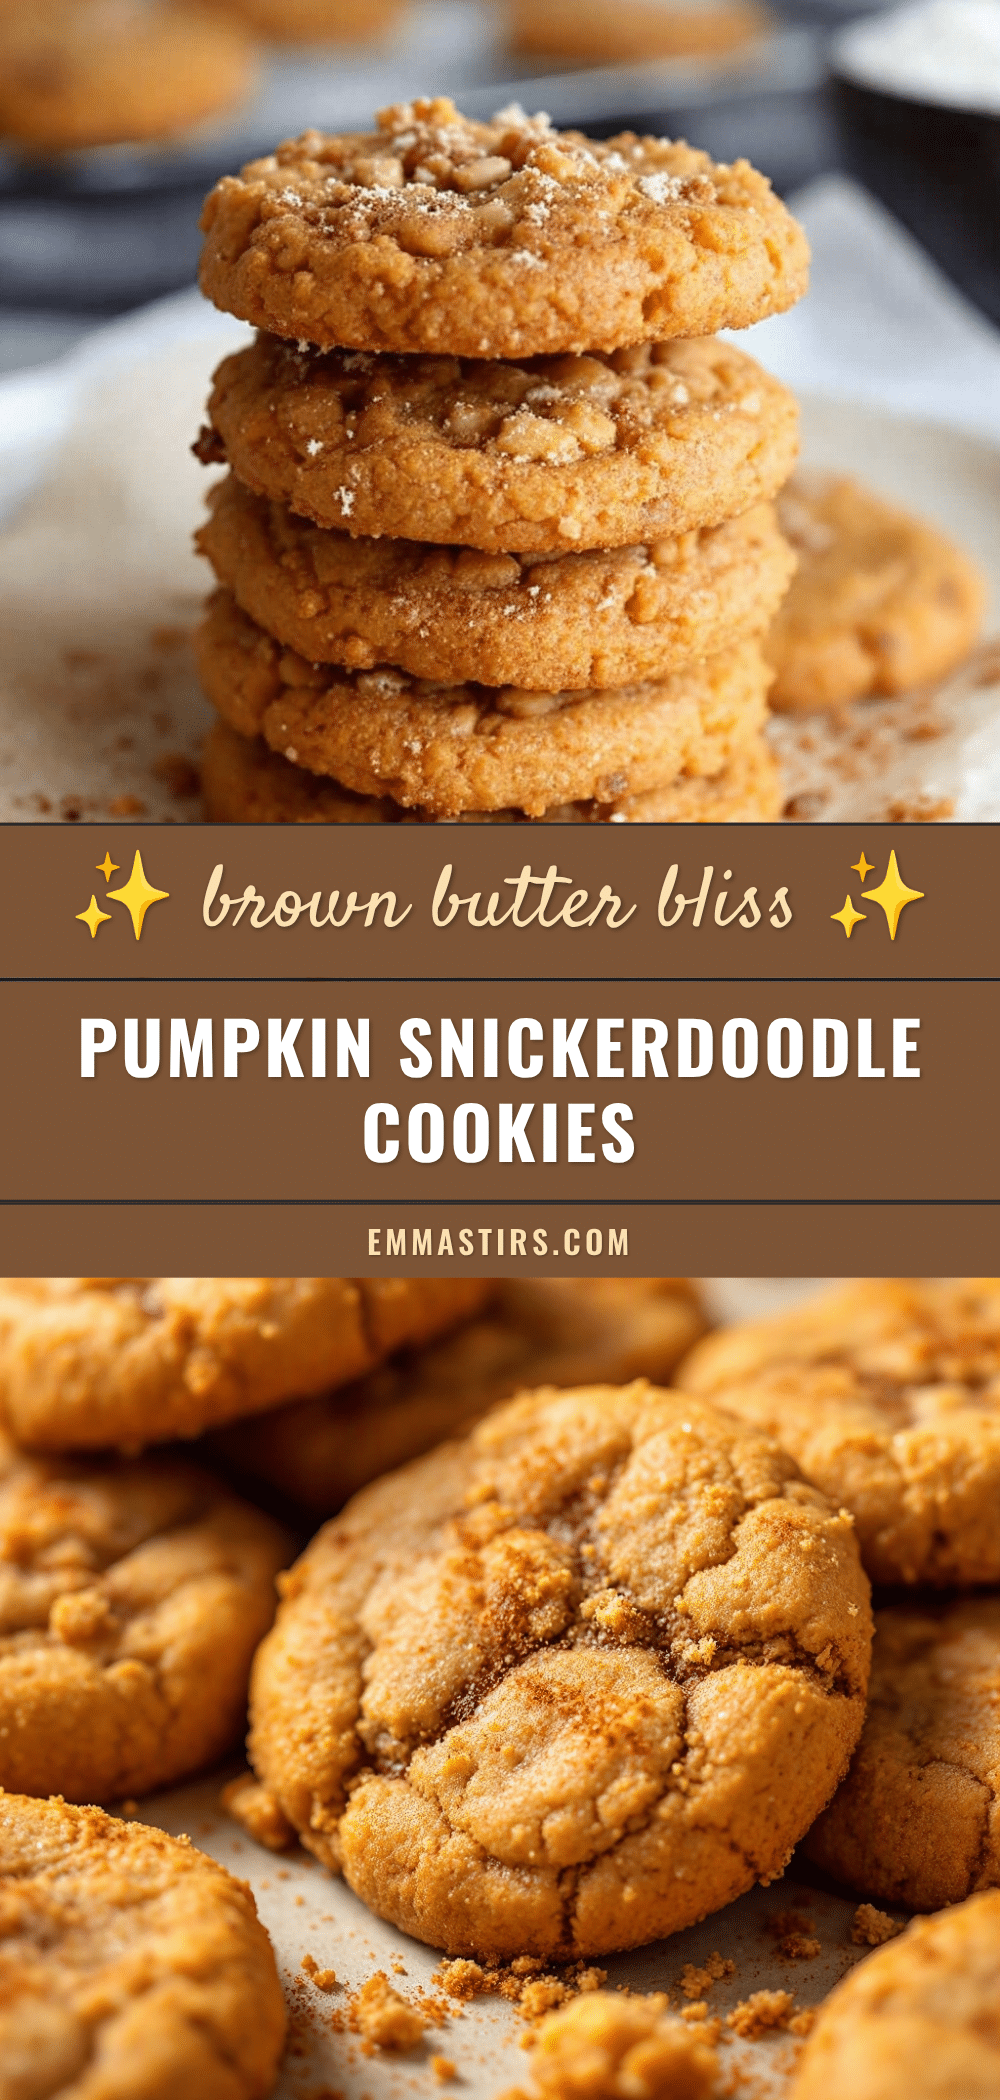
Best Brown Butter Pumpkin Snickerdoodle Cookies
These brown butter pumpkin snickerdoodle cookies are soft in the middle, slightly crisp around the edges, and rolled in cinnamon sugar. The nutty brown butter and pumpkin puree create a chewy, flavorful cookie that converts even pumpkin skeptics.
- Prep Time: 15 minutes
- Cook Time: 12 minutes
- Total Time: 57 minutes
- Yield: 24 cookies 1x
- Category: Dessert
- Cuisine: American
Ingredients
- 1 cup (2 sticks) unsalted butter
- ½ cup pumpkin puree (100% pure, not pie filling)
- ¾ cup granulated sugar
- ½ cup light brown sugar, packed
- 2 ¼ cups all-purpose flour
- 1 large egg, room temperature
- 1 teaspoon vanilla extract
- 1 teaspoon baking soda
- ½ teaspoon baking powder
- ½ teaspoon salt
- 1 ½ teaspoons pumpkin pie spice
- 1 teaspoon cinnamon
- For the cinnamon-sugar coating:
- ¼ cup granulated sugar
- 1 tablespoon cinnamon
Instructions
- Brown the butter: Cut the butter into pieces and place in a light-colored skillet or saucepan over medium heat. Stir constantly. After 5-7 minutes, the butter will turn golden amber with brown specks and smell nutty. Remove from heat immediately and pour into a heat-safe bowl. Let cool for 10-15 minutes until warm but not hot.
- Mix the wet ingredients: In a large bowl, whisk together the cooled brown butter, granulated sugar, and brown sugar until smooth. Add pumpkin puree, egg, and vanilla extract. Whisk until fully combined and smooth.
- Combine the dry ingredients: In a separate medium bowl, whisk together flour, baking soda, baking powder, salt, pumpkin pie spice, and cinnamon until no clumps remain.
- Fold the dry into the wet: Add dry ingredients to wet in two additions, folding gently with a rubber spatula until just combined. Do not overmix. Dough will be soft and slightly sticky.
- Chill the dough: Cover the bowl with plastic wrap and refrigerate for at least 30 minutes (up to 3 days).
- Preheat and prepare: Preheat oven to 350°F (175°C). Line two baking sheets with parchment paper or silicone mats. In a small bowl, mix ¼ cup sugar and 1 tablespoon cinnamon for coating.
- Scoop and coat: Using a cookie scoop or tablespoon, portion dough into 1.5-tablespoon balls. Roll each ball smooth, then roll in cinnamon-sugar mixture until fully coated. Place on prepared baking sheets, spacing 2 inches apart. Makes about 24 cookies.
- Bake: Bake one sheet at a time for 10-12 minutes. Cookies should look puffed and slightly cracked on top, with edges set and centers still soft. For extra gooey cookies, bake 10 minutes; for firmer, 11-12 minutes.
- Cool: Let cookies cool on baking sheet for 5 minutes, then transfer to a wire rack to cool completely.
Notes
Chilling the dough is non-negotiable to prevent flat cookies. Brown butter should be watched carefully to avoid burning. For best results, use room temperature egg and pumpkin puree. Cookies taste even better on day two.
Nutrition
- Serving Size: 1 cookie
- Calories: 165
- Sugar: 13
- Sodium: 95
- Fat: 9
- Saturated Fat: 5
- Carbohydrates: 21
- Fiber: 1
- Protein: 2
Keywords: pumpkin cookies, snickerdoodle, brown butter, fall baking, pumpkin snickerdoodle, chewy cookies, cinnamon sugar


