Love this? Save it for later!
Share the inspiration with your friends
I burned the first batch of these pumpkin oatmeal cups so badly that my smoke detector went off, the dogs started howling, and I had to open every window in the kitchen in late October. That was three years ago, and honestly, I almost gave up on the whole idea right then. I wanted a grab-and-go breakfast that tasted like fall but didn’t require standing at the stove stirring oatmeal while half-asleep. The problem was, my first attempts were either dry as sawdust or so mushy they fell apart in my hand. It took me eight tries across two weekends—and one very patient husband eating hockey-puck oatmeal cups for breakfast—before I figured out the balance. The trick wasn’t in the ingredients themselves, but in how I prepped them and the exact baking time. These healthy pumpkin oatmeal cups are now my favorite meal prep breakfast, and I make a double batch every Sunday without fail. They smell like autumn in your kitchen, they keep for days, and they actually taste like a treat instead of a compromise.
Why You’ll Love This Recipe
These pumpkin oatmeal cups solved a real problem for me, and I think they will for you too. Let me break down why they work so well.
- Meal Prep Friendly – Bake a batch on Sunday, and you have breakfast ready for the whole week. Grab one on your way out the door, and you’re good.
- Wholesome Ingredients – No refined sugar, no weird additives, no processed stuff. Just oats, pumpkin, eggs, and a few pantry staples you probably already have.
- Naturally Sweetened – A touch of maple syrup or honey does the job without sending your blood sugar on a roller coaster.
- Perfectly Portable – These hold their shape beautifully. Throw one in your bag, and it won’t crumble into a sad pile of crumbs by lunchtime.
- Customizable – Add chocolate chips, nuts, dried fruit, or keep them plain. The base recipe is forgiving and flexible.
What makes these different from the dozens of other oatmeal cup recipes out there? I tested this ratio until the texture was just right—not too dense, not too fragile. The pumpkin adds moisture without making them soggy, and the eggs provide structure so they hold together even after refrigeration. Plus, they reheat in thirty seconds flat, which is kind of the whole point of meal prep, right?
This is the kind of breakfast that makes you feel like you have your life together, even on chaotic mornings. One bite, and you’ll understand why I kept testing until I got it right.
What Ingredients You Will Need
This recipe uses simple, wholesome ingredients that come together to create something genuinely satisfying. Most of these are pantry staples, so you likely won’t need a special trip to the store.
- Rolled oats – 2 cups (use certified gluten-free if needed). Old-fashioned oats work best here. Quick oats will turn mushy, and steel-cut oats won’t soften enough during baking.
- Pumpkin puree – 1 cup (not pumpkin pie filling). I prefer Libby’s brand for consistent texture and flavor. Make sure it’s 100% pure pumpkin.
- Eggs – 2 large, room temperature. They help bind everything together and add protein.
- Maple syrup – 1/3 cup (or honey). Grade A or B both work fine. For a lower-carb option, use sugar-free maple syrup.
- Unsweetened applesauce – 1/4 cup. This adds extra moisture and natural sweetness without extra sugar. You can substitute mashed banana if you prefer.
- Milk – 1/4 cup (any kind works). I use unsweetened almond milk, but dairy milk, oat milk, or coconut milk all work well.
- Coconut oil – 2 tablespoons, melted (or avocado oil). This adds healthy fat and helps with browning.
- Vanilla extract – 1 teaspoon. Pure vanilla makes a difference here, but imitation works in a pinch.
- Pumpkin pie spice – 2 teaspoons. If you don’t have it, mix 1 teaspoon cinnamon, 1/2 teaspoon ginger, 1/4 teaspoon nutmeg, and 1/4 teaspoon cloves.
- Cinnamon – 1 teaspoon. I use Ceylon cinnamon for a milder, sweeter flavor, but Cassia works too.
- Baking powder – 1 teaspoon. This gives them a little lift so they aren’t too dense.
- Salt – 1/4 teaspoon. Just enough to balance the sweetness.
- Mix-ins (optional) – 1/2 cup chocolate chips, chopped walnuts, pecans, dried cranberries, or raisins. I usually add dark chocolate chips because, well, chocolate.
For the pumpkin, look for cans that say “100% pure pumpkin” on the label. Pumpkin pie filling has added sugar and spices that will throw off the recipe. If you’re using homemade pumpkin puree, drain off any excess liquid before measuring.
Equipment Needed
You don’t need fancy equipment for these pumpkin oatmeal cups, which is part of why I love this recipe so much.
- Muffin tin – Standard 12-cup size. I use a non-stick one, but any will work with liners or greasing.
- Muffin liners – Silicone or paper. Silicone liners are reusable and make cleanup even easier. If using paper, I recommend spraying them lightly with cooking spray so the cups don’t stick.
- Large mixing bowl – Any medium-to-large bowl for combining ingredients.
- Whisk – For mixing wet ingredients smoothly.
- Rubber spatula – For folding everything together without overmixing.
- Measuring cups and spoons – Standard set for accuracy.
- Ice cream scoop or cookie scoop – This makes filling the muffin cups evenly and cleanly. Not essential, but helpful.
- Oven – Preheated to 350°F (175°C).
- Cooling rack – Lets air circulate so the cups cool evenly without getting soggy on the bottom.
If you don’t have a muffin tin, you can bake these in a greased 8×8 baking dish and cut them into squares after cooling. Just increase the baking time by 5-7 minutes and check for doneness with a toothpick.
Preparation Method
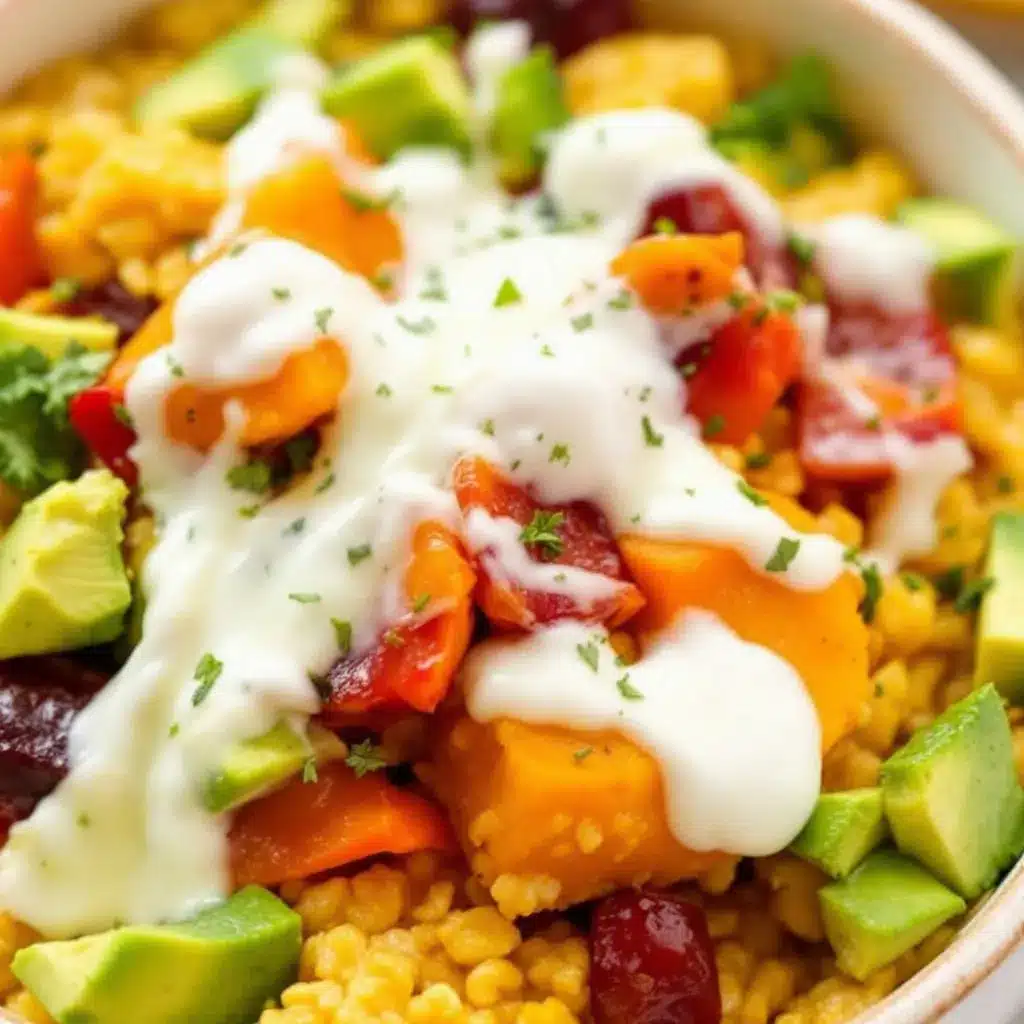
- Preheat your oven to 350°F (175°C). Line a 12-cup muffin tin with silicone or paper liners. If using paper liners, give them a quick spray with non-stick cooking spray. I learned this the hard way—trust me on this.
- In a large bowl, whisk together the wet ingredients: 1 cup pumpkin puree, 2 large eggs, 1/3 cup maple syrup, 1/4 cup unsweetened applesauce, 1/4 cup milk, 2 tablespoons melted coconut oil, and 1 teaspoon vanilla extract. Whisk until smooth and fully combined. The mixture should look like a thick, orange-colored batter.
- In a separate bowl, mix the dry ingredients: 2 cups rolled oats, 2 teaspoons pumpkin pie spice, 1 teaspoon cinnamon, 1 teaspoon baking powder, and 1/4 teaspoon salt. Stir with a fork or whisk to distribute the spices evenly.
- Pour the dry ingredients into the wet ingredients. Fold together with a rubber spatula until just combined. Do not overmix—stir until you no longer see dry oats, then stop. If you’re adding chocolate chips or nuts, fold them in now.
- Let the batter rest for 5 minutes. This is a crucial step I discovered through trial and error. The oats need a few minutes to absorb some of the liquid, which helps the cups hold their shape better during baking. The batter will thicken noticeably.
- Scoop the batter evenly into the prepared muffin cups. Fill each cup almost to the top—about 3/4 full. An ice cream scoop makes this step fast and mess-free. The cups won’t rise much, so filling them generously is fine.
- Bake for 18-22 minutes, or until the tops are set and a toothpick inserted in the center comes out clean. The edges should be golden brown, and the tops should feel firm to the touch. My oven runs hot, so I start checking at 18 minutes. Every oven is different, so trust your eyes and the toothpick test.
- Let the cups cool in the pan for 5 minutes, then transfer them to a wire cooling rack. This short rest helps them firm up before you move them. If you try to remove them immediately, they might fall apart.
- Cool completely before storing. This is important—if you pack them away while still warm, condensation will make them soggy. Patience pays off here.
Your kitchen will smell like a pumpkin spice candle factory at this point, and it’s glorious.
Cooking Tips & Techniques
I’ve made these pumpkin oatmeal cups more times than I can count, and I’ve collected a few hard-earned tips along the way.
Don’t skip the rest time. I know it seems like an unnecessary step, but letting the batter sit for 5 minutes before scooping makes a noticeable difference. The oats absorb liquid and plump up, which gives the cups a better texture. Skip this, and they’ll be looser and more likely to crumble.
Watch your baking time closely. These can go from perfect to overdone quickly. Overbaked oatmeal cups are dry and sad. Underbaked ones fall apart. The sweet spot is when the tops are set and a toothpick comes out clean but the cups still feel slightly soft in the center. They’ll continue setting as they cool.
Use room temperature eggs. Cold eggs can cause the coconut oil to solidify into little clumps when you mix them together. If you forget to take your eggs out ahead of time, place them in a bowl of warm water for 5 minutes.
Line your muffin tin properly. I prefer silicone liners because nothing sticks to them. If using paper liners, spray them with cooking spray. I learned this after peeling paper off a batch and ending up with half the oatmeal cup still stuck to the liner. Frustrating.
Make a double batch. These freeze beautifully, so I always make 24 at a time. It takes the same amount of effort, and you’ll thank yourself on busy mornings.
Let them cool completely. I know I said this already, but it bears repeating. Warm oatmeal cups stored in an airtight container will steam themselves into a soggy mess. Give them a full 30 minutes on the cooling rack before transferring to storage.
One thing I wish someone had told me: these are not as sweet as store-bought breakfast pastries, and that’s by design. The sweetness comes from maple syrup and pumpkin, which is subtle. If you have a sweet tooth, add 1/4 cup of chocolate chips or a tablespoon more maple syrup.
Variations & Adaptations
This base recipe is incredibly flexible, and I’ve tried several variations over the years. Here are my favorites.
Chocolate Chip Pumpkin Cups – Fold in 1/2 cup dark chocolate chips before baking. The combination of pumpkin and chocolate is surprisingly good, and it makes these feel more like dessert than breakfast. My kids devour these.
Protein Boost – Add 1 scoop of vanilla or unflavored protein powder and increase the milk by 2 tablespoons. The texture will be slightly denser, but the protein content jumps significantly. This is my go-to version after a morning workout.
Nut-Free Version – Use oat milk instead of almond milk, and skip any nut-based mix-ins. Sunflower seeds or pumpkin seeds make great alternatives for crunch without the allergens.
Vegan Adaptation – Replace the eggs with two flax eggs (2 tablespoons ground flaxseed mixed with 6 tablespoons water, let sit for 5 minutes). Use maple syrup instead of honey, and choose a plant-based milk. The texture will be a bit more delicate, but they still hold together well.
Lower-Carb Option – Substitute half the oats with almond flour and use sugar-free maple syrup. The texture changes slightly—they’re less chewy and more tender—but the flavor is still great. Keep an eye on baking time, as almond flour browns faster.
Apple Cinnamon Variation – Replace the pumpkin with unsweetened applesauce, swap pumpkin pie spice for extra cinnamon, and add 1/2 cup finely diced apple. This version tastes like apple pie in oatmeal cup form.
I’ve also tried adding shredded zucchini (squeeze out the excess moisture first) and shredded carrots. Both work well if you’re looking to sneak in extra veggies. You won’t taste them, I promise.
Serving & Storage Suggestions
These pumpkin oatmeal cups are versatile when it comes to serving. Here’s how I handle them.
Serving Temperature – I eat them cold straight from the fridge most mornings, but they’re also delicious warm. To reheat, pop one in the microwave for 20-30 seconds. The texture softens slightly, and the spices become more fragrant. If you have a few extra minutes, split one in half and toast it in a pan with a little butter. Game changer.
What to Serve With Them – On their own, these are a complete breakfast. But if you want a heartier meal, pair one with a side of Greek yogurt or a healthy egg white scramble with vegetables for extra protein. A dollop of nut butter on top adds healthy fat and makes them even more satisfying. For a sweeter touch, drizzle a little extra maple syrup or honey over the top.
Refrigerator Storage – Store in an airtight container for up to 5 days. Place a paper towel at the bottom of the container to absorb any excess moisture, and replace it after a day or two. This keeps the cups from getting soggy.
Freezer Storage – These freeze beautifully for up to 3 months. Arrange the cooled cups in a single layer on a baking sheet and freeze for 1 hour until solid. Then transfer them to a freezer-safe bag or container. To thaw, leave one in the fridge overnight or microwave for 30-40 seconds straight from frozen.
Flavor Development – Honestly, these taste even better on day two or three. The spices meld together and the oats continue to soften, creating a more cohesive texture. I actually prefer them after a day in the fridge.
If you’re packing these for lunch or a snack, they travel well without any special precautions. Throw one in your bag, and it will hold up perfectly for hours.
Nutritional Information & Benefits
Here’s the approximate nutritional breakdown for one pumpkin oatmeal cup (based on 12 servings, without mix-ins):
| Nutrient | Amount Per Cup |
|---|---|
| Calories | 145 |
| Protein | 5g |
| Carbohydrates | 24g |
| Fiber | 3g |
| Sugar | 8g |
| Fat | 4g |
| Vitamin A | 80% DV |
| Iron | 8% DV |
These numbers will vary depending on your exact ingredients and any mix-ins you add. Chocolate chips add about 30 calories and 2g of sugar per serving, for example.
Health Benefits – Pumpkin is packed with vitamin A, which supports eye health and immune function. Oats provide soluble fiber that helps lower cholesterol and keeps you full. The eggs add high-quality protein, and the coconut oil offers healthy fats. This is a breakfast that fuels your body without weighing you down.
Dietary Considerations – This recipe is naturally vegetarian, and with the substitutions mentioned above, it can be made vegan, gluten-free (use certified gluten-free oats), and dairy-free. It’s also nut-free if you choose your milk and mix-ins carefully.
Allergen Note – Contains eggs and oats (which are sometimes processed with wheat). If you have celiac disease, be sure to buy certified gluten-free oats.
I love that I can feel good about feeding these to my family. They’re not a “health food” in the restrictive sense—they’re just real food made from real ingredients.
Conclusion
These healthy pumpkin oatmeal cups have become a staple in my meal prep rotation, and I think they’ll earn a spot in yours too. They’re simple, forgiving, and genuinely delicious. The best part? They make your mornings easier without sacrificing flavor or nutrition.
I encourage you to make this recipe your own. Add your favorite mix-ins, adjust the sweetness to your taste, and experiment with different spice combinations. That’s the beauty of a good base recipe—it’s a starting point, not a rulebook. If you try them with chocolate chips and pecans, or maybe a swirl of nut butter on top, let me know how it turns out.
I’d love to hear about your experience with these pumpkin oatmeal cups. Drop a comment below and tell me what mix-ins you used, or tag me in your photos if you share them online. Your feedback helps other readers know what works, and honestly, it makes my day to see your creations.
Here’s to easier mornings and breakfasts that actually taste like fall. You’ve got this.
Frequently Asked Questions
Can I use quick oats instead of rolled oats?
I don’t recommend it. Quick oats absorb liquid differently and will make your cups mushy and dense. Rolled oats give the best texture—chewy but tender, with enough structure to hold together. Steel-cut oats won’t work either, as they won’t soften enough during the short baking time.
How do I know when the oatmeal cups are done baking?
The tops should be set and firm to the touch, and the edges will look golden brown. Insert a toothpick into the center of one cup—if it comes out clean or with just a few moist crumbs, they’re done. If the toothpick has wet batter on it, give them another 2-3 minutes and check again.
Can I make these without eggs?
Yes, but the texture will be different. Use two flax eggs (2 tablespoons ground flaxseed mixed with 6 tablespoons water, let sit for 5 minutes to thicken). The cups will be slightly more delicate, so handle them gently when removing from the pan. They also may not hold together as well when reheated.
Why did my oatmeal cups turn out dry?
Overbaking is the most common culprit. Check them at 18 minutes, even if your recipe says 22. Oven temperatures vary wildly, and these can go from perfect to dry in just a minute or two. Another possibility is that your pumpkin puree was thicker than usual—if using homemade puree, make sure to drain excess liquid first.
Can I double this recipe?
Absolutely. I double it all the time and freeze half for later. Just use two muffin tins and bake them at the same time, rotating the pans halfway through for even baking. The baking time stays roughly the same, but start checking at 18 minutes just in case.
Pin This Recipe!
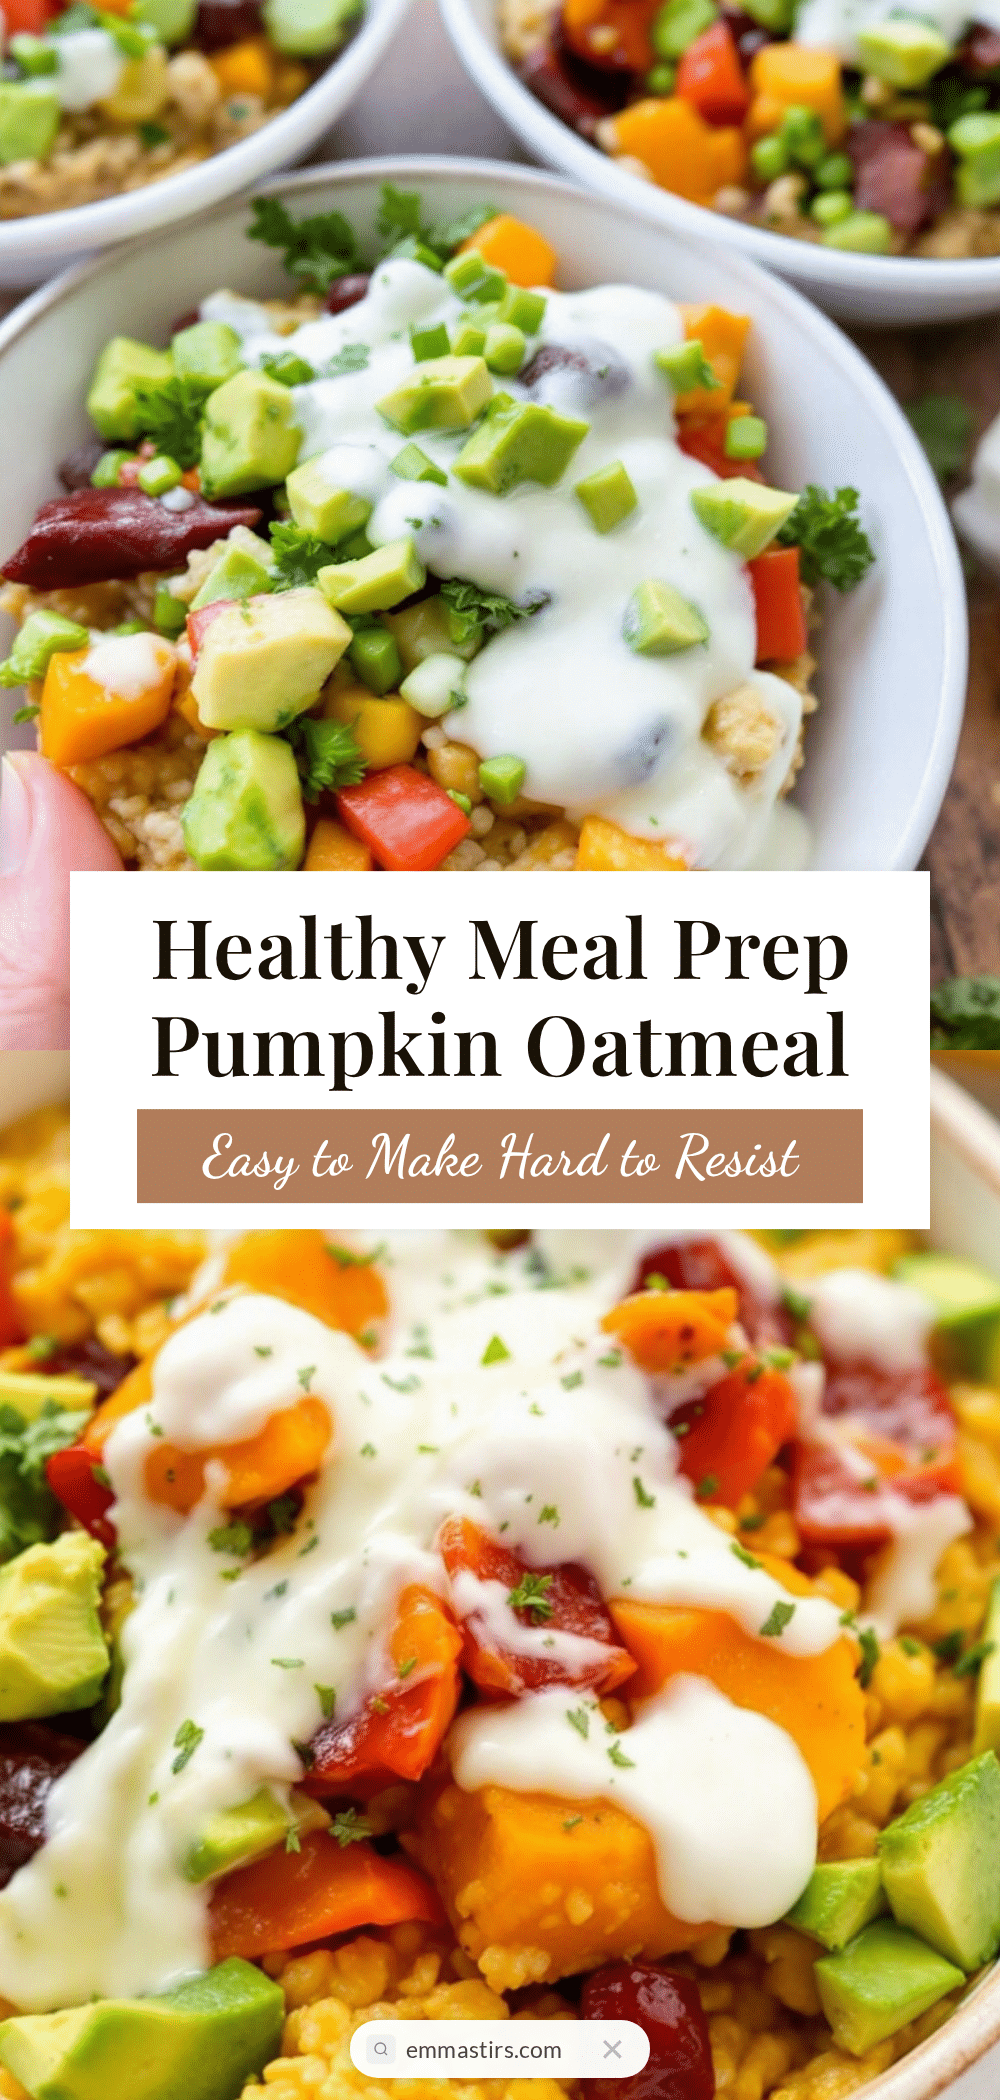
Healthy Pumpkin Oatmeal Cups: Easy Meal Prep Breakfast
These healthy pumpkin oatmeal cups are the perfect grab-and-go breakfast that tastes like fall. Made with wholesome ingredients like oats, pumpkin, and maple syrup, they’re meal prep friendly, naturally sweetened, and customizable with your favorite mix-ins.
- Prep Time: 15 minutes
- Cook Time: 20 minutes
- Total Time: 35 minutes
- Yield: 12 servings 1x
- Category: Breakfast
- Cuisine: American
Ingredients
- 2 cups rolled oats (use certified gluten-free if needed)
- 1 cup pumpkin puree (not pumpkin pie filling)
- 2 large eggs, room temperature
- 1/3 cup maple syrup (or honey)
- 1/4 cup unsweetened applesauce
- 1/4 cup milk (any kind works)
- 2 tablespoons coconut oil, melted (or avocado oil)
- 1 teaspoon vanilla extract
- 2 teaspoons pumpkin pie spice
- 1 teaspoon cinnamon
- 1 teaspoon baking powder
- 1/4 teaspoon salt
- 1/2 cup chocolate chips, chopped walnuts, pecans, dried cranberries, or raisins (optional)
Instructions
- Preheat your oven to 350°F (175°C). Line a 12-cup muffin tin with silicone or paper liners. If using paper liners, spray them lightly with non-stick cooking spray.
- In a large bowl, whisk together the wet ingredients: 1 cup pumpkin puree, 2 large eggs, 1/3 cup maple syrup, 1/4 cup unsweetened applesauce, 1/4 cup milk, 2 tablespoons melted coconut oil, and 1 teaspoon vanilla extract. Whisk until smooth and fully combined.
- In a separate bowl, mix the dry ingredients: 2 cups rolled oats, 2 teaspoons pumpkin pie spice, 1 teaspoon cinnamon, 1 teaspoon baking powder, and 1/4 teaspoon salt. Stir with a fork or whisk to distribute the spices evenly.
- Pour the dry ingredients into the wet ingredients. Fold together with a rubber spatula until just combined. Do not overmix. If adding chocolate chips or nuts, fold them in now.
- Let the batter rest for 5 minutes. This allows the oats to absorb some liquid, helping the cups hold their shape.
- Scoop the batter evenly into the prepared muffin cups, filling each cup almost to the top (about 3/4 full).
- Bake for 18-22 minutes, or until the tops are set and a toothpick inserted in the center comes out clean. The edges should be golden brown.
- Let the cups cool in the pan for 5 minutes, then transfer them to a wire cooling rack.
- Cool completely before storing to prevent sogginess.
Notes
Don’t skip the 5-minute rest time for the batter—it helps the oats absorb liquid and improves texture. Watch baking time closely; overbaked cups become dry. Use room temperature eggs to prevent coconut oil from solidifying. For best results, let cups cool completely before storing. These freeze beautifully for up to 3 months. Flavor improves after a day in the fridge.
Nutrition
- Serving Size: 1 oatmeal cup
- Calories: 145
- Sugar: 8
- Sodium: 95
- Fat: 4
- Saturated Fat: 2
- Carbohydrates: 24
- Fiber: 3
- Protein: 5
Keywords: pumpkin oatmeal cups, healthy breakfast, meal prep breakfast, pumpkin recipes, oatmeal cups, fall breakfast, grab-and-go breakfast


