Love this? Save it for later!
Share the inspiration with your friends
I burned the first batch of this Monster Mash Snack Mix so badly that my kitchen smelled like a chemical plant for three days.
Not my finest moment, honestly. I was rushing, trying to throw together something fun for my niece’s Halloween party, and I figured—how hard can it be to melt some chocolate and toss it with pretzels? Turns out, pretty hard when you walk away to answer a text and come back to a smoking mess.
The second batch was edible but sad. The chocolate seized up because I got impatient and used wet utensils. The M&Ms bled their colors into the coating. It looked like a science experiment gone wrong, which I guess was fitting for Halloween but not exactly appetizing.
By batch three, I finally slowed down and paid attention. That’s when everything clicked. The trick, I realized, is not in complicated techniques—it’s in the patience to let each step do its thing. The chocolate needs gentle heat. The mix needs time to set. And the Halloween M&Ms? They need to go on at the very end so every single one stays bright and intact.
Now this Easy Monster Mash Snack Mix with Halloween M&Ms is my go-to for every spooky season gathering. It’s the snack that disappears first at parties, the one people stand around picking at while they chat, the one someone inevitably asks for the recipe before they leave.
And honestly? That first burned batch was worth it. Because this version—the one I’m sharing with you today—is foolproof. It’s forgiving. And it tastes exactly like Halloween should taste: a little sweet, a little salty, and completely irresistible.
Why You’ll Love This Recipe
This isn’t just another snack mix you throw together and forget about. This Easy Monster Mash Snack Mix with Halloween M&Ms has earned its spot in my yearly rotation through trial and error, and I think you’ll see why after one batch.
- Quick & Easy : From start to finish, this takes about 15 minutes of active work. The hardest part is waiting for the chocolate to set, and even that only takes 30 minutes in the fridge. Perfect for those last-minute Halloween cravings or surprise party invites.
- Simple Ingredients : You probably already have most of these in your pantry. Pretzels, Chex cereal, peanuts, white chocolate chips, and a bag of Halloween M&Ms. No special trips to a fancy grocery store required.
- Perfect for Halloween Parties : This mix is the life of the party. It’s great for school celebrations, office potlucks, trunk-or-treat events, or just a cozy movie night with the kids. Everyone grabs a handful and comes back for more.
- Crowd-Pleaser : I’ve watched kids bypass candy bowls to grab this mix. Adults do the same. The sweet-and-salty combo hits that universal craving spot that no one can resist.
- Unbelievably Delicious : The creamy white chocolate coating on the crunchy cereal and salty pretzels, punctuated by those bright, candy-coated M&Ms—it’s texture heaven. Every handful is different, and that’s the beauty of it.
What makes this version different from every other snack mix recipe out there? It’s the ratio. I spent way too long figuring out the perfect balance of salty to sweet, crunchy to creamy. Most recipes either drown everything in chocolate or leave it too dry. This one hits the sweet spot—pun intended.
This is the kind of snack that makes you close your eyes after the first bite. It’s comfort food for the Halloween season—nostalgic, fun, and completely satisfying without any stress.
What Ingredients You Will Need
This recipe uses simple, everyday ingredients to create something that feels special. The magic is in how they come together, not in hard-to-find items.
- 3 cups Chex cereal (rice or corn) – The base of the mix. Rice Chex stays crunchier longer, but corn Chex works great too. Avoid wheat Chex—it gets soggy with the chocolate coating.
- 2 cups mini pretzel twists – The salty crunch that balances the sweet coating. I prefer the mini twists because they fit in every handful, but broken regular pretzels work fine.
- 1 cup salted peanuts – Adds protein and that satisfying savory note. Dry-roasted, salted peanuts are my go-to. If you’re nut-free, swap with roasted pumpkin seeds or sunflower seeds.
- 1 cup candy corn – Optional but highly recommended for that classic Halloween look and flavor. Some people love it, some hate it—I fall in the love camp, but feel free to leave it out.
- 12 ounces white chocolate chips or melting wafers – The coating that holds everything together. I recommend Ghirardelli white chocolate chips for the smoothest melt, but any quality brand works. Avoid white chocolate “baking chips” that don’t melt smoothly—they contain less cocoa butter and seize up easier.
- 2 tablespoons coconut oil or vegetable shortening – This is the secret weapon. It thins out the white chocolate so it coats every piece evenly without clumping. Coconut oil adds a subtle flavor that pairs beautifully with the sweet coating.
- 1 ½ cups Halloween M&Ms – The star of the show. The orange, purple, green, and brown colors make this mix look festive and fun. I buy the big Halloween bag and pick out the orange and purple ones specifically—makes the mix look more intentional.
- Optional: ½ cup orange and black sprinkles – For extra visual fun. Not necessary, but kids love them. I add them about half the time depending on the occasion.
Ingredient Selection Tips: Look for white chocolate that lists cocoa butter as an ingredient, not palm oil. The texture difference is noticeable. For the Chex, check the expiration date—stale cereal makes sad snack mix. And for the Halloween M&Ms, grab the bag that has the most purple and green ones—they’re the most Halloween-y colors.
Substitution Guidance: Need this gluten-free? Use gluten-free pretzels and check your Chex label (rice Chex is naturally gluten-free). Dairy-free? Use dairy-free white chocolate chips and skip the butter—the coconut oil will still work. Want to make it nut-free? Replace peanuts with more pretzels or add popcorn instead.
Equipment Needed
You don’t need fancy kitchen gadgets for this recipe, which is part of its charm. Here’s what you’ll need:
- Large microwave-safe bowl – For melting the white chocolate. Glass or ceramic works best. Avoid metal bowls in the microwave.
- Large mixing bowl – For combining all the dry ingredients. You need room to toss everything without spilling.
- Rubber spatula – For stirring and folding the chocolate into the mix. Silicone is best—it won’t scratch your bowls and scrapes every bit of chocolate off the sides.
- Parchment paper or silicone baking mat – For spreading the mix to set. Parchment paper is cheap and disposable. Silicone mats are reusable and work beautifully.
- Baking sheet – To hold the mix while it sets. A half-sheet pan is perfect.
- Measuring cups and spoons – Standard set. Nothing fancy.
- Zip-top bags or airtight container – For storage. A big mason jar also works and looks cute on the counter.
Personal Note: I used to skip the parchment paper and just spread the mix directly on the baking sheet. Big mistake. The chocolate stuck, and I spent ten minutes scraping hardened white chocolate off the pan. Now I line everything with parchment and cleanup takes thirty seconds. Learn from my laziness.
If you don’t have a microwave, you can melt the white chocolate in a double boiler on the stovetop. Just make sure the bowl doesn’t touch the water—steam will ruin the chocolate.
Preparation Method
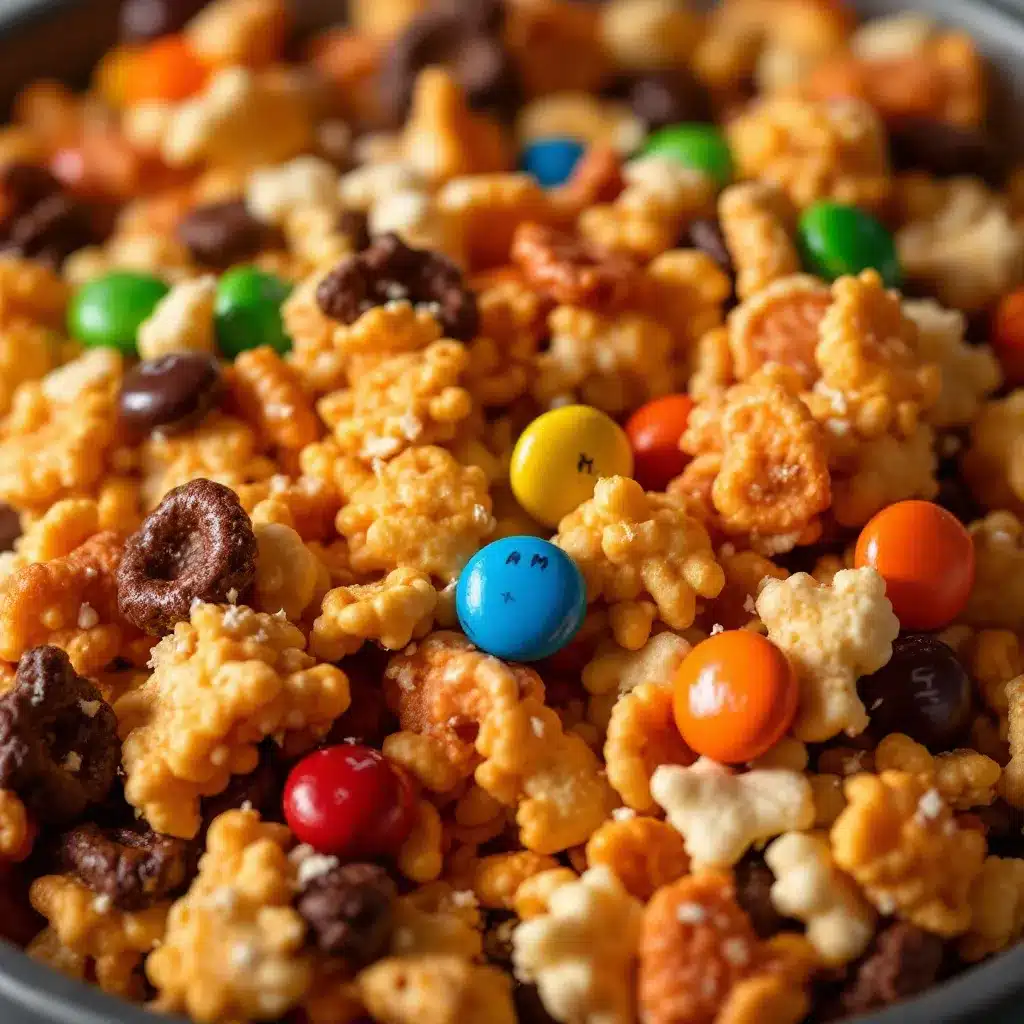
This recipe comes together fast, so have everything measured and ready before you start. Trust me on this—white chocolate waits for no one.
- Line a large baking sheet with parchment paper or a silicone baking mat. Set it aside where it won’t be disturbed. You’ll need this ready when the mix comes out of the bowl.
- In a large mixing bowl, combine 3 cups Chex cereal, 2 cups mini pretzel twists, 1 cup salted peanuts, and 1 cup candy corn (if using). Gently toss them together with your hands or a spatula. Try not to break the pretzels—they’re the structural backbone of this mix.
- In a separate microwave-safe bowl, combine 12 ounces white chocolate chips and 2 tablespoons coconut oil. Microwave in 30-second intervals, stirring thoroughly after each interval. This usually takes 2 to 3 intervals total. The chocolate should be mostly melted with a few small lumps remaining when you pull it out—the residual heat will finish the job as you stir.
- Stir the melted white chocolate until completely smooth. It should look glossy and runny, like thick cream. If it looks grainy or clumpy, you overheated it. Don’t panic—add another teaspoon of coconut oil and stir vigorously. It should smooth out.
- Pour the melted white chocolate over the dry ingredients. Use your rubber spatula to fold everything together gently but thoroughly. Every piece should have some coating. Don’t overmix or you’ll crush the cereal. About 20 folds is usually perfect.
- Spread the coated mixture onto the prepared baking sheet in an even layer. Use your spatula to push it flat. Don’t press too hard—you want some texture, not a solid brick of chocolate.
- While the coating is still wet, sprinkle 1 ½ cups Halloween M&Ms over the top. Press them in gently so they stick. This is where you can get creative—arrange them in clusters or scatter them evenly. I like to add a few extra on top of any bare spots.
- If using, sprinkle the orange and black sprinkles over the mix now. They’ll stick to the wet chocolate and add that extra festive touch.
- Let the mix set completely. This takes about 30 minutes in the refrigerator or 1 to 2 hours at room temperature. The coating should be firm and no longer sticky to the touch.
- Once set, break the mix into pieces. Use your hands—it’s satisfying and gives you control over the size. Some people like big clusters, others prefer smaller pieces. You do you.
Sensory Cues: When the white chocolate is perfectly melted, it should look like thick, glossy paint. When you fold it into the dry ingredients, you should hear a soft clicking sound as the pieces tumble together. The finished mix should smell sweet and a little nutty, with no burnt notes. When you break it apart, you should hear a clean snap—that means the chocolate set properly.
Time Estimates: Prep takes about 10 minutes. Melting and mixing takes 5 minutes. Setting time is 30 minutes in the fridge. Total active time: 15 minutes. Total time including setting: 45 minutes.
Troubleshooting Tip: If your white chocolate seizes up (turns thick and grainy), you likely got water in it. Even a drop of water can ruin a whole batch. Next time, make sure your bowl and spatula are bone-dry. For now, add a tablespoon of coconut oil and stir over very low heat—sometimes it can be saved.
Cooking Tips & Techniques
After making this Easy Monster Mash Snack Mix with Halloween M&Ms more times than I care to count, I’ve collected some hard-earned wisdom. Here’s what I wish someone had told me before my first attempt.
Low and slow is the rule for melting white chocolate. White chocolate burns faster than dark or milk chocolate because of its higher milk solids content. I learned this the hard way when I cranked the microwave to full power and ended up with a scorched, lumpy mess. Use 50% power if your microwave allows it, or stick to 30-second intervals and stir every single time.
Room temperature ingredients matter more than you think. If your Chex cereal is straight from a cold pantry or your pretzels have been sitting in a chilly garage, the warm chocolate will cool too fast and clump unevenly. Let everything sit out for 15 minutes before you start. This one tiny step made a massive difference in my coating consistency.
Don’t skip the coconut oil. I tried making this without it once because I thought it was optional. It’s not. The oil keeps the coating fluid enough to spread evenly and prevents that thick, gloppy texture that makes snack mix feel heavy. It also helps the coating stay shiny instead of turning dull and chalky.
Add the M&Ms after spreading, not before. I made the mistake of mixing the M&Ms into the bowl with everything else. The colors bled into the white chocolate, turning it a sad, muddy gray. By sprinkling them on top and gently pressing them in, every single M&M stays bright and distinct. This is non-negotiable if you want that beautiful Halloween look.
Let it set completely before breaking. I know you’re excited. I know it smells amazing. But if you try to break it while it’s still soft, you’ll end up with a sticky, smeared mess. Wait the full 30 minutes in the fridge, or better yet, an hour at room temperature. The patience pays off.
Multitasking strategy: While the white chocolate is melting, use that time to line your baking sheet and measure your M&Ms. Once the mix is spread and topped, pop it in the fridge and clean up your bowls immediately—dried white chocolate is a nightmare to wash off. Hot water and a good scrub brush work best.
Variations & Adaptations
One of the best things about this recipe is how flexible it is. Here are some variations I’ve tried and loved:
Chocolate Lover’s Version: Swap the white chocolate for dark or milk chocolate chips. Use Halloween-themed dark chocolate candies instead of M&Ms. The result is richer, deeper, and feels more indulgent. My husband prefers this version—he says the white chocolate is too sweet for him.
Spicy-Sweet Twist: Add ½ teaspoon of cayenne pepper or chili powder to the melted white chocolate before mixing. The heat sneaks up on you and contrasts beautifully with the sweet coating. I tried this on a whim one year and it was surprisingly popular at a grown-up Halloween party. Just don’t make this version for kids—they will not appreciate the heat.
Nut-Free Option: Replace the peanuts with roasted chickpeas or additional pretzels. You can also add popcorn for extra crunch. This version works great for school parties where nut allergies are a concern. Just double-check your other ingredients for cross-contamination warnings.
Fall Harvest Variation: Add ½ cup dried cranberries or dried cherries along with the candy corn. The tartness cuts through the sweet coating and adds a nice chew. I make this version for Thanksgiving gatherings—it fits the season without being too Halloween-specific.
Air Fryer Method: If you want extra-crispy results, spread the finished mix on a parchment-lined air fryer tray and air fry at 250°F for 5 minutes. Let it cool completely before breaking. This gives the cereal an almost toasted flavor that’s incredible. I discovered this by accident when I was trying to speed up the setting process, and now it’s my preferred method.
Personal Variation I Love: I sometimes add a handful of crushed freeze-dried strawberries to the mix. The tart, crunchy bits look like little monster flecks and add a bright fruit flavor that balances the sweetness. It sounds weird, but it works. My niece calls it “monster confetti.”
Serving & Storage Suggestions
This Easy Monster Mash Snack Mix with Halloween M&Ms is best served at room temperature. The coating stays firm but not hard, and the flavors are most balanced when it’s not straight from the fridge.
Serving Ideas:
- Fill small treat bags tied with orange ribbon for party favors or classroom treats.
- Serve in a large bowl at Halloween parties alongside apple cider or hot chocolate.
- Layer it in a mason jar as a gift—alternate layers of the mix with extra M&Ms for a striped effect.
- Set out bowls at a trunk-or-treat event for parents to snack on while the kids collect candy.
- Package in cellophane bags with Halloween-themed tags for neighbor gifts.
Storage Instructions:
- Room Temperature: Store in an airtight container at room temperature for up to 2 weeks. Keep it away from heat and direct sunlight, which can make the coating soften or bloom (turn white and chalky).
- Refrigerator: It will keep for up to 3 weeks in the fridge, but the texture changes slightly—the pretzels lose some crunch. If you refrigerate, let it sit out for 10 minutes before serving.
- Freezer: This freezes beautifully. Place in a freezer-safe bag or container for up to 3 months. Thaw at room temperature for about 20 minutes before serving. The coating stays intact and the crunch comes back perfectly.
Reheating Tip: If your mix has been stored and the coating seems soft, spread it on a baking sheet and warm it in a 250°F oven for 5 minutes. Let it cool completely before serving. This revives the crunch without melting the M&Ms.
Flavor Development: Honestly, this mix tastes best on day two. The flavors meld together overnight, and the coating sets into that perfect snap. If you can resist eating it all on day one, you’ll be rewarded.
Nutritional Information & Benefits
Let’s be real—this is a treat, not a health food. But that doesn’t mean it’s devoid of any redeeming qualities.
Estimated Nutritional Values (per ½ cup serving):
| Nutrient | Amount |
|---|---|
| Calories | 280 |
| Total Fat | 14g |
| Saturated Fat | 7g |
| Cholesterol | 5mg |
| Sodium | 320mg |
| Total Carbohydrates | 36g |
| Dietary Fiber | 2g |
| Sugars | 22g |
| Protein | 5g |
Health Benefits of Key Ingredients:
- Peanuts provide protein, healthy fats, and vitamin E. They help make this snack more satisfying than pure sugar treats.
- Chex cereal is fortified with iron and B vitamins, so there’s at least a little nutritional value in every handful.
- Pretzels offer quick energy from carbohydrates—great for active kids running around at Halloween parties.
Dietary Considerations: This recipe contains gluten (pretzels, Chex), dairy (white chocolate), and peanuts. For a gluten-free version, use gluten-free pretzels and rice Chex. For a dairy-free version, use dairy-free white chocolate chips. For a nut-free version, swap peanuts for seeds or extra pretzels.
Personal Wellness Perspective: I don’t believe in demonizing treats. Halloween comes once a year, and this snack mix is meant to be enjoyed without guilt. I serve it alongside healthier options like fresh fruit or veggie trays, and I let everyone choose what they want. Balance, not restriction, is the key.
Conclusion
This Easy Monster Mash Snack Mix with Halloween M&Ms is proof that simple ingredients, treated with a little care, can become something truly special. It’s the recipe I come back to every October, the one that makes my kitchen feel like a party even on a quiet Tuesday night.
I love this recipe because it’s forgiving. It doesn’t demand precision or fancy techniques. It just asks for a little patience and a willingness to have fun. And honestly? That’s the spirit of Halloween right there.
If you make this, I’d love to hear how it turns out. Did you add your own twist? Did the kids help sprinkle the M&Ms? Did you burn your first batch like I did? Drop a comment below and share your version. Tag me in your photos on social media—I want to see your monster creations.
Go make some snack mix. Your Halloween party (or your cozy night in) will thank you.
Frequently Asked Questions
Can I use milk chocolate instead of white chocolate?
Absolutely. Milk chocolate or dark chocolate both work beautifully. The flavor profile changes to a richer, less sweet version. Follow the same melting instructions, and add the coconut oil to keep the coating smooth.
How do I keep the M&Ms from melting into the coating?
Add them after you’ve spread the mix on the baking sheet, while the coating is still wet but not hot. Press them in gently. If the coating is too hot, the candy shells can start to soften and bleed color. Let the mix cool for 2-3 minutes after spreading before adding the M&Ms.
Can I make this ahead of time for a party?
Yes! This mix actually tastes better on day two. Make it up to a week in advance and store it in an airtight container at room temperature. Just keep it away from heat and humidity. If you’re making it more than a week ahead, freeze it.
Why did my white chocolate turn grainy?
This usually happens for one of three reasons: you overheated it, you got water in it, or you used low-quality white chocolate that doesn’t melt smoothly. Next time, use high-quality white chocolate chips, microwave in short intervals, and make sure all your utensils are completely dry.
Can I add other mix-ins like popcorn or cereal?
Definitely. Popcorn, Cheerios, or even broken graham crackers make great additions. Just keep the total dry ingredient volume around 6-7 cups so the coating ratio stays balanced. Too many add-ins and the mix gets dry; too few and it gets clumpy.
Pin This Recipe!
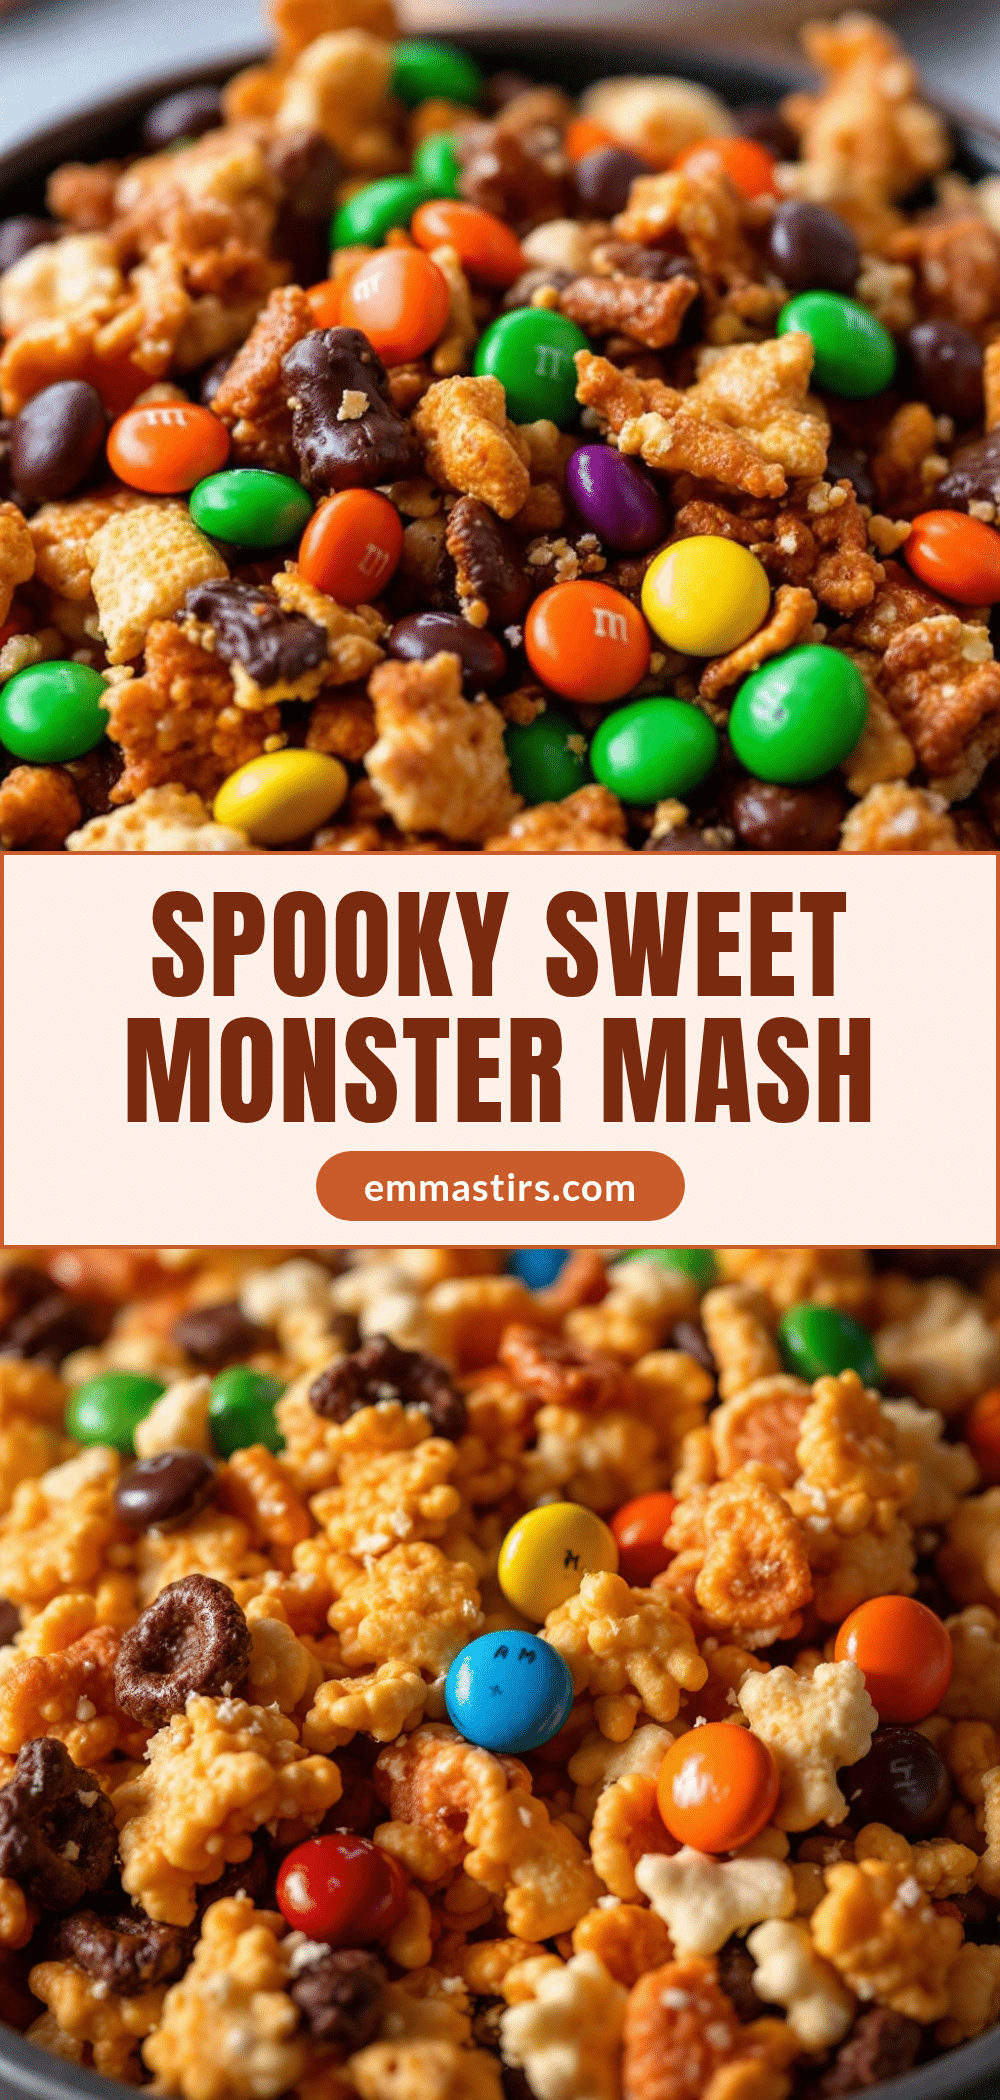
Easy Monster Mash Snack Mix with Halloween M&Ms

This Easy Monster Mash Snack Mix with Halloween M&Ms is a quick and simple treat perfect for Halloween parties. It combines crunchy Chex cereal, salty pretzels, and peanuts coated in creamy white chocolate, topped with festive Halloween M&Ms for a sweet and salty snack that disappears fast.
- Prep Time: 15 minutes
- Cook Time: 5 minutes
- Total Time: 45 minutes
- Yield: 8 servings 1x
- Category: Snack
- Cuisine: American
Ingredients
- 3 cups Chex cereal (rice or corn)
- 2 cups mini pretzel twists
- 1 cup salted peanuts
- 1 cup candy corn (optional)
- 12 ounces white chocolate chips or melting wafers
- 2 tablespoons coconut oil or vegetable shortening
- 1 ½ cups Halloween M&Ms
- ½ cup orange and black sprinkles (optional)
Instructions
- Line a large baking sheet with parchment paper or a silicone baking mat. Set aside.
- In a large mixing bowl, combine 3 cups Chex cereal, 2 cups mini pretzel twists, 1 cup salted peanuts, and 1 cup candy corn (if using). Gently toss together.
- In a separate microwave-safe bowl, combine 12 ounces white chocolate chips and 2 tablespoons coconut oil. Microwave in 30-second intervals, stirring thoroughly after each interval, until mostly melted (about 2-3 intervals).
- Stir the melted white chocolate until completely smooth and glossy.
- Pour the melted white chocolate over the dry ingredients. Fold gently with a rubber spatula until every piece is coated (about 20 folds).
- Spread the coated mixture onto the prepared baking sheet in an even layer.
- While the coating is still wet, sprinkle 1 ½ cups Halloween M&Ms over the top. Press them in gently so they stick.
- If using, sprinkle orange and black sprinkles over the mix.
- Let the mix set completely: 30 minutes in the refrigerator or 1-2 hours at room temperature, until firm and no longer sticky.
- Once set, break the mix into pieces with your hands.
Notes
Use high-quality white chocolate chips for best melting. Add M&Ms after spreading to prevent color bleeding. Let mix set completely before breaking. Store in an airtight container at room temperature for up to 2 weeks, or freeze for up to 3 months.
Nutrition
- Serving Size: ½ cup
- Calories: 280
- Sugar: 22
- Sodium: 320
- Fat: 14
- Saturated Fat: 7
- Carbohydrates: 36
- Fiber: 2
- Protein: 5
Keywords: Halloween snack mix, monster mash, white chocolate snack mix, M&Ms, easy snack mix, Halloween party snack, sweet and salty snack


