Love this? Save it for later!
Share the inspiration with your friends
My sister did not trust homemade ice cream. “It’s icy,” she’d say, or “it’s just frozen cream with no body.” Every summer, she’d pull out the store-bought tubs while I’d be in the kitchen, whisk in hand, trying to prove her wrong. I tried custard-based versions, no-churn experiments, even that weird bag-in-a-can method we all attempted in college. Nothing ever convinced her to put down the Häagen-Dazs spoon.
Then last July, during a heatwave that made the kitchen feel like a sauna, I made this. No ice cream maker. No eggs. Just cream, sweetened condensed milk, and a homemade salted caramel that I’d burnt twice before getting right. I scooped it into a loaf pan, froze it overnight, and the next afternoon, I handed her a bowl.
She took one bite and just… stopped. “What is this?” she asked, looking at the spoon like it had betrayed her. It was creamy. Silky. The caramel ribbons were soft and chewy, not hard and crystalline, and the salt hit right at the end. She ate the whole bowl. Then she asked for the recipe.
That’s the thing about this creamy no-churn salted caramel ice cream. It doesn’t need an ice cream maker or a culinary degree. It just needs patience, a good whisk, and a little trust.
Why You’ll Love This Recipe
I’ve tested this recipe about seven times now, and honestly, I’m still amazed at how simple it is. You don’t need any fancy equipment or hard-to-find ingredients. The salted caramel is made from scratch on the stovetop—it takes about ten minutes—and the whole thing comes together in under thirty minutes of active work. The freezer does the rest.
- No Ice Cream Maker Required : Seriously, no churning, no dasher, no rock salt. Just a hand mixer and a freezer.
- Incredibly Creamy Texture : The combination of heavy cream and sweetened condensed milk creates a rich, scoopable texture that rivals any premium brand. No icy crystals here.
- Better Than Store-Bought : Once you taste the homemade salted caramel—real butter, real cream, flaky sea salt—you won’t go back. It’s that deep, nutty, almost-burnt caramel that makes you close your eyes.
- Perfect for Hot Summer Days : This is the kind of dessert you make when the temperature hits 90°F and you need something cold, sweet, and satisfying immediately.
- Crowd-Pleaser : I’ve brought this to barbecues, birthday parties, and quiet Tuesday nights. Every single person asks for seconds.
What makes this recipe different from all the other no-churn recipes out there? It’s the caramel. I don’t just swirl in store-bought caramel sauce. I make a proper salted caramel—cooked until it’s amber and fragrant, then cooled and swirled into the cream mixture. The salt flakes stay intact, giving you little pops of savory goodness with every bite. It’s not just another version. It’s the version.
What Ingredients You Will Need
This recipe uses simple, pantry-friendly ingredients, but the quality matters. Since there are only a few components, each one plays a starring role.
- Heavy cream (2 cups / 480 ml) : Also called heavy whipping cream. You need the full-fat version here—light cream or half-and-half won’t whip properly and will result in a thinner, icier texture. Cold cream whips best, so keep it refrigerated until you’re ready.
- Sweetened condensed milk (14 oz / 397 g, one can) : This is the secret to the no-churn method. It adds sweetness, richness, and body without needing eggs or a custard base. I prefer Eagle Brand or Borden for consistent results. Do not substitute evaporated milk—they are not the same thing.
- Granulated sugar (1 cup / 200 g) : For the caramel. Regular white sugar works beautifully. You can use organic cane sugar if you prefer, but avoid brown sugar here—it changes the flavor and texture of the caramel.
- Unsalted butter (6 tablespoons / 85 g) : Cut into small pieces. Using unsalted butter lets you control the salt level. If you only have salted butter, reduce the added salt by half.
- Heavy cream (for the caramel, 1/2 cup / 120 ml) : Warm it slightly before adding to the hot caramel to prevent splattering. Cold cream into hot sugar can seize the caramel—ask me how I know.
- Flaky sea salt (1 to 1 1/2 teaspoons) : This is non-negotiable. I use Maldon or Jacobsen flaky sea salt. The large, irregular flakes provide those perfect bursts of saltiness. Fine table salt will just dissolve and disappear.
- Vanilla extract (1 teaspoon) : Pure vanilla extract, not imitation. It rounds out the caramel flavor beautifully. You can also use vanilla bean paste for little specks of vanilla.
Ingredient Substitutions
- Dairy-Free Version : Use full-fat coconut cream (chilled) instead of heavy cream, and sweetened condensed coconut milk instead of dairy-based. The texture will be slightly different—more coconut-forward—but still delicious.
- Lower Sugar Option : You can use a sugar-free sweetened condensed milk alternative, but the texture may be softer and less scoopable. I haven’t found a perfect substitute yet, so proceed with caution.
- Salt Level : Start with 1 teaspoon of flaky salt and taste the caramel before adding it to the cream. Some people love a bold salt hit; others prefer it subtle. Adjust to your preference.
Equipment Needed
You don’t need much for this recipe, which is honestly my favorite thing about it. Here’s what you’ll need:
- Mixing bowls : One large bowl for whipping the cream, one medium bowl for the caramel mixture.
- Hand mixer or stand mixer : A hand mixer works perfectly. You can also whisk by hand, but your arm will thank you for using a mixer. I’ve done both—the mixer is faster and gives you a stiffer peak.
- Medium saucepan : For making the caramel. Use a light-colored pan if you have one—it helps you see the color of the sugar as it cooks.
- Loaf pan (9×5-inch / 23×13 cm) : For freezing the ice cream. A metal pan freezes faster and more evenly than glass. You can also use a square baking dish.
- Parchment paper or plastic wrap : To line the pan for easy removal.
- Rubber spatula : For folding the caramel into the cream mixture without deflating it.
- Instant-read thermometer (optional but helpful) : For the caramel. You’re aiming for 340-350°F (170-177°C), but you can also judge by color.
I’ve made this with a cheap hand mixer from the grocery store and it worked fine. Don’t overthink the equipment. If you have a whisk and a strong arm, you can make this work.
Preparation Method
Step 1: Make the Salted Caramel
Start by making the caramel—it needs time to cool completely before you add it to the cream. In a medium saucepan over medium heat, spread the granulated sugar in an even layer. Don’t stir it yet. Just let it sit and melt. This takes about 3-4 minutes. The edges will start to turn amber first. When you see that, gently swirl the pan (don’t stir) to encourage even melting.
Once the sugar is completely melted and deep amber—like the color of a penny—remove it from the heat. Carefully add the warm heavy cream in a slow, steady stream. It will bubble up violently. That’s normal. Keep your face away from the pan. Whisk until the cream is fully incorporated and the caramel is smooth.
Add the butter pieces, one at a time, whisking after each addition until melted. Stir in the vanilla and 1 teaspoon of flaky sea salt. Let the caramel cool in the pan for 10 minutes, then transfer to a heatproof bowl. Let it cool completely at room temperature, then refrigerate until cold—about 1 hour. The caramel needs to be cold before swirling, otherwise it will melt the cream mixture.
Step 2: Whip the Cream
In a large mixing bowl, pour the cold heavy cream. Using a hand mixer on medium-high speed, whip the cream until stiff peaks form. You want it firm enough that when you lift the beaters, the cream stands up in peaks that don’t flop over. This takes about 3-4 minutes. Don’t overwhip—you don’t want butter.
In a separate bowl, whisk the sweetened condensed milk until smooth. It should be thick and pourable. If it’s too thick to stir, microwave it for 10 seconds to loosen it up.
Step 3: Combine the Base
Gently fold the sweetened condensed milk into the whipped cream. Use a rubber spatula and a gentle hand—you want to keep as much air in the mixture as possible. Fold until just combined, with no white streaks remaining. The mixture should be thick, airy, and pale ivory.
Step 4: Swirl in the Caramel
Take the cold caramel out of the refrigerator. It should be thick but pourable—like warm honey. If it’s too firm, let it sit at room temperature for 5 minutes. Drizzle about half the caramel over the cream mixture. Use a knife or skewer to gently swirl it through—don’t fully mix it. You want distinct ribbons of caramel running through the ice cream.
Pour half the cream mixture into your prepared loaf pan. Drizzle more caramel on top, then add the remaining cream mixture. Top with the last of the caramel. Use the knife to create a few more swirls on top. Sprinkle with the remaining 1/2 teaspoon of flaky sea salt.
Step 5: Freeze
Cover the pan tightly with plastic wrap or foil. Freeze for at least 6 hours, but preferably overnight. The longer it freezes, the firmer and more scoopable it gets. I always make this the day before I plan to serve it.
When you’re ready to serve, let the ice cream sit at room temperature for 5-10 minutes to soften slightly—this makes scooping much easier. Use a warm ice cream scoop for clean, beautiful scoops.
Cooking Tips & Techniques
I’ve made this recipe about seven times now, and I’ve learned a few things the hard way. The first time I made the caramel, I walked away for thirty seconds and came back to a burnt, smoking mess. Caramel goes from perfect to ruined very quickly. Stay close to the stove, and watch the color carefully. The moment it hits deep amber, pull it off the heat.
Another mistake I made early on was adding cold cream to the hot caramel. It seized up instantly, turning into a hard, grainy blob. Warm the cream slightly—just 20 seconds in the microwave—before adding it. This keeps the caramel smooth and silky.
For the whipped cream, make sure everything is cold. Chill your bowl and beaters for 10 minutes before whipping if your kitchen is warm. And don’t rush the folding. If you deflate the cream, your ice cream will be dense and heavy instead of light and airy.
One more thing—don’t skip the salt on top. That final sprinkle of flaky sea salt right before freezing creates those little savory explosions that make this ice cream unforgettable. It’s not optional in my book.
Variations & Adaptations
Chocolate Salted Caramel
Add 1/4 cup of unsweetened cocoa powder to the sweetened condensed milk before folding it into the cream. The chocolate and caramel combo is absolutely divine. I made this for a friend’s birthday and she said it was the best ice cream she’d ever had.
Espresso Salted Caramel
Dissolve 1 tablespoon of instant espresso powder in 1 tablespoon of hot water and stir it into the caramel after adding the cream. The coffee flavor deepens the caramel and adds a grown-up complexity. Perfect for after-dinner dessert.
Nutty Salted Caramel
Toast 1/2 cup of chopped pecans or walnuts in a dry skillet over medium heat until fragrant—about 3-4 minutes. Let them cool completely, then fold them into the cream mixture along with the caramel. The crunch is a wonderful contrast to the creamy ice cream.
Vegan Adaptation
Use full-fat coconut cream (chilled overnight) instead of heavy cream, and sweetened condensed coconut milk instead of dairy-based. The caramel can be made with coconut cream and vegan butter. The texture is slightly different—more coconut-forward and a bit softer—but still incredibly satisfying.
Serving & Storage Suggestions
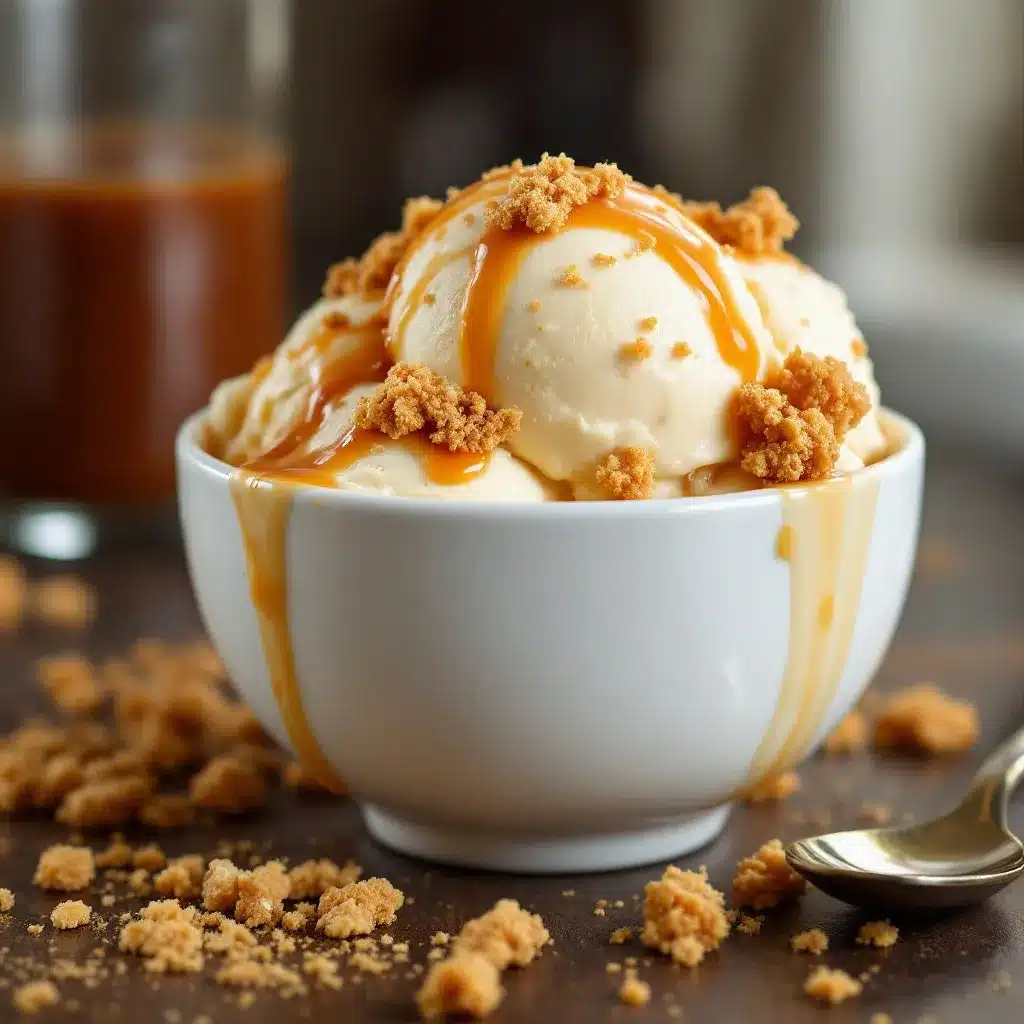
This ice cream is best served straight from the freezer after a 5-minute rest at room temperature. I love it in simple bowls or, honestly, straight from the pan with a spoon when no one’s watching. For a more elegant presentation, scoop it into chilled glasses and drizzle with extra caramel sauce and a pinch of flaky salt.
It pairs beautifully with warm desserts—think apple crisp, brownies, or a simple chocolate chip cookie. The cold, creamy ice cream against something warm and baked is a perfect contrast. I also love it alongside a slice of brown butter banana bread for a next-level dessert experience.
For storage, keep the ice cream tightly covered in the freezer. It will stay good for up to 2 weeks, though it rarely lasts that long in my house. If the ice cream gets too hard after a few days, let it sit at room temperature for 10-15 minutes before scooping. The caramel ribbons may become firmer over time, but that’s part of the charm.
Flavors develop beautifully after 24 hours in the freezer. The salt mellows slightly, the caramel deepens, and the whole thing becomes more cohesive. If you can wait a day, do it.
Nutritional Information & Benefits
This is dessert, so let’s be honest—it’s not health food. But there are a few redeeming qualities. The heavy cream provides healthy fats that help keep you full and satisfied. The caramel, while indulgent, is made from scratch without preservatives or artificial ingredients. And the salt? Well, you need sodium to live.
Per serving (about 1/2 cup / 120 ml):
- Calories: 380
- Fat: 24g
- Carbohydrates: 38g
- Protein: 4g
- Sugar: 35g
- Sodium: 290mg
For a lighter option, serve smaller portions—about 1/4 cup—and pair it with fresh berries or a low-calorie fruit salad with mint for balance. This ice cream is also gluten-free and contains no eggs, making it suitable for those with egg allergies.
I believe in enjoying dessert without guilt. A small bowl of this ice cream after a long day is good for the soul. And honestly, the homemade version has far less junk than anything you’d buy at the store.
Conclusion
This creamy no-churn salted caramel ice cream has become my go-to summer dessert, and I hope it becomes yours too. It’s simple enough for a Tuesday night, impressive enough for a dinner party, and so much better than anything you can buy at the store. The caramel is deep and buttery, the cream is light and airy, and that salt—that perfect, flaky salt—makes every bite sing.
I love this recipe because it reminds me that good things don’t have to be complicated. A few ingredients, a little patience, and you have something genuinely special. My sister now makes this herself, and she’s even started experimenting with her own variations. She still buys store-bought ice cream sometimes, but she always comes back to this one.
If you make this recipe, I’d love to hear about it. Leave a comment below and tell me how it turned out—did you add chocolate? Espresso? Did you eat the whole pan in one sitting? No judgment here. And if you’re looking for another easy, satisfying dessert, try my brown butter salted chocolate chip cookies for a perfect pairing.
Happy scooping, friends!
Frequently Asked Questions
Can I make this without a hand mixer?
Absolutely. You can whip the cream by hand with a whisk and a lot of elbow grease. It takes about 5-7 minutes of vigorous whisking, but it works. Make sure the cream is very cold, and use a large bowl to give yourself room.
Why did my caramel turn out grainy?
Grainy caramel usually means the sugar crystallized during cooking. To prevent this, make sure your pan and utensils are completely clean—any debris can cause crystallization. Also, avoid stirring the sugar while it’s melting. Just swirl the pan gently.
Can I use store-bought caramel sauce instead?
You can, but the texture and flavor won’t be the same. Store-bought caramel sauce is usually thinner and sweeter, with less depth. If you’re in a pinch, use a high-quality jarred caramel and add a generous pinch of flaky salt to mimic the homemade version.
How long does this ice cream last in the freezer?
It stays good for up to 2 weeks when stored in an airtight container. After that, the texture may become icier and the caramel ribbons may harden. For best results, eat it within the first week.
Can I double this recipe?
Yes! Double all the ingredients and use a larger pan—a 9×13-inch baking dish works well. The freezing time may increase by 1-2 hours since there’s more volume. Just make sure the caramel is completely cool before adding it to the cream.
Pin This Recipe!
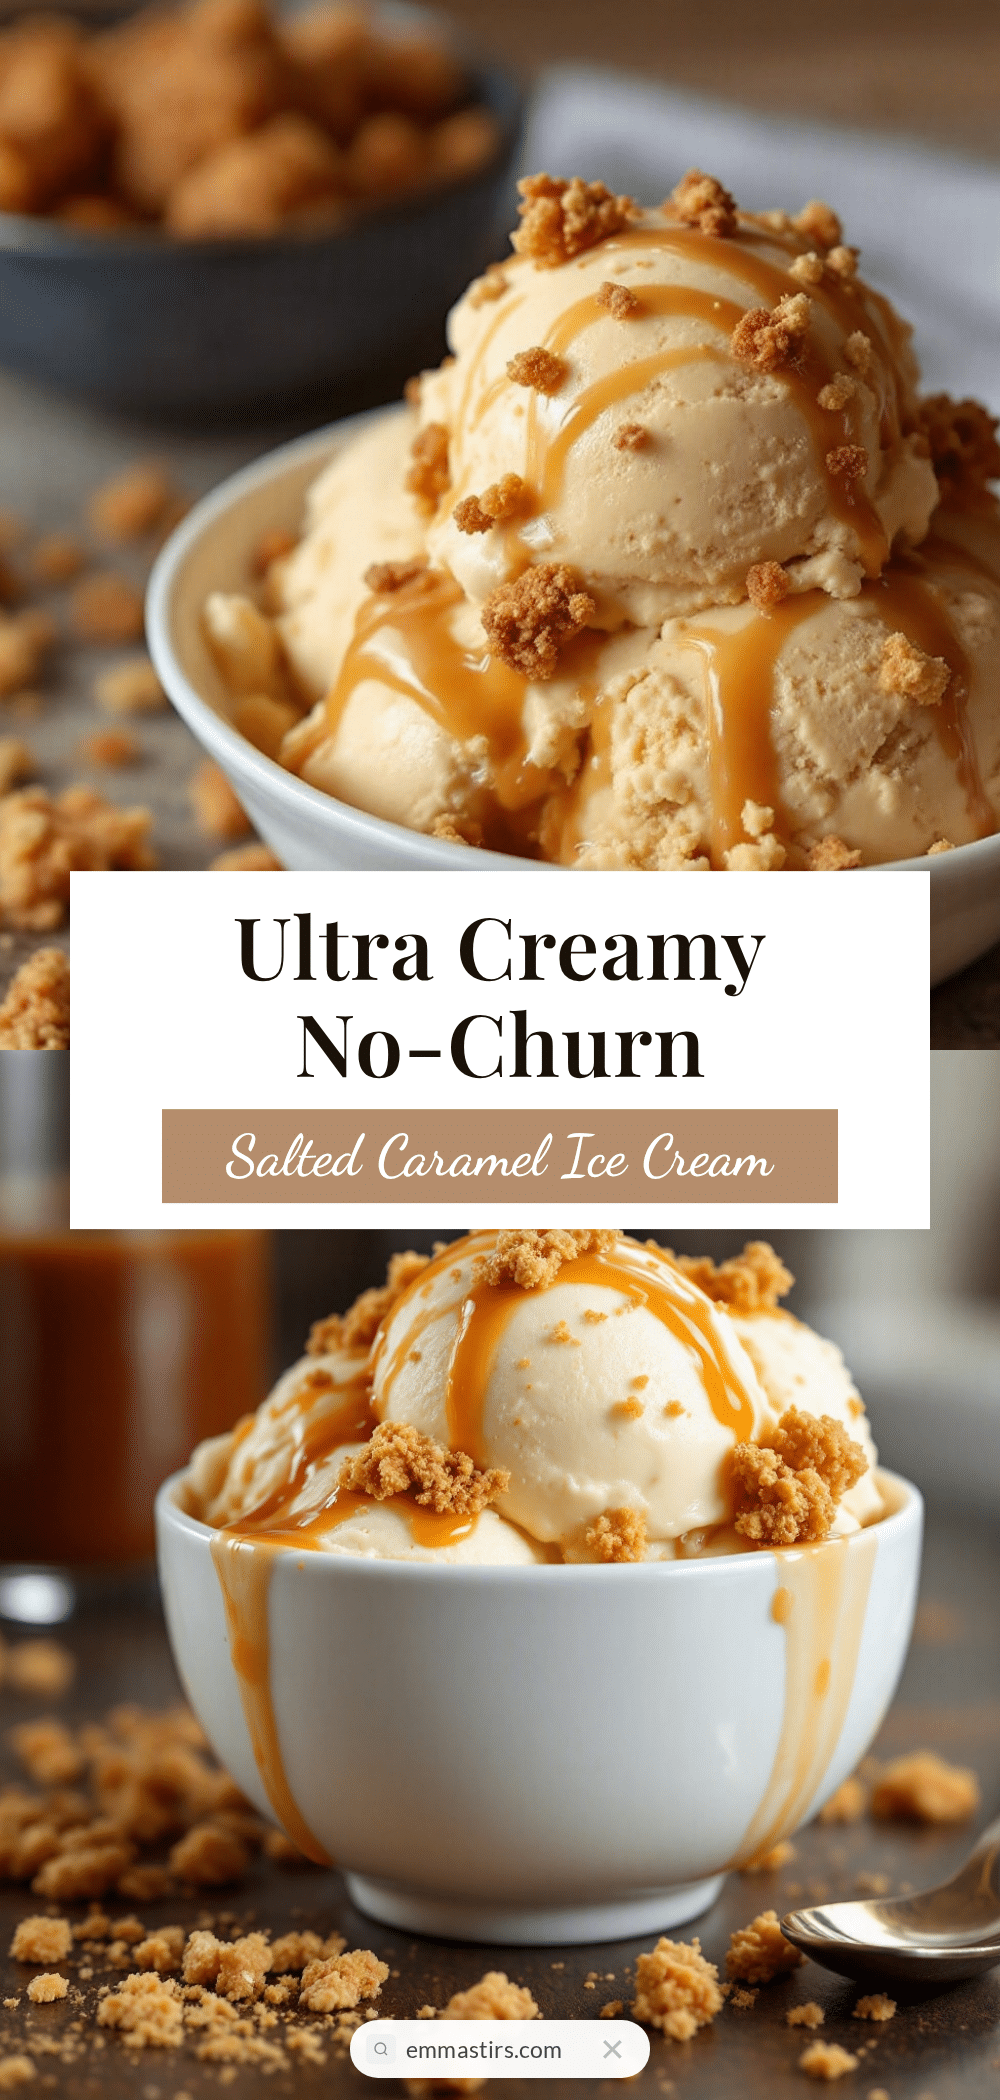
Creamy No-Churn Salted Caramel Ice Cream (Easy Homemade Recipe)

This creamy no-churn salted caramel ice cream is incredibly easy to make without an ice cream maker. It features a rich, homemade salted caramel swirled into a light and airy cream base for a perfect summer dessert.
- Prep Time: 20 minutes
- Cook Time: 10 minutes
- Total Time: 6 hours 30 minutes (including freezing)
- Yield: 8 servings 1x
- Category: Dessert
- Cuisine: American
Ingredients
- 2 cups (480 ml) heavy cream (for the base)
- 14 oz (397 g) sweetened condensed milk (one can)
- 1 cup (200 g) granulated sugar
- 6 tablespoons (85 g) unsalted butter, cut into small pieces
- 1/2 cup (120 ml) heavy cream (for the caramel), warmed
- 1 to 1 1/2 teaspoons flaky sea salt (e.g., Maldon or Jacobsen)
- 1 teaspoon vanilla extract
Instructions
- Make the salted caramel: In a medium saucepan over medium heat, spread the granulated sugar in an even layer. Let it melt without stirring, about 3-4 minutes, until deep amber. Remove from heat, carefully add the warm heavy cream in a slow stream (it will bubble up), and whisk until smooth. Add the butter pieces one at a time, whisking until melted. Stir in the vanilla and 1 teaspoon of flaky sea salt. Let cool in the pan for 10 minutes, then transfer to a bowl and refrigerate until cold (about …
- Whip the cream: In a large mixing bowl, whip the cold heavy cream with a hand mixer on medium-high speed until stiff peaks form, about 3-4 minutes.
- Combine the base: In a separate bowl, whisk the sweetened condensed milk until smooth. Gently fold it into the whipped cream with a rubber spatula until just combined and no white streaks remain.
- Swirl in the caramel: Take the cold caramel out of the refrigerator. Drizzle about half over the cream mixture and gently swirl with a knife or skewer. Pour half the cream mixture into a 9×5-inch loaf pan lined with parchment paper. Drizzle more caramel, add the remaining cream mixture, and top with the last of the caramel. Create a few more swirls on top and sprinkle with the remaining 1/2 teaspoon of flaky sea salt.
- Freeze: Cover the pan tightly with plastic wrap or foil. Freeze for at least 6 hours, preferably overnight. Before serving, let sit at room temperature for 5-10 minutes to soften slightly.
Notes
Caramel goes from perfect to burnt quickly—watch the color carefully. Warm the cream before adding to caramel to prevent seizing. Chill the bowl and beaters for best whipped cream. The final sprinkle of flaky sea salt is essential for flavor bursts. For best texture, freeze overnight.
Nutrition
- Serving Size: 1/2 cup (120 ml)
- Calories: 380
- Sugar: 35
- Sodium: 290
- Fat: 24
- Saturated Fat: 15
- Carbohydrates: 38
- Protein: 4
Keywords: no-churn ice cream, salted caramel ice cream, homemade ice cream, easy ice cream, summer dessert, no ice cream maker


