Love this? Save it for later!
Share the inspiration with your friends
I pulled the baking sheet out of the oven and set it on the stovetop, and my husband appeared from the living room like I’d rung a dinner bell. He didn’t say anything—just stood there, watching the cookies settle, their edges still bubbling faintly in the hot pan. I slid one onto a plate, handed it over, and waited. He took a bite, closed his eyes for a second, and then reached for another without asking. That was the moment I knew this batch was different.
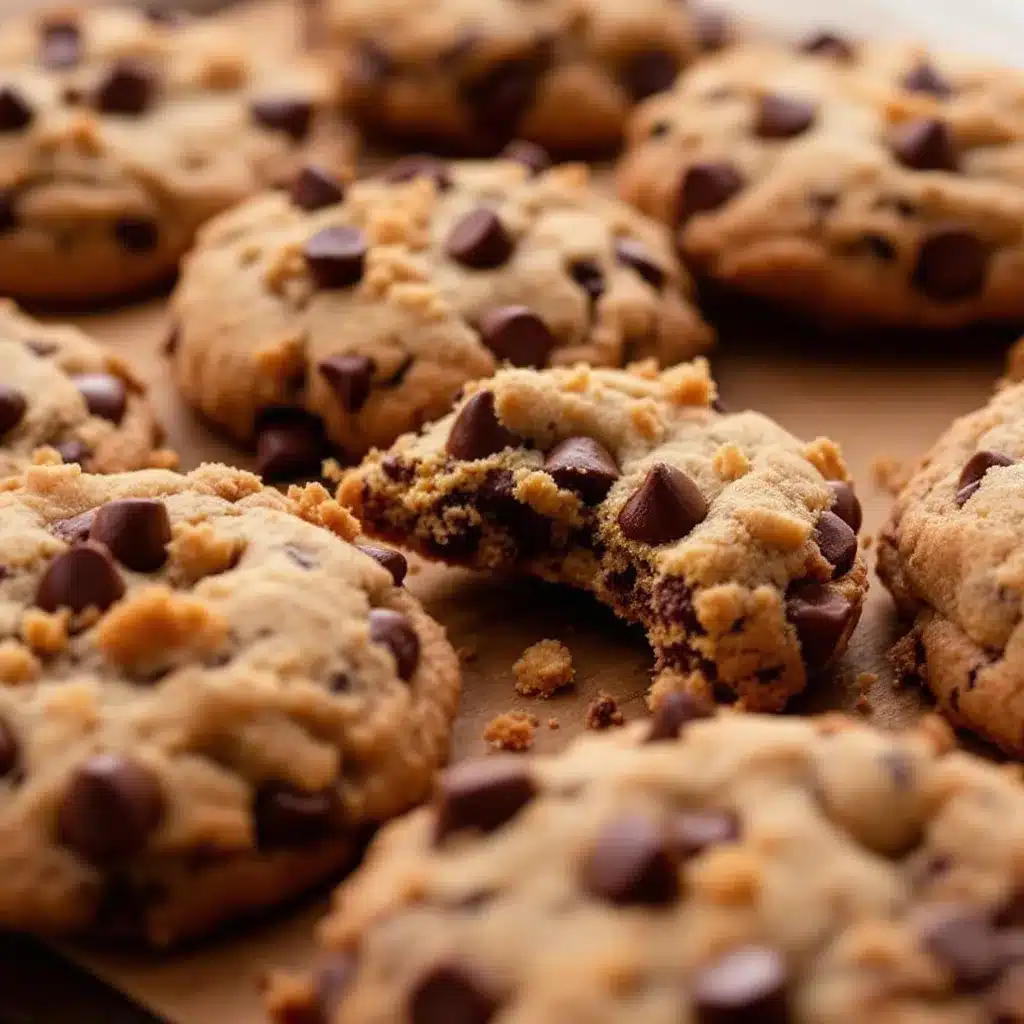
It took me a while to get here, honestly. I’ve made dozens of chocolate chip cookie recipes over the years—giant ones, flat ones, ones that spread into one sad disc on the tray. But what I really wanted was a small batch. Just enough for a weeknight craving or a weekend treat, without committing to three dozen cookies that would sit around tempting me for days. This perfect small-batch chocolate chip cookie recipe gives you exactly one dozen, and they’re everything you want from a cookie: crisp edges, soft centers, and that deep brown butter flavor that makes you close your eyes after the first bite.
There’s nothing fancy about these cookies. They use ingredients you probably already have, and they come together in under an hour. But somehow, they taste like you spent all afternoon fussing. That’s my favorite kind of recipe—the one that makes you look like you tried harder than you did. And honestly? That’s exactly what this one does.
Why You’ll Love This Recipe
Let me tell you why these cookies keep disappearing from my kitchen. First off, they’re perfectly portioned. One dozen cookies is just enough to satisfy a craving without leaving you with a mountain of leftovers. I’ve tested this recipe at least six times (my coworkers were very happy participants), and every single batch turned out consistently delicious.
- Quick & Easy: From start to finish, you’re looking at about 35 minutes. That includes the chilling time, which I know sounds annoying, but trust me—it makes a difference.
- Simple Ingredients: Butter, sugar, eggs, flour, chocolate chips. That’s it. No weird extracts or specialty flours required.
- Perfect for Weeknights: When that cookie craving hits after dinner, this recipe has your back. You can have warm cookies in under an hour.
- Crowd-Pleaser: I brought these to a small gathering last month, and someone asked for the recipe before they even finished their first cookie.
- Unbelievably Delicious: The brown butter gives these cookies a nutty, caramel-like depth that regular cookies just can’t match.
What makes this recipe different from every other chocolate chip cookie recipe out there? It’s the technique, honestly. Browning the butter adds a layer of flavor that takes these from “pretty good” to “I need the recipe right now.” And chilling the dough—even just 20 minutes—prevents them from spreading into thin, crispy discs. You get that perfect texture every time.
These cookies are the kind that make you feel like you’ve got your act together, even if the rest of your day was chaos. They’re comfort in cookie form, and they never disappoint.
What Ingredients You Will Need
This recipe uses simple, everyday ingredients to create something truly special. The magic happens through technique, not fancy ingredients. Here’s what you’ll need:
For the Cookies:
- 1/2 cup (113g) unsalted butter — You’ll be browning this, so don’t substitute margarine or shortening. The browning process is what gives these cookies their signature flavor.
- 1/2 cup (100g) granulated sugar — Regular white sugar works perfectly here. It helps create those crispy edges.
- 1/4 cup (50g) packed light brown sugar — Brown sugar adds moisture and that slight chewiness in the center. I prefer light brown sugar for a milder molasses flavor.
- 1 large egg yolk — Just the yolk! This gives you richness without making the dough too wet. Save the white for an omelet or add it to a healthy egg white scramble with vegetables the next morning.
- 1 teaspoon vanilla extract — Pure vanilla makes a difference here. Imitation works in a pinch, but pure gives a warmer, more complex flavor.
- 3/4 cup (96g) all-purpose flour — Spoon and level your flour for best results. Scooping straight from the bag can pack in too much flour and make your cookies dry.
- 1/2 teaspoon baking soda — This helps the cookies spread just enough and gives them a slight lift.
- 1/4 teaspoon salt — Don’t skip this! Salt balances the sweetness and enhances the chocolate flavor. I use fine sea salt.
- 1/2 cup (90g) semi-sweet chocolate chips — I prefer Ghirardelli or Guittard for their consistent quality. You can also chop a chocolate bar for those beautiful puddles of melted chocolate.
Ingredient Tips & Substitutions:
- Butter: If you only have salted butter, reduce the added salt to 1/8 teaspoon. The browning process works the same either way.
- Chocolate Chips: Dark chocolate, milk chocolate, or even white chocolate chips all work well. For a fancier touch, try chopped dark chocolate from a high-quality bar.
- Flour: I haven’t tested this with gluten-free flour blends, but a 1:1 gluten-free baking flour should work. Just note the texture might be slightly different.
- Brown Sugar: Out of brown sugar? Use all granulated sugar, but your cookies will be slightly crisper and less chewy. Still delicious, just different.
Equipment Needed
You don’t need a fancy kitchen to make these cookies. Here’s what you’ll need:
- Small saucepan — For browning the butter. A light-colored pan helps you see the color change clearly.
- Large mixing bowl — Any bowl works, but glass or ceramic are great for holding temperature.
- Whisk — For mixing the wet ingredients together smoothly.
- Rubber spatula — For folding in the dry ingredients and chocolate chips without overmixing.
- Baking sheet — A light-colored, rimmed baking sheet works best. Dark sheets can cause the bottoms to brown too quickly.
- Parchment paper or silicone baking mat — Prevents sticking and helps with even browning. I prefer parchment for the crispiest bottoms.
- Cookie scoop (1.5 tablespoon size) — Not essential, but it gives you evenly sized cookies that bake at the same rate. A regular tablespoon works too.
- Cooling rack — Lets air circulate under the cookies so they don’t get soggy on the bottom.
If you don’t have a cookie scoop, just use two spoons to portion the dough. Your cookies might not be perfectly round, but they’ll taste just as good. I’ve made this recipe with a cheap baking sheet from the grocery store and it worked fine—you really don’t need expensive equipment here.
Preparation Method
Let me walk you through this step by step. I’ve included all the little details that make the difference between good cookies and unforgettable ones.
- Brown the butter. Place the 1/2 cup (113g) unsalted butter in a small saucepan over medium heat. Stir occasionally as it melts. The butter will foam up, then the foam will subside, and you’ll see brown specks forming at the bottom. This takes about 5-7 minutes. Once it smells nutty and turns a golden-amber color, remove it from the heat immediately. Pour it into a large mixing bowl (including all those brown bits—that’s pure flavor) and let it cool for 10 minutes.
- Mix the sugars and butter. Add the 1/2 cup (100g) granulated sugar and 1/4 cup (50g) packed light brown sugar to the cooled brown butter. Whisk vigorously for about 1 minute until the mixture looks like wet sand and smells amazing.
- Add the egg yolk and vanilla. Whisk in the 1 large egg yolk and 1 teaspoon vanilla extract. Keep whisking until the mixture is smooth, glossy, and slightly thickened—about 30 seconds. It should look like caramel.
- Combine dry ingredients. In a separate small bowl, whisk together the 3/4 cup (96g) all-purpose flour, 1/2 teaspoon baking soda, and 1/4 teaspoon salt. Make sure there are no lumps.
- Fold in the dry ingredients. Add the flour mixture to the wet ingredients. Use a rubber spatula to fold everything together gently. Stop as soon as you no longer see streaks of flour—overmixing will make your cookies tough.
- Add the chocolate chips. Fold in the 1/2 cup (90g) semi-sweet chocolate chips until they’re evenly distributed. The dough will be thick and slightly sticky—that’s perfect.
- Chill the dough. Cover the bowl with plastic wrap or a plate and refrigerate for at least 20 minutes. This step is non-negotiable, honestly. Chilling solidifies the butter and prevents the cookies from spreading too much. If you skip this, you’ll end up with flat, thin cookies.
- Preheat the oven. While the dough chills, preheat your oven to 350°F (175°C). Line a baking sheet with parchment paper.
- Portion the dough. Use a 1.5 tablespoon cookie scoop or two spoons to portion the dough into 12 equal balls. Place them about 2 inches apart on the prepared baking sheet. They’ll spread a bit, so give them room.
- Bake. Bake for 10-12 minutes, rotating the pan halfway through. The cookies are done when the edges are golden brown and the centers look slightly underdone and puffy. They’ll continue cooking on the hot pan after you take them out.
- Cool on the pan. Let the cookies rest on the baking sheet for 5 minutes. This allows them to set up properly. Then transfer them to a cooling rack to cool completely—or eat one warm, because honestly, that’s the best part.
Sensory Cues: When you take the cookies out of the oven, they should look puffy and soft in the center with lightly browned edges. The kitchen should smell like toasted butter and vanilla. If you tap one gently, it should feel set around the edges but still soft in the middle. That’s exactly what you want.
Cooking Tips & Techniques
I’ve made plenty of mistakes with cookies over the years, so let me save you some trouble. Here are the things I wish someone had told me:
Don’t rush the butter browning. The first time I tried this, I got impatient and pulled the butter off the heat too early. The cookies tasted fine, but they didn’t have that deep, nutty flavor that makes brown butter special. Watch for the specks and smell for that nutty aroma—that’s your cue.
Chill the dough, seriously. I know it’s tempting to skip this step when you’re craving cookies right now. But I promise, that 20-minute chill is the difference between thick, chewy cookies and flat, greasy ones. The cold butter takes longer to melt in the oven, which means less spreading.
Use a light-colored baking sheet. Dark pans absorb more heat and can burn the bottoms of your cookies before the centers are done. If you only have dark pans, reduce the oven temperature by 25°F and check the cookies a minute or two earlier.
Rotate the pan halfway through. Ovens have hot spots, and rotating ensures even baking. I always set a timer for 5 minutes, rotate, and then watch closely for the last few minutes.
Underbake slightly. The cookies will look underdone in the center when you pull them out. That’s intentional. They continue baking on the hot pan, so you get that perfect soft center without overdoing the edges.
Let them rest on the pan. This is crucial. If you try to move them immediately, they’ll fall apart. Give them those 5 minutes to set up, and they’ll hold together beautifully.
Variations & Adaptations
One of the best things about this recipe is how easy it is to customize. Here are some variations I’ve tried and loved:
Chocolate Lover’s Version: Swap 2 tablespoons of the flour for 2 tablespoons of unsweetened cocoa powder. Use dark chocolate chips instead of semi-sweet. The result is a rich, fudgy chocolate cookie that’s dangerously good.
Nutty Brown Butter Cookies: Toast 1/4 cup of chopped pecans or walnuts in a dry skillet until fragrant, then fold them in along with the chocolate chips. The crunch adds a lovely texture contrast. These pair beautifully with a cup of coffee.
Sea Salt Finish: Sprinkle a tiny pinch of flaky sea salt on each cookie right after they come out of the oven. The salt enhances the sweetness and makes the chocolate taste even more intense. This is my personal favorite variation.
Double Chocolate Chip: Use white chocolate chips and dark chocolate chips together. The combination of creamy white chocolate and rich dark chocolate is absolutely addictive.
Gluten-Free Option: Substitute the all-purpose flour with a 1:1 gluten-free baking blend that contains xanthan gum. I’ve tried this with King Arthur’s Measure for Measure flour, and the texture was surprisingly good—slightly more tender than the original, but still delicious.
Vegan Adaptation: Use vegan butter (I like Miyoko’s) and substitute the egg yolk with 1 tablespoon of aquafaba (the liquid from a can of chickpeas) mixed with 1 teaspoon of cornstarch. The texture won’t be exactly the same, but it’s a solid vegan version.
Serving & Storage Suggestions
These cookies are best served warm, obviously. That moment when the chocolate is still slightly melty and the edges are crisp—that’s cookie perfection. But they’re also fantastic at room temperature, and honestly, I’ve been known to eat them straight from the freezer.
Serving Ideas:
- Serve with a cold glass of milk for the classic experience.
- Pair with a scoop of vanilla ice cream for an indulgent dessert.
- Crumble over a bowl of yogurt for a sweet breakfast treat.
- Pack them in lunchboxes—they’re sturdy enough to travel well.
Storage Instructions:
- Room Temperature: Store in an airtight container at room temperature for up to 5 days. Place a slice of bread in the container to keep them soft (replace the bread every other day).
- Refrigerator: Cookies will keep in the fridge for up to a week, but they’ll lose some of their texture. Bring them to room temperature before serving.
- Freezer (Baked Cookies): Freeze in a single layer on a baking sheet, then transfer to a freezer bag. They’ll keep for up to 3 months. Thaw at room temperature or warm in a 300°F oven for 5 minutes.
- Freezer (Cookie Dough): Scoop the dough into balls and freeze on a baking sheet. Once frozen, transfer to a freezer bag. Bake from frozen, adding 2-3 minutes to the baking time.
Reheating: Pop a cookie in the microwave for 10-15 seconds for that fresh-from-the-oven feeling. Or warm them in a 300°F oven for 5 minutes.
Flavor Development: Honestly, these cookies are even better the next day. The flavors meld together overnight, and the texture becomes perfectly balanced. If you can resist eating them all on day one, you’ll be rewarded on day two.
Nutritional Information & Benefits
Let’s be real—these are cookies, not health food. But knowing what’s in them helps you enjoy them mindfully. Here’s the estimated nutritional breakdown per cookie (based on 12 cookies):
| Nutrient | Amount Per Cookie |
|---|---|
| Calories | 175 |
| Total Fat | 10g |
| Saturated Fat | 6g |
| Cholesterol | 35mg |
| Sodium | 115mg |
| Total Carbohydrates | 21g |
| Dietary Fiber | 1g |
| Sugars | 14g |
| Protein | 2g |
Health Considerations:
- Allergens: Contains dairy (butter), eggs, and gluten (flour). Not suitable for those with celiac disease unless using gluten-free flour.
- Dietary Notes: This recipe is vegetarian. For vegan options, see the variations section above.
- Ingredient Benefits: Dark chocolate contains antioxidants and can be part of a balanced diet. Brown butter provides vitamin A from the milk solids.
My personal philosophy? Enjoy these cookies as a treat, not a staple. One cookie with a cup of tea or a glass of milk is a lovely way to end the day. Life’s too short to skip the small pleasures.
Conclusion
These perfect small-batch chocolate chip cookies have become my go-to for those moments when only a warm, homemade cookie will do. They’re quick enough for a weeknight craving, special enough for sharing, and simple enough that anyone can make them—even on a busy day.
What I love most about this recipe is how forgiving it is. You don’t need to be a pastry chef to get perfect results. Just follow the steps, don’t skip the chill time, and trust the process. The brown butter does most of the heavy lifting, honestly.
I’d love to hear how these turn out for you. Did you try one of the variations? Add your own twist? Drop a comment below and let me know—I read every single one. And if you’re looking for more sweet treats, check out these cozy one-bowl banana bread with brown butter and walnuts or these savory brown butter salted chocolate chip cookies for another delicious option.
Happy baking, friend. Your cookie craving is about to be very, very satisfied.
Frequently Asked Questions
Can I make these cookies without browning the butter?
Yes, you can skip the browning step if you’re short on time. Just melt the butter in the microwave and let it cool slightly before mixing. The cookies will still be good, but they won’t have that deep, nutty flavor that makes these so special.
Why did my cookies spread too much?
This usually happens when the dough isn’t chilled long enough or the butter was too warm when you mixed it. Make sure your brown butter has cooled for at least 10 minutes before adding the sugars, and don’t skip the 20-minute chill time. Also, check that your baking soda is fresh—old baking soda loses its effectiveness.
Can I double this recipe?
Absolutely! Double all the ingredients and follow the same instructions. You might need to bake in batches since most ovens only fit one sheet at a time. The dough keeps well in the fridge for up to 3 days, so you can bake fresh cookies whenever the craving hits.
How do I get perfectly round cookies?
Right after the cookies come out of the oven, use a round cookie cutter or a glass that’s slightly larger than the cookies to gently scoot them into perfect circles. Do this while they’re still warm and soft. It’s a bakery trick that works like a charm.
Can I use margarine instead of butter?
I don’t recommend it. Margarine has a higher water content than butter, which affects the texture and spread of the cookies. Butter gives you that rich flavor and perfect texture. If you need a dairy-free option, use a high-quality vegan butter stick (not the spreadable kind in a tub).
Pin This Recipe!
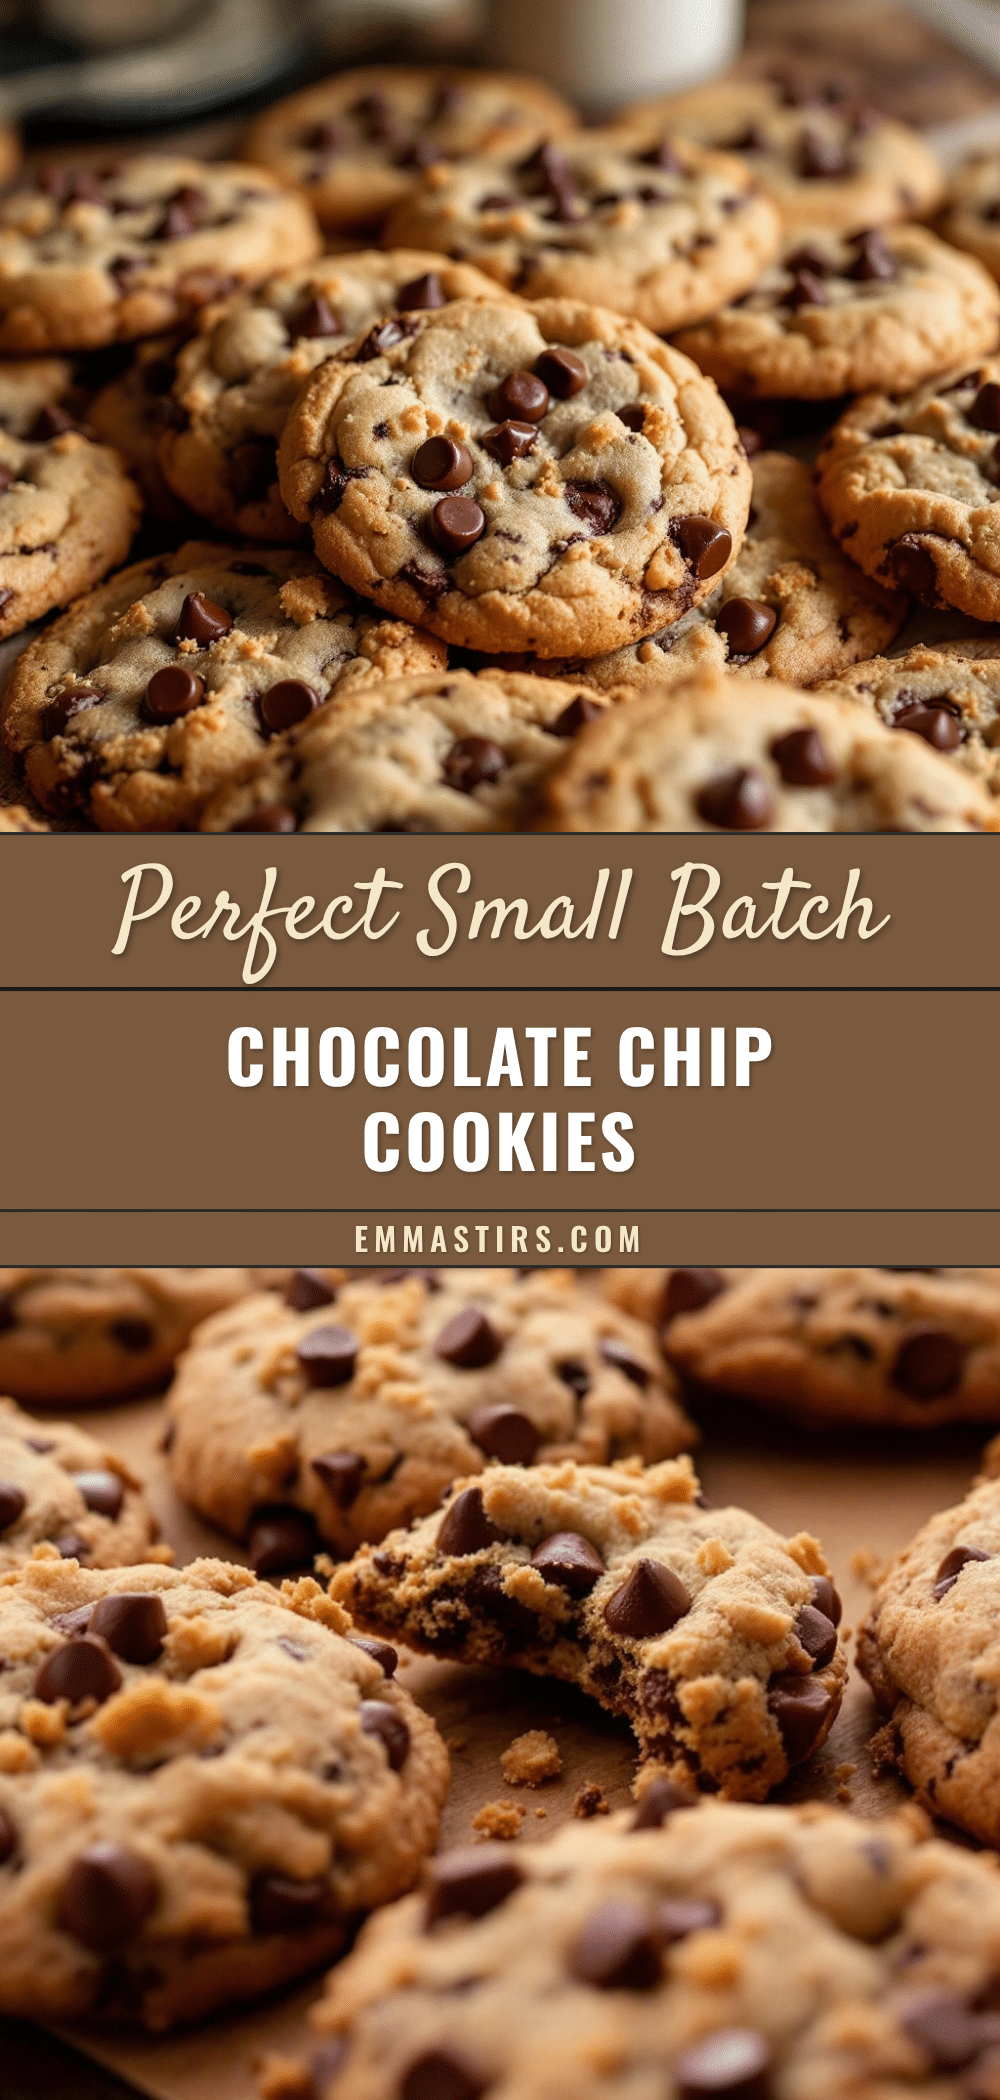
Perfect Small-Batch Chocolate Chip Cookies: Easy One Dozen

These perfect small-batch chocolate chip cookies give you exactly one dozen with crisp edges, soft centers, and deep brown butter flavor. Quick and easy, they come together in under an hour using simple ingredients.
- Prep Time: 15 minutes
- Cook Time: 12 minutes
- Total Time: 35 minutes
- Yield: 12 cookies 1x
- Category: Dessert
- Cuisine: American
Ingredients
- 1/2 cup (113g) unsalted butter
- 1/2 cup (100g) granulated sugar
- 1/4 cup (50g) packed light brown sugar
- 1 large egg yolk
- 1 teaspoon vanilla extract
- 3/4 cup (96g) all-purpose flour
- 1/2 teaspoon baking soda
- 1/4 teaspoon salt
- 1/2 cup (90g) semi-sweet chocolate chips
Instructions
- Brown the butter: Place 1/2 cup unsalted butter in a small saucepan over medium heat. Stir occasionally as it melts. The butter will foam, then the foam will subside, and brown specks will form at the bottom (about 5-7 minutes). Once it smells nutty and turns golden-amber, remove from heat immediately. Pour into a large mixing bowl, including all brown bits, and let cool for 10 minutes.
- Mix the sugars and butter: Add 1/2 cup granulated sugar and 1/4 cup packed light brown sugar to the cooled brown butter. Whisk vigorously for about 1 minute until the mixture looks like wet sand.
- Add the egg yolk and vanilla: Whisk in 1 large egg yolk and 1 teaspoon vanilla extract until smooth, glossy, and slightly thickened (about 30 seconds).
- Combine dry ingredients: In a separate small bowl, whisk together 3/4 cup all-purpose flour, 1/2 teaspoon baking soda, and 1/4 teaspoon salt until no lumps remain.
- Fold in the dry ingredients: Add the flour mixture to the wet ingredients. Use a rubber spatula to fold gently until just combined—stop as soon as no streaks of flour remain.
- Add the chocolate chips: Fold in 1/2 cup semi-sweet chocolate chips until evenly distributed. The dough will be thick and slightly sticky.
- Chill the dough: Cover the bowl with plastic wrap and refrigerate for at least 20 minutes.
- Preheat the oven: While the dough chills, preheat oven to 350°F (175°C). Line a baking sheet with parchment paper.
- Portion the dough: Use a 1.5 tablespoon cookie scoop or two spoons to portion the dough into 12 equal balls. Place them about 2 inches apart on the prepared baking sheet.
- Bake: Bake for 10-12 minutes, rotating the pan halfway through. Cookies are done when edges are golden brown and centers look slightly underdone and puffy.
- Cool on the pan: Let cookies rest on the baking sheet for 5 minutes, then transfer to a cooling rack to cool completely.
Notes
Don’t skip chilling the dough—it prevents spreading. Underbake slightly for soft centers. Let cookies rest on the pan for 5 minutes before moving. For best flavor, use pure vanilla extract and high-quality chocolate chips.
Nutrition
- Serving Size: 1 cookie
- Calories: 175
- Sugar: 14
- Sodium: 115
- Fat: 10
- Saturated Fat: 6
- Carbohydrates: 21
- Fiber: 1
- Protein: 2
Keywords: small batch chocolate chip cookies, brown butter cookies, easy cookie recipe, one dozen cookies, weeknight dessert


