Love this? Save it for later!
Share the inspiration with your friends
Introduction
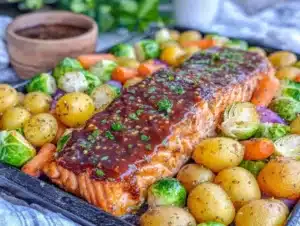
“Mom, can we have chicken strips again?” is a line I hear way too often from my kids, usually right when I’m scrambling to make dinner after a long day. Honestly, I wasn’t always a fan of chicken strips — they often ended up soggy or greasy when I tried making them at home. But one night, after a chaotic afternoon of spilled juice and lost homework, I decided to throw together a simple sheet pan dinner with chicken strips, hoping for something quick and fuss-free. I tossed the chicken in a crunchy coating, spread everything out on a baking sheet, and slid it into the oven.
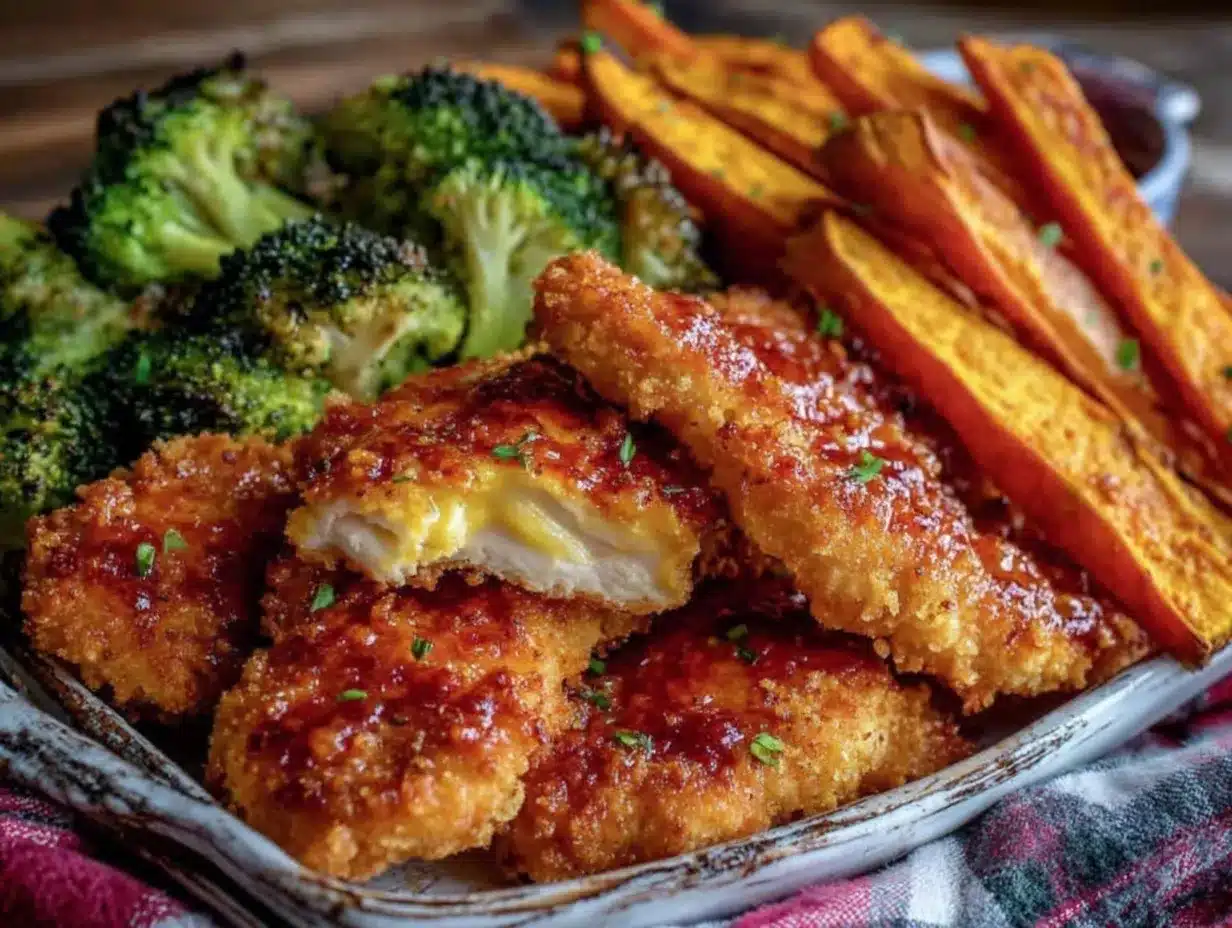
The result? Crispy, golden chicken strips that had my kids asking for seconds before the veggies were even touched. The best part was, cleanup was a breeze. No frying, no mess, just a pan and some patience. That first accidental win turned into a weekly obsession — I’d make these crispy kid-approved sheet pan chicken strips dinner multiple times a week, tweaking the seasoning just slightly each time.
It’s funny how a recipe born out of exhaustion and last-minute need became one of the most requested meals at our table. The crunchy coating, the juicy chicken inside, and the simplicity of throwing everything onto one pan made this dinner a quiet little victory in the madness of parenting and meal prep. This recipe stuck with me because it’s real food that kids love and parents can feel good about serving.
Why You’ll Love This Recipe
After testing this crispy kid-approved sheet pan chicken strips dinner over and over, I can honestly say it’s one of those recipes that hits all the right notes without any headache. Here’s why it’s worth having in your dinner rotation:
- Quick & Easy: Ready in under 35 minutes, perfect for those busy school nights or when you just want dinner on the table fast.
- Simple Ingredients: No need for fancy or hard-to-find items — just basics you likely already have like chicken breasts, breadcrumbs, and a few spices.
- Perfect for Family Dinners: Kids and adults alike love the crispy texture and mild seasoning, making it a great choice for picky eaters and grown-up palates.
- Crowd-Pleaser: Whether it’s a casual weeknight or a last-minute gathering, these chicken strips disappear fast.
- Unbelievably Delicious: The secret is in the double coating—first a simple egg wash, then a seasoned breadcrumb mix that crisps up beautifully in the oven.
What makes this recipe stand out is that it’s not just another chicken strip recipe; I’ve tweaked the seasoning balance to keep it flavorful but kid-friendly, and baking on a sheet pan means less oil and less mess. Plus, there’s no frying involved, so it feels lighter but just as satisfying. Whether you’re pairing it with some crispy roasted veggies or a fresh salad, this dinner feels like a treat without the hassle.
If you want to add some vibrant sides, pairing it with a fresh grilled vegetable platter works wonders — it’s a colorful, healthy complement that keeps the whole meal balanced. Or maybe try it alongside some of my crispy grilled zucchini and squash for a low-carb touch.
What Ingredients You Will Need
This recipe uses simple, wholesome ingredients to deliver bold flavor and satisfying texture without the fuss. You’ll find these are mostly pantry staples, and substitutions are easy if you have dietary preferences or restrictions.
- Chicken breasts: Boneless, skinless, and cut into strips about 1 inch wide. Fresh or thawed frozen works fine.
- Eggs: Two large eggs, beaten, to help the coating stick.
- Breadcrumbs: About 1 ½ cups of plain or panko breadcrumbs for extra crunch. I like using Progresso plain breadcrumbs for consistent texture, but panko adds a lovely extra crunch.
- Grated Parmesan cheese: ½ cup, finely grated. This adds a subtle savory note and helps with browning.
- Garlic powder: 1 teaspoon, for a gentle background flavor.
- Onion powder: 1 teaspoon, rounds out the seasoning.
- Paprika: 1 teaspoon, adds color and a hint of smokiness.
- Salt and black pepper: To taste — usually about ½ teaspoon salt and a few cracks of pepper.
- Olive oil or cooking spray: For lightly coating the sheet pan and drizzling over the coated strips to boost crispness.
- Optional seasonings: A pinch of dried oregano or Italian herbs for a twist.
If you want to make this gluten-free, swapping regular breadcrumbs with almond flour or gluten-free panko works well. For a dairy-free version, just skip the Parmesan or use a dairy-free cheese alternative. The eggs can be replaced with a flax egg (1 tablespoon ground flaxseed + 3 tablespoons water) for a vegan or egg-free option, although the coating texture might vary slightly.
Equipment Needed
For this crispy kid-approved sheet pan chicken strips dinner, you don’t need anything fancy. Here’s what I use and recommend:
- Baking sheet (sheet pan): A rimmed 9×13-inch or larger baking sheet works best to spread the strips out in a single layer for even cooking.
- Parchment paper or a silicone baking mat: For easy cleanup and to prevent sticking.
- Mixing bowls: Two medium bowls — one for the egg wash and one for the breadcrumb mixture.
- Tongs or fork: For dipping and coating the chicken strips without making a mess.
- Measuring spoons and cups: For precise seasoning and breadcrumb amounts.
If you don’t have parchment paper, lightly greasing the pan with olive oil or non-stick spray works fine, but expect a bit more cleanup. A silicone baking mat can be reused and is great for keeping things from sticking with zero waste. For those who love multitasking, I find prepping the coating bowls ahead and using a cooling rack on the sheet pan can help air-circulate around the strips, making them even crispier, though it’s an optional step.
Preparation Method
- Preheat the oven: Set your oven to 425°F (220°C). This high heat is key for that golden, crispy crust.
- Prepare the chicken strips: Pat the chicken breasts dry with paper towels, then cut them into 1-inch wide strips—try to keep them as even as possible for uniform cooking.
- Set up your coating stations: In one bowl, beat the two eggs until smooth. In another bowl, mix together the breadcrumbs, grated Parmesan, garlic powder, onion powder, paprika, salt, and pepper.
- Coat the chicken: Working in batches, dip each chicken strip into the egg wash, letting the excess drip off, then dredge it into the breadcrumb mixture. Press gently to help the breadcrumbs stick well.
- Arrange on the sheet pan: Line your baking sheet with parchment or a silicone mat. Place the coated strips in a single layer, spaced slightly apart to allow hot air to circulate.
- Drizzle with olive oil: Lightly drizzle about 1 tablespoon of olive oil over the strips or spray with cooking spray. This helps the coating crisp up nicely.
- Bake: Place the sheet pan in the oven and bake for 15 minutes. Then flip each strip carefully with tongs and bake for another 10-12 minutes until the chicken is cooked through (internal temperature of 165°F / 74°C) and the crust is crisp and golden.
- Rest and serve: Let the chicken strips rest for 5 minutes on the pan after baking. This keeps them juicy inside and lets the coating firm up a bit more.
If your strips seem unevenly cooked or some are browning too fast, adjust them on the pan or rotate the pan halfway through baking. Using a meat thermometer helps avoid overcooking, which can dry out the chicken.
Pro tip: For extra crunch, I sometimes broil for the last 1-2 minutes, but watch carefully so they don’t burn!
Cooking Tips & Techniques
Honestly, getting crispy chicken strips without frying can feel tricky at first, but these tips have saved me many times:
- Dry your chicken well: Moisture is the enemy of crispiness. Patting the strips dry before coating helps the crumbs stick and crisp properly.
- Double coating works wonders: For an even thicker crust, you can dip the strips back into the egg wash and then again into the breadcrumb mix for a double layer.
- Don’t overcrowd the pan: Spacing the strips apart allows hot air to circulate, which crisps up the coating instead of steaming it.
- Use panko breadcrumbs: Their flaky texture bakes up crunchier than regular breadcrumbs, though both work.
- Oil is essential: Lightly drizzling olive oil or spraying the strips before baking helps develop that golden crust.
- Flip halfway through baking: This ensures even browning on both sides.
One lesson I learned the hard way was rushing the coating process. If the egg wash or crumbs get cold or clumpy, the strips won’t coat evenly. Also, skipping the resting time after baking leads to drier chicken, so patience really pays off here.
For multitasking, I like prepping the breadcrumb mixture and chopping veggies for a quick side while the strips bake. It’s a great way to keep the kitchen moving without feeling overwhelmed.
Variations & Adaptations
This recipe is pretty versatile, so you can tweak it to suit your family’s tastes or dietary needs:
- Spicy Twist: Add ½ teaspoon cayenne pepper or smoked paprika to the breadcrumb mix for a subtle kick that’s kid-friendly but exciting.
- Herb Lover’s Version: Mix in dried Italian herbs, thyme, or rosemary for a fragrant coating that pairs beautifully with a fresh salad.
- Gluten-Free Option: Swap breadcrumbs for crushed gluten-free crackers or almond flour for a grain-free crust.
- Oven vs. Air Fryer: While this recipe is built for sheet pan baking, you can cook the strips in an air fryer at 400°F (200°C) for 10-12 minutes, shaking halfway through, for extra crispiness.
- Dipping Sauces: Feel free to serve with honey mustard, ranch, or even a tangy BBQ sauce to switch up flavors.
Once, I tried swapping chicken breasts for turkey strips during the holidays — the same method works beautifully and gives a leaner protein option. It was a hit with the family!
Serving & Storage Suggestions
These crispy chicken strips are best served warm, right out of the oven, when the crust is at its crunchiest. Serve them with crisp veggies or a fresh side like a watermelon cucumber feta salad to balance out the meal with some refreshing, juicy bites.
For storage, place cooled chicken strips in an airtight container and refrigerate for up to 3 days. To reheat and refresh the crispiness, pop them in a 375°F (190°C) oven for 8-10 minutes or use your toaster oven—microwaving tends to make them soggy.
If freezing, lay the strips on a baking sheet lined with parchment and freeze until solid, then transfer to a freezer bag. Reheat directly from frozen in the oven at 400°F (200°C) for 15-18 minutes, flipping halfway through.
Leftovers taste great cold too, especially when paired with a crunchy side like crispy grilled zucchini and squash.
Nutritional Information & Benefits
Each serving of this crispy kid-approved sheet pan chicken strips dinner (about 4 strips) contains approximately 280 calories, 30 grams of protein, 12 grams of fat, and 10 grams of carbohydrates. The protein content is great for keeping kids full and energized.
Using baked chicken strips instead of fried reduces unhealthy fats and calories significantly. Plus, Parmesan cheese adds a boost of calcium and flavor without overwhelming saltiness.
This recipe is naturally gluten-free if you swap breadcrumbs and can be made dairy-free with simple ingredient swaps. It’s a balanced meal that satisfies picky eaters while sneaking in wholesome nutrition.
From a personal wellness standpoint, I appreciate that this dinner offers comfort food vibes without the guilt, making it easy to feel good about what I’m serving my family.
Conclusion
There’s something so satisfying about a meal that checks all the boxes: quick, easy, kid-approved, and delicious. These crispy sheet pan chicken strips have become a dependable go-to for hectic evenings and casual dinners alike. The simplicity of the ingredients and the minimal cleanup make it a win for busy households.
Feel free to customize the seasoning or pairing sides to suit your preferences — this recipe is a flexible canvas for your favorite flavors. Honestly, I love this recipe because it brings a little calm to the chaos of dinner time and keeps everyone happy, including me.
If you try it, I’d love to hear how your family likes it or what twists you add. Sharing those moments is what makes cooking so fun and rewarding.
FAQs
Can I use chicken thighs instead of breasts?
Yes! Boneless, skinless chicken thighs can be used for a juicier, more flavorful strip. Just keep an eye on cooking time as thighs may cook a bit faster.
How do I make the chicken strips extra crispy?
Pat the chicken dry, double-coat with egg and breadcrumbs, and drizzle olive oil before baking. Flipping halfway through and optionally broiling the last minute also helps.
Can I prepare the chicken strips ahead of time?
You can coat the chicken strips and refrigerate them on the baking sheet for up to 4 hours before baking. This can help the coating adhere better.
What dipping sauces go best with these chicken strips?
Classic options include honey mustard, ranch, BBQ sauce, or a simple ketchup. You can also try homemade garlic aioli or spicy sriracha mayo for a twist.
Are these chicken strips suitable for meal prep?
Absolutely! They store well in the fridge and reheat nicely in the oven, making them perfect for quick lunches or dinners throughout the week.
Pin This Recipe!
Crispy Kid-Approved Sheet Pan Chicken Strips Easy Dinner Recipe

A quick and easy sheet pan chicken strips recipe that yields crispy, golden chicken strips loved by kids and adults alike. This fuss-free dinner is baked, not fried, making cleanup simple and the meal healthier.
- Prep Time: 10 minutes
- Cook Time: 27 minutes
- Total Time: 37 minutes
- Yield: 4 servings 1x
- Category: Main Course
- Cuisine: American
Ingredients
- Chicken breasts, boneless and skinless, cut into 1-inch wide strips
- 2 large eggs, beaten
- 1 ½ cups plain or panko breadcrumbs
- ½ cup grated Parmesan cheese
- 1 teaspoon garlic powder
- 1 teaspoon onion powder
- 1 teaspoon paprika
- ½ teaspoon salt
- Black pepper, to taste
- Olive oil or cooking spray for coating the sheet pan and drizzling over strips
- Optional: pinch of dried oregano or Italian herbs
Instructions
- Preheat the oven to 425°F (220°C).
- Pat chicken breasts dry and cut into 1-inch wide strips.
- In one bowl, beat the eggs until smooth. In another bowl, mix breadcrumbs, Parmesan, garlic powder, onion powder, paprika, salt, and pepper.
- Dip each chicken strip into the egg wash, letting excess drip off, then dredge in breadcrumb mixture, pressing gently to adhere.
- Line a baking sheet with parchment paper or a silicone baking mat. Arrange coated strips in a single layer, spaced apart.
- Lightly drizzle about 1 tablespoon olive oil over the strips or spray with cooking spray.
- Bake for 15 minutes, then flip each strip and bake for another 10-12 minutes until cooked through (internal temperature 165°F / 74°C) and golden.
- Let the chicken strips rest for 5 minutes on the pan before serving.
Notes
For extra crispiness, double coat the chicken strips by dipping again in egg wash and breadcrumbs. Use a cooling rack on the sheet pan to allow air circulation if desired. Broil for 1-2 minutes at the end for extra crunch but watch carefully to avoid burning. Adjust cooking time if using chicken thighs. Refrigerate coated strips on the baking sheet up to 4 hours before baking to improve coating adherence. Reheat in oven to maintain crispiness; avoid microwaving.
Nutrition
- Serving Size: About 4 chicken stri
- Calories: 280
- Fat: 12
- Carbohydrates: 10
- Protein: 30
Keywords: chicken strips, sheet pan dinner, kid-friendly, crispy chicken, easy dinner, baked chicken strips, family meal