Love this? Save it for later!
Share the inspiration with your friends
The summer I turned thirty, I was reorganizing my tiny apartment kitchen when my quiet next-door neighbor, Mr. Jenkins—the accountant who never said much beyond “hello”—started chatting about his surprisingly impressive knack for pickling. I wasn’t expecting cooking advice from an accountant, but there I was, wiping down shelves, listening as he described exactly how to make easy quick refrigerator dill pickles without any canning fuss. Honestly, it was one of those moments where you think, “Wait, you do that? Here?”
He pulled out a scribbled note from his wallet, claiming it was his late grandmother’s secret, and I could tell he was as proud of it as anyone boasting a Michelin star. The simplicity caught me off guard—five minutes of prep, a jar, cucumbers, and a fridge. No boiling water baths, no scary sealing jars. I mean, who wouldn’t want to make fresh, tangy dill pickles with zero stress?
Of course, I forgot to grab the fresh dill the first time, and things got a little vinegary, but that accidental batch taught me a lot. Maybe you’ve been there—excited to try a new recipe and tripped up by a tiny missed step. What stuck with me, though, was how this recipe stayed with me, turning into a kitchen staple I reach for whenever the craving hits. Let me tell you, these easy quick refrigerator dill pickles are just the kind of no-fuss treat that feels like a cool breeze on a hot day.
Why You’ll Love This Recipe
Having tested this recipe multiple times (including a few late-night pickle cravings), I can confidently say it’s a keeper. Here’s why this easy quick refrigerator dill pickles recipe has become my go-to:
- Quick & Easy: Comes together in under 5 minutes, perfect for those evenings when you want something crunchy and flavorful without the wait.
- Simple Ingredients: Uses pantry staples and fresh cucumbers. No need for fancy pickling spices or hard-to-find extras.
- Perfect for Snacking & Sandwiches: Ideal for adding a zesty punch to burgers, sandwiches, or just munching straight from the jar.
- Crowd-Pleaser: Every time I bring these to a potluck or family dinner, they disappear fast—kids and adults alike love them.
- Unbelievably Delicious: The crisp cucumbers soak up that dill flavor and tang just right, leaving a refreshing yet tangy bite.
This recipe stands out because it skips the intimidating canning step but still delivers on flavor and crunch. The secret? A perfectly balanced brine and fresh dill that you mix and then simply refrigerate. It’s not just a quick pickle—it’s the best quick pickle you’ll make at home. Honestly, after tasting these, you might close your eyes and swear you’re biting into a deli-quality pickle. No joke!
What Ingredients You Will Need
This recipe uses simple, wholesome ingredients to deliver bold flavor and satisfying texture without the fuss. Most are pantry staples, and the fresh cucumbers bring that crisp bite you expect from a good pickle.
- Fresh cucumbers: About 4-5 medium Kirby or Persian cucumbers, sliced into spears or rounds (Kirby cucumbers have that perfect crunch and thin skin for pickling).
- Fresh dill: 3-4 sprigs, roughly chopped (fresh dill is key for authentic dill pickle flavor; if unavailable, 1 tsp dried dill works but less vibrant).
- Garlic cloves: 2-3, peeled and smashed (adds a subtle punch without overpowering).
- White vinegar: 1 cup (240 ml) – I recommend Heinz or Bragg for a clean, sharp brine.
- Water: 1 cup (240 ml) – balances the vinegar for just the right tang.
- Salt: 1 tbsp pickling or kosher salt (table salt can work but avoid iodized salt as it can cloud the brine).
- Optional pickling spices: 1 tsp mustard seeds, 1/2 tsp black peppercorns, and a pinch of red pepper flakes for a little heat (adds complexity if you like).
Substitution tips: If you want a low-sodium version, reduce the salt slightly or use a salt substitute. For a gluten-free option, confirm your vinegar brand is gluten-free. In warmer months, fresh dill from local farmers markets tastes unbeatable, while in winter, dried dill is a handy backup.
Equipment Needed
Making easy quick refrigerator dill pickles doesn’t require anything fancy—just some basic kitchen tools you probably already have.
- Glass jar with lid: A quart-sized (1 liter) mason jar or any clean glass jar with a tight-sealing lid works perfectly. I prefer glass over plastic for taste and safety.
- Measuring cups and spoons: For accuracy with the brine ingredients.
- Sharp knife and cutting board: To slice your cucumbers evenly. Consistent size helps with even pickling.
- Spoon or tongs: To press the cucumbers into the jar and mix the brine.
If you don’t have a mason jar, a clean, food-safe container with a lid will do. Just make sure it seals well to keep odors out and flavors in. Personally, I keep a few mason jars around because they’re so versatile for everything from salads to overnight oats. And a quick tip: rinse your jars in hot water before using them to help preserve freshness.
Preparation Method
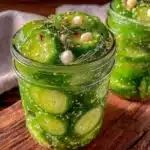
- Wash and slice cucumbers: Rinse 4-5 medium Kirby cucumbers under cold water. Cut off the ends and slice into spears or rounds, about ½ inch thick. This takes about 5 minutes. Uniform slices help the brine soak evenly.
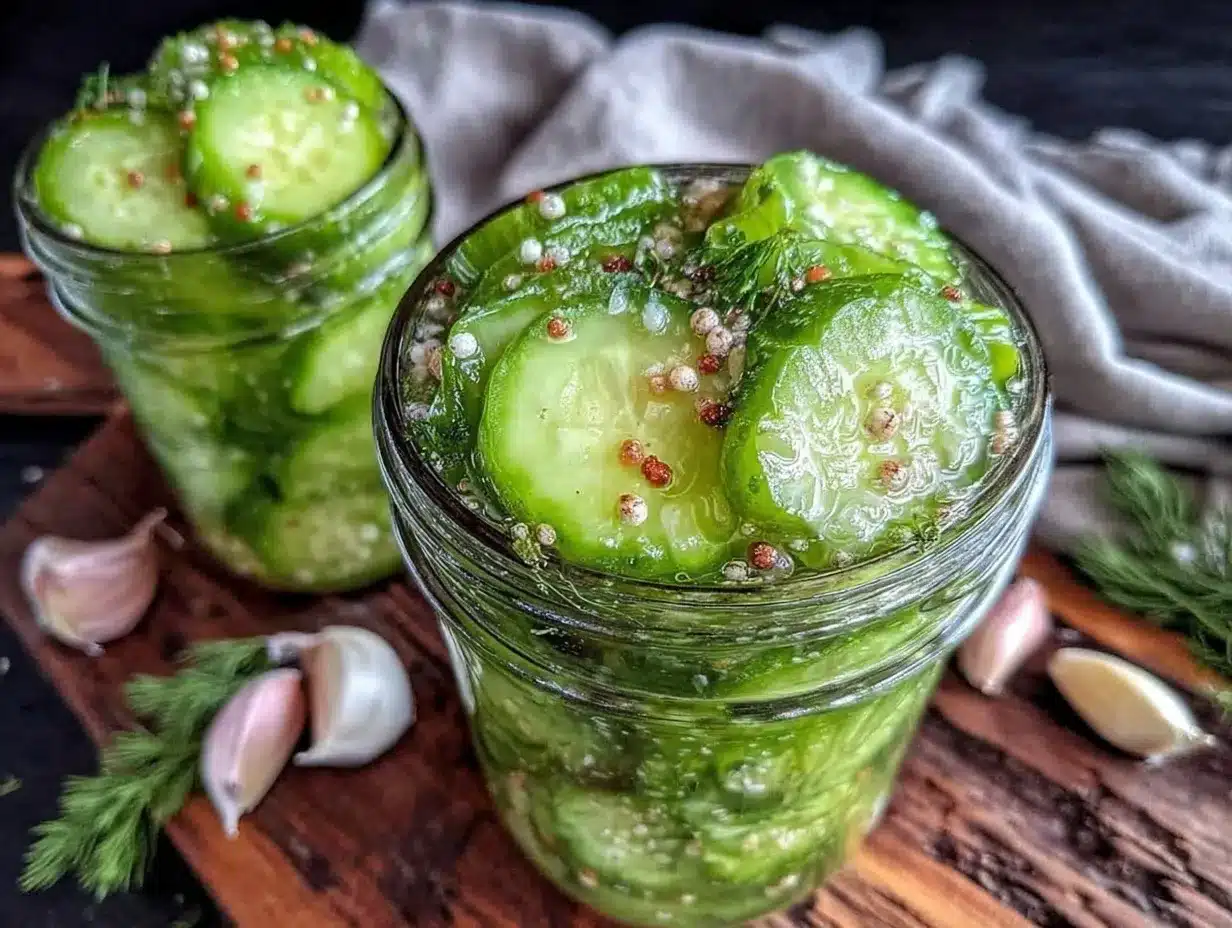
- Pack cucumbers into jar: Place the sliced cucumbers snugly into a clean quart-sized glass jar. Tuck in 2-3 smashed garlic cloves and 3-4 sprigs of fresh dill among the cucumbers. The jar should be filled but not jam-packed, allowing the brine to circulate.
- Prepare the brine: In a small saucepan or bowl, mix 1 cup (240 ml) white vinegar, 1 cup (240 ml) water, and 1 tablespoon pickling salt. Stir until the salt dissolves completely—this takes about 2 minutes. If you want to add pickling spices (mustard seeds, peppercorns, red pepper flakes), toss them in now.
- Pour brine over cucumbers: Carefully pour the brine into the jar, covering the cucumbers fully. Leave about ½ inch of headspace at the top. If any cucumbers float, press them down with a spoon or add a small clean weight to keep them submerged. This step is crucial for crisp pickles.
- Seal and refrigerate: Screw the lid on tightly and place the jar in the refrigerator. Let the pickles sit for at least 24 hours before tasting, though 48 hours is ideal for full flavor. The pickles keep well for up to 2 weeks.
- Taste test and adjust: After 24-48 hours, open the jar and taste a pickle. If you want tangier pickles, let them sit longer. If they’re too salty or sour, add a splash of water to mellow things out.
Pro tip: I like to shake the jar gently once a day to mix the brine and redistribute flavors. Also, remember to keep the pickles submerged in brine to avoid spoilage. If you see any scum or bubbles, just skim them off—normal but keep an eye out.
Cooking Tips & Techniques
Making refrigerator dill pickles is straightforward, but a few tips can make your batch shine:
- Choose the right cucumbers: Kirby or Persian cucumbers are firm and less watery, which helps keep the pickles crisp. Avoid big slicing cucumbers; they tend to get mushy.
- Don’t skip the salt: Salt is essential for drawing out moisture and developing flavor. Use pickling or kosher salt rather than table salt to avoid cloudiness.
- Keep cucumbers submerged: Air exposure leads to soft, soggy pickles or spoilage. Press them down with a clean weight or a smaller jar inside the big one.
- Use fresh dill: Fresh herbs really make a difference. Dried dill works, but the flavor isn’t quite the same.
- Patience is key: While you can eat the pickles after 24 hours, waiting 48 hours gives the best crunch and tang.
- Watch your fridge temperature: Keep the pickles at a steady fridge temp (around 38-40°F/3-4°C) for best results.
From my own kitchen misadventures, I learned that rushing the process or overcrowding the jar leads to mushy pickles, so take your time and don’t squeeze those cucumbers too tight!
Variations & Adaptations
Want to mix things up with your easy quick refrigerator dill pickles? Here are some fun tweaks I’ve tried or thought about:
- Spicy Dill Pickles: Add a few sliced fresh jalapeños or a pinch of red pepper flakes to the brine for a fiery kick.
- Garlic Lover’s Pickles: Double the garlic cloves or add roasted garlic for a mellow, sweet garlic flavor.
- Herb-Infused Pickles: Experiment with fresh herbs like thyme, tarragon, or rosemary in place of or alongside dill for a new flavor profile.
- Low-Sodium Adaptation: Reduce salt by half and add a splash of lemon juice or a pinch of citric acid to keep brightness without excess salt.
- Quick Bread-and-Butter Style: Add a tablespoon of sugar and a few mustard seeds to make a sweeter, tangier version.
One time, I swapped out the vinegar for apple cider vinegar, and the result was a slightly fruitier pickle that was surprisingly popular at a backyard barbecue. Don’t hesitate to make this recipe your own!
Serving & Storage Suggestions
These easy quick refrigerator dill pickles are best served chilled straight from the jar. They add a perfect crunch and tang to sandwiches, burgers, or even as a refreshing snack on their own.
Try pairing them with a hearty classic rustic mac and cheese or alongside a savory herb-roasted chicken for a balanced meal.
Store the pickles in the refrigerator, tightly sealed, for up to two weeks. The flavors actually deepen over time, so if you can wait, they get better! When reheating dishes that include pickles, add them fresh after cooking to keep their crispness intact.
Nutritional Information & Benefits
These refrigerator dill pickles are low in calories (about 5-10 calories per spear) and packed with probiotics if fermented slightly, though this recipe is a quick pickle rather than a fully fermented one. The cucumbers provide hydration and vitamins, while the garlic and dill add antioxidants and anti-inflammatory benefits.
Because this recipe uses simple ingredients with no added sugar, it fits well into gluten-free, low-carb, and vegan diets. Just watch for sodium content if you are on a low-sodium regimen. Overall, it’s a flavorful, guilt-free way to enjoy a crunchy snack that supports digestion and adds a burst of freshness to your meals.
Conclusion
Easy quick refrigerator dill pickles are the kind of recipe that sneaks up on you with how simple and satisfying they are. No canning, no stress—just fresh cucumbers, dill, and a bright, tangy brine that you prepare in minutes. I love this recipe because it’s approachable for anyone, even if you’re not a seasoned cook, and it brings that cool crunch to your table whenever you want.
Feel free to customize the spices and herbs to match your taste buds or try one of the variations I shared. Honestly, once you start making these, you’ll find yourself reaching for cucumbers more often than usual! I’d love to hear how your batch turns out or any fun twists you try—drop a comment or share a photo to keep the pickle love going.
Here’s to crunchy, flavorful pickles without the fuss—happy pickling!
FAQs
How long do refrigerator dill pickles last in the fridge?
They usually stay fresh and tasty for up to two weeks when properly stored in a sealed jar in the refrigerator.
Can I use regular vinegar instead of white vinegar?
White vinegar is preferred for its clean, sharp flavor, but apple cider vinegar can be used for a slightly sweeter, fruitier pickle.
Do I need to peel the cucumbers before pickling?
Nope! Keeping the skin on adds extra crunch and nutrients, plus it looks great in the jar.
Can I make these pickles without fresh dill?
Yes, but fresh dill provides the best flavor. If you don’t have it, use about 1 teaspoon of dried dill as a substitute.
What if my pickles turn out mushy?
That usually means the cucumbers were too ripe, or the brine didn’t cover them fully. Try using firm cucumbers and make sure they’re completely submerged in the brine.
Pin This Recipe!
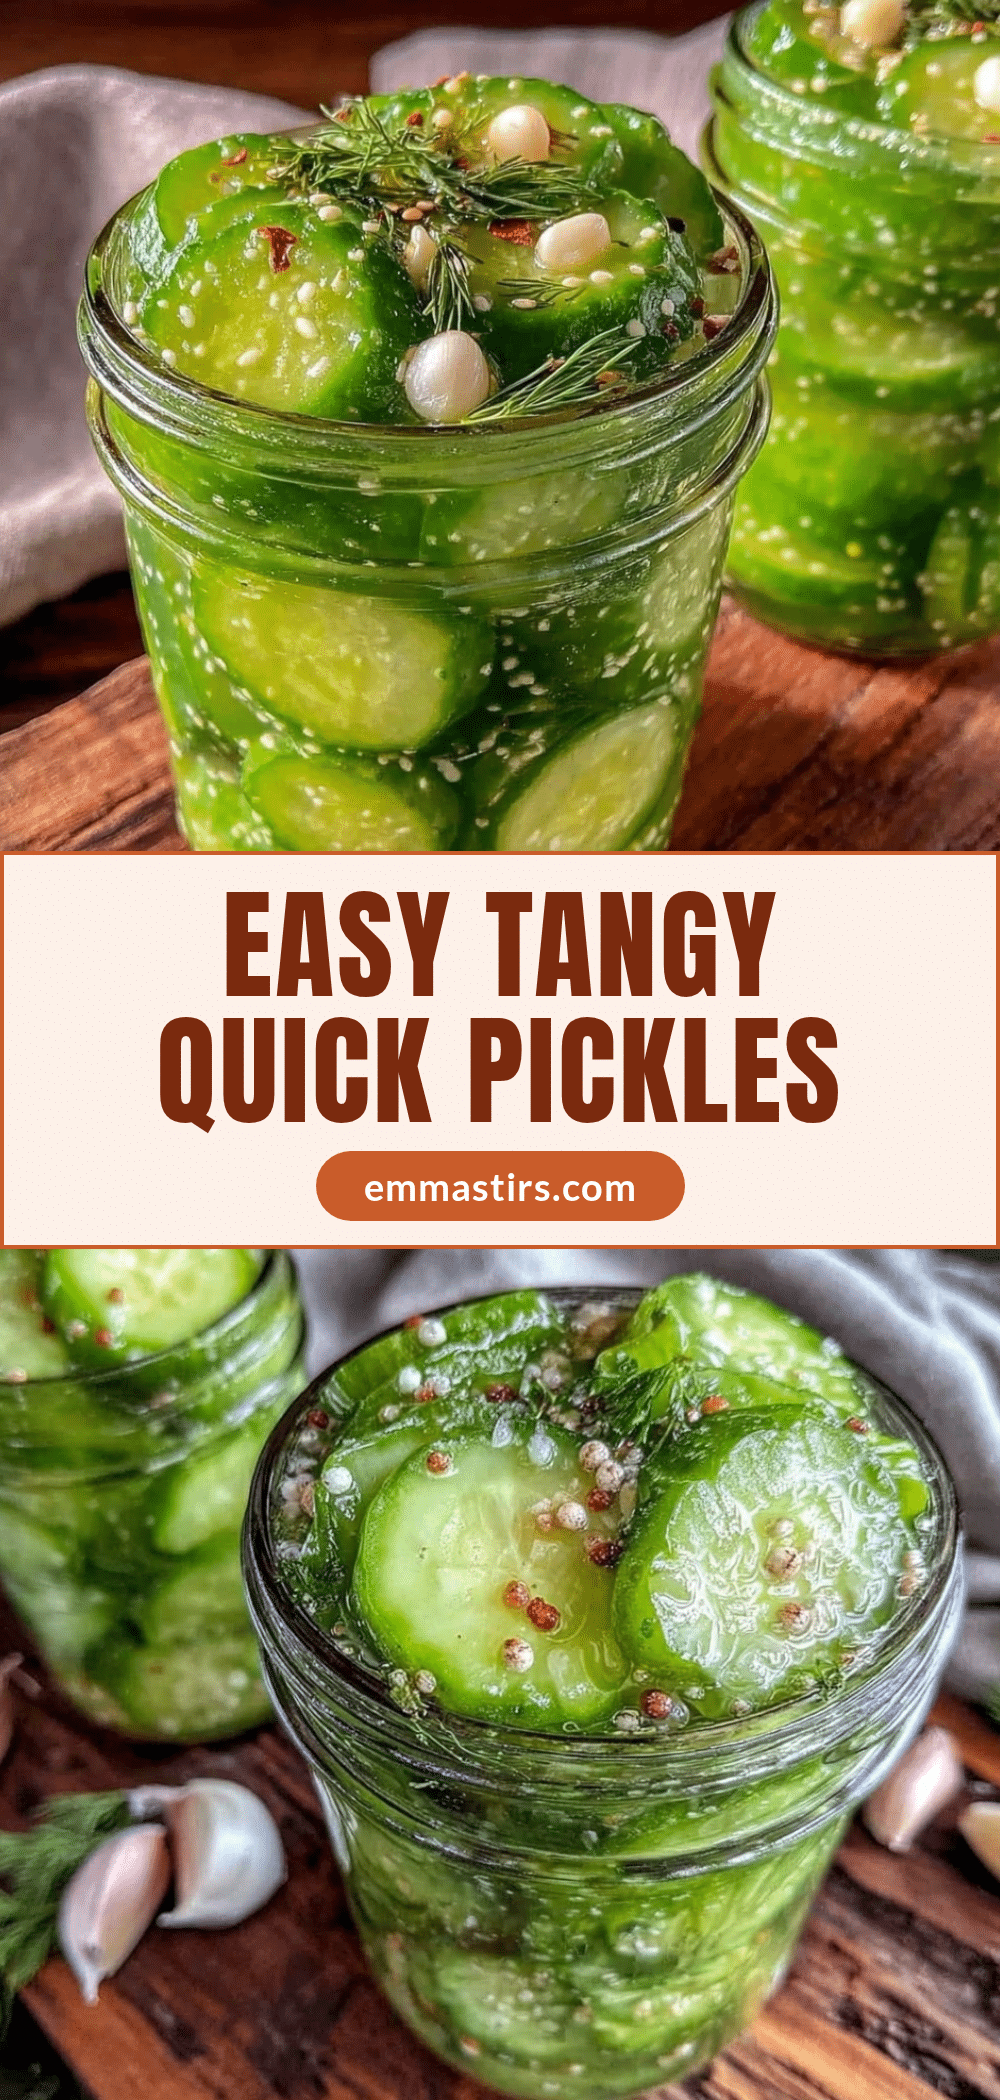
Easy Quick Refrigerator Dill Pickles Recipe 5-Minute No Canning Needed
A simple and quick recipe for refrigerator dill pickles that requires no canning, just fresh cucumbers, dill, and a tangy brine. Perfect for a crunchy, flavorful snack or sandwich addition.
- Prep Time: 5 minutes
- Cook Time: 0 minutes
- Total Time: 24 to 48 hours (refrigeration time)
- Yield: 4-5 servings 1x
- Category: Snack
- Cuisine: American
Ingredients
- 4–5 medium Kirby or Persian cucumbers, sliced into spears or rounds
- 3–4 sprigs fresh dill, roughly chopped (or 1 tsp dried dill)
- 2–3 garlic cloves, peeled and smashed
- 1 cup (240 ml) white vinegar
- 1 cup (240 ml) water
- 1 tbsp pickling or kosher salt
- Optional: 1 tsp mustard seeds
- Optional: 1/2 tsp black peppercorns
- Optional: pinch of red pepper flakes
Instructions
- Wash and slice 4-5 medium Kirby cucumbers into ½ inch thick spears or rounds.
- Pack the sliced cucumbers into a clean quart-sized glass jar, adding 2-3 smashed garlic cloves and 3-4 sprigs of fresh dill among the cucumbers.
- In a small saucepan or bowl, mix 1 cup white vinegar, 1 cup water, and 1 tablespoon pickling salt until the salt dissolves completely. Add optional pickling spices if desired.
- Pour the brine over the cucumbers in the jar, covering them fully and leaving about ½ inch of headspace. Press cucumbers down if they float.
- Seal the jar tightly and refrigerate for at least 24 hours before tasting; 48 hours is ideal for full flavor.
- After 24-48 hours, taste the pickles and adjust by letting them sit longer for more tang or adding water if too salty or sour.
Notes
Use Kirby or Persian cucumbers for best crunch. Keep cucumbers fully submerged in brine to avoid spoilage. Fresh dill is preferred for authentic flavor. Shake jar gently once a day to redistribute flavors. Pickles keep well up to 2 weeks refrigerated.
Nutrition
- Serving Size: 1 spear or round pic
- Calories: 510
- Sugar: 1
- Sodium: 40060
- Carbohydrates: 12
- Fiber: 0.5
Keywords: quick pickles, refrigerator pickles, dill pickles, no canning, easy pickles, crunchy snack, homemade pickles