Love this? Save it for later!
Share the inspiration with your friends
I figured overnight oats were just cold, sad oatmeal. It took about one jar of this creamy peanut butter banana version for that assumption to fall apart completely.
Honestly, I was a skeptic for years. The idea of eating cold oats straight from the fridge felt wrong. But then I had a morning where my usual egg scramble felt like too much effort, and I needed something I could grab and go. So I threw some oats in a jar, added peanut butter and a mashed banana, and shoved it in the fridge more out of curiosity than hope.
The next morning, I pulled that jar out, took a hesitant bite, and—okay, I get it now. The oats had softened into this thick, almost pudding-like texture. The peanut butter had swirled through everything, and the banana had melted into a natural sweetness. No cooking, no cleanup, and it actually tasted good. Really good.
That first jar turned into a weekly habit. Then a daily one. I started tweaking the ratios, testing different milks, and figuring out how to get that perfect creamy texture without any gumminess. This recipe is the version I keep coming back to. It’s the one that actually works, every single time.
These creamy peanut butter banana overnight oats have become my secret weapon for busy mornings. They taste like dessert but keep me full until lunch. And they take about five minutes to throw together. Let me show you how.
Why You’ll Love This Recipe
This isn’t just another overnight oats recipe. It’s the one that actually delivers on texture and flavor without any weird ingredients or complicated steps. Here’s why it works:
- Five minutes of prep. That’s it. You can make these while your coffee brews. No cooking, no stirring, no fuss.
- Pantry staples. You probably have everything already. Oats, peanut butter, a banana, milk. That’s the whole list.
- Creamy, not gluey. The trick is the ratio and the mashed banana. It creates this silky texture that doesn’t get gummy or weird.
- Perfect for meal prep. Make a batch on Sunday and grab a jar each morning. They last four to five days in the fridge.
- Naturally sweet. The banana does the heavy lifting. You might not even need extra sweetener.
- Kid-approved. My niece calls these “dessert breakfast” and asks for them constantly. That’s a win in my book.
What makes this recipe different from all the others? It’s the combination of mashed banana and a pinch of salt. That sounds simple, but it changes everything. The banana breaks down overnight and creates this natural creaminess that you just can’t get from adding sweetener alone. And the salt? It makes the peanut butter taste more peanut-buttery. Trust me on this one.
These overnight oats are the kind of breakfast that makes you look forward to waking up. They’re comforting, satisfying, and somehow feel indulgent even though they’re made from whole foods. If you’ve had bad overnight oats before, give this version a chance. It might just change your mind.
What Ingredients You Will Need
This recipe uses simple, wholesome ingredients that come together to create something genuinely delicious. No protein powders, no fancy superfoods—just real food that works.
- Rolled oats (old-fashioned oats) — 1/2 cup (50g). These hold their shape better than quick oats and create a chewier texture. I use Bob’s Red Mill or Quaker. Don’t use steel-cut oats here; they won’t soften enough overnight.
- Ripe banana — 1 medium, mashed. The riper the better. Those spotty bananas that look too brown for eating? Those are perfect here. They’re sweeter and mash into a smoother paste.
- Creamy peanut butter — 2 tablespoons (32g). Natural peanut butter works, but stir it well first. I prefer Skippy Natural for the best texture. Avoid the kind with added sugar and palm oil if you can.
- Milk of choice — 1/2 cup (120ml). Whole milk makes it richest, but oat milk or almond milk work great too. I’ve used all three. Oat milk gives the creamiest non-dairy result.
- Greek yogurt — 1/4 cup (60g). This adds protein and tanginess. Plain works best. Vanilla is fine but adjust sweetener. I use Fage 2% or Siggi’s plain.
- Chia seeds — 1 tablespoon (12g). Optional but recommended. They thicken the oats and add omega-3s. You won’t taste them.
- Honey or maple syrup — 1 tablespoon (15ml). Only if you want extra sweetness. I usually skip it if my banana is ripe enough.
- Vanilla extract — 1/2 teaspoon. Adds warmth and depth. Pure is better than imitation, but honestly, either works.
- Pinch of salt — This is non-negotiable. It makes everything taste more like itself. Use flaky sea salt if you have it.
That’s it. Nine ingredients, most of which you probably already have. The beauty of this recipe is how flexible it is. If you don’t have chia seeds, leave them out. If you want it sweeter, add more honey. If you’re out of yogurt, use extra milk. It’s forgiving in a way that makes it perfect for beginner cooks.
One thing I’ve learned: don’t skip mashing the banana. Slicing it or just throwing chunks in doesn’t work the same way. The mash integrates into the oats and creates that signature creamy texture. Take the extra thirty seconds to really mash it well with a fork.
Equipment Needed
You don’t need much for this recipe. That’s part of the appeal.
- Mason jar or container with lid — A 16-ounce jar works perfectly. A Weck jar or any glass container with a tight seal works too. I’ve used old pasta sauce jars. Just wash them well.
- Measuring cups and spoons — For accuracy. Eyeballing works once you’ve made it a few times, but start with measurements.
- Fork or small whisk — For mashing the banana and mixing everything together.
- Small bowl — For mashing the banana before adding it to the jar. You can do it directly in the jar, but a bowl gives you more control.
- Spatula or spoon — For scraping every last bit of peanut butter into the jar. Waste not, want not.
That’s genuinely all you need. No blender, no food processor, no special equipment. If you have a jar and a fork, you can make these overnight oats. The only thing I’d recommend investing in is a good jar that doesn’t leak. Nothing worse than grabbing your breakfast and finding oat milk all over your fridge shelf.
Preparation Method
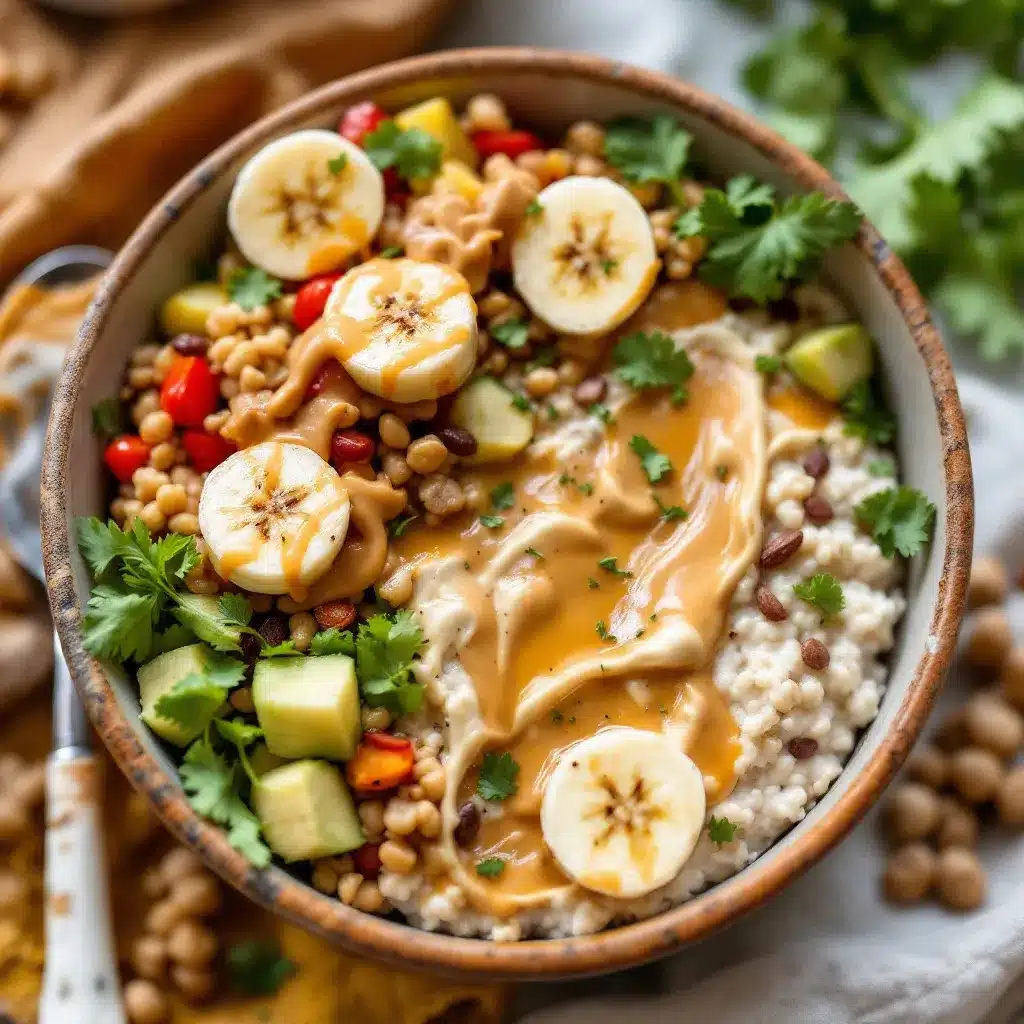
This is the easiest recipe you’ll make all week. Here’s how it comes together:
- Mash the banana. In a small bowl, mash your ripe banana with a fork until it’s mostly smooth with just a few tiny lumps. You want it to be almost like a paste. This takes about 30 seconds. Don’t overthink it.
- Add the peanut butter. Spoon 2 tablespoons of creamy peanut butter into the bowl with the mashed banana. Stir them together until combined. This pre-mixing step ensures the peanut butter distributes evenly instead of staying in one blob.
- Add the wet ingredients. Pour in 1/2 cup of milk and 1/4 cup of Greek yogurt. Add 1/2 teaspoon of vanilla extract. Whisk or stir until everything is smooth and well combined. The mixture should look like a thin milkshake at this point.
- Add the dry ingredients. Stir in 1/2 cup of rolled oats, 1 tablespoon of chia seeds (if using), and a pinch of salt. Mix until all the oats are coated and there are no dry spots.
- Sweeten if needed. Taste the mixture. If your banana was really ripe, you might not need extra sweetener. If you want it sweeter, stir in 1 tablespoon of honey or maple syrup.
- Transfer to a jar. Pour the mixture into your mason jar or container. Leave about an inch of space at the top—the oats will expand slightly as they absorb the liquid.
- Seal and shake. Put the lid on and give it a good shake. This redistributes everything and ensures no oats are stuck at the bottom. If you’re using a bowl, just stir well.
- Refrigerate overnight. Place the jar in the fridge for at least 6 hours, but overnight is best. The oats need time to soften and absorb all that creamy goodness.
- Serve cold or warm. In the morning, give it a stir. Add a splash of milk if it’s too thick. Top with sliced banana, a drizzle of peanut butter, and maybe some chopped peanuts for crunch.
A few things I’ve learned the hard way: Don’t use quick oats. They turn mushy. Don’t skip the salt. It sounds weird but it makes a huge difference. And if you’re in a rush, these are actually edible after about 4 hours, but the texture is best after a full overnight soak.
You’ll know they’re ready when the oats have plumped up and the mixture looks thick and creamy. If there’s liquid pooling on top, just stir it back in. That’s normal, especially if you used a thinner milk like almond milk.
Cooking Tips & Techniques
I’ve made this recipe probably fifty times by now. Here’s what I’ve learned:
Use a ripe banana. This is the single most important tip. A green or barely yellow banana won’t mash well and won’t sweeten the oats naturally. You want one that’s spotted or even starting to brown. It should feel soft when you squeeze it.
Mash the banana and peanut butter together first. If you just dump everything in the jar and stir, you’ll end up with peanut butter chunks. Mixing them together before adding the liquid creates a smooth, homogeneous base.
Don’t oversoak. Three days is the sweet spot. After day four, the oats start getting mushy and the banana flavor fades. Make what you’ll eat in 3-4 days, not a week’s worth.
Add toppings fresh. If you add sliced banana or extra peanut butter drizzle the night before, they’ll get brown and weird. Add them in the morning right before eating. Same goes for crunchy toppings like nuts or granola.
Thin it out. Overnight oats thicken significantly. If yours look too thick in the morning, stir in a tablespoon or two of milk. This is normal, especially if you used chia seeds which absorb a lot of liquid.
Warm them up. I know overnight oats are traditionally eaten cold, but try microwaving yours for 30-45 seconds. It transforms them into something closer to warm oatmeal. My partner prefers them this way. I like them cold. Both are valid.
Layer for presentation. If you’re making these for Instagram or just want them to look pretty, layer the oats with sliced banana and a peanut butter swirl. It doesn’t change the taste, but it sure looks nice.
I once forgot to add the oats entirely. Just left them out. Came back the next morning to a jar of peanut butter banana milk. It was actually still pretty good, but definitely not overnight oats. So double-check that you actually put the oats in.
Variations & Adaptations
This recipe is incredibly flexible. Here are some of my favorite variations:
Chocolate peanut butter. Add 1 tablespoon of cocoa powder with the dry ingredients. It turns into a rich, chocolatey version that tastes like dessert. My personal favorite when I need something indulgent.
High-protein version. Add an extra tablespoon of peanut butter and use 1/3 cup of Greek yogurt instead of 1/4 cup. You can also stir in a scoop of vanilla or chocolate protein powder. Just add an extra splash of milk to compensate.
Vegan option. Use plant-based milk (oat milk is best), dairy-free yogurt (coconut or soy work well), and maple syrup instead of honey. Everything else is already vegan.
Berry peanut butter. Stir in 1/4 cup of fresh or frozen berries before refrigerating. Blueberries and raspberries work especially well. They burst and create little pockets of tartness against the sweet peanut butter base.
Gluten-free. Use certified gluten-free rolled oats. Everything else in this recipe is naturally gluten-free. Check your peanut butter label just to be safe.
Nut-free. Swap peanut butter for sunflower seed butter or tahini. The flavor will be different but still delicious. Sunflower butter can turn green when combined with baking soda, but since there’s no baking soda here, you’re fine.
Extra crunch. Top with chopped peanuts, cacao nibs, or toasted coconut flakes right before eating. The texture contrast makes every spoonful more interesting.
Spiced version. Add 1/4 teaspoon of cinnamon and a pinch of nutmeg with the dry ingredients. It gives the oats a warm, cozy flavor that’s perfect for fall mornings.
I once tried making these with almond butter instead of peanut butter. It was good but not as rich. Peanut butter really is the star here. If you’re going to substitute, use another nut butter with similar consistency.
Serving & Storage Suggestions
These overnight oats are best served cold straight from the fridge, but they’re also delicious warmed up. Here’s how I like to serve them:
Toppings. A sliced banana, a drizzle of peanut butter, and a sprinkle of cinnamon. Sometimes I add a tablespoon of granola for crunch or a few dark chocolate chips for sweetness. The toppings are where you can get creative.
Temperature. Cold is classic. Warm is cozy. Try both and see which you prefer. If warming, microwave in 15-second intervals, stirring between each, until it reaches your desired temperature.
Storage. Keep in an airtight container in the refrigerator for up to 4 days. Do not freeze. The texture gets weird when thawed. The oats become mushy and the banana separates.
Meal prep. Make 3-4 jars at once for the week. They actually get better on day two as the flavors meld together. Just leave the toppings off until you’re ready to eat.
On the go. These are perfect for taking to work or school. Grab a jar, throw it in your bag, and add toppings when you’re ready to eat. No heating required.
Flavor development. The peanut butter and banana flavors intensify over time. Day one is good. Day two is better. Day three is peak. After that, the oats start to break down and get softer.
If you’re making these for a crowd, double or triple the recipe and store in a large bowl. Portion out individual servings each morning. It’s less dishes and more efficient.
Nutritional Information & Benefits
Here’s the approximate nutritional breakdown for one serving (without toppings):
- Calories: 420-450
- Protein: 18-20g
- Carbohydrates: 52-58g
- Fiber: 10-12g
- Fat: 16-18g
- Sugar: 18-22g (mostly natural from banana)
These overnight oats are packed with nutritional benefits. The rolled oats provide complex carbohydrates for sustained energy. The peanut butter and Greek yogurt deliver protein that keeps you full. The banana adds potassium and natural sweetness. And the chia seeds contribute omega-3 fatty acids and extra fiber.
This meal is naturally vegetarian and can easily be made vegan or gluten-free. It’s also dairy-free if you use plant-based milk and yogurt. The only common allergen is peanuts, so be mindful if serving to others.
I’m not a nutritionist, but I’ve found that starting my day with this combination keeps me satisfied until lunch without the mid-morning crash I used to get from sugary cereal. It’s real food that actually fuels your body.
Conclusion
These creamy peanut butter banana overnight oats have become a staple in my kitchen for good reason. They’re simple, they’re delicious, and they make mornings infinitely easier. No cooking, no cleanup, just grab and go.
What I love most about this recipe is how forgiving it is. You can tweak it based on what you have, adjust the sweetness to your taste, and it still turns out great. It’s the kind of recipe that builds confidence in the kitchen because it’s so hard to mess up.
If you’ve been skeptical about overnight oats, give this version a try. Use a really ripe banana, don’t skip the salt, and let it sit the full overnight. I think you’ll be surprised at how good cold oats can actually be.
I’d love to hear how yours turn out. Did you add any fun toppings? Try a variation? Let me know in the comments below. And if you’re looking for another easy breakfast idea, check out these fluffy cottage cheese pancakes for a warm, protein-packed alternative.
Happy prepping, friends. Your future morning self will thank you.
Frequently Asked Questions
Can I use quick oats instead of rolled oats?
You can, but the texture will be softer and mushier. Rolled oats hold their shape better and create a more pleasant chewy texture. If you only have quick oats, reduce the milk by 2 tablespoons to compensate.
How long do overnight oats last in the fridge?
They last 3-4 days in an airtight container. The texture is best on days 1-3. After day 4, the oats become very soft and the banana flavor starts to fade. I recommend making only what you’ll eat within that window.
Can I eat these oats without refrigerating overnight?
Technically yes, but they won’t be as good. The oats need time to absorb the liquid and soften. If you’re in a rush, let them sit at room temperature for at least 2 hours before eating. The texture won’t be as creamy, but it’ll work in a pinch.
Why are my overnight oats too thick?
This usually happens because the oats and chia seeds absorbed more liquid than expected. Simply stir in a tablespoon or two of milk until it reaches your desired consistency. Different milk types absorb differently, so adjust as needed.
Can I make these without a banana?
Yes, but you’ll need to adjust the sweetness and liquid. Replace the mashed banana with 1/4 cup of applesauce or an extra 2 tablespoons of milk plus 1 tablespoon of maple syrup. The texture won’t be quite as creamy, but it’ll still be good.
Pin This Recipe!
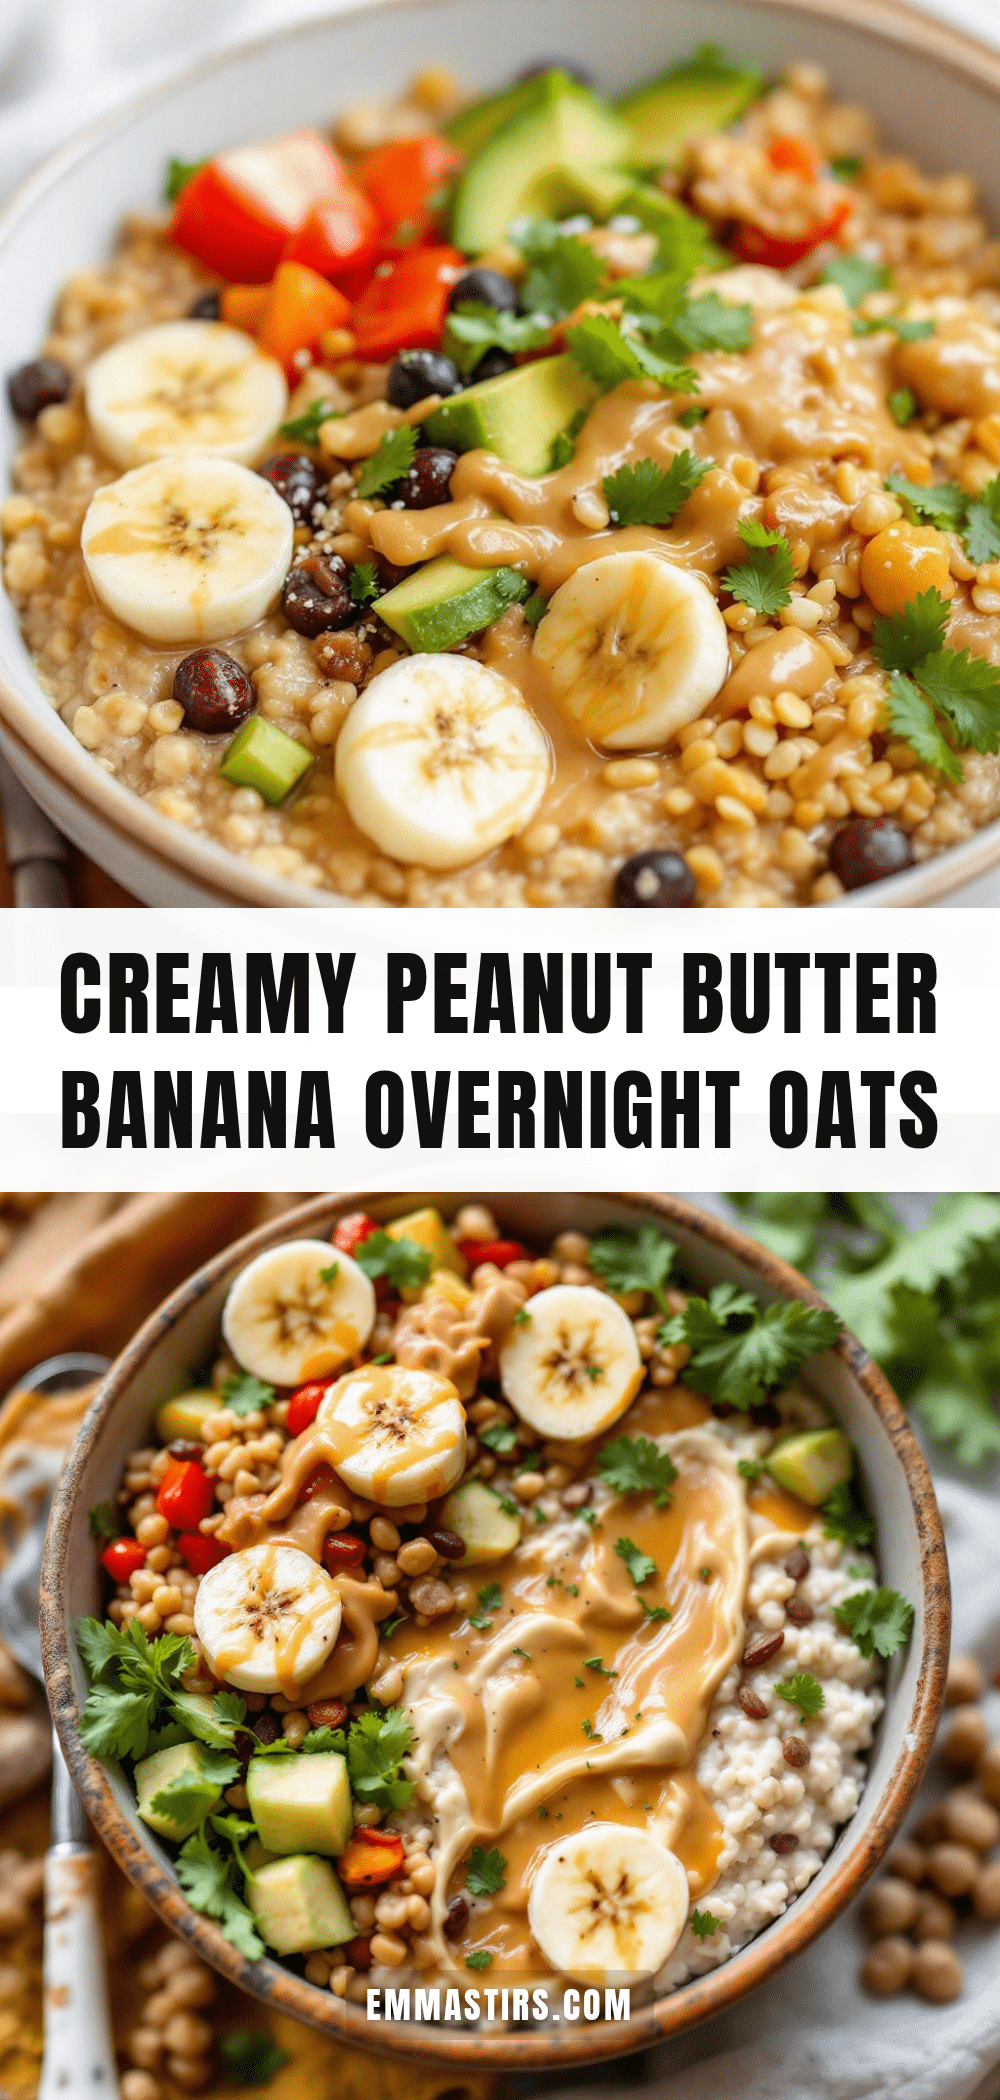
Creamy Peanut Butter Banana Overnight Oats (Easy Recipe)
These creamy peanut butter banana overnight oats are a game-changer for busy mornings. With just five minutes of prep and simple pantry staples, you get a delicious, pudding-like breakfast that keeps you full until lunch.
- Prep Time: 5 minutes
- Cook Time: 0 minutes
- Total Time: 6 hours 5 minutes (includes overnight refrigeration)
- Yield: 1 serving 1x
- Category: Breakfast
- Cuisine: American
Ingredients
- 1/2 cup (50g) rolled oats (old-fashioned oats)
- 1 medium ripe banana, mashed
- 2 tablespoons (32g) creamy peanut butter
- 1/2 cup (120ml) milk of choice (whole milk, oat milk, or almond milk)
- 1/4 cup (60g) Greek yogurt (plain preferred)
- 1 tablespoon (12g) chia seeds (optional)
- 1 tablespoon (15ml) honey or maple syrup (optional, for extra sweetness)
- 1/2 teaspoon vanilla extract
- Pinch of salt (non-negotiable)
Instructions
- Mash the banana: In a small bowl, mash the ripe banana with a fork until mostly smooth with a few tiny lumps, about 30 seconds.
- Add the peanut butter: Spoon 2 tablespoons of creamy peanut butter into the bowl with the mashed banana and stir until combined.
- Add the wet ingredients: Pour in 1/2 cup of milk, 1/4 cup of Greek yogurt, and 1/2 teaspoon of vanilla extract. Whisk or stir until smooth and well combined.
- Add the dry ingredients: Stir in 1/2 cup of rolled oats, 1 tablespoon of chia seeds (if using), and a pinch of salt. Mix until all oats are coated and no dry spots remain.
- Sweeten if needed: Taste the mixture. If desired, stir in 1 tablespoon of honey or maple syrup for extra sweetness.
- Transfer to a jar: Pour the mixture into a mason jar or container, leaving about an inch of space at the top.
- Seal and shake: Put the lid on and shake well to redistribute ingredients. If using a bowl, stir well.
- Refrigerate overnight: Place the jar in the fridge for at least 6 hours, but overnight is best for optimal texture.
- Serve cold or warm: In the morning, stir. Add a splash of milk if too thick. Top with sliced banana, a drizzle of peanut butter, and/or chopped peanuts for crunch.
Notes
Use a very ripe banana for natural sweetness. Mash banana and peanut butter together first for even distribution. Oats are best on days 1-3; after day 4, texture becomes mushy. Add toppings fresh in the morning. If too thick, stir in a splash of milk. Can be microwaved for 30-45 seconds for a warm version.
Nutrition
- Serving Size: 1 jar (about 1.5 cup
- Calories: 420450
- Sugar: 1822
- Sodium: 150200
- Fat: 1618
- Saturated Fat: 34
- Carbohydrates: 5258
- Fiber: 1012
- Protein: 1820
Keywords: overnight oats, peanut butter banana oats, easy breakfast, meal prep breakfast, healthy breakfast, no-cook breakfast, creamy oats


