Love this? Save it for later!
Share the inspiration with your friends
“Wait—are those real spiders?” My neighbor’s kid asked it with his face pressed against the kitchen window, and honestly, I hadn’t even noticed him watching. I was elbow-deep in royal icing, piping little legs onto sugar cookies shaped like spiders, and I laughed so hard I nearly smudged one. That was the moment I realized these cookies weren’t just cute—they were *conversation starters*.
I’d been testing Halloween recipes for weeks, trying to find something that felt spooky but still approachable, you know? Not the kind of thing that looks amazing in photos but takes three hours to decorate. I wanted cookies that actually tasted as good as they looked—soft, buttery sugar cookies with that slight crackle on the edge, topped with glossy royal icing that dries hard enough to stack. And I wanted them to look like spiders. Real-ish spiders. The kind you’d find in a charmingly haunted cottage, not a nightmare.
These Best Spider Sugar Cookies with Royal Icing are the result of about four test batches, a lot of trial and error with piping tips, and one very memorable afternoon where I convinced myself black gel food coloring was optional (spoiler: it is not). They’re the cookies I now bring to every Halloween party, the ones that disappear before the pumpkin cupcakes. They’re also surprisingly forgiving—even if your spider legs come out crooked, they somehow look even better that way.
So if you’re looking for a Halloween treat that’s genuinely fun to make, easy to customize, and tastes like a soft bakery-style sugar cookie, you’re in the right place. Let me show you how to make these little guys. They’re easier than they look, I promise.
Why You’ll Love This Recipe
I’ve tested this recipe more times than I care to admit, and here’s what I’ve learned: these cookies hit that sweet spot between impressive and doable. They look like you spent all day on them, but the actual decorating is surprisingly quick once you get the hang of it.
- Quick & Easy: The dough comes together in about 15 minutes, and the decorating takes maybe 20 minutes per batch. Perfect for a Halloween baking session that doesn’t take over your whole afternoon.
- Simple Ingredients: Butter, sugar, flour, eggs—all pantry staples. No fancy extracts or hard-to-find specialty items. The royal icing uses just powdered sugar, meringue powder, and water.
- Perfect for Halloween: Whether you’re making these for a classroom party, a neighborhood gathering, or just to snack on while watching scary movies, they fit right in. Kids love them, adults love them, and they photograph beautifully for social media.
- Crowd-Pleaser: I’ve brought these to three different Halloween events and they’ve been the first thing to disappear every single time. There’s something about a cookie that looks like a spider but tastes like a soft, buttery sugar cookie that just works.
- Unbelievably Delicious: The cookie itself is the star here—soft in the center, slightly crisp on the edges, with a rich vanilla flavor that pairs perfectly with the sweet royal icing. It’s not just a decoration vehicle; it’s a genuinely good cookie.
What makes these different from other spider cookies? It’s the combination of a tested, foolproof sugar cookie recipe with a royal icing that dries hard enough to stack but stays glossy and smooth. Plus, the spider design is simple enough for beginners but looks polished enough to impress. I’ve had friends who “don’t bake” make these and they turned out beautifully.
This recipe is the kind that makes you close your eyes after the first bite. It’s comfort food with a spooky twist—familiar, satisfying, and just a little bit mischievous.
What Ingredients You Will Need
Let’s talk about what goes into these cookies. The ingredient list is straightforward, but a few key choices make a real difference in the final result. Here’s everything you’ll need, broken down by component.
For the Sugar Cookies
- Unsalted butter, softened – 1 cup (2 sticks, 226g). I prefer using unsalted so I can control the salt level. Let it sit at room temperature for about 30 minutes before starting—you want it soft but not melty.
- Granulated sugar – 1 cup (200g). Regular white sugar gives these cookies their classic sweetness and helps create that slightly crisp edge.
- Large egg – 1, at room temperature. This helps bind the dough and adds richness. If you forget to take it out ahead of time, place it in a bowl of warm water for 5 minutes.
- Vanilla extract – 2 teaspoons (10ml). I recommend pure vanilla extract, not imitation. The flavor is noticeably better. My go-to brand is Nielsen-Massey, but any pure extract works well.
- All-purpose flour – 2 ½ cups (312g). Spoon and level your flour—don’t scoop directly from the bag, or you’ll end up with too much and the cookies will be dry.
- Baking powder – 1 teaspoon (4g). This gives the cookies a little lift without making them puffy.
- Salt – ½ teaspoon (3g). Fine sea salt or table salt works best.
For the Royal Icing
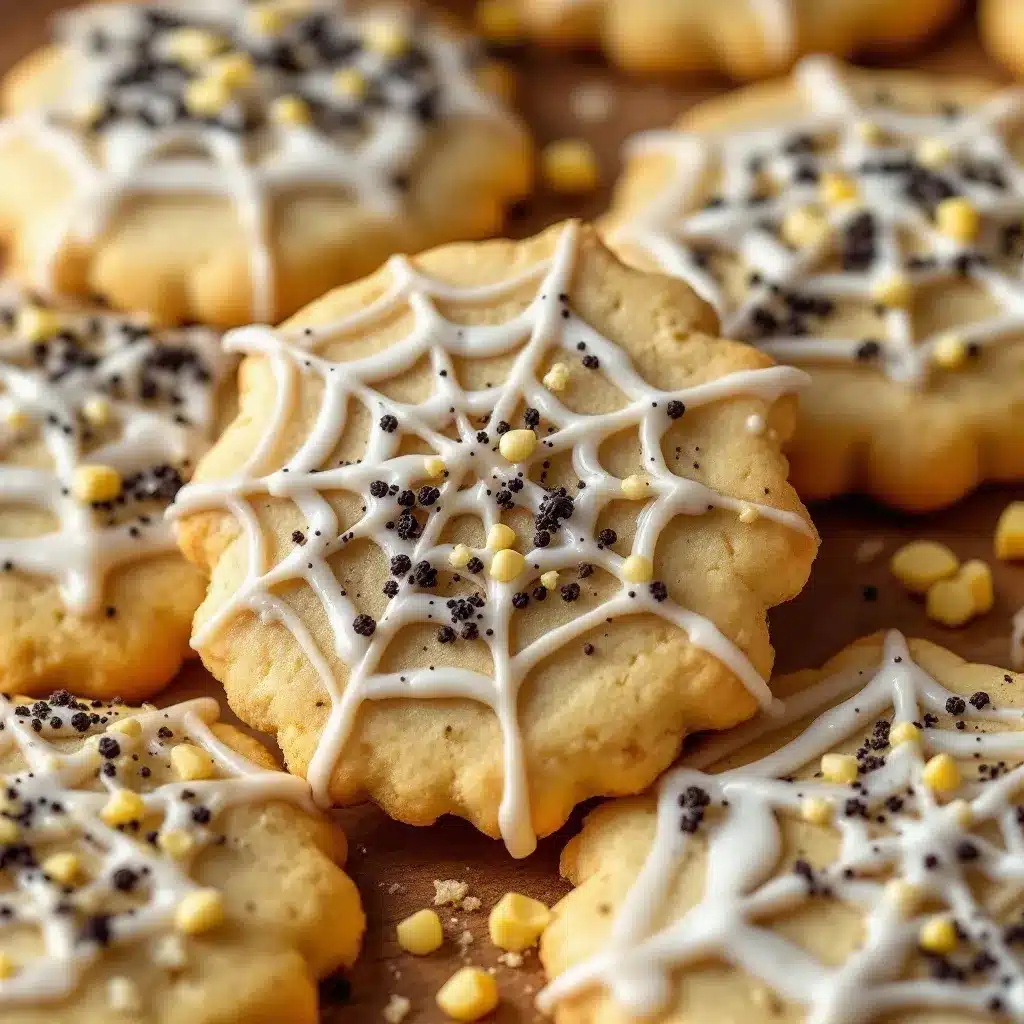
- Powdered sugar – 2 cups (240g), sifted. Sifting is important here to avoid lumps in your icing. Trust me on this one—I’ve skipped it and regretted it.
- Meringue powder – 2 tablespoons (16g). This is what gives royal icing its structure and helps it dry hard. You can find it at most craft stores or online. I like the Wilton brand for consistency.
- Water – 3-4 tablespoons (45-60ml), plus more as needed. Start with 3 tablespoons and add more slowly until you reach the right consistency.
- Black gel food coloring – About ½ teaspoon, or enough to achieve a deep black color. Liquid food coloring won’t give you the same intensity without thinning the icing too much. I use Americolor Super Black—it’s worth the extra few dollars.
- White gel food coloring – Optional, but helpful if you want to make white spider eyes or details.
For Decorating
- Black sanding sugar or sprinkles – Optional, for adding texture to the spider bodies. I love the way it catches the light.
- Edible glitter – Also optional, but adds a fun, slightly magical touch for Halloween.
One thing I’ve learned: don’t skip the meringue powder in the royal icing. I tried making it with just powdered sugar and water once, and the icing never fully dried. It stayed tacky and smudged when I tried to stack the cookies. Meringue powder makes all the difference.
Equipment Needed
You don’t need a ton of fancy equipment for these cookies, but a few specific tools will make your life much easier.
- Stand mixer or hand mixer – Either works. I use my KitchenAid stand mixer for the cookie dough and a hand mixer for the royal icing (less splatter).
- Large mixing bowls – At least two: one for the dough, one for the icing.
- Spider-shaped cookie cutter – This is the most important tool. I found mine on Amazon for about $8, and it came in a set of Halloween shapes. Look for one with a clear, defined spider body shape.
- Rolling pin – A standard rolling pin works, but I love my adjustable rolling pin with thickness rings. It ensures even cookies every time.
- Parchment paper or silicone baking mats – Silicone mats are my preference because they help cookies bake evenly and release easily.
- Baking sheets – At least two, so you can rotate batches.
- Piping bags or squeeze bottles – For the royal icing. I use disposable piping bags with a small round tip (Wilton #2 or #3). Squeeze bottles are also great for flooding.
- Small offset spatula – Helpful for smoothing icing and cleaning up edges.
- Toothpicks – Essential for popping air bubbles in the icing and for dragging the icing into corners.
- Cooling rack – Wire racks allow cookies to cool completely before decorating.
If you don’t have a spider-shaped cutter, you can use a round cutter and pipe the legs on with icing. I’ve done that before, and honestly, it looks just as cute. Don’t let a missing tool stop you from making these.
Preparation Method
Alright, let’s get into the actual process. I’ve broken this down into clear steps so you can follow along without confusion. Take your time, especially with the decorating—it’s the most fun part.
Step 1: Make the Cookie Dough
In a large mixing bowl, cream together the softened butter and granulated sugar until light and fluffy—about 3-4 minutes with a stand mixer on medium speed. You want the mixture to look pale and slightly increased in volume. Scrape down the sides of the bowl halfway through.
Add the egg and vanilla extract, then beat until combined. The mixture might look a little separated at this point, but that’s normal. Don’t overmix.
In a separate bowl, whisk together the flour, baking powder, and salt. Gradually add the dry ingredients to the wet mixture, mixing on low speed until just combined. The dough should come together into a soft, slightly sticky ball. If it feels too sticky to handle, add an extra tablespoon of flour.
Divide the dough in half, flatten each half into a disk about 1-inch thick, wrap in plastic wrap, and refrigerate for at least 1 hour. This chilling step is non-negotiable—it prevents the cookies from spreading in the oven and keeps their shape.
Step 2: Roll and Cut the Cookies
Preheat your oven to 350°F (175°C). Line your baking sheets with parchment paper or silicone mats.
Take one disk of dough out of the fridge and let it sit at room temperature for about 5 minutes—just long enough to be rollable without cracking. On a lightly floured surface, roll the dough to about ¼-inch thickness. I use my adjustable rolling pin set to ¼ inch for consistency.
Cut out spider shapes using your cookie cutter. Press straight down and lift up—don’t twist the cutter, or the edges will seal and the cookies won’t bake evenly. Place the cut cookies about 1 inch apart on the prepared baking sheets.
Gather the scraps, press them together, and re-roll to cut more cookies. You should get about 18-24 cookies depending on the size of your cutter.
Step 3: Bake the Cookies
Bake for 8-10 minutes, or until the edges are just barely starting to turn golden. The centers should still look slightly soft and pale. This is the key to a soft, tender cookie—if you wait until they’re fully golden all over, they’ll be too crisp.
Let the cookies cool on the baking sheet for 5 minutes, then transfer them to a wire rack to cool completely. This is important: if you try to decorate warm cookies, the icing will melt and slide right off.
Step 4: Make the Royal Icing
In a medium bowl, combine the sifted powdered sugar and meringue powder. Add 3 tablespoons of water and whisk until smooth. The icing should be thick but flow slowly from a spoon—think of it as a thick syrup. If it’s too thick, add water a teaspoon at a time. If it’s too thin, add a little more powdered sugar.
Divide the icing into two portions. Add black gel food coloring to the larger portion until you achieve a deep, dark black. Start with a small amount—gel colors are concentrated—and add more until you’re happy with the color. Reserve the remaining white icing for the spider eyes.
Transfer the black icing to a piping bag fitted with a small round tip, or to a squeeze bottle. If using a piping bag, twist the top to push the icing toward the tip.
Step 5: Decorate the Spider Cookies
Here’s where the magic happens. Start by outlining the spider body with the black icing. Pipe a thin line around the edge of the cookie, then fill in the center. Use a toothpick to spread the icing into any gaps and to pop any air bubbles.
For the spider legs, pipe eight thin lines extending from the body. They don’t have to be perfectly straight—in fact, slightly wobbly legs look more natural and spider-like. I usually pipe four legs on each side, angled slightly outward.
While the icing is still wet, add two small dots of white icing for the spider’s eyes. You can use a toothpick or the tip of a piping bag to place them. If you want, add a tiny black dot in the center of each white eye for a pupil effect.
If you’re using black sanding sugar, sprinkle it over the wet icing on the spider body. Tap off the excess gently.
Let the decorated cookies sit at room temperature for at least 2 hours, or until the icing is completely hard to the touch. This is crucial for stacking or packaging.
Cooking Tips & Techniques
I’ve made this recipe more times than I can count, and I’ve definitely learned a few things the hard way. Here are my best tips for success.
Don’t skip chilling the dough. I know it’s tempting to rush, but warm dough spreads like crazy in the oven. I once tried to skip the chill and ended up with spider-shaped blobs. Not cute. At least 1 hour in the fridge is essential—overnight is even better.
Use gel food coloring, not liquid. Liquid food coloring will thin out your royal icing and make it runny. Gel colors give you vibrant, deep colors without changing the consistency. For black, you’ll need more than you think—start with a pea-sized amount and keep adding until it’s dark enough.
Check your icing consistency. The perfect royal icing for flooding (filling in the cookie) should flow like honey. When you lift the spoon, the ribbon of icing should disappear back into the bowl within about 10 seconds. If it’s too thick, add water a few drops at a time. If it’s too thin, add more sifted powdered sugar.
Work in batches. Don’t try to decorate all 24 cookies at once. Decorate 6-8 at a time, then let them dry completely before moving on to the next batch. This prevents smudging and keeps your work area manageable.
Use a toothpick for details. For the spider eyes and any fine details, a toothpick is your best friend. Dip it in the icing and dot it onto the cookie. It gives you way more control than a piping bag for tiny details.
Let the icing dry completely. I know it’s hard to wait, but rushing this step leads to smudged designs and stuck-together cookies. I usually decorate in the evening and let them dry overnight. Patience pays off here.
Variations & Adaptations
One of the best things about this recipe is how easy it is to customize. Here are some variations I’ve tried and loved.
Gluten-Free Version: Substitute the all-purpose flour with a 1:1 gluten-free baking flour blend. I’ve used King Arthur Measure for Measure with great results. The texture will be slightly more tender, but still delicious. Add an extra tablespoon of flour if the dough feels too sticky.
Different Spider Shapes: If you don’t have a spider cutter, use a round cutter (about 2-3 inches) and pipe the legs on with icing. You can also make spider webs by piping concentric circles and dragging a toothpick through them from the center outward. I’ve done this for a “spider web” effect and it looks fantastic.
Flavor Variations: Add 1 teaspoon of almond extract along with the vanilla for a subtle nutty flavor. Or try adding the zest of one lemon to the dough for a bright, citrusy twist that pairs beautifully with the sweet icing.
Spooky Color Palette: Instead of black, try using purple, orange, or green gel food coloring for a different Halloween vibe. I made a batch with bright orange spiders last year and they were a hit at a pumpkin-carving party.
Edible Glitter Finish: After the icing has set for about 30 minutes (still slightly tacky), brush on a thin layer of edible glitter or luster dust. It gives the spiders a magical, slightly iridescent sheen that catches the light beautifully.
Mini Spider Cookies: Use a smaller cutter to make bite-sized spiders. Reduce the baking time to 6-8 minutes. These are perfect for party platters or for kids who want to decorate their own.
Serving & Storage Suggestions
These cookies are best served at room temperature, ideally within 24 hours of decorating. The royal icing will be hard and glossy, and the cookie will be soft and tender.
For a Halloween party, arrange the spiders on a platter with some fake spiderwebs or plastic spiders for a creepy-cute display. I like to place them on a dark platter to make the black icing pop. They also look amazing on a tiered serving stand.
If you’re pairing these with other treats, they go wonderfully with warm apple cider, hot chocolate, or a pumpkin spice latte. For a savory contrast, serve them alongside a fresh savory cottage cheese bowl for a balanced snack spread.
Storage: Store the decorated cookies in an airtight container at room temperature. Place a sheet of parchment paper between layers to prevent sticking. They’ll stay fresh for up to 5 days, though the cookies will soften slightly over time. If you need to stack them, make sure the icing is completely dry first—I usually wait at least 4 hours.
Freezing: You can freeze the undecorated baked cookies for up to 3 months. Wrap them tightly in plastic wrap and place in a freezer-safe bag. When you’re ready to decorate, thaw them at room temperature and proceed with the icing. I’ve also frozen the raw dough disks for up to 2 months—just thaw in the fridge overnight before rolling and cutting.
Reheating: These cookies are best enjoyed at room temperature, but if you want a slightly warm cookie, pop one in the microwave for 5-10 seconds. The icing will soften but won’t melt completely.
One thing I’ve noticed: the flavors actually develop a bit overnight. The vanilla becomes more pronounced, and the cookie texture settles into that perfect soft-but-structured balance. So if you can, make these a day ahead.
Nutritional Information & Benefits
Let’s be real—these are a treat, not a health food. But here’s a rough breakdown so you know what you’re working with.
Per cookie (based on 24 cookies):
- Calories: 145
- Fat: 7g
- Carbohydrates: 20g
- Protein: 2g
- Sugar: 12g
- Sodium: 85mg
These values are estimates and will vary based on exact ingredients and portion sizes. If you’re watching your sugar intake, you can reduce the sugar in the cookie dough by ¼ cup without significantly affecting the texture, but the royal icing needs the full amount of powdered sugar for proper structure.
For those with dietary restrictions:
- Gluten-Free: Use a 1:1 gluten-free flour blend as mentioned above.
- Dairy-Free: Substitute the butter with a high-quality vegan butter stick (not margarine). I’ve had good results with Miyoko’s European Style Cultured Vegan Butter.
- Egg-Free: The royal icing requires meringue powder, which contains egg whites. You can try aquafaba (chickpea liquid) as a substitute, but I haven’t tested it with this recipe.
While these aren’t a health food, they do use simple, recognizable ingredients. No preservatives, no artificial flavors—just butter, sugar, flour, and a little bit of spooky fun. If you’re looking for a protein-packed snack to balance out the sugar, try making a batch of easy no-bake peanut butter chocolate protein energy balls alongside these cookies.
Conclusion
These Best Spider Sugar Cookies with Royal Icing have become my go-to Halloween treat, and I think they’ll become yours too. They’re fun to make, surprisingly forgiving, and absolutely delicious. The combination of a soft, buttery sugar cookie with a glossy, hard-drying royal icing is just perfect—and the spider design is simple enough for beginners but looks impressive enough to wow a crowd.
What I love most about this recipe is how adaptable it is. You can go full spooky with black icing and sanding sugar, or keep it cute with colorful variations. You can make them with kids, or make them solo while watching a Halloween movie. They’re the kind of recipe that brings a little joy and creativity into the kitchen, and honestly, that’s what baking should be about.
I’d love to see your spider cookies! Tag me in your photos, leave a comment below with your variations, or share your decorating tips. And if you’re looking for more Halloween baking ideas, check out my savory brown butter salted chocolate chip cookies for another crowd-pleasing treat. Happy Halloween baking!
Frequently Asked Questions
Can I make the dough ahead of time?
Absolutely. You can refrigerate the dough disks for up to 3 days, or freeze them for up to 2 months. Just wrap them tightly in plastic wrap and place in a freezer bag. Thaw frozen dough in the fridge overnight before rolling.
Why is my royal icing too runny?
You probably added too much water. The fix is simple: add more sifted powdered sugar, a tablespoon at a time, until the icing reaches a honey-like consistency. Remember, it’s easier to thin thick icing than to thicken runny icing, so add water slowly.
How do I get the black icing to be really dark?
Use black gel food coloring, not liquid. Start with a small amount and add more gradually. Americolor Super Black is my go-to—it’s highly concentrated and gives a deep, true black without needing a ton of coloring. Let the icing sit for about 10 minutes after mixing; the color will deepen as it sits.
Can I use a different cookie recipe?
You can, but I’ve tested this specific sugar cookie recipe to work perfectly with royal icing. It’s sturdy enough to hold the icing without breaking, but soft enough to be delicious. If you use a different recipe, make sure it’s a rolled cookie that doesn’t spread much in the oven.
How do I store decorated spider cookies?
Once the icing is completely dry (at least 2 hours, preferably overnight), store them in an airtight container at room temperature. Place parchment paper between layers to prevent sticking. They’ll stay fresh for up to 5 days, though the cookies will soften slightly over time.
Pin This Recipe!
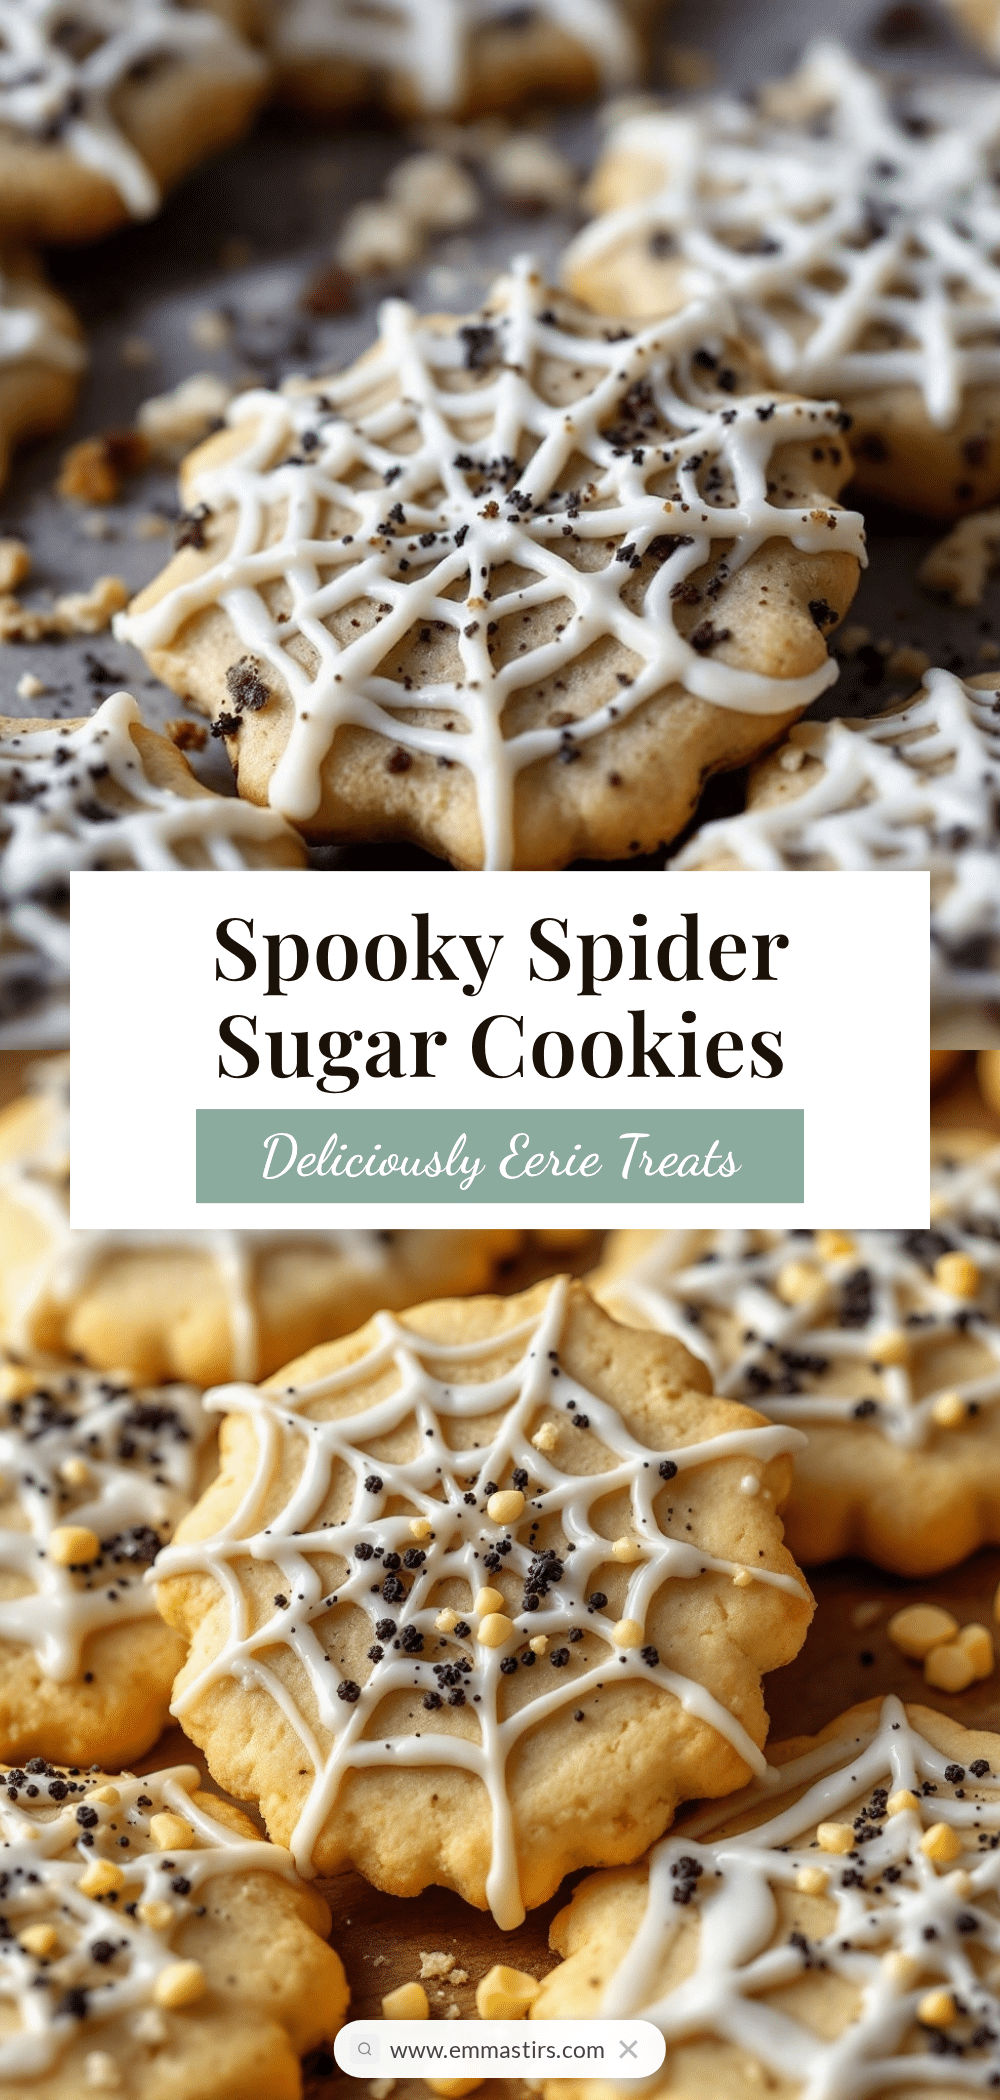
Best Spider Sugar Cookies with Royal Icing
Soft, buttery sugar cookies shaped like spiders, topped with glossy royal icing that dries hard enough to stack. A fun and forgiving Halloween treat that’s easy to customize and tastes as good as it looks.
- Prep Time: 15 minutes
- Cook Time: 10 minutes
- Total Time: 1 hour 25 minutes (includes 1 hour chilling)
- Yield: 24 servings 1x
- Category: Dessert
- Cuisine: American
Ingredients
- 1 cup (2 sticks, 226g) unsalted butter, softened
- 1 cup (200g) granulated sugar
- 1 large egg, at room temperature
- 2 teaspoons (10ml) pure vanilla extract
- 2 ½ cups (312g) all-purpose flour, spooned and leveled
- 1 teaspoon (4g) baking powder
- ½ teaspoon (3g) fine sea salt or table salt
- 2 cups (240g) powdered sugar, sifted
- 2 tablespoons (16g) meringue powder
- 3–4 tablespoons (45-60ml) water, plus more as needed
- ½ teaspoon black gel food coloring (or enough for deep black)
- White gel food coloring (optional, for eyes)
- Black sanding sugar or sprinkles (optional)
- Edible glitter (optional)
Instructions
- Make the cookie dough: In a large mixing bowl, cream together the softened butter and granulated sugar until light and fluffy (3-4 minutes with a stand mixer on medium speed). Scrape down the sides halfway through.
- Add the egg and vanilla extract, then beat until combined. The mixture may look slightly separated.
- In a separate bowl, whisk together the flour, baking powder, and salt. Gradually add the dry ingredients to the wet mixture, mixing on low speed until just combined. The dough should be soft and slightly sticky. If too sticky, add an extra tablespoon of flour.
- Divide the dough in half, flatten each half into a 1-inch thick disk, wrap in plastic wrap, and refrigerate for at least 1 hour.
- Preheat oven to 350°F (175°C). Line baking sheets with parchment paper or silicone mats.
- Roll and cut: Take one dough disk out of the fridge and let it sit at room temperature for about 5 minutes. On a lightly floured surface, roll the dough to ¼-inch thickness. Cut out spider shapes using a spider-shaped cookie cutter. Place cut cookies 1 inch apart on prepared baking sheets. Gather scraps, press together, and re-roll to cut more cookies (yields 18-24 cookies).
- Bake for 8-10 minutes, until edges are just barely starting to turn golden. Centers should still look slightly soft and pale. Let cool on baking sheet for 5 minutes, then transfer to a wire rack to cool completely.
- Make the royal icing: In a medium bowl, combine sifted powdered sugar and meringue powder. Add 3 tablespoons of water and whisk until smooth. The icing should be thick but flow slowly from a spoon (like thick syrup). If too thick, add water a teaspoon at a time; if too thin, add more powdered sugar.
- Divide the icing into two portions. Add black gel food coloring to the larger portion until deep black. Reserve the remaining white icing for spider eyes.
- Transfer black icing to a piping bag fitted with a small round tip (Wilton #2 or #3) or a squeeze bottle.
- Decorate: Outline the spider body with black icing, then fill in the center. Use a toothpick to spread icing into gaps and pop air bubbles. Pipe eight thin lines for legs (four on each side, angled slightly outward).
- While icing is still wet, add two small dots of white icing for eyes. Optionally, add a tiny black dot in the center of each eye for a pupil effect. If using black sanding sugar, sprinkle over wet icing on the spider body and tap off excess.
- Let decorated cookies sit at room temperature for at least 2 hours (preferably overnight) until icing is completely hard to the touch.
Notes
Don’t skip chilling the dough—it prevents spreading. Use gel food coloring, not liquid, for vibrant color without thinning the icing. For best results, let decorated cookies dry overnight before stacking. The dough can be refrigerated for up to 3 days or frozen for up to 2 months. Undecorated baked cookies can be frozen for up to 3 months.
Nutrition
- Serving Size: 1 cookie
- Calories: 145
- Sugar: 12
- Sodium: 85
- Fat: 7
- Saturated Fat: 4
- Carbohydrates: 20
- Protein: 2
Keywords: spider cookies, Halloween cookies, sugar cookies, royal icing, Halloween baking, spider sugar cookies, easy Halloween cookies


