Love this? Save it for later!
Share the inspiration with your friends
It was 1:15 AM on a slow Thursday, and honestly, I wasn’t supposed to be in the kitchen. But you know that feeling when your brain just won’t quit thinking about something sweet and salty? That’s exactly what hit me—the urge for a rich, creamy salted caramel ice cream. The problem? No ice cream maker, and the nearest store was miles away. So there I was, rummaging through the freezer and pantry, trying to figure out how to whip up something indulgent and smooth without all the fancy tools.
I ended up combining a few simple ingredients I had on hand, got a bit messy with the caramel drizzle, and well—let’s just say I forgot to set the timer and almost lost it to freezer burn. But the result? This creamy no-churn salted caramel swirl ice cream that quickly became my go-to recipe for late-night cravings and summer treats alike. I mean, if a sleepy, slightly distracted kitchen experiment can produce this, imagine what you’ll do with a clear head and a full pantry!
Maybe you’ve been there, too—wanting something luscious but not wanting the fuss. That’s why this recipe stuck with me. It’s simple, satisfying, and honestly, a little bit magical. So, let me tell you why you’ll love making this homemade dessert and how it’s about to become a new favorite in your kitchen.
Why You’ll Love This Recipe
Honestly, making ice cream at home can be intimidating, but this creamy no-churn salted caramel swirl ice cream breaks all those rules and makes it fun—and doable.
- Quick & Easy: Ready in under 4 hours, with just a few minutes of prep, perfect for busy days or spontaneous dessert plans.
- Simple Ingredients: Uses pantry staples like sweetened condensed milk, heavy cream, and caramel sauce—no specialty items needed.
- Perfect for Any Occasion: Whether it’s a casual family night or a small gathering, this ice cream impresses without the stress.
- Crowd-Pleaser: The salted caramel swirl adds a sophisticated touch that kids and adults can’t resist.
- Unbelievably Delicious: The creamy texture combined with the sweet-salty caramel ribbons hits every comfort food note.
This isn’t just another no-churn ice cream recipe. What makes it stand out is the way the salted caramel is swirled in at just the right moment, creating pockets of gooey, buttery goodness that melt perfectly on your tongue. I use a homemade caramel sauce that’s rich but not overpowering, striking that perfect balance of sweet and salty. Plus, whipping the cream to soft peaks gives the ice cream a dreamy, airy texture that’s honestly hard to beat.
Let me tell you, I’ve tested this recipe on more than a dozen friends and family members during casual hangouts and even packed it for a picnic. The unanimous feedback? “Can I have the recipe?” So, trust me on this one—it’s a keeper you’ll want to make again and again.
What Ingredients You Will Need
This recipe uses simple, wholesome ingredients to deliver bold flavor and a satisfying, creamy texture without fuss. Most are pantry staples, so you probably have them on hand already.
- Heavy Whipping Cream (2 cups / 480 ml, cold) – The backbone of the ice cream’s creamy texture.
- Sweetened Condensed Milk (1 can, 14 oz / 396 g) – Adds sweetness and richness without needing extra sugar.
- Pure Vanilla Extract (1 teaspoon) – For subtle depth and warmth.
- Salted Caramel Sauce (¾ cup / 180 ml) – Use a good quality store-bought brand like Ghirardelli or make your own for that buttery, slightly salty swirl.
- Flaky Sea Salt (a pinch) – To sprinkle on top for extra texture and that perfect salty kick.
Optional:
- Brown Sugar (1 tablespoon) – If you want to add a little more caramelized sweetness to your homemade caramel sauce.
- Butter (2 tablespoons) – For richness if making caramel sauce from scratch.
Ingredient Tips: For the best results, use cold heavy cream straight from the fridge to ensure it whips up nicely. I recommend Organic Valley heavy cream for its freshness and consistency. If you want to make your own caramel sauce, go slow with the sugar to avoid burning, and add a touch of cream and butter for that silky finish.
Need a substitution? You can swap coconut cream for heavy cream to make a dairy-free version, but keep in mind the texture will be slightly different. Also, if you prefer a less sweet swirl, you can reduce the caramel sauce amount by a quarter cup.
Equipment Needed
- Mixing Bowls: A large bowl for whipping the cream and a medium bowl for combining condensed milk and vanilla.
- Hand Mixer or Stand Mixer: Essential for whipping the heavy cream to soft peaks. A whisk works too but requires more elbow grease!
- Spatula: For folding ingredients gently and swirling the caramel.
- Freezer-Safe Container: An 8×8-inch (20×20 cm) loaf pan or a plastic container with a lid works well for freezing.
- Measuring Cups and Spoons: For precise ingredient amounts.
If you don’t have a hand mixer, a sturdy whisk and a bit of patience can do the trick. For the caramel swirl, a spoon or small offset spatula helps with gentle layering. Bonus tip: line your container with parchment paper for easier ice cream removal and neater slices.
Personally, I’ve tried metal and glass containers—glass tends to freeze the ice cream a bit harder, so I prefer plastic for easier scooping. Also, if you’re making caramel from scratch, a heavy-bottomed saucepan helps prevent burning.
Preparation Method
- Chill your equipment: Place your mixing bowl and beaters in the fridge for about 15 minutes. Cold tools help whip the cream faster and fluffier.
- Whip the heavy cream: Pour 2 cups (480 ml) of cold heavy whipping cream into the chilled bowl. Beat on medium-high speed for about 3-4 minutes until soft peaks form. You want it fluffy but not over-whipped into butter.
- Mix condensed milk and vanilla: In a separate bowl, combine one 14 oz (396 g) can of sweetened condensed milk with 1 teaspoon of pure vanilla extract. Stir gently until fully blended.
- Fold cream into condensed milk: Using a spatula, carefully fold the whipped cream into the condensed milk mixture. Be gentle to keep the airiness—folding means cutting through the mixture and turning it over, not stirring vigorously.
- Transfer to container: Pour half of this creamy base into your freezer-safe container and spread evenly.
- Add caramel swirl: Spoon about half (roughly ⅓ to ½ cup / 80-120 ml) of salted caramel sauce over the ice cream base. Use a knife or spatula to gently swirl the caramel through the cream but don’t overmix—the goal is pretty streaks, not a uniform color.
- Repeat layering: Pour the remaining ice cream mixture over the caramel swirl, then add the rest of the caramel sauce on top. Swirl again lightly.
- Sprinkle flaky sea salt: Add a pinch of flaky sea salt on top for texture and that signature salted caramel crunch.
- Freeze: Cover with a lid or plastic wrap and freeze for at least 4 hours, ideally overnight, until firm.
- Serve: Remove from freezer about 5-10 minutes before scooping to soften slightly for perfect scoops.
Pro tip: If your caramel thickens too much in the fridge, warm it slightly in the microwave for 10-15 seconds before swirling. And don’t rush the folding—preserving the whipped cream’s volume makes all the difference for creamy texture.
Cooking Tips & Techniques
Getting that perfect creamy no-churn salted caramel swirl ice cream is all about gentle handling and timing. Here are a few insider tips I’ve picked up:
- Whip to Soft Peaks: Don’t overdo the cream—soft peaks mean it holds shape but still folds smoothly. Over-whipped cream turns grainy and can ruin texture.
- Swirl Thoughtfully: Swirling the caramel too much blends it in too fully. Use a gentle folding or figure-eight motion to create beautiful veins of caramel.
- Freeze Properly: Cover the container tightly to prevent freezer burn or ice crystals. I like to press plastic wrap directly on the surface before putting the lid on.
- Make Your Own Caramel: If you’re up for it, homemade caramel sauce made with just sugar, butter, and cream tastes unbeatable. Just watch your heat carefully to avoid burning.
- Patience is Key: While the prep is quick, the freezing time is essential. Don’t skip the chilling step after whipping cream either—that cold makes whipping easier and faster.
Once, I forgot to chill my bowl and ended up with a sad, runny mess that took forever to thicken. Lesson learned! Also, multitasking works well here; whip the cream while your caramel cools to save time. Trust me, these small details make a big difference.
Variations & Adaptations
This creamy no-churn salted caramel swirl ice cream is flexible—feel free to customize it based on your taste or dietary needs.
- Dairy-Free Version: Use full-fat coconut cream instead of heavy cream and swap the sweetened condensed milk for a coconut milk-based condensed milk alternative.
- Nutty Twist: Add toasted pecans or walnuts into the swirl for crunch and extra flavor. Toast them lightly in a pan before folding in.
- Chocolate Salted Caramel: Mix 2 tablespoons of cocoa powder into the condensed milk mixture for a chocolate-caramel combo that’s irresistible.
- Seasonal Fruit Swirl: Swap half the caramel with a homemade berry compote swirl in summer for a fresh, tangy contrast.
- Less Sweet Option: Use half the caramel and sprinkle more sea salt on top to balance the sweetness.
Personally, I tried adding espresso powder to the base once (about 1 teaspoon), and it added a subtle coffee kick that paired wonderfully with the caramel. Experiment and find your perfect version!
Serving & Storage Suggestions
This ice cream is best served slightly softened—take it out of the freezer 5 to 10 minutes before scooping. Scoop generous portions into bowls or cones, and if you’re feeling fancy, drizzle a little extra caramel on top with a sprinkle of flaky sea salt.
It pairs beautifully with warm desserts like apple crisp or chocolate brownies, or simply enjoy it on its own with a crunchy cookie on the side. For drinks, a cup of black coffee or a caramel-flavored latte complements the flavors perfectly.
Store leftovers in an airtight container in the freezer. It keeps well for up to 2 weeks but is best within the first week for optimal creaminess. When reheating or softening, avoid microwave unless you’re careful—rapid heat can melt it unevenly. Instead, let it thaw at room temperature for a few minutes.
Flavors actually deepen after a day or two in the freezer, so if you can wait, it tastes even better the next day.
Nutritional Information & Benefits
Each serving (about ½ cup or 125 ml) of this creamy no-churn salted caramel swirl ice cream contains approximately:
| Calories | 280 |
|---|---|
| Fat | 18g |
| Saturated Fat | 11g |
| Carbohydrates | 28g |
| Sugars | 26g |
| Protein | 3g |
The heavy cream provides a good source of calcium and vitamin A, while the caramel sauce adds a touch of indulgent flavor. This dessert is gluten-free by nature, but contains dairy and is not suitable for those with milk allergies unless adapted.
From a wellness perspective, this recipe is a treat to be enjoyed in moderation. The homemade aspect means no preservatives or artificial flavors, and you can control the sweetness and saltiness to suit your health goals. Plus, making your own ice cream lets you avoid the additives often found in store-bought versions.
Conclusion
So there you have it—a creamy no-churn salted caramel swirl ice cream recipe that’s approachable, delicious, and surprisingly quick to pull together. Whether you’re a seasoned home chef or a kitchen newbie, this recipe invites you to enjoy homemade ice cream without the fuss of an ice cream maker.
I love this recipe because it feels like a little celebration every time I eat it—the perfect mix of sweet, salty, creamy, and comforting. It’s become my secret weapon for impressing friends and satisfying those unexpected cravings.
Go ahead, customize it with your favorite twists and flavors, and don’t forget to share how it turns out. I’d love to hear about your caramel swirl creations or any fun adaptations you come up with. Happy scooping!
FAQs About Creamy No-Churn Salted Caramel Swirl Ice Cream
Can I make this ice cream without heavy cream?
You can try using full-fat coconut cream for a dairy-free version, but the texture will be slightly different—less airy but still creamy.
How long does it take to freeze properly?
At least 4 hours is needed for firm ice cream, but overnight is best for the creamiest texture.
Can I prepare the caramel sauce ahead of time?
Yes! Homemade caramel sauce can be made a day or two in advance and stored in the fridge. Warm it slightly before swirling into the ice cream.
Why is my ice cream icy instead of creamy?
This usually happens if the cream isn’t whipped enough or if the mixture isn’t folded gently. Also, make sure to cover it tightly to prevent ice crystals.
Can I add mix-ins like nuts or chocolate chips?
Absolutely! Fold in chopped nuts or chocolate chips carefully after combining the ice cream base but before freezing for added texture.
Pin This Recipe!
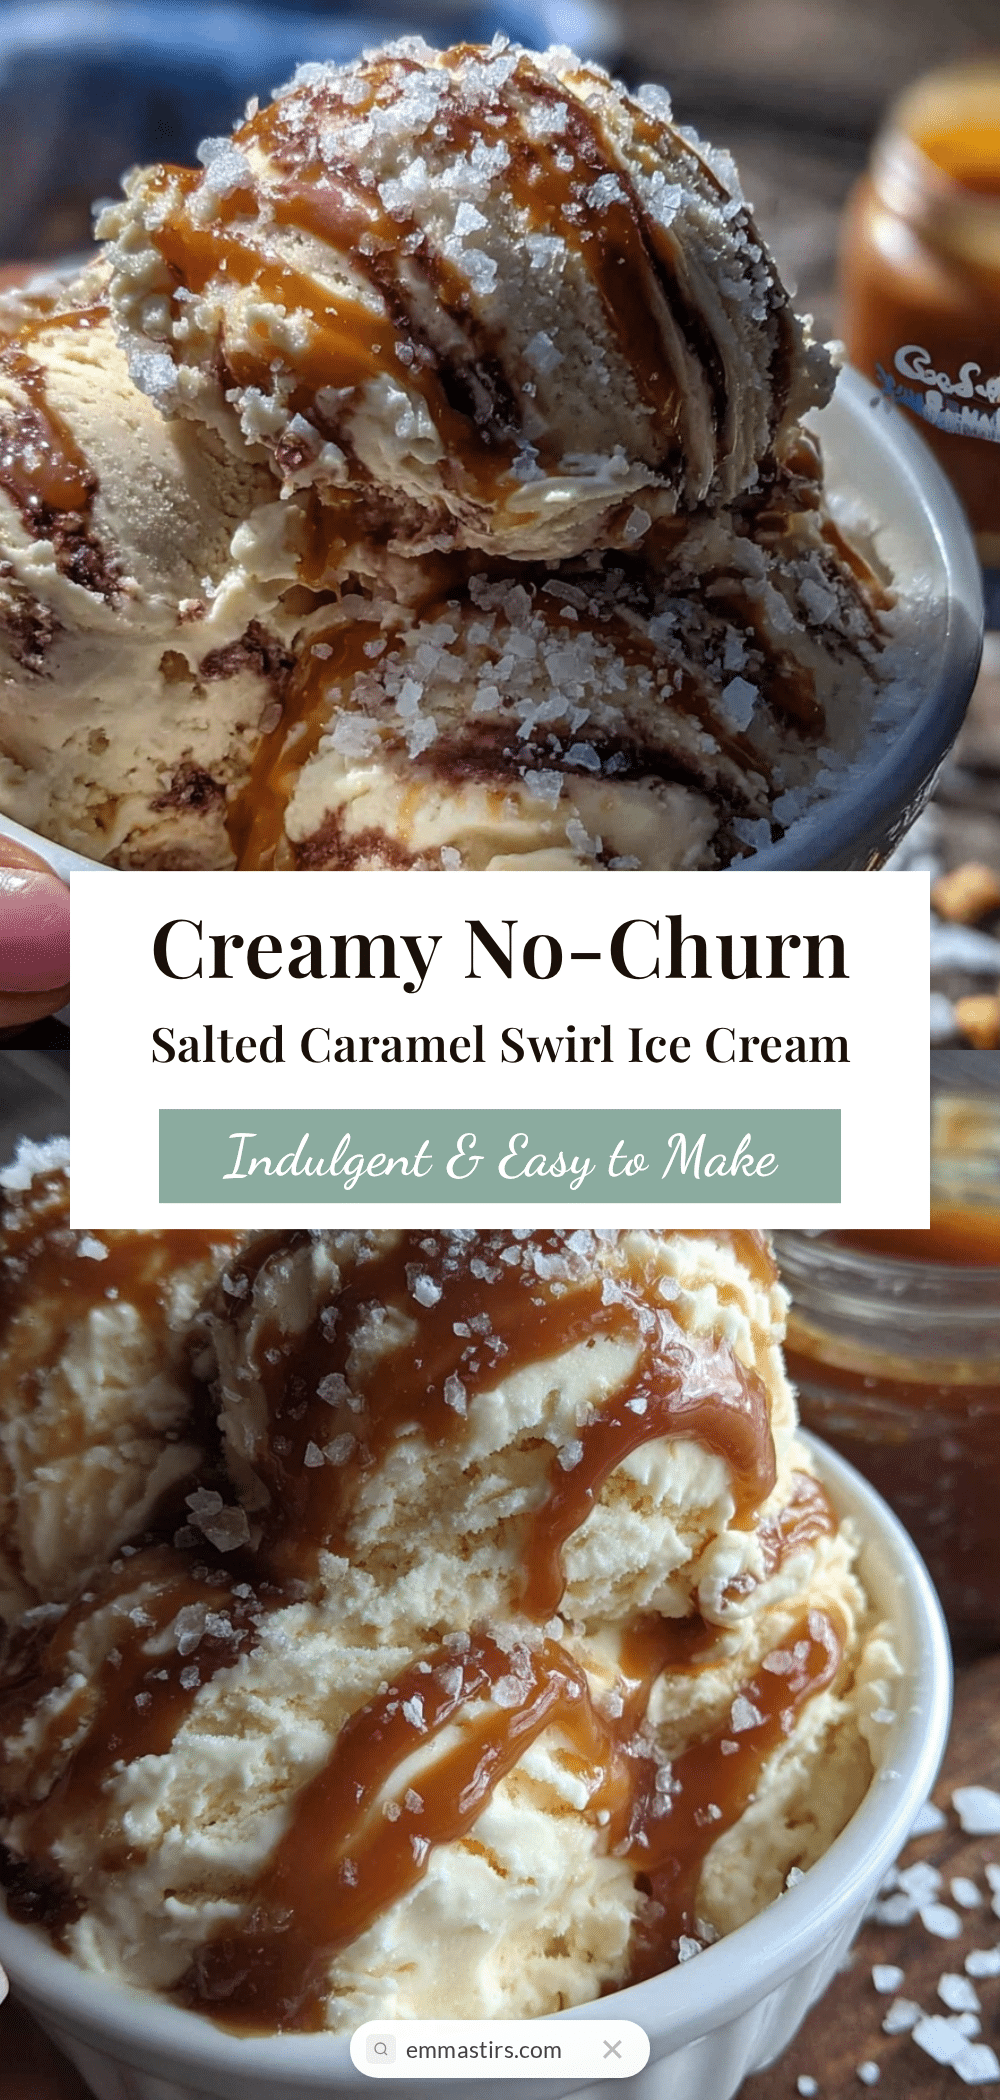
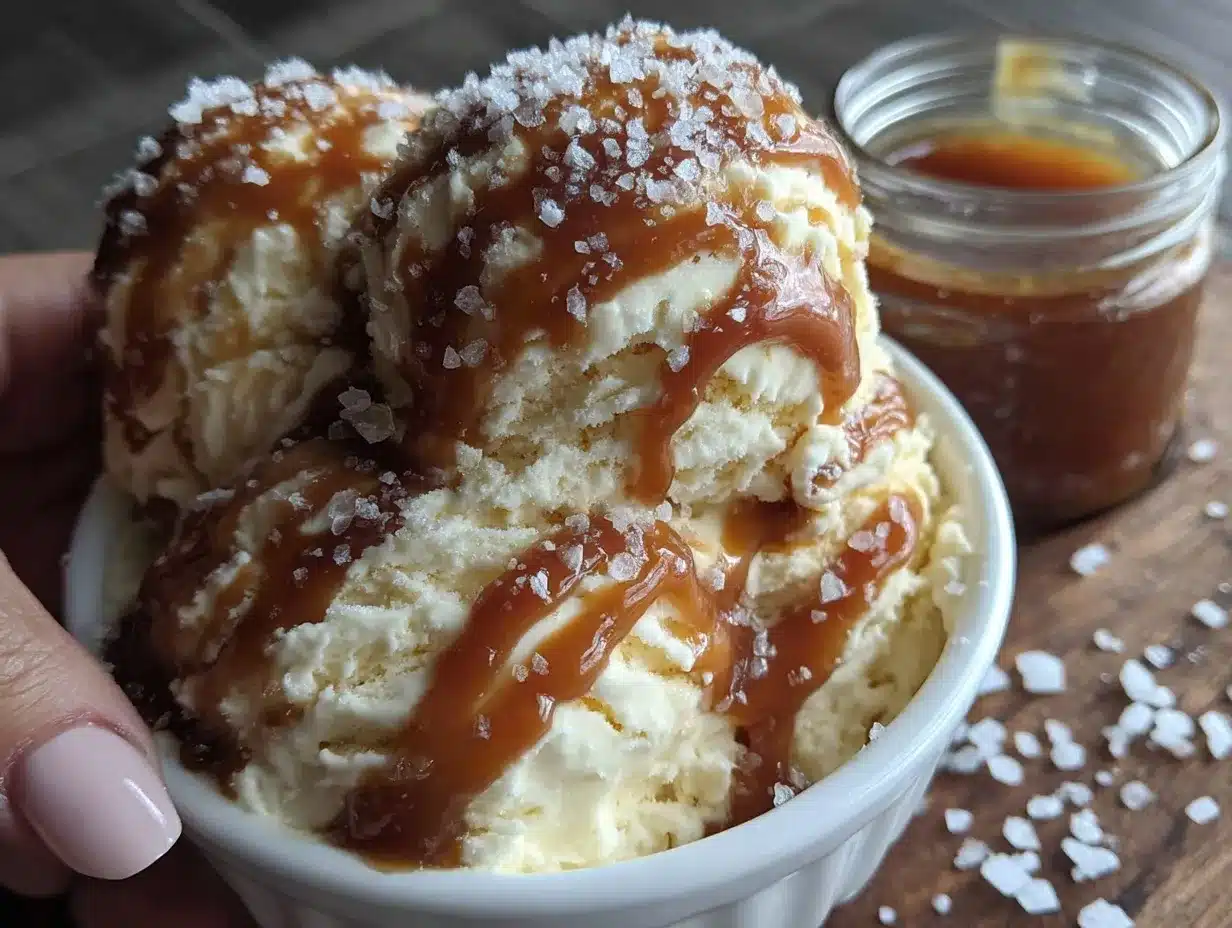
Creamy No-Churn Salted Caramel Swirl Ice Cream

A rich and creamy no-churn ice cream featuring a luscious salted caramel swirl, perfect for homemade indulgence without an ice cream maker.
- Prep Time: 15 minutes
- Cook Time: 0 minutes
- Total Time: 4 hours 15 minutes
- Yield: 8 servings 1x
- Category: Dessert
- Cuisine: American
Ingredients
- 2 cups (480 ml) cold heavy whipping cream
- 1 can (14 oz / 396 g) sweetened condensed milk
- 1 teaspoon pure vanilla extract
- ¾ cup (180 ml) salted caramel sauce (store-bought or homemade)
- Pinch of flaky sea salt
- Optional: 1 tablespoon brown sugar (for homemade caramel sauce)
- Optional: 2 tablespoons butter (for homemade caramel sauce)
Instructions
- Chill your mixing bowl and beaters in the fridge for about 15 minutes.
- Pour 2 cups of cold heavy whipping cream into the chilled bowl and beat on medium-high speed for 3-4 minutes until soft peaks form.
- In a separate bowl, combine one 14 oz can of sweetened condensed milk with 1 teaspoon of pure vanilla extract and stir gently until blended.
- Carefully fold the whipped cream into the condensed milk mixture using a spatula, preserving the airiness.
- Pour half of the ice cream base into a freezer-safe container and spread evenly.
- Spoon about half (⅓ to ½ cup / 80-120 ml) of salted caramel sauce over the base and gently swirl with a knife or spatula.
- Pour the remaining ice cream mixture over the caramel swirl and add the rest of the caramel sauce on top, swirling lightly again.
- Sprinkle a pinch of flaky sea salt on top.
- Cover the container with a lid or plastic wrap and freeze for at least 4 hours, ideally overnight, until firm.
- Remove from freezer 5-10 minutes before serving to soften slightly for easier scooping.
Notes
Use cold heavy cream for best whipping results. Be gentle when folding to preserve airiness. Swirl caramel lightly to create pretty streaks without blending fully. Cover tightly to prevent freezer burn. Warm caramel slightly if thickened before swirling. For dairy-free, substitute coconut cream and coconut milk-based condensed milk. Optional mix-ins like nuts or chocolate chips can be folded in before freezing.
Nutrition
- Serving Size: ½ cup (125 ml)
- Calories: 280
- Sugar: 26
- Fat: 18
- Saturated Fat: 11
- Carbohydrates: 28
- Protein: 3
Keywords: no-churn ice cream, salted caramel ice cream, homemade ice cream, easy dessert, no ice cream maker, creamy ice cream, caramel swirl