Love this? Save it for later!
Share the inspiration with your friends
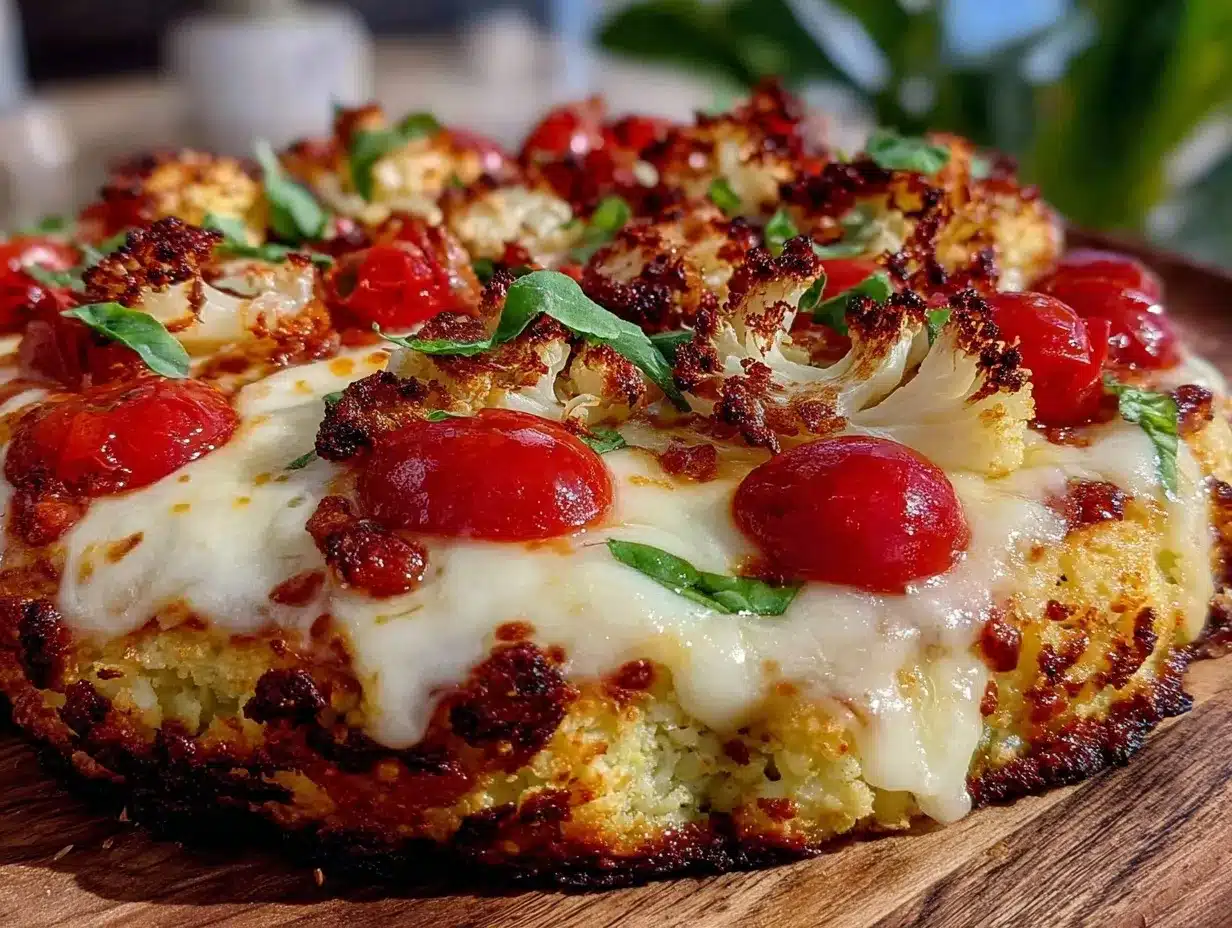
“You won’t believe this is cauliflower,” my nephew exclaimed, eyes wide as he took another big bite of the pizza slice. Honestly, I wasn’t sure if a cauliflower crust could win over kids, but that afternoon at our Saturday game night, it became clear. I’d tried making healthier pizza options before, but they always ended up soggy or weirdly textured. This crispy cauliflower pizza crust recipe changed the game entirely.
It all started on a rainy Thursday evening when I was scrambling to put together a family dinner that was both nutritious and something the kids would actually ask for seconds of. I found myself staring at a head of cauliflower, half forgotten in the fridge, and remembered a tip a friend shared about using it as a pizza base. I was skeptical, but hey, desperate times call for creative measures, right? After a few tweaks and a couple of slightly burnt attempts (yes, I forgot the timer once), I finally nailed it—this crust that’s crispy, flavorful, and holds up like a dream.
Maybe you’ve been there too, trying to sneak veggies into your family meals without the usual protests. This cauliflower pizza crust is your secret weapon. It’s light, crunchy, and pairs perfectly with all your favorite toppings. Plus, it’s a fun way to get the kids involved in the kitchen—they love helping to press the dough and decorate their own slices. Now, it’s a regular on our menu, especially when we want a healthy family dinner that doesn’t feel like a compromise.
Why You’ll Love This Recipe
- Quick & Easy: Comes together in about 30 minutes, perfect for busy weeknights or last-minute cravings.
- Simple Ingredients: No fancy grocery store trips needed; you likely have everything in your kitchen already.
- Perfect for Family Meals: Great for cozy dinners or casual get-togethers where everyone can customize their own pizza.
- Crowd-Pleaser: Kids and adults alike rave about the crispy texture and tasty flavor.
- Unbelievably Delicious: The crust has just the right crunch without being dry, thanks to a little cheese and egg binding magic.
This isn’t just another cauliflower crust—it’s my tried-and-true recipe that balances moisture and crispiness like no other. I figured out that squeezing out every bit of water from the riced cauliflower is the trick. Plus, adding just enough parmesan cheese and seasoning gives it a savory kick that keeps everyone coming back for more. Honestly, it’s a little healthier spin on a classic comfort food, and it feels great serving a meal that’s both satisfying and guilt-free.
Whether you’re new to cauliflower crusts or a seasoned fan, this recipe offers a reliable and tasty option that makes healthy eating feel like a treat. Give it a try—you might just find yourself making it every week, like me!
What Ingredients You Will Need
This recipe uses simple, wholesome ingredients to deliver a bold flavor and satisfying texture without the fuss. Most of these are pantry staples or everyday produce, making it easy to whip up anytime.
- Cauliflower: 1 medium head, riced (about 4 cups). I like to use fresh cauliflower from my local farmer’s market, but frozen works too if you thaw and drain well.
- Eggs: 2 large, room temperature (helps bind the crust together).
- Parmesan Cheese: ½ cup, finely grated (adds flavor and helps crispiness). I recommend the Parmigiano-Reggiano variety for best taste.
- Mozzarella Cheese: ½ cup, shredded (melts into the crust for that gooey texture).
- Garlic Powder: 1 teaspoon (for a subtle savory note).
- Dried Oregano: 1 teaspoon (classic pizza seasoning).
- Salt: ½ teaspoon (to enhance flavors).
- Black Pepper: ¼ teaspoon (freshly ground is best).
- Olive Oil: 1 tablespoon, for brushing the crust before baking (adds crispness).
If you want to customize, swapping parmesan for nutritional yeast works well for a dairy-free crust, and using almond or coconut flour can add a bit more structure if your cauliflower is extra moist. For a gluten-free option, just make sure your cheeses and seasonings are certified gluten-free.
Equipment Needed
- Food Processor: Essential for ricing the cauliflower quickly. If you don’t have one, a box grater works, but it takes more elbow grease.
- Clean Kitchen Towel or Cheesecloth: Crucial for squeezing moisture out of the cauliflower rice; don’t skip this step to avoid soggy crust.
- Baking Sheet or Pizza Stone: A pizza stone helps get an even crispier crust, but a baking sheet lined with parchment paper is a great budget-friendly option.
- Mixing Bowls: For combining ingredients.
- Measuring Cups and Spoons: For accuracy, especially with cheese and seasonings.
Personally, I’ve tried baking on a cast-iron skillet and got great results, but it’s a bit heavier to handle. For cleanup, parchment paper saves a ton of time, and I always keep a silicone spatula handy for spreading the crust evenly.
Preparation Method
- Rice the Cauliflower: Chop the cauliflower into florets and pulse in a food processor until it resembles rice grains, about 1-2 minutes. Avoid over-processing to keep texture.
- Steam the Cauliflower Rice: Transfer the riced cauliflower to a microwave-safe bowl and microwave for 4-5 minutes until soft. Let it cool slightly.
- Squeeze Out Moisture: Wrap the warm cauliflower rice in a clean kitchen towel and squeeze firmly to remove as much liquid as possible. This step is key to achieving a crispy crust.
- Mix the Dough: In a large bowl, combine the squeezed cauliflower rice, eggs, parmesan, mozzarella, garlic powder, oregano, salt, and pepper. Mix well until it forms a sticky dough.
- Shape the Crust: Line a baking sheet with parchment paper and lightly oil it. Transfer the dough and press it into a thin, even circle about 10-12 inches in diameter. Pat it firmly to compact the mixture.
- Pre-Bake the Crust: Brush the top with olive oil and bake at 425°F (220°C) for 20-25 minutes until golden brown and crispy around the edges. Keep an eye on it to prevent burning.
- Add Toppings and Bake Again: Remove the crust, add your favorite sauce, cheese, and toppings, then bake for another 10-12 minutes until the cheese melts and toppings are cooked.
- Cool and Slice: Let the pizza cool for a few minutes before slicing to help the crust firm up even more.
Pro tip: If the crust feels too fragile when shaping, chilling it in the fridge for 10 minutes helps it set better. Also, don’t skip patting down the dough firmly—that’s what keeps it from falling apart later.
Cooking Tips & Techniques
Getting a crispy cauliflower pizza crust can be tricky, but here are some tricks I’ve learned along the way. First, moisture is your enemy. You have to squeeze every last drop out after steaming the cauliflower rice. I once skipped this step in a rush, and the crust turned into a soggy mess—lesson learned!
Second, pre-baking the crust before adding toppings is non-negotiable. It gives the base time to firm up, so the pizza holds together when you slice it. I like to brush a bit of olive oil on top before baking to encourage browning, which adds that irresistible crunch.
Also, don’t overload your pizza with toppings or sauce—that can weigh down the crust and make it soggy. Keep it balanced, and use lighter sauces or spread sparingly. If you want a cheesier crust, mixing some shredded mozzarella into the dough gives it a lovely stretch and flavor boost.
Finally, timing matters. Bake the crust hot and fast, around 425°F (220°C), for a shorter time rather than a low, slow bake. It’s amazing how that little adjustment makes the difference between floppy and crisp.
Variations & Adaptations
- Gluten-Free & Dairy-Free: Use almond flour and swap cheeses for dairy-free alternatives like cashew cheese. Nutritional yeast can add that cheesy flavor without dairy.
- Herb-Infused Crust: Add fresh chopped basil, rosemary, or thyme into the dough for an aromatic twist that pairs beautifully with tomato toppings.
- Spicy Kick: Toss in some red pepper flakes or a pinch of smoked paprika to the crust mix for a subtle heat that kids can skip but adults will love.
- Different Cooking Methods: Try cooking the crust on a grill or in an air fryer for a different texture and smoky flavor.
- Personal Favorite Variation: Once, I mixed in a little cooked quinoa to the cauliflower dough for extra protein and a nuttier crunch. It was surprisingly good and held together well.
Serving & Storage Suggestions
Serve this crispy cauliflower pizza crust warm, fresh out of the oven, with your favorite toppings. It pairs perfectly with a simple green salad or a side of roasted veggies. For drinks, a sparkling water with a splash of lemon or iced herbal tea makes a refreshing combo.
If you have leftovers, store them in an airtight container in the fridge for up to 3 days. To reheat, pop slices in a hot oven (350°F / 175°C) for 5-7 minutes or toast them briefly in a skillet to bring back the crispiness. Avoid microwaving if you want to keep that crunch intact.
Interestingly, the flavors tend to meld and deepen after a day, so sometimes I actually prefer it reheated the next day for a quick lunch or snack.
Nutritional Information & Benefits
This cauliflower pizza crust is a lighter alternative to traditional dough, with fewer carbs and calories. One serving (about 1/6 of the pizza) contains approximately:
- Calories: 150-180
- Carbohydrates: 8-10 grams
- Protein: 10 grams
- Fat: 8 grams (mostly healthy fats from olive oil and cheese)
- Fiber: 3 grams
Cauliflower is packed with vitamins C and K, antioxidants, and fiber, making this recipe a great way to sneak extra veggies into your family’s diet. The cheese adds calcium and protein, supporting bone health and satiety. Plus, it’s naturally gluten-free and can be adapted for dairy-free diets, which is great for families with allergies.
Conclusion
This crispy cauliflower pizza crust recipe is a winner in my kitchen and I’m confident it’ll become a staple in yours too. It strikes a perfect balance between health and taste, making it a no-fuss choice for family dinners that kids actually enjoy. I love how easy it is to customize, and honestly, it’s a fun way to get everyone involved in cooking.
Give it a try, tweak it to your taste, and let me know how it turns out! I’d love to hear your adaptations or any favorite toppings you discover along the way. Remember, cooking is as much about experimenting as it is about following recipes—so make it your own and enjoy every bite.
Now, go make some pizza magic happen!
FAQs
Can I prepare the cauliflower crust ahead of time?
Yes! You can make the crust dough and store it in the fridge for up to 24 hours before baking. Just keep it covered tightly to prevent drying out.
How do I make sure the cauliflower crust turns out crispy?
Removing as much moisture as possible from the riced cauliflower is essential. Use a clean towel to squeeze out water after steaming, and pre-bake the crust at a high temperature before adding toppings.
Can I freeze the cauliflower pizza crust?
Absolutely. After baking the crust, let it cool completely, then freeze it flat in a sealed bag or container. Reheat in the oven directly from frozen before adding toppings.
What toppings work best with cauliflower pizza crust?
Light to moderate toppings work best—think fresh veggies, lean proteins, and moderate cheese. Avoid heavy, watery toppings that could make the crust soggy.
Is this recipe suitable for kids with picky eating habits?
Yes! This crust has a mild flavor and crispy texture kids tend to love. You can customize toppings to their preferences and even let them help build their own slices.
Pin This Recipe!
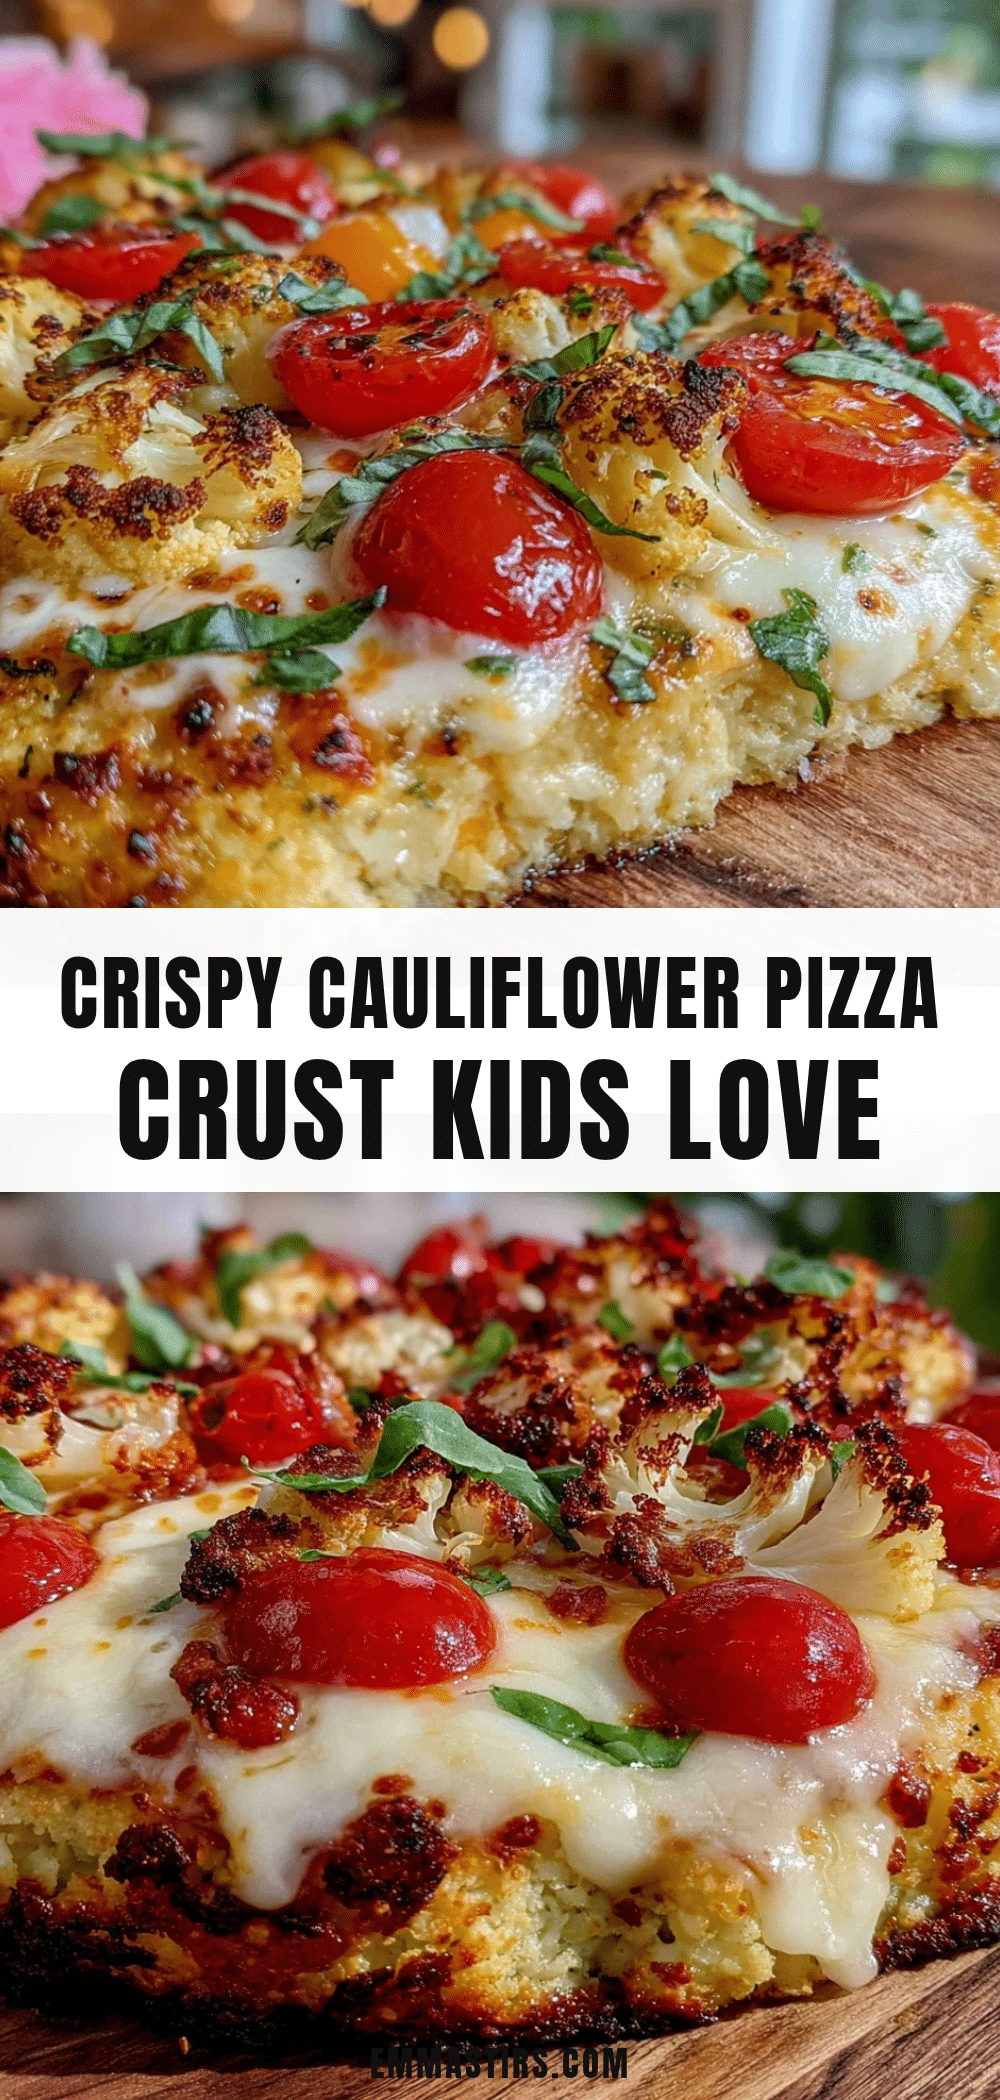
Crispy Cauliflower Pizza Crust Recipe Kids Love Easy Healthy Family Dinner

A crispy, flavorful cauliflower pizza crust that kids love and is perfect for healthy family dinners. This recipe balances moisture and crispiness for a delicious, guilt-free alternative to traditional pizza crust.
- Prep Time: 15 minutes
- Cook Time: 30-37 minutes
- Total Time: 45-52 minutes
- Yield: 6 servings 1x
- Category: Main Course
- Cuisine: American
Ingredients
- 1 medium head cauliflower, riced (about 4 cups)
- 2 large eggs, room temperature
- ½ cup finely grated Parmesan cheese (Parmigiano-Reggiano recommended)
- ½ cup shredded mozzarella cheese
- 1 teaspoon garlic powder
- 1 teaspoon dried oregano
- ½ teaspoon salt
- ¼ teaspoon freshly ground black pepper
- 1 tablespoon olive oil, for brushing the crust before baking
Instructions
- Rice the cauliflower by chopping into florets and pulsing in a food processor until it resembles rice grains, about 1-2 minutes. Avoid over-processing.
- Steam the riced cauliflower in a microwave-safe bowl for 4-5 minutes until soft. Let cool slightly.
- Wrap the warm cauliflower rice in a clean kitchen towel and squeeze firmly to remove as much liquid as possible.
- In a large bowl, combine the squeezed cauliflower rice, eggs, Parmesan, mozzarella, garlic powder, oregano, salt, and pepper. Mix well until sticky dough forms.
- Line a baking sheet with parchment paper and lightly oil it. Transfer the dough and press into a thin, even circle about 10-12 inches in diameter. Pat firmly to compact.
- Brush the top with olive oil and bake at 425°F (220°C) for 20-25 minutes until golden brown and crispy around the edges.
- Remove the crust, add your favorite sauce, cheese, and toppings, then bake for another 10-12 minutes until cheese melts and toppings are cooked.
- Let the pizza cool for a few minutes before slicing to help the crust firm up.
Notes
Squeezing out all moisture from the cauliflower rice is essential for a crispy crust. Pre-bake the crust before adding toppings to prevent sogginess. If the dough feels fragile, chill it in the fridge for 10 minutes before shaping. Avoid overloading with toppings or sauce to keep crust crisp. For dairy-free or gluten-free variations, substitute cheeses and flours accordingly.
Nutrition
- Serving Size: 1/6 of the pizza
- Calories: 165
- Sugar: 2
- Sodium: 350
- Fat: 8
- Saturated Fat: 3
- Carbohydrates: 9
- Fiber: 3
- Protein: 10
Keywords: cauliflower pizza crust, healthy pizza, kid-friendly pizza, gluten-free pizza, low-carb pizza, family dinner, easy pizza recipe