Love this? Save it for later!
Share the inspiration with your friends
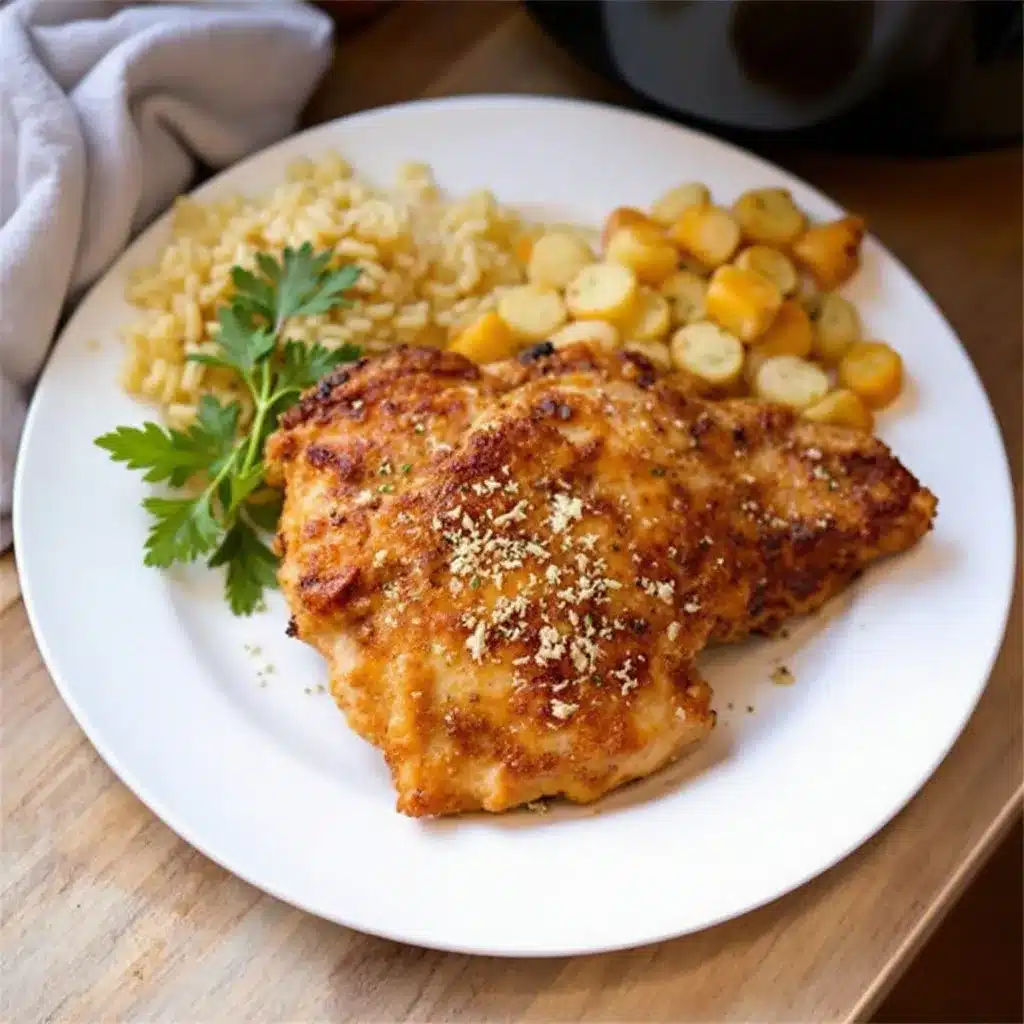
My husband took a bite of these crispy garlic Parmesan chicken thighs and just stopped talking. Like, mid-chew, he looked at me with these wide eyes and pointed at the plate. That’s when I knew I had finally cracked the code on air fryer chicken that actually stays crispy without drying out. I mean, I’ve made a lot of chicken in my day—some good, some forgettable, some that ended up as salad topper because the texture was just off. But this one? This one made him ask for it three days in a row without me even bringing it up.
The thing about chicken thighs is they’ve got that built-in fat content that keeps them juicy, but getting the skin (or in this case, the coating) truly crunchy in an air fryer takes a little finesse. Not gonna lie, I ruined a few batches before I figured out the right balance of oil, breading, and timing. There was that sad batch where the Parmesan just burned into a bitter mess—honestly, I almost gave up. But then I remembered how much I love those crispy, cheesy edges on a good chicken cutlet, and I thought, there’s got to be a way to get that same effect without deep frying.
So I went back to the kitchen, adjusted the temperature, changed up the coating method, and bam. These crispy garlic Parmesan chicken thighs came out so good I actually texted a photo to my mom (and she’s not easy to impress). The garlic hits you first—not in a raw, aggressive way, but mellow and roasted. Then the Parmesan creates this golden, craggy crust that shatters when you bite into it. And underneath all that crunch? Tender, juicy chicken that practically falls apart. If you’ve been looking for an easy dinner that feels like a win, this is it.
Why You’ll Love This Recipe
Let me tell you why these crispy garlic Parmesan chicken thighs have become my go-to for busy weeknights and lazy Sundays alike. I’ve tested this recipe more times than I care to admit, and every single time, it delivers that perfect crunch without the mess of deep frying.
- Quick & Easy: From prep to plate in under 30 minutes. No marinating overnight, no complicated steps—just straightforward cooking that works.
- Simple Ingredients: You probably have most of this stuff in your kitchen right now. Garlic powder, Parmesan, breadcrumbs, olive oil—nothing fancy or hard to find.
- Perfect for Busy Weeknights: When you’re tired and hungry and just want something that tastes like you tried harder than you actually did, this recipe delivers.
- Crowd-Pleaser: I’ve served these to picky eaters, to health-conscious friends, to my dad who swears he doesn’t like air fryer food. Everyone goes back for seconds.
- Unbelievably Delicious: The combination of crispy Parmesan crust, savory garlic, and juicy chicken thigh meat is honestly hard to beat. It’s comfort food that feels a little bit fancy.
What makes this different from other air fryer chicken recipes? It’s the technique. Instead of just tossing chicken in breadcrumbs and hoping for the best, I use a two-step coating method that locks in moisture while creating that shatteringly crisp exterior. The Parmesan gets mixed right into the breadcrumb coating, so every bite has that nutty, salty flavor baked in. Plus, I’ve dialed in the exact temperature and timing so the cheese browns perfectly without burning—trust me, I learned that lesson the hard way.
This is the kind of recipe that makes you close your eyes after the first bite. It’s crunchy, juicy, garlicky, and just salty enough. Perfect for a Tuesday night when you need a win, or for Sunday dinner when you want something that feels special without spending hours in the kitchen.
What Ingredients You Will Need
This recipe uses simple, everyday ingredients that come together to create something genuinely special. No weird specialty items, no trips to three different stores—just good, honest food that works.
For the Chicken
- 4 bone-in, skin-on chicken thighs (about 1.5 to 2 pounds total) — Bone-in keeps the meat juicier, and the skin adds flavor even under the coating. If you only have boneless, that works too, but reduce cooking time by about 5 minutes.
- 1 tablespoon olive oil — Helps the coating stick and promotes browning. You can use avocado oil if that’s what you have.
- 1/2 teaspoon salt — I use fine sea salt here. Adjust based on how salty your Parmesan is.
- 1/4 teaspoon black pepper — Freshly ground is always better, but pre-ground works in a pinch.
For the Coating
- 1/2 cup panko breadcrumbs — These are the key to maximum crunch. Regular breadcrumbs won’t give you the same texture, so stick with panko if you can. I like the Kikkoman brand for consistent results.
- 1/3 cup grated Parmesan cheese — Get the good stuff from a block, not the green can. The pre-grated stuff has anti-caking agents that prevent melting and browning. I use Parmigiano-Reggiano when I’m feeling fancy.
- 1 teaspoon garlic powder — Not garlic salt. We’re controlling the salt separately here.
- 1/2 teaspoon onion powder — Adds depth without being oniony. Optional but recommended.
- 1/2 teaspoon dried Italian seasoning — A little herb action rounds out the flavors. Oregano, basil, thyme—whatever blend you like.
- 1/4 teaspoon paprika — For color more than flavor. Smoked paprika would be amazing here too.
For Serving (Optional)
- Fresh parsley, chopped — For a pop of color and freshness.
- Lemon wedges — A squeeze of lemon right before eating cuts through the richness beautifully.
- Extra grated Parmesan — Because why not?
Ingredient Selection Tips: Look for chicken thighs that are roughly the same size so they cook evenly. If some are much bigger than others, you might need to rotate them in the air fryer halfway through. For the Parmesan, I really recommend grating it yourself—it melts into the coating instead of just sitting on top. And if you want to go dairy-free, nutritional yeast can stand in for the Parmesan flavor, though the texture will be a bit different.
Equipment Needed
You don’t need a ton of fancy equipment for this recipe, which is part of why I love it. Here’s what you’ll need:
- Air Fryer — Obviously. I use a 6-quart basket-style air fryer, and it fits four thighs comfortably without overcrowding. If yours is smaller, work in batches.
- Mixing bowls — One medium bowl for the coating mixture, one small bowl for the oil.
- Tongs — For turning the chicken without messing up the coating. Silicone-tipped ones are gentle on nonstick baskets.
- Measuring spoons — For precise seasoning.
- Cutting board and knife — For chopping parsley and lemon wedges.
- Meat thermometer — This is non-negotiable for me. Chicken needs to hit 165°F internally, and an instant-read thermometer takes the guesswork out. I love my Thermapen, but any reliable one works.
- Paper towels — For patting the chicken dry. Don’t skip this step!
If you don’t have an air fryer, you can bake these in a conventional oven at 400°F for about 25-30 minutes on a wire rack set over a baking sheet. The texture won’t be quite as crispy, but it’ll still be delicious. And if you’re looking for a budget-friendly air fryer, the Cosori models are solid and won’t break the bank.
Preparation Method
Alright, let’s get cooking. I’ve broken this down into clear steps so you can follow along without any confusion. Trust me, if I can nail this after a long work day, you can too.
- Prep the chicken. Start by patting your chicken thighs completely dry with paper towels. This is crucial—any moisture on the surface will steam instead of crisp. Trim off any excess skin or fat if you want, but I usually leave a little for flavor. Season both sides with salt and pepper.
- Make the coating. In a medium bowl, combine the panko breadcrumbs, grated Parmesan, garlic powder, onion powder, Italian seasoning, and paprika. Stir everything together with a fork until it’s evenly mixed. The Parmesan should be distributed throughout, not clumped in one spot.
- Oil the chicken. Drizzle the olive oil over the seasoned chicken thighs and use your hands (or a brush) to coat each piece evenly. You don’t need a ton—just enough to help the breading stick. Too much oil and the coating gets soggy. Too little and it won’t brown properly.
- Coat the chicken. Working one piece at a time, press each chicken thigh into the breadcrumb mixture, making sure all sides are well covered. Don’t be shy here—really press it in. I use my fingertips to gently pat the coating onto any bare spots. Place the coated thighs on a plate while you finish the rest.
- Preheat the air fryer. Set your air fryer to 375°F and let it preheat for 3-5 minutes. Preheating ensures the coating starts crisping immediately instead of slowly warming up.
- Arrange in the basket. Place the coated chicken thighs in the air fryer basket in a single layer, skin side up. Make sure they’re not touching—air needs to circulate around each piece for even crisping. If your air fryer is small, cook in batches. Overcrowding is the number one mistake people make.
- Cook. Air fry at 375°F for 18-22 minutes, flipping halfway through. At the 10-minute mark, carefully flip each thigh using tongs. The coating should be golden on the bottom by then. After flipping, continue cooking until the internal temperature reaches 165°F in the thickest part of the meat.
- Check for doneness. Use your meat thermometer to check the temperature. Insert it into the thickest part of the thigh, avoiding the bone. If it reads 165°F, you’re good. If not, cook for another 2-3 minutes and check again. Don’t overcook—chicken thighs can handle a bit more time than breasts, but they’ll dry out eventually.
- Rest. Let the chicken rest in the air fryer basket (turned off) for 2-3 minutes. This lets the juices redistribute and the coating set. If you cut into them right away, all those tasty juices will run out onto the plate.
- Serve. Transfer to a serving platter, sprinkle with fresh parsley and a little extra Parmesan if you like, and serve with lemon wedges. The lemon really brightens everything up.
Sensory Cue: When the chicken is done, the coating should be deep golden brown and feel firm to the touch. If you tap it with your finger, it should sound slightly hollow—that’s the crispiness talking. The kitchen will smell like garlic and toasted cheese, which is honestly one of my favorite smells.
Prep Note: If you’re making a larger batch, keep the cooked thighs warm in a 200°F oven while you cook the rest. Place them on a wire rack over a baking sheet so they don’t steam and lose their crunch.
Cooking Tips & Techniques
I’ve made this recipe at least a dozen times, and I’ve learned a few things along the way. Here are my best tips for getting perfect results every time.
Don’t skip drying the chicken. This is the most important step. I know it seems fussy, but moisture is the enemy of crispiness. Pat those thighs down with paper towels until they feel almost tacky to the touch. If you have time, let them sit uncovered in the fridge for 30 minutes to dry out even more.
Use panko, not regular breadcrumbs. Panko has a light, flaky texture that creates a much crunchier coating. Regular breadcrumbs are too fine and dense—they’ll give you a more bready, less crispy result. I learned this the hard way when I ran out of panko and used Italian breadcrumbs instead. The flavor was fine, but the texture was disappointing.
Don’t overcrowd the basket. I know it’s tempting to cram as many thighs in there as possible to save time, but please resist. Air fryers work by circulating hot air around the food. If the pieces are touching, the coating will steam where they overlap, and you’ll end up with soggy spots. Cook in batches if you need to—it’s worth the extra few minutes.
Flip halfway through. Flipping ensures both sides get equal exposure to the circulating air. The bottom of the chicken will be sitting in rendered fat and juices, so flipping helps the coating stay crispy on that side too. Use tongs and be gentle so you don’t knock off the coating.
Check temperature early. Air fryers can vary quite a bit in actual temperature versus what the dial says. I always start checking my chicken at the 16-minute mark to avoid overcooking. Chicken thighs are forgiving, but nobody wants dry chicken.
Let it rest. I know you’re hungry, but those 2-3 minutes of resting make a real difference. The juices settle back into the meat, and the coating firms up. If you cut into it immediately, you’ll lose all that moisture and the coating might slide off.
One time I was rushing and skipped the resting step—big mistake. The coating basically fell off onto the cutting board, and I was left with sad, naked chicken. Learn from my impatience!
Variations & Adaptations
This recipe is super versatile, and I’ve tried several variations depending on what I’m in the mood for or what I have in the fridge. Here are some of my favorites.
Spicy Version
Add 1/2 teaspoon of cayenne pepper or red pepper flakes to the coating mixture. The heat pairs beautifully with the garlic and Parmesan. I made this version for a game day snack, and it disappeared in minutes. You could also drizzle with hot honey before serving for a sweet-heat combo.
Herb & Lemon
Add the zest of one lemon and 2 tablespoons of fresh chopped herbs (thyme, rosemary, or oregano) to the coating. Skip the Italian seasoning and use fresh instead. The lemon zest adds brightness that cuts through the richness of the chicken. I love this version in the spring with a side of grilled vegetables.
Gluten-Free Adaptation
Substitute the panko with gluten-free panko or crushed pork rinds for a keto-friendly option. The pork rinds create an incredibly crispy coating that’s surprisingly delicious. Just make sure your Parmesan is gluten-free (most are, but check the label).
Dairy-Free Version
Use nutritional yeast instead of Parmesan for that cheesy flavor without the dairy. The texture will be slightly different, but the umami flavor is still there. You might need to add a pinch more salt since Parmesan brings saltiness too.
Air Fryer vs. Oven
If you don’t have an air fryer, bake at 400°F on a wire rack set over a baking sheet for 25-30 minutes. The wire rack is key—it lets air circulate underneath so the bottom stays crispy. Flip halfway through. The result won’t be quite as crunchy as the air fryer version, but it’s still really good.
Serving & Storage Suggestions
These crispy garlic Parmesan chicken thighs are pretty amazing on their own, but here’s how I like to serve them and what to do with leftovers (if there are any).
Serving Temperature: Serve hot, straight from the air fryer. The coating is at its crispiest within the first 15 minutes. If you need to hold them, keep them in a warm oven on a wire rack—not covered, or the steam will ruin the crunch.
What to Serve With: These pair beautifully with a simple shrimp and avocado salad for a lighter meal, or with roasted potatoes and a green vegetable for something more substantial. I also love them with a side of creamy mashed potatoes to soak up any juices. A crisp green salad with lemon vinaigrette cuts through the richness perfectly.
Storage: Store leftover chicken in an airtight container in the refrigerator for up to 4 days. The coating will soften as it sits, but don’t worry—you can bring the crunch back.
Reheating: The best way to reheat is back in the air fryer at 350°F for 3-5 minutes. This restores the crispiness without drying out the meat. You can also reheat in a 375°F oven for about 10 minutes. Please don’t use the microwave—it will turn the coating into a sad, soggy mess. I learned that one the hard way.
Freezing: These freeze surprisingly well. Let the cooked chicken cool completely, then wrap each piece individually in plastic wrap and place in a freezer bag. They’ll keep for up to 3 months. To reheat, thaw in the fridge overnight, then air fry at 350°F for 5-7 minutes until hot and crispy.
Flavor Development: Honestly, these are best fresh. The coating really shines right after cooking. But if you do have leftovers, the flavor actually deepens overnight—the garlic and Parmesan meld together even more. The texture won’t be the same, but the taste is still wonderful.
Nutritional Information & Benefits
Here’s the nutritional breakdown for one serving (one chicken thigh, based on the recipe as written). Keep in mind these are estimates and will vary based on exact ingredients and portion sizes.
| Nutrient | Amount per Serving |
|---|---|
| Calories | 385 |
| Protein | 32g |
| Fat | 24g |
| Saturated Fat | 7g |
| Carbohydrates | 8g |
| Fiber | 1g |
| Sugar | 1g |
| Sodium | 620mg |
Chicken thighs are a great source of high-quality protein, which supports muscle health and keeps you feeling full. They’re also rich in B vitamins, particularly B6 and B12, which help with energy metabolism. The Parmesan adds calcium and a little extra protein, while the garlic provides allicin, a compound known for its potential immune-boosting properties.
This recipe is naturally low-carb and can be made gluten-free with a simple swap. It’s also suitable for those following a keto diet if you use almond flour or pork rinds instead of panko. Just keep in mind that the sodium content is moderate due to the Parmesan and seasoning, so adjust if you’re watching your salt intake.
I love that this recipe feels indulgent but is actually pretty balanced. You get a solid serving of protein, the fat is mostly from the chicken (which includes some healthy monounsaturated fat), and the carbs are minimal. It’s the kind of meal that satisfies without weighing you down.
Conclusion
These crispy garlic Parmesan chicken thighs have honestly become a staple in my kitchen. They’re quick enough for a busy weeknight, impressive enough for company, and simple enough that I don’t have to think too hard after a long day. The combination of crunchy coating, juicy meat, and savory garlic-Parmesan flavor is just hard to beat.
I hope you give them a try and make them your own. Maybe you’ll add extra garlic (I won’t judge), or throw in some red pepper flakes for heat, or serve them with your favorite dipping sauce. That’s the beauty of a good recipe—it’s a starting point, not a rulebook. If you end up with a version you love, I’d honestly love to hear about it.
Drop a comment below and let me know how yours turned out! Did you try a variation? Serve it with something unexpected? I read every comment and I’m always looking for new ideas to try myself. And if you snap a photo, tag me—I love seeing your creations. Happy cooking, friends!
Frequently Asked Questions
Can I use boneless, skinless chicken thighs?
Yes, you can! Boneless thighs will cook faster—check them at the 12-minute mark. The coating might not stick quite as well since there’s less fat to help it adhere, but it’ll still be delicious. Just reduce the cooking time by about 5-7 minutes and always check the internal temperature.
Why is my coating not getting crispy?
There are a few common culprits. First, make sure you patted the chicken completely dry before coating. Second, don’t skip the oil—it helps the coating brown. Third, make sure your air fryer is preheated and that the thighs aren’t touching in the basket. If you’re still having trouble, try spraying the coated chicken lightly with cooking spray before air frying.
Can I make these ahead of time?
You can prep the coating mixture and season the chicken ahead of time, but I recommend cooking them fresh for the best texture. If you need to cook ahead, reheat in the air fryer to restore crispiness. They’re not great cold or microwaved, so plan accordingly.
How do I keep the Parmesan from burning?
This is a common concern, and the answer is temperature control. Cooking at 375°F instead of 400°F gives the cheese time to brown slowly without burning. Also, make sure the Parmesan is finely grated—larger shreds can burn before the coating is done. If you notice the coating browning too quickly, lower the temperature by 25 degrees and extend the cooking time slightly.
What’s the best way to reheat leftovers?
Hands down, the air fryer. Reheat at 350°F for 3-5 minutes, and the coating will crisp right back up. If you don’t have an air fryer, use a 375°F oven for about 10 minutes. Avoid the microwave at all costs—it will turn your beautiful crispy coating into a sad, rubbery mess. Trust me on this one.
Pin This Recipe!
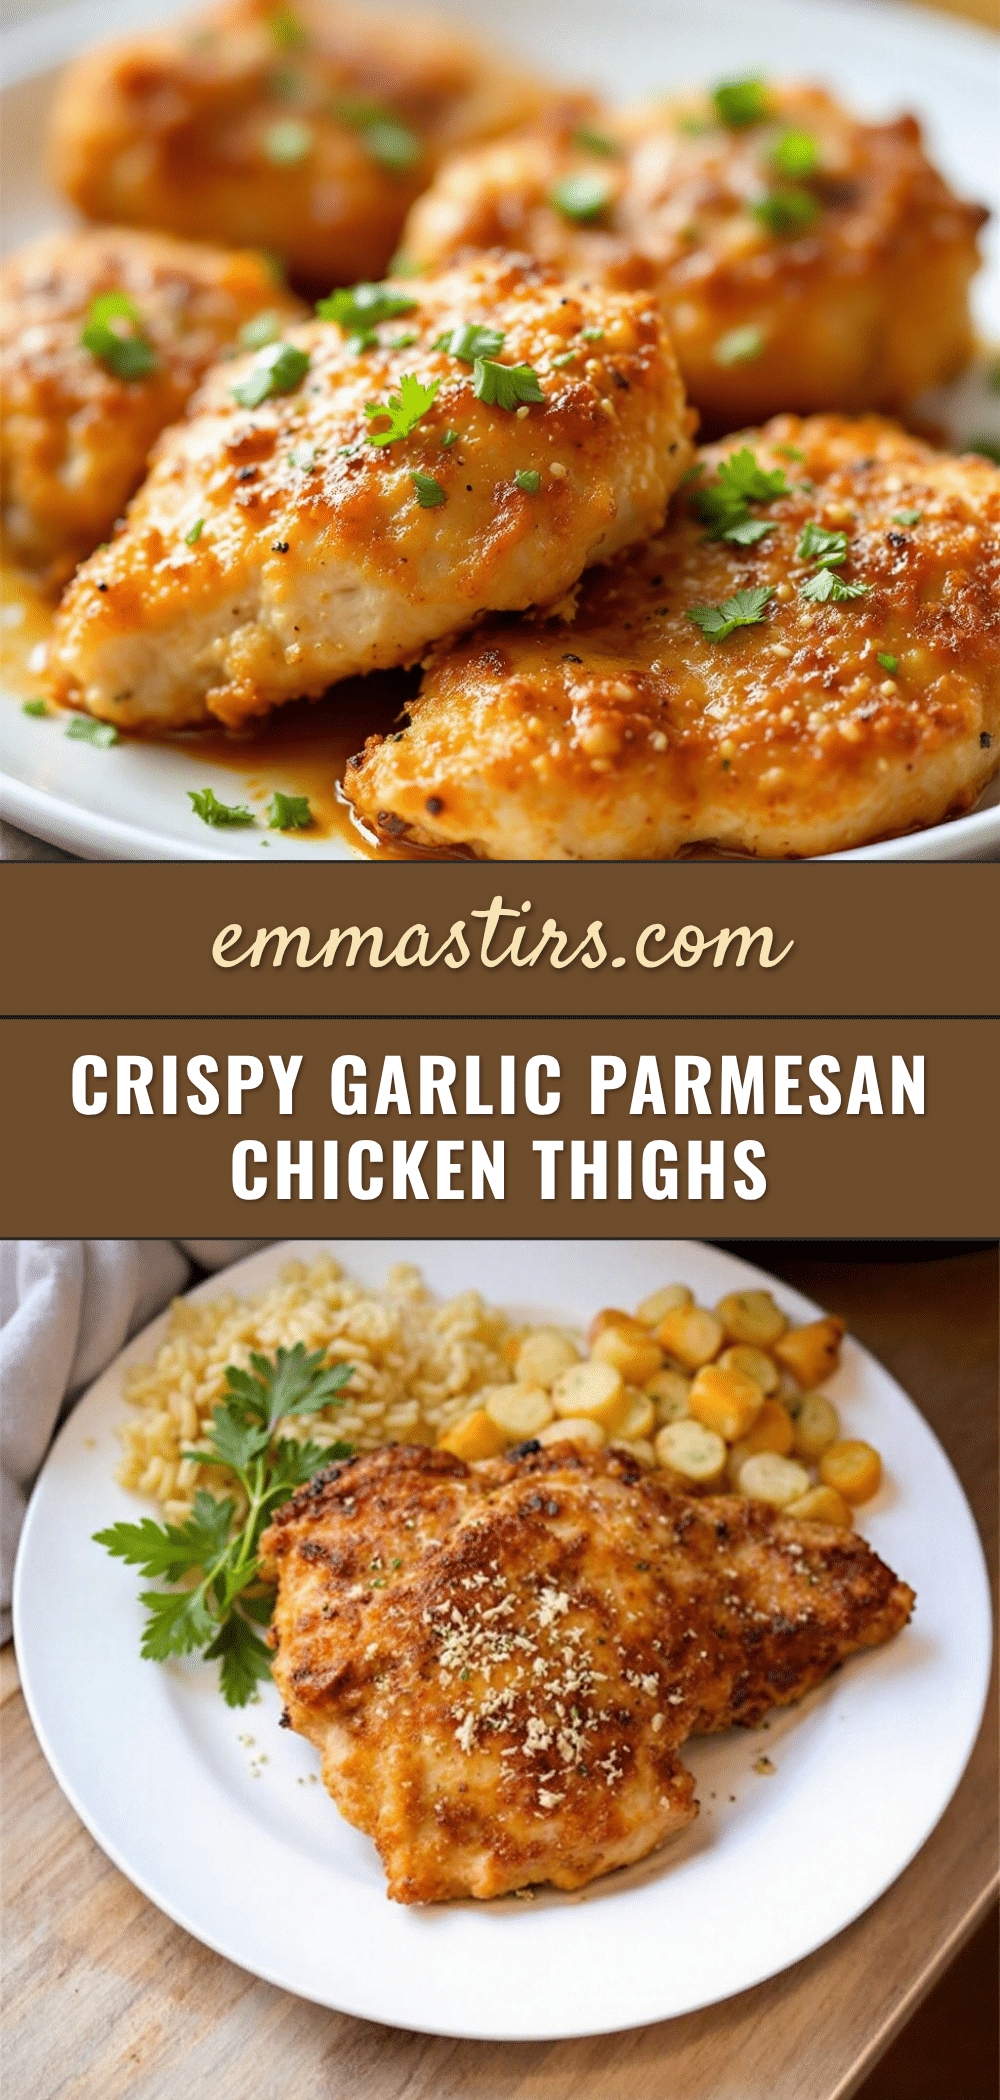
Crispy Garlic Parmesan Chicken Thighs (Air Fryer) – Best Easy Recipe

These crispy garlic Parmesan chicken thighs are quick, easy, and incredibly delicious. With a shatteringly crunchy coating and juicy meat, they’re perfect for busy weeknights or lazy Sundays.
- Prep Time: 10 minutes
- Cook Time: 20 minutes
- Total Time: 30 minutes
- Yield: 4 servings 1x
- Category: Main Course
- Cuisine: American
Ingredients
- 4 bone-in, skin-on chicken thighs (about 1.5 to 2 pounds total)
- 1 tablespoon olive oil
- 1/2 teaspoon salt
- 1/4 teaspoon black pepper
- 1/2 cup panko breadcrumbs
- 1/3 cup grated Parmesan cheese
- 1 teaspoon garlic powder
- 1/2 teaspoon onion powder
- 1/2 teaspoon dried Italian seasoning
- 1/4 teaspoon paprika
- Fresh parsley, chopped (for serving, optional)
- Lemon wedges (for serving, optional)
- Extra grated Parmesan (for serving, optional)
Instructions
- Prep the chicken: Pat chicken thighs completely dry with paper towels. Trim excess skin or fat if desired. Season both sides with salt and pepper.
- Make the coating: In a medium bowl, combine panko breadcrumbs, grated Parmesan, garlic powder, onion powder, Italian seasoning, and paprika. Stir until evenly mixed.
- Oil the chicken: Drizzle olive oil over seasoned chicken thighs and use hands or a brush to coat each piece evenly.
- Coat the chicken: Working one piece at a time, press each chicken thigh into the breadcrumb mixture, ensuring all sides are well covered. Place coated thighs on a plate.
- Preheat the air fryer: Set air fryer to 375°F and preheat for 3-5 minutes.
- Arrange in the basket: Place coated chicken thighs in the air fryer basket in a single layer, skin side up, without touching.
- Cook: Air fry at 375°F for 18-22 minutes, flipping halfway through. At the 10-minute mark, carefully flip each thigh using tongs. Continue cooking until internal temperature reaches 165°F in the thickest part.
- Check for doneness: Use a meat thermometer to check temperature. If not 165°F, cook for another 2-3 minutes and check again.
- Rest: Let chicken rest in the air fryer basket (turned off) for 2-3 minutes.
- Serve: Transfer to a serving platter, sprinkle with fresh parsley and extra Parmesan if desired, and serve with lemon wedges.
Notes
Pat chicken completely dry for maximum crispiness. Use panko breadcrumbs for best texture. Do not overcrowd the air fryer basket. Flip halfway through cooking. Let chicken rest before serving to keep juices in. For larger batches, keep cooked thighs warm in a 200°F oven on a wire rack.
Nutrition
- Serving Size: 1 chicken thigh
- Calories: 385
- Sugar: 1
- Sodium: 620
- Fat: 24
- Saturated Fat: 7
- Carbohydrates: 8
- Fiber: 1
- Protein: 32
Keywords: air fryer chicken thighs, crispy chicken, garlic parmesan chicken, easy chicken recipe, weeknight dinner


