Love this? Save it for later!
Share the inspiration with your friends
“The power went out halfway through my grocery run last Saturday, and as I was standing in the dim light of the parking lot, the quiet guy from the hardware store started talking about his secret to keeping cucumbers fresh and crunchy without any fancy canning gear. Honestly, I wasn’t expecting to get a crash course on pickling from the last person I’d think could teach me—he’s more about power tools than produce! But there I was, scribbling down his recipe for crunchy garlic dill refrigerator pickles on the back of a receipt, intrigued by how simple and fresh it sounded. You know that feeling when a recipe just sticks with you? This one did.
He explained how these aren’t your typical jarred pickles that sit on store shelves for months. Instead, they’re quick, fresh, and packed with that punch of garlic and dill that makes your mouth water. I forgot to grab a jar on my way home, made a mess squeezing in all the garlic cloves, and nearly spilled the brine—but hey, that’s part of the charm! Since then, these pickles have become a staple in my fridge. They’re crunchy, tangy, and honestly, perfect for everything from sandwiches to snacking straight from the jar. Maybe you’ve been there—looking for that perfect tang without the fuss? Well, this recipe might just surprise you as much as it did me.”
Why You’ll Love This Recipe
After testing this crunchy garlic dill refrigerator pickles recipe multiple times, I can confidently say it’s a winner for so many reasons. Here’s why you’ll want to try it out:
- Quick & Easy: Ready to eat in just 24 hours, these pickles are perfect for last-minute cravings or when you want fresh homemade flavor fast.
- Simple Ingredients: No need to hunt for obscure spices—you likely already have garlic, fresh dill, and cucumbers in your kitchen.
- Perfect for Any Occasion: Whether you’re putting together a weekday lunch or prepping for a weekend BBQ, these pickles add that crisp, refreshing bite everyone loves.
- Crowd-Pleaser: Kids and adults alike can’t get enough of the crunchy texture and bright garlic-dill kick.
- Unbelievably Delicious: The balance of tangy vinegar, fragrant fresh dill, and savory garlic makes these pickles stand out from the usual jarred versions.
This recipe isn’t just another pickle jar on the shelf. The technique of quick refrigeration keeps the cucumbers crisp and bright, without the heavy, overly sour notes you sometimes get from long-fermented pickles. Plus, it’s straightforward enough that even if you’re new to pickling, you’ll feel like a pro. Honestly, every time I pop open a jar, I’m reminded of that unexpected chat in the parking lot—and it makes me smile. If you love fresh, crunchy flavors with a hit of garlic and dill, this one’s for you.
What Ingredients You Will Need
This recipe uses simple, wholesome ingredients to deliver bold flavor and satisfying crunch without the fuss. Most are pantry staples or easy to find at your local market.
- Fresh cucumbers: About 4-5 medium Kirby or pickling cucumbers (roughly 1.5 pounds / 700 grams). Their firm texture is perfect for crunch.
- Garlic cloves: 4-5 large cloves, peeled and slightly crushed (adds that punchy garlic flavor).
- Fresh dill: 3-4 sprigs, stems included (the star herb for that signature dill flavor). If you don’t have fresh, 1 tablespoon dried dill works.
- White vinegar: 1 cup (240 ml) – I recommend plain distilled vinegar for a clean, bright tang.
- Water: 1 cup (240 ml), preferably filtered or bottled for pure taste.
- Pickling salt or kosher salt: 1 tablespoon (regular table salt can be too harsh).
- Granulated sugar: 1 teaspoon (balances the acidity, but optional if you prefer tarter pickles).
- Black peppercorns: 1 teaspoon (whole, for subtle heat).
- Red pepper flakes: 1/2 teaspoon (optional, if you like a bit of spice).
For best results, look for firm, blemish-free cucumbers. If you can find Kirby cucumbers, they give that classic pickle crunch. If fresh dill isn’t available, dried works in a pinch but won’t be quite the same. Also, if you want to try a low-sodium version, use less salt or swap with a salt substitute, but expect a milder flavor.
Equipment Needed
Making crunchy garlic dill refrigerator pickles is straightforward and requires only a few common kitchen tools:
- Glass jar or container with lid: A quart-sized (1 liter) jar works perfectly. Mason jars are ideal but any clean, sealable container will do.
- Measuring cups and spoons: For accurate vinegar, water, salt, and spice measurements.
- Mixing bowl: To combine brine ingredients before pouring.
- Knife and cutting board: For slicing cucumbers and prepping garlic.
- Small saucepan (optional): If you prefer to warm the brine to dissolve salt and sugar quickly (though you can also mix cold).
Personally, I like using a wide-mouth mason jar because it’s easier to pack the cucumbers and garlic in tight, plus cleaning is a breeze. If you don’t have one, a clean plastic container with a tight lid works for refrigeration. One tip: make sure your jar is sterile to prevent any unwanted bacteria. Just rinse well and dry or pop it in boiling water for a few minutes.
Preparation Method
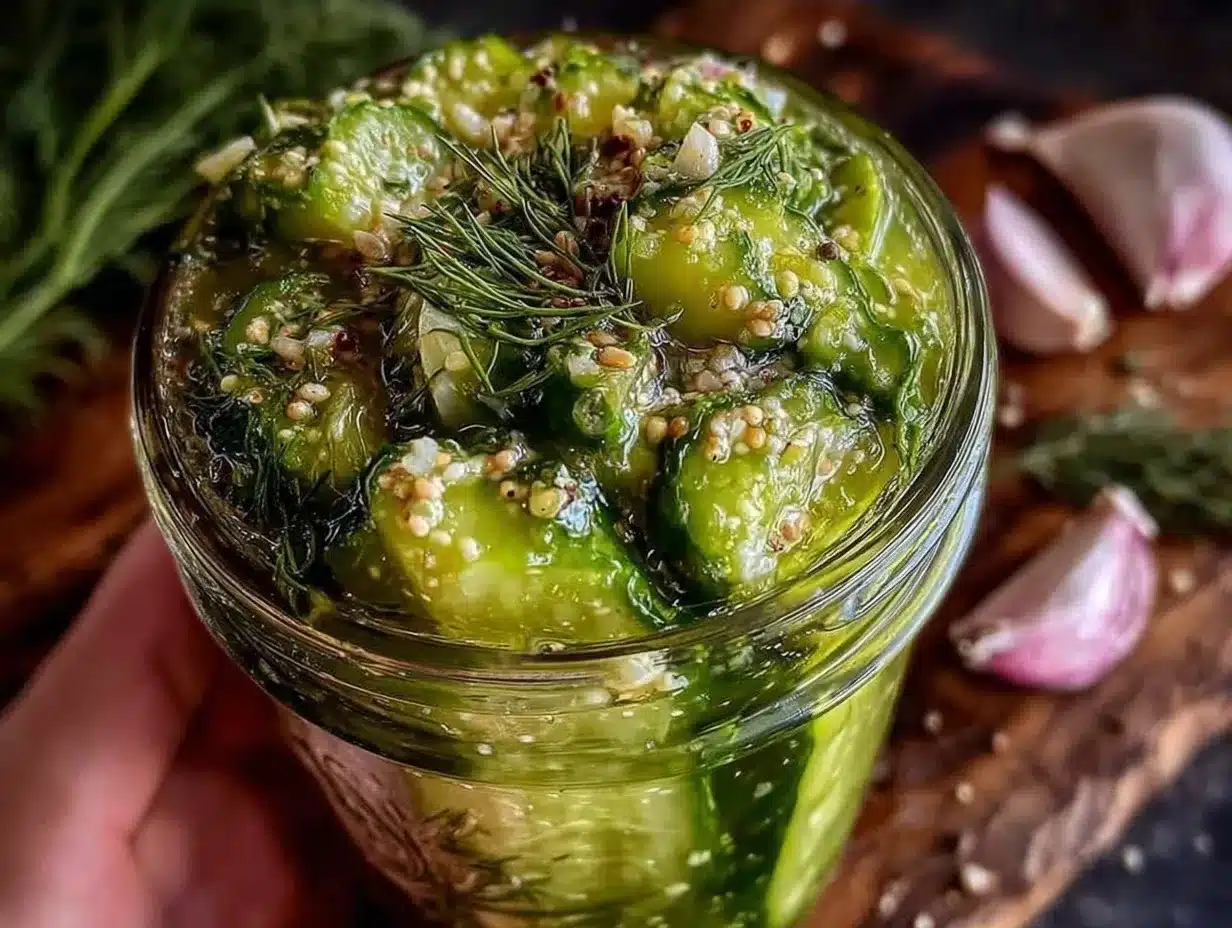
- Wash and slice cucumbers: Give your cucumbers a good rinse under cold water. Cut off the blossom end (the opposite from the stem) to reduce bitterness. Slice into 1/4-inch (6 mm) thick rounds or spears, depending on your preference. This should take about 10 minutes.
- Prepare the brine: In a mixing bowl, combine 1 cup (240 ml) white vinegar, 1 cup (240 ml) water, 1 tablespoon pickling salt, and 1 teaspoon sugar. Stir until salt and sugar dissolve. You can warm it gently on the stove (about 2-3 minutes) to speed this up, but room temperature works fine.
- Pack the jar: Place the sliced cucumbers into your jar, layering in the garlic cloves, fresh dill sprigs, black peppercorns, and red pepper flakes if using. Press down lightly to fit everything snugly.
- Pour the brine: Pour the brine over the cucumbers until they’re fully submerged. Leave about 1/2 inch (1.3 cm) of headspace at the top. If needed, place a small clean weight or cabbage leaf on top to keep cucumbers submerged and prevent them from floating.
- Seal and refrigerate: Screw the lid on tightly and give the jar a gentle shake to distribute spices. Store in the refrigerator for at least 24 hours before tasting. The longer you wait (up to 1 week), the more flavorful and crunchy they get. This step takes patience, but honestly, it’s worth it!
- Enjoy: Once ready, these pickles are perfect as a snack, burger topping, or alongside your favorite sandwiches. They stay fresh in the fridge for up to 3 weeks.
Pro tip: If your cucumbers feel a bit soft after a day, try switching to slightly smaller or fresher cucumbers next time, as freshness greatly impacts crunch. Also, don’t skip removing the blossom end—that little step really makes a difference in preventing mushy pickles.
Cooking Tips & Techniques
Making the perfect crunchy garlic dill refrigerator pickles is as much about technique as it is ingredients. Here are some tips to get that signature snap and flavor every time:
- Use fresh, firm cucumbers: Older or overripe cucumbers tend to get soggy quickly. I learned this the hard way after a batch turned too soft and watery.
- Remove the blossom end: This tiny step stops enzymes that cause softening. I used to skip it, but now I don’t even think twice.
- Keep cucumbers fully submerged: Exposure to air can cause spoilage or uneven pickling. Using a weight or leaf to hold them down prevents this issue.
- Salt choice matters: Pickling or kosher salt dissolves more evenly and tastes cleaner than table salt, which can cloud the brine.
- Don’t rush the process: While you can taste the pickles after 24 hours, waiting 2-3 days really lets the garlic and dill infuse deeply.
- Multitasking tip: While the pickles rest, you can prep other dishes or tidy up the kitchen. It’s a great time saver!
One lesson I learned is to avoid sealing the jar too tightly before refrigerating—sometimes gases from fermentation need a slight vent. Just a gentle screw-on lid is perfect. These little details make a huge difference between mediocre and truly crunchy garlic dill pickles.
Variations & Adaptations
Want to switch things up or adapt this recipe to your taste or dietary needs? Here are some ideas I’ve tried or thought about:
- Spicy Kick: Add more red pepper flakes or a sliced jalapeño for a hotter version. My spice-loving friend swears by this adjustment.
- Low Sodium: Cut the salt by half, but expect a milder flavor. You can compensate with a splash of lemon juice for brightness.
- Herb Variations: Swap fresh dill with fresh tarragon or basil for a unique twist. Tarragon adds an anise-like flavor that’s surprisingly fresh.
- Vinegar Swap: Use apple cider vinegar instead of white vinegar for a sweeter, fruitier taste. It gives a cozy, homey vibe to the pickles.
- Quick Pickle Spears: Slice cucumbers lengthwise into spears instead of rounds for a crunchy snack that’s easier to grab.
Personally, I once made a batch with fresh thyme instead of dill just because I ran out of dill, and it turned out unexpectedly delightful. If you have allergies, you can omit garlic or use garlic-infused oil to keep flavor without the bite.
Serving & Storage Suggestions
These crunchy garlic dill refrigerator pickles are best served cold, straight from the fridge. They make a fantastic side to grilled meats, sandwiches, or even as a zesty snack on their own.
Try pairing them with a creamy creamy garlic dip or alongside a fresh summer salad for a refreshing crunch contrast. They also complement rich dishes like herb roasted chicken beautifully.
Store your pickles in the refrigerator in a sealed jar or container. They’ll stay fresh and crunchy for up to three weeks, but honestly, they rarely last that long in my house! When reheating or serving warm dishes, add pickles just before serving to keep their snap.
Flavors deepen the longer they rest, so if you have the patience, wait a few days before digging in. The garlic and dill infuse beautifully over time, making every bite even better.
Nutritional Information & Benefits
These crunchy garlic dill refrigerator pickles are low in calories—about 10-15 calories per serving (roughly 2-3 pickle slices)—and fat-free, making them a guilt-free snack. The vinegar adds probiotics, which support gut health, while garlic provides antioxidants and immune-boosting compounds.
Since this recipe uses fresh ingredients and no added preservatives, it’s a wholesome alternative to store-bought pickles, which often contain added sugars and artificial flavors. Plus, they’re naturally gluten-free and low-carb, suiting a variety of diets.
From a wellness perspective, I appreciate how these pickles satisfy salty cravings without extra calories, helping me stay on track with mindful eating while still enjoying big flavor.
Conclusion
If you’ve been craving crunchy, flavorful pickles that taste fresh and homemade without the fuss, this crunchy garlic dill refrigerator pickles recipe is your new go-to. I love how simple ingredients come together quickly to create something so satisfying and versatile.
Feel free to tweak the garlic, dill, or spice levels to match your mood—this recipe is forgiving and easy to personalize. Honestly, it’s become a staple in my fridge, and I hope it finds a place in yours too.
Give it a try, and don’t forget to share your own take or any tweaks you make—I’d love to hear how your pickles turn out!
FAQs
How long do crunchy garlic dill refrigerator pickles last in the fridge?
They typically stay fresh and crunchy for up to 3 weeks when stored in a sealed jar in the refrigerator.
Can I use regular cucumbers instead of Kirby cucumbers?
Yes, but Kirby or pickling cucumbers are preferred for their firm texture. Regular cucumbers might become softer faster.
Do I have to cook the brine for these pickles?
No, you can mix the brine ingredients cold, but warming it slightly helps dissolve the salt and sugar faster.
Can I make these pickles without garlic?
Yes, but garlic is key to the flavor profile. You could try garlic-infused oil for a milder taste if you prefer.
What’s the best way to keep the pickles submerged in the jar?
Use a small clean weight, like a sterilized stone or a cabbage leaf, to press the cucumbers down under the brine and prevent spoilage.
Pin This Recipe!
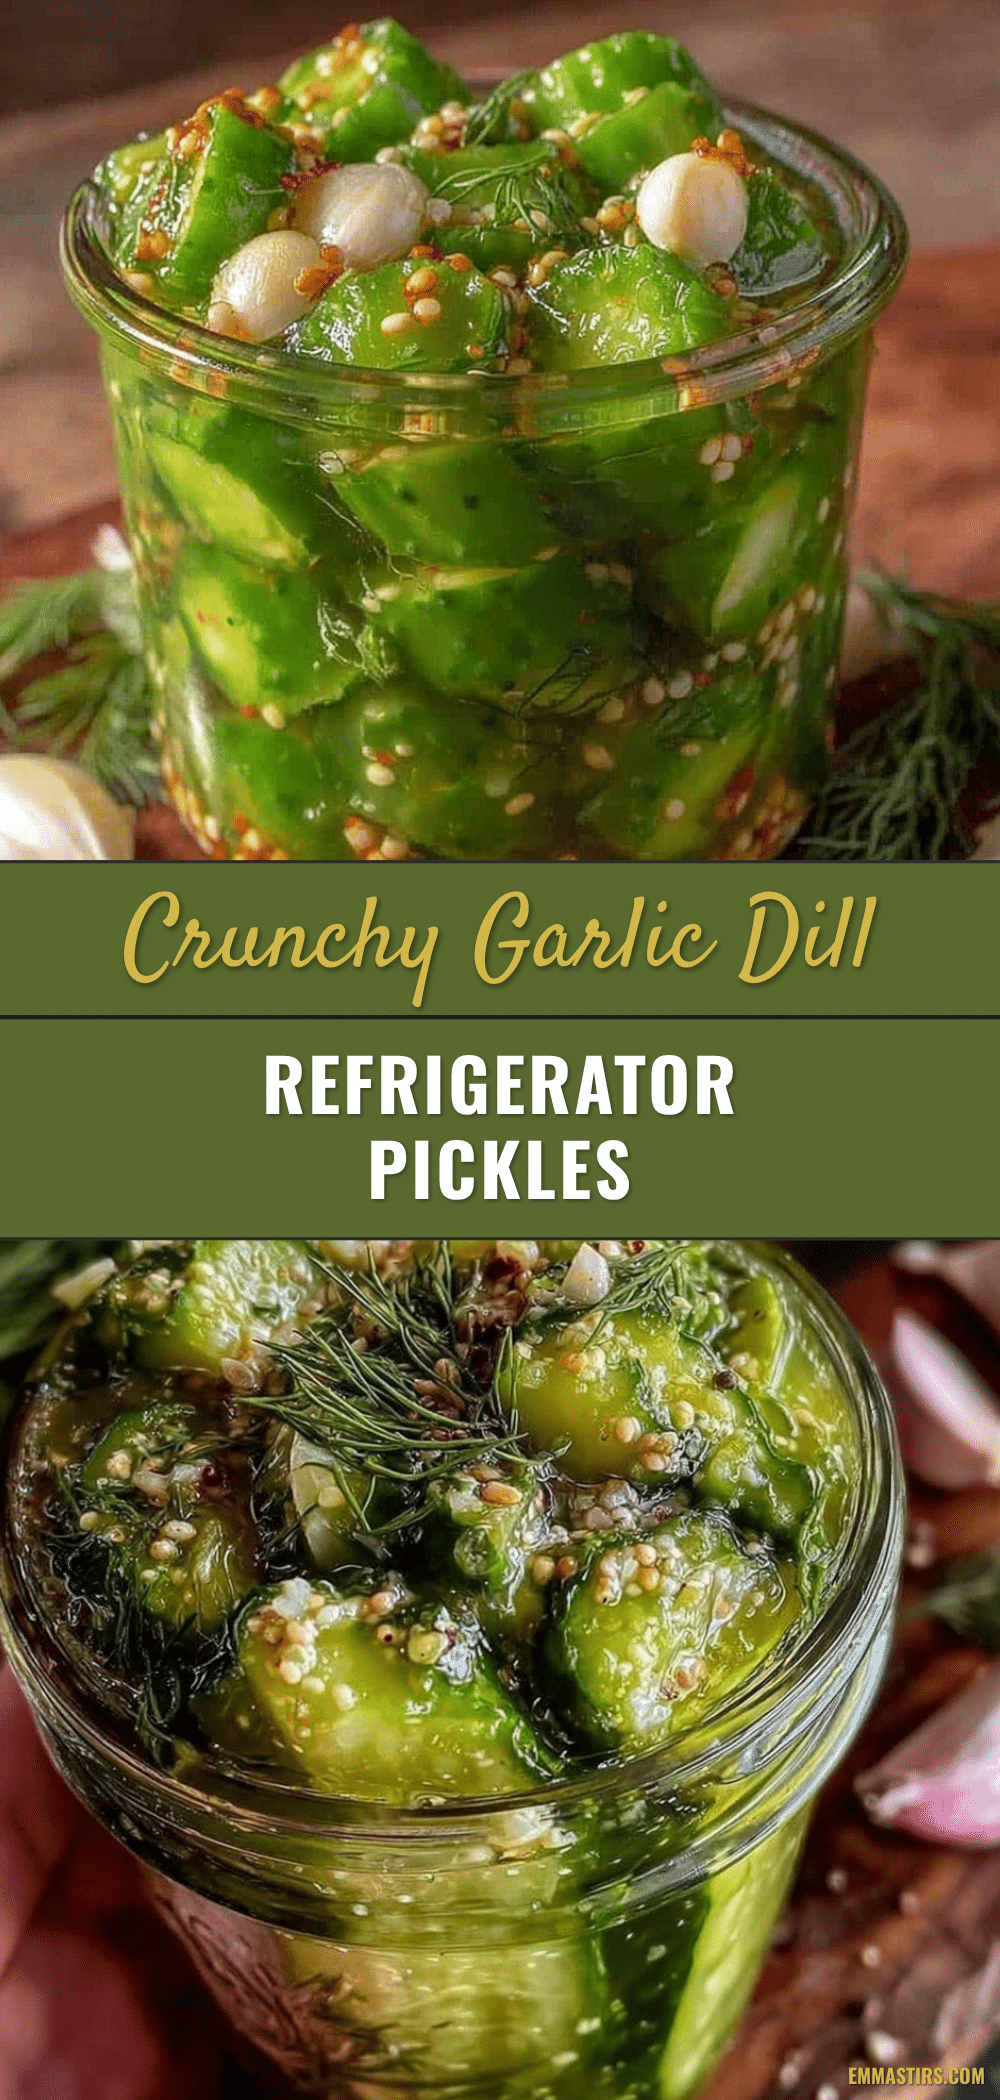
Crunchy Garlic Dill Refrigerator Pickles
A quick and easy homemade recipe for fresh, crunchy garlic dill refrigerator pickles with a perfect tangy flavor, ready in just 24 hours.
- Prep Time: 15 minutes
- Cook Time: 0 minutes
- Total Time: 24 hours
- Yield: 4-5 servings 1x
- Category: Condiment
- Cuisine: American
Ingredients
- 4–5 medium Kirby or pickling cucumbers (about 1.5 pounds / 700 grams)
- 4–5 large garlic cloves, peeled and slightly crushed
- 3–4 sprigs fresh dill, stems included (or 1 tablespoon dried dill)
- 1 cup (240 ml) white vinegar (distilled vinegar recommended)
- 1 cup (240 ml) water (filtered or bottled preferred)
- 1 tablespoon pickling salt or kosher salt
- 1 teaspoon granulated sugar (optional)
- 1 teaspoon whole black peppercorns
- 1/2 teaspoon red pepper flakes (optional)
Instructions
- Wash and slice cucumbers: Rinse cucumbers under cold water, cut off the blossom end to reduce bitterness, and slice into 1/4-inch (6 mm) thick rounds or spears.
- Prepare the brine: In a mixing bowl, combine 1 cup white vinegar, 1 cup water, 1 tablespoon pickling salt, and 1 teaspoon sugar. Stir until salt and sugar dissolve. Optionally warm gently on the stove for 2-3 minutes.
- Pack the jar: Place sliced cucumbers into a quart-sized glass jar, layering in garlic cloves, fresh dill sprigs, black peppercorns, and red pepper flakes if using. Press down lightly.
- Pour the brine: Pour brine over cucumbers until fully submerged, leaving about 1/2 inch of headspace. Use a small clean weight or cabbage leaf to keep cucumbers submerged if needed.
- Seal and refrigerate: Screw the lid on tightly, shake gently to distribute spices, and refrigerate for at least 24 hours before tasting. For best flavor, wait up to 1 week.
- Enjoy: Serve cold as a snack, burger topping, or alongside sandwiches. Pickles stay fresh in the fridge for up to 3 weeks.
Notes
Use fresh, firm cucumbers and remove the blossom end to prevent mushy pickles. Keep cucumbers fully submerged in brine using a weight or cabbage leaf. Warming the brine helps dissolve salt and sugar faster but is optional. For a spicier version, add more red pepper flakes or jalapeño. Low sodium versions can be made by reducing salt and adding lemon juice for brightness. Pickles improve in flavor the longer they rest, up to one week.
Nutrition
- Serving Size: About 2-3 pickle sli
- Calories: 15
- Sugar: 1
- Sodium: 400
- Carbohydrates: 3
- Fiber: 0.5
- Protein: 0.5
Keywords: garlic dill pickles, refrigerator pickles, quick pickles, crunchy pickles, homemade pickles, easy pickles, dill pickles recipe


