Love this? Save it for later!
Share the inspiration with your friends
I had been looking for a weeknight dinner that actually made everyone happy without creating a mountain of dishes. Not a compromise meal, not something you eat because you’re too tired to care. Something that felt like a real dinner, the kind you’d order at a diner when you wanted comfort food that didn’t try to be fancy. For a while, I just accepted that quick skillet meals meant either under-seasoned rice or ground beef that turned into sad little pebbles. The cheese always seemed to separate weirdly, or the rice would go mushy while you waited for the meat to brown properly. I tried different pans, different rice-to-liquid ratios, different cheese blends. Some nights it was fine. Most nights it was just okay.
Then, honestly, I stopped trying so hard. I stopped treating it like a recipe that needed to be perfect and started treating it like what it should have been all along: a forgiving, flexible, no-stress dinner that works because the ingredients are built to work together. That’s when this easy cheesy ground beef and rice skillet finally came together. The rice stays separate. The beef stays tender. The cheese melts into this creamy situation that coats everything without being greasy. It took me longer than I’d like to admit to figure out that the secret wasn’t some fancy technique—it was just trusting the process and not overthinking it.
The first time I made the version I’m sharing with you today, I remember standing at the stove, fork in hand, eating straight from the pan before I even plated it. That’s when I knew. This was the one.
Why You’ll Love This Recipe
Let me tell you why this easy cheesy ground beef and rice skillet has become my most-requested recipe from friends and family. It’s not complicated, and honestly, that’s the whole point.
- One Pan, Minimal Mess: Everything happens in a single skillet. No boiling rice separately, no draining pasta, no extra pots to scrub. Dinner is ready and cleanup takes maybe two minutes. That’s not a promise—that’s just how it works.
- Pantry-Friendly Ingredients: You probably have most of this already. Ground beef, rice, cheese, some canned tomatoes, basic seasonings. No special trips to three different stores. No ingredients you’ll use once and forget about.
- Comes Together in Under 30 Minutes: From the moment you start browning the beef to the second you’re scooping it onto plates, we’re talking about 25-30 minutes. That’s faster than delivery and way more satisfying.
- Crowd-Pleasing Comfort Food: Kids love it. Adults love it. People who claim they don’t like ground beef or rice somehow magically change their minds after one bite. It’s just that kind of dish.
- Budget-Friendly Without Sacrificing Flavor: Ground beef, rice, and cheese are some of the most affordable ingredients out there. This stretches beautifully and feeds a hungry family without breaking the bank.
What makes this version different from every other cheesy ground beef and rice recipe you’ve seen? It’s the method. I brown the beef with the onions until there’s actual fond on the bottom of the pan, then deglaze with the tomatoes. That little step adds a depth of flavor you don’t get from just dumping everything in at once. The rice cooks right in the pan, absorbing all that savory goodness, and the cheese goes on at the very end so it stays creamy and melty instead of turning into a greasy mess. It’s not revolutionary, but it works every single time.
This is the kind of dinner that makes you close your eyes after the first bite. It’s comfort food that doesn’t require a nap afterward, and it’s exactly what a Tuesday night deserves.
What Ingredients You Will Need
This recipe uses simple, honest ingredients that work together to create something genuinely delicious. No surprises, no fuss, just good food.
For the Skillet Base
- 1 pound ground beef (80/20 works best for flavor, but lean ground beef or ground turkey also works well)
- 1 medium yellow onion, diced (about 1 cup; adds sweetness and depth)
- 3 cloves garlic, minced (fresh is best, but jarred minced garlic works in a pinch)
- 1 cup long-grain white rice (uncooked; basmati or jasmine work beautifully, just adjust liquid slightly)
- 1 can (14.5 oz) diced tomatoes (fire-roasted adds lovely flavor, but regular works fine)
- 1 can (8 oz) tomato sauce (adds richness without being too acidic)
- 1 ½ cups beef broth (low-sodium preferred so you can control the salt; chicken broth works too)
- 1 teaspoon smoked paprika (regular paprika works, but smoked adds a subtle warmth that’s hard to beat)
- 1 teaspoon dried oregano (Mexican oregano if you have it, Italian is totally fine)
- ½ teaspoon garlic powder (not a typo—we use fresh garlic and garlic powder for layered flavor)
- ½ teaspoon onion powder (reinforces the fresh onion beautifully)
- Salt and black pepper to taste (start with ½ teaspoon salt and ¼ teaspoon pepper, adjust at the end)
For the Cheesy Finish
- 1 ½ cups shredded cheddar cheese (sharp cheddar gives the most flavor; medium cheddar works too)
- ½ cup shredded mozzarella cheese (adds that stretchy, melty texture we all love)
- 2 tablespoons cream cheese, softened (this is my secret ingredient—makes the whole thing extra creamy)
- 2 tablespoons butter (optional, but adds richness if you’re feeling indulgent)
For Garnish (Optional but Recommended)
- Fresh parsley or cilantro, chopped (adds color and freshness)
- Green onions, sliced (for a mild onion pop)
- Hot sauce or red pepper flakes (for those who want heat)
I recommend Tillamook or Cabot for the cheddar—they melt beautifully and have real flavor. For the cream cheese, Philadelphia is my go-to because it’s consistently creamy. If you’re using a different brand, just make sure it’s full-fat for the best texture. Low-fat cream cheese can sometimes separate when stirred into hot food.
For substitutions, you can use ground turkey or chicken instead of beef. Just add a tablespoon of olive oil when browning since leaner meats need a little help. Brown rice works but requires about 15-20 minutes more cooking time and an extra ½ cup of broth. If you’re avoiding grains, cauliflower rice works but reduces the cooking time significantly—add it in the last 5 minutes.
Equipment Needed
You don’t need a fancy kitchen to make this easy cheesy ground beef and rice skillet. Here’s what you’ll need:
- A large skillet or Dutch oven (12-inch with a tight-fitting lid is ideal; a deep sauté pan also works perfectly)
- A wooden spoon or spatula (for breaking up the ground beef and stirring)
- A sharp knife and cutting board (for dicing the onion and mincing garlic)
- Measuring cups and spoons (for accuracy, though you can eyeball some of the seasonings)
- A cheese grater (pre-shredded cheese works, but freshly grated melts much smoother)
If you don’t have a lid that fits your skillet, a baking sheet or a piece of foil works as a makeshift cover. I’ve done it more times than I care to admit. Also, cast iron skillets are amazing for this recipe—they hold heat evenly and develop that nice fond on the bottom. But any heavy-bottomed pan will do. Nonstick is fine, just be gentle with the wooden spoon so you don’t scratch the surface.
One tip: if you’re using a stainless steel pan, let the beef brown without moving it for a few minutes. That crust is flavor, and you want it to form before you start stirring. A good metal spatula will help scrape up all those delicious browned bits when you add the liquid.
Preparation Method
Let me walk you through this step by step. It’s easier than you think, and I’ll tell you exactly what to look for at each stage.
- Brown the ground beef. Place your skillet over medium-high heat. Add the ground beef and break it apart with your wooden spoon. Let it cook undisturbed for about 3 minutes—this gives you those nice browned bits. Then start breaking it up and stirring. Cook for 5-6 minutes total until the beef is browned and no longer pink. If there’s excess fat, carefully spoon most of it out, leaving about a tablespoon in the pan for flavor. (If you’re using lean ground beef, you might not need to drain any fat. If you’re using 80/20, you’ll probably have a good amount to remove.)
- Sauté the aromatics. Add the diced onion to the skillet with the browned beef. Cook for 3-4 minutes, stirring occasionally, until the onion softens and turns translucent. Add the minced garlic and cook for another 30 seconds until fragrant. You should smell the garlic immediately—that’s your cue to move to the next step so it doesn’t burn.
- Add the seasonings. Sprinkle the smoked paprika, dried oregano, garlic powder, onion powder, salt, and pepper over the beef and onion mixture. Stir everything together and let it cook for about 30 seconds. This toasts the spices and wakes up their flavors. (Don’t skip this step—it makes a real difference in how the final dish tastes.)
- Stir in the tomatoes and rice. Add the diced tomatoes (with their juices), tomato sauce, and uncooked rice. Stir everything together until the rice is evenly distributed and coated with the tomato mixture. Scrape the bottom of the pan to incorporate any browned bits—that’s pure flavor.
- Pour in the broth. Add the beef broth and stir gently. Bring the mixture to a boil over medium-high heat. Once it’s bubbling, reduce the heat to low, cover the skillet with a tight-fitting lid, and let it simmer. (This is important: don’t lift the lid for the first 15 minutes. The steam needs to stay trapped to cook the rice properly.)
- Let it simmer. Cook covered for 18-20 minutes. After 18 minutes, check the rice. It should be tender and most of the liquid should be absorbed. If the rice is still a bit firm and there’s liquid remaining, cover and cook for another 2-3 minutes. If the rice is tender but there’s still some liquid, that’s fine—the cheese will help absorb it. (Every stove and pan is different, so trust your eyes and your fork more than the timer.)
- Add the cheese. Remove the lid. If you’re using the butter and cream cheese, drop them in small pieces over the top of the skillet. Sprinkle the shredded cheddar and mozzarella evenly over everything. Cover the skillet again and let it sit off the heat for 2-3 minutes. The residual heat will melt the cheese into a beautiful, creamy blanket. (If you prefer a bubbly, browned cheese top, you can pop the skillet under the broiler for 1-2 minutes—just make sure your skillet is oven-safe.)
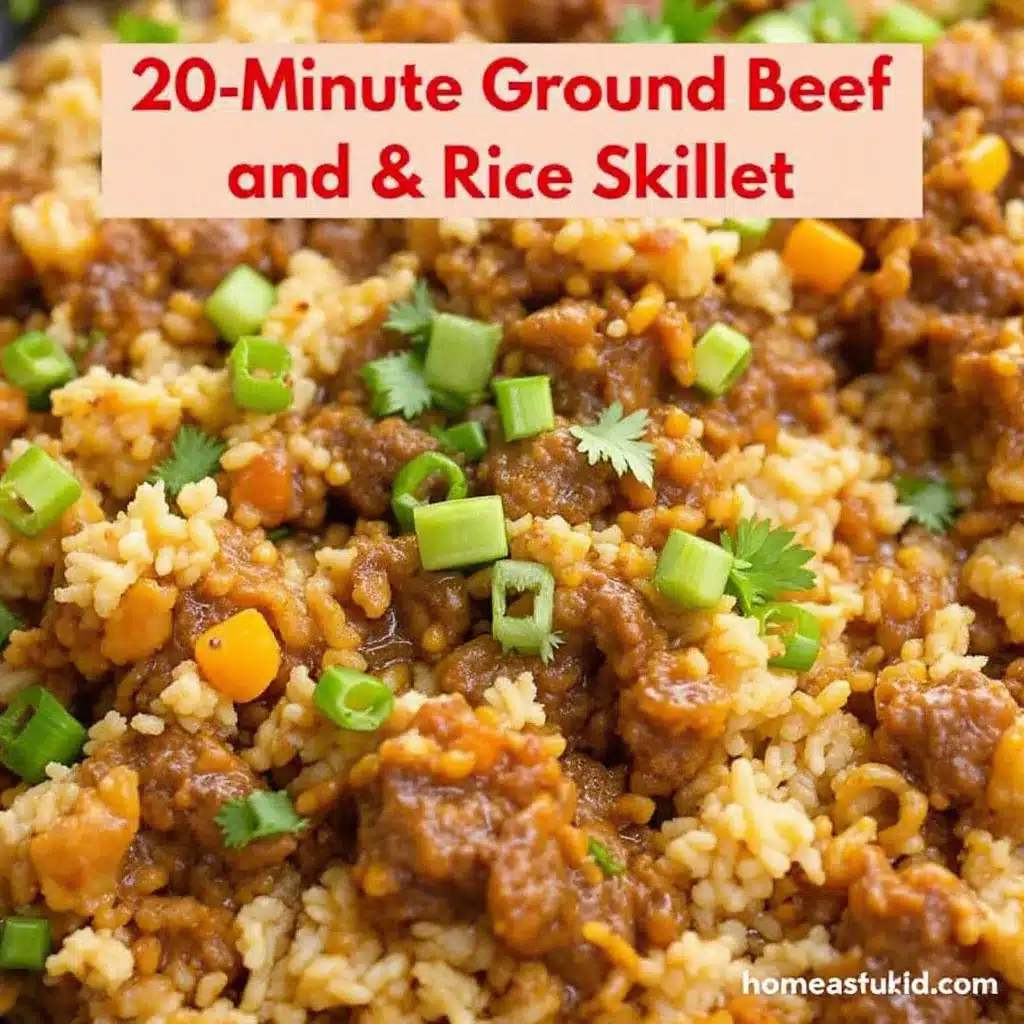
- Finish and serve. Stir everything together gently once the cheese has melted. The cream cheese and butter will incorporate into the rice and beef, making everything extra creamy. Taste and adjust salt and pepper if needed. Garnish with fresh parsley or cilantro and sliced green onions if you’re using them. Serve hot straight from the skillet.
The rice should be tender but still hold its shape. The beef should be distributed evenly throughout, and the cheese should be stretchy and melty, not greasy or separated. If it looks a little loose when you first stir it, give it a minute—it will thicken as it sits.
Cooking Tips & Techniques
I’ve made this easy cheesy ground beef and rice skillet more times than I can count, and I’ve learned a few things along the way. Some of these came from mistakes. Some came from happy accidents. All of them will make your life easier.
Don’t rush the browning. I know it’s tempting to stir the beef constantly, but letting it sit for a few minutes creates that beautiful brown crust. That crust is flavor. If you stir too much, the beef releases its juices and ends up steaming instead of browning. Give it space. Let it do its thing.
Toast the rice if you want extra flavor. Before adding the liquid, you can stir the uncooked rice into the skillet with the beef and onions for 1-2 minutes. It will turn slightly translucent and smell nutty. This adds another layer of flavor, but it also means you might need an extra ¼ cup of broth since toasting the rice changes how it absorbs liquid. I do this when I have a little extra time.
Watch your heat. Once you add the liquid and rice, keep the heat at a gentle simmer. A vigorous boil will cook the liquid off too quickly and leave you with undercooked rice. If you see the liquid bubbling aggressively, turn the heat down. Low and slow is the way to go here.
The lid stays on. I cannot stress this enough. Every time you lift the lid to peek, you release steam that the rice needs to cook properly. Trust the process. If you’re nervous, set a timer for 15 minutes and don’t touch the lid until it goes off.
Room temperature ingredients matter. The cream cheese will incorporate much more smoothly if it’s softened. Cold cream cheese tends to stay in little lumps instead of melting into the dish. Take it out of the fridge when you start cooking, and by the time you need it, it’ll be perfect.
One mistake I made early on was using pre-shredded cheese. It’s convenient, but it has anti-caking agents that prevent it from melting as smoothly. Freshly shredded cheese melts into a cohesive, creamy layer. The difference is noticeable. If you have a grater, use it.
If your rice is still crunchy after 20 minutes, add ¼ cup more broth or water, cover, and cook for another 5 minutes. Different pans and different stoves behave differently. It happens to everyone. Don’t panic—just add liquid and keep going.
Variations & Adaptations
This recipe is wonderfully flexible. Here are some ways I’ve adapted it depending on what I have on hand or who I’m cooking for.
Southwest Style: Add 1 can of drained and rinsed black beans, ½ cup of frozen corn, and a teaspoon of cumin along with the other seasonings. Top with pepper jack cheese instead of cheddar, and finish with fresh cilantro and a squeeze of lime. This version is my go-to when I want something a little brighter and more colorful.
Low-Carb Version: Swap the rice for cauliflower rice. Sauté the cauliflower rice in a separate pan for 5 minutes to remove excess moisture, then add it to the skillet during the last 5 minutes of cooking. You won’t need the broth or the extended simmer time—just stir everything together and let it heat through before adding the cheese.
Spicy Kick: Add 1 diced jalapeño along with the onion, or stir in ½ teaspoon of cayenne pepper with the other seasonings. A few dashes of your favorite hot sauce at the end takes it to another level. My husband adds sriracha to his bowl every single time.
Vegetable-Packed: Sauté 1 diced bell pepper and 1 cup of chopped mushrooms along with the onion. Stir in a handful of fresh spinach right before adding the cheese—it will wilt down into the hot mixture. This is a great way to use up vegetables that are hanging out in your fridge.
Dairy-Free Adaptation: Use dairy-free shredded cheese and omit the cream cheese. Add 2 tablespoons of nutritional yeast along with the seasonings for a cheesy flavor without the dairy. Coconut cream can replace the cream cheese if you don’t mind a slight coconut undertone.
One variation I tried on a whim: I added a tablespoon of Worcestershire sauce and a teaspoon of Dijon mustard to the beef while it was browning. It gave the whole dish a subtle tangy depth that was surprisingly good. Now I do it about half the time, depending on my mood.
Serving & Storage Suggestions
This easy cheesy ground beef and rice skillet is incredibly versatile when it comes to serving. Here’s how I like to do it.
Serving Temperature: Serve it hot, straight from the skillet. The cheese should still be stretchy and the rice should be steaming. I usually let it rest for 2-3 minutes after adding the cheese so everything sets up nicely, but not so long that it cools down.
Presentation: I serve this family-style, right in the skillet. It’s rustic and inviting. Garnish with fresh parsley or cilantro, sliced green onions, and maybe a few red pepper flakes for color. A side of warm tortillas or crusty bread is perfect for scooping up every last bit.
What to Serve With It: A simple green salad with a tangy vinaigrette balances the richness beautifully. Roasted vegetables like broccoli or asparagus work well too. If you’re feeding a crowd, this pairs wonderfully with a fresh batch of Greek pasta salad with chickpeas for a complete meal. For a lighter option, try it alongside a watermelon cucumber feta salad for a refreshing contrast.
Storage: Store leftovers in an airtight container in the refrigerator for up to 4 days. The flavors actually meld and deepen overnight, so leftovers are often even better the next day. The rice will absorb more liquid as it sits, so the texture will be slightly softer, but it’s still delicious.
Reheating: The best way to reheat is in a skillet over medium-low heat with a splash of water or broth. Cover and let it steam for 3-4 minutes, stirring occasionally. You can also microwave individual portions—just cover the bowl with a damp paper towel to add moisture back. Add a sprinkle of fresh cheese on top before reheating for that just-made feel.
Freezing: This freezes surprisingly well. Let the skillet cool completely, then transfer to a freezer-safe container. It will keep for up to 3 months. Thaw overnight in the refrigerator and reheat as directed above. I’ve frozen individual portions for quick lunches, and they’re a lifesaver on busy days.
Flavor Development: The flavors continue to develop as the dish sits. The tomato and beef flavors meld together, and the seasonings become more pronounced. If you’re meal-prepping, this is actually a great candidate—make it a day ahead and reheat when you’re ready to serve.
Nutritional Information & Benefits
This easy cheesy ground beef and rice skillet is comfort food that can absolutely fit into a balanced diet. Here’s a rough breakdown per serving (based on 6 servings):
- Calories: Approximately 420-450 per serving
- Protein: 28-30 grams
- Carbohydrates: 35-38 grams
- Fat: 18-22 grams
- Fiber: 2-3 grams
- Iron: 20% of daily value
- Calcium: 25% of daily value
Health Benefits: Ground beef is an excellent source of high-quality protein, iron, zinc, and B vitamins, especially B12. The tomatoes provide lycopene, a powerful antioxidant that’s better absorbed when cooked. Onions and garlic offer prebiotic fiber and compounds that support immune health. The cheese adds calcium and protein, while the rice provides energy in the form of complex carbohydrates.
Dietary Considerations: This recipe is naturally gluten-free (just double-check your broth and seasonings). For a lower-carb option, use cauliflower rice. For a lower-fat version, use lean ground beef and reduced-fat cheese, though the texture will be slightly less creamy. If you’re watching sodium, use low-sodium broth and tomatoes, and go easy on the added salt.
Potential Allergens: This recipe contains dairy (cheese, cream cheese, butter). It does not contain nuts, soy, or eggs. If you’re lactose intolerant, lactose-free cheese and dairy-free butter alternatives work well.
I personally love that this dish feels indulgent but doesn’t leave me feeling weighed down. It’s satisfying without being heavy, and the protein content keeps me full for hours. It’s the kind of meal that supports an active lifestyle without feeling like a compromise.
Frequently Asked Questions
Can I use brown rice instead of white rice?
Yes, but you’ll need to adjust the cooking time and liquid. Brown rice takes about 35-40 minutes to cook and needs about ½ cup more broth. Add the extra liquid, increase the simmer time, and check for doneness at the 35-minute mark. The texture will be chewier and nuttier, which some people prefer.
Can I make this in a slow cooker or Instant Pot?
For the Instant Pot, brown the beef using the sauté function, then add the remaining ingredients (except cheese) and cook on high pressure for 5 minutes with a natural release. For the slow cooker, brown the beef first in a skillet, then transfer everything except the rice and cheese to the slow cooker. Cook on low for 4-6 hours, then stir in cooked rice and cheese at the end. The slow cooker version works best with par-cooked rice to avoid mushiness.
How do I prevent the rice from getting mushy?
Use long-grain rice instead of short-grain or medium-grain varieties. Long-grain rice holds its shape better during cooking. Also, resist the urge to stir once the rice is simmering—stirring releases starch and makes the rice gummy. And don’t lift the lid during the first 15 minutes of cooking. Trust the steam.
Can I use a different type of cheese?
Absolutely. This recipe is very forgiving with cheese. Monterey Jack, Colby, pepper jack, gouda, or a Mexican blend all work beautifully. The key is to use cheeses that melt well. Avoid hard cheeses like Parmesan as the primary cheese—they don’t melt into the creamy texture you want. A little Parmesan mixed in with cheddar is nice, though.
How do I make this recipe spicier?
There are several ways. Add a diced jalapeño or serrano pepper when you sauté the onion. Use pepper jack cheese instead of cheddar. Stir in ½ teaspoon of cayenne pepper or red pepper flakes with the other seasonings. Finish with a drizzle of your favorite hot sauce. I personally love Cholula or Valentina for this dish.
Conclusion
This easy cheesy ground beef and rice skillet is the kind of recipe that earns a permanent spot in your rotation. It’s not fancy, and it doesn’t try to be. It’s just honest, satisfying food that comes together in one pan with minimal effort and maximum payoff.
What I love most about this recipe is how adaptable it is. You can make it exactly as written and have a perfect dinner, or you can tweak it based on what you have in your fridge or what your family craves. Add vegetables, swap the protein, change up the cheese—it all works. The method is solid, and the flavors are forgiving.
I’d love to hear how this turns out for you. Did you add your own twist? Did your kids ask for seconds? Drop a comment below and let me know. And if you’re looking for more one-pan comfort food, you might enjoy this creamy 30-minute cheeseburger soup or these cheesy ground beef stuffed bell peppers for another easy weeknight win.
Happy cooking, friends. Go make something that makes you smile.
Pin This Recipe!
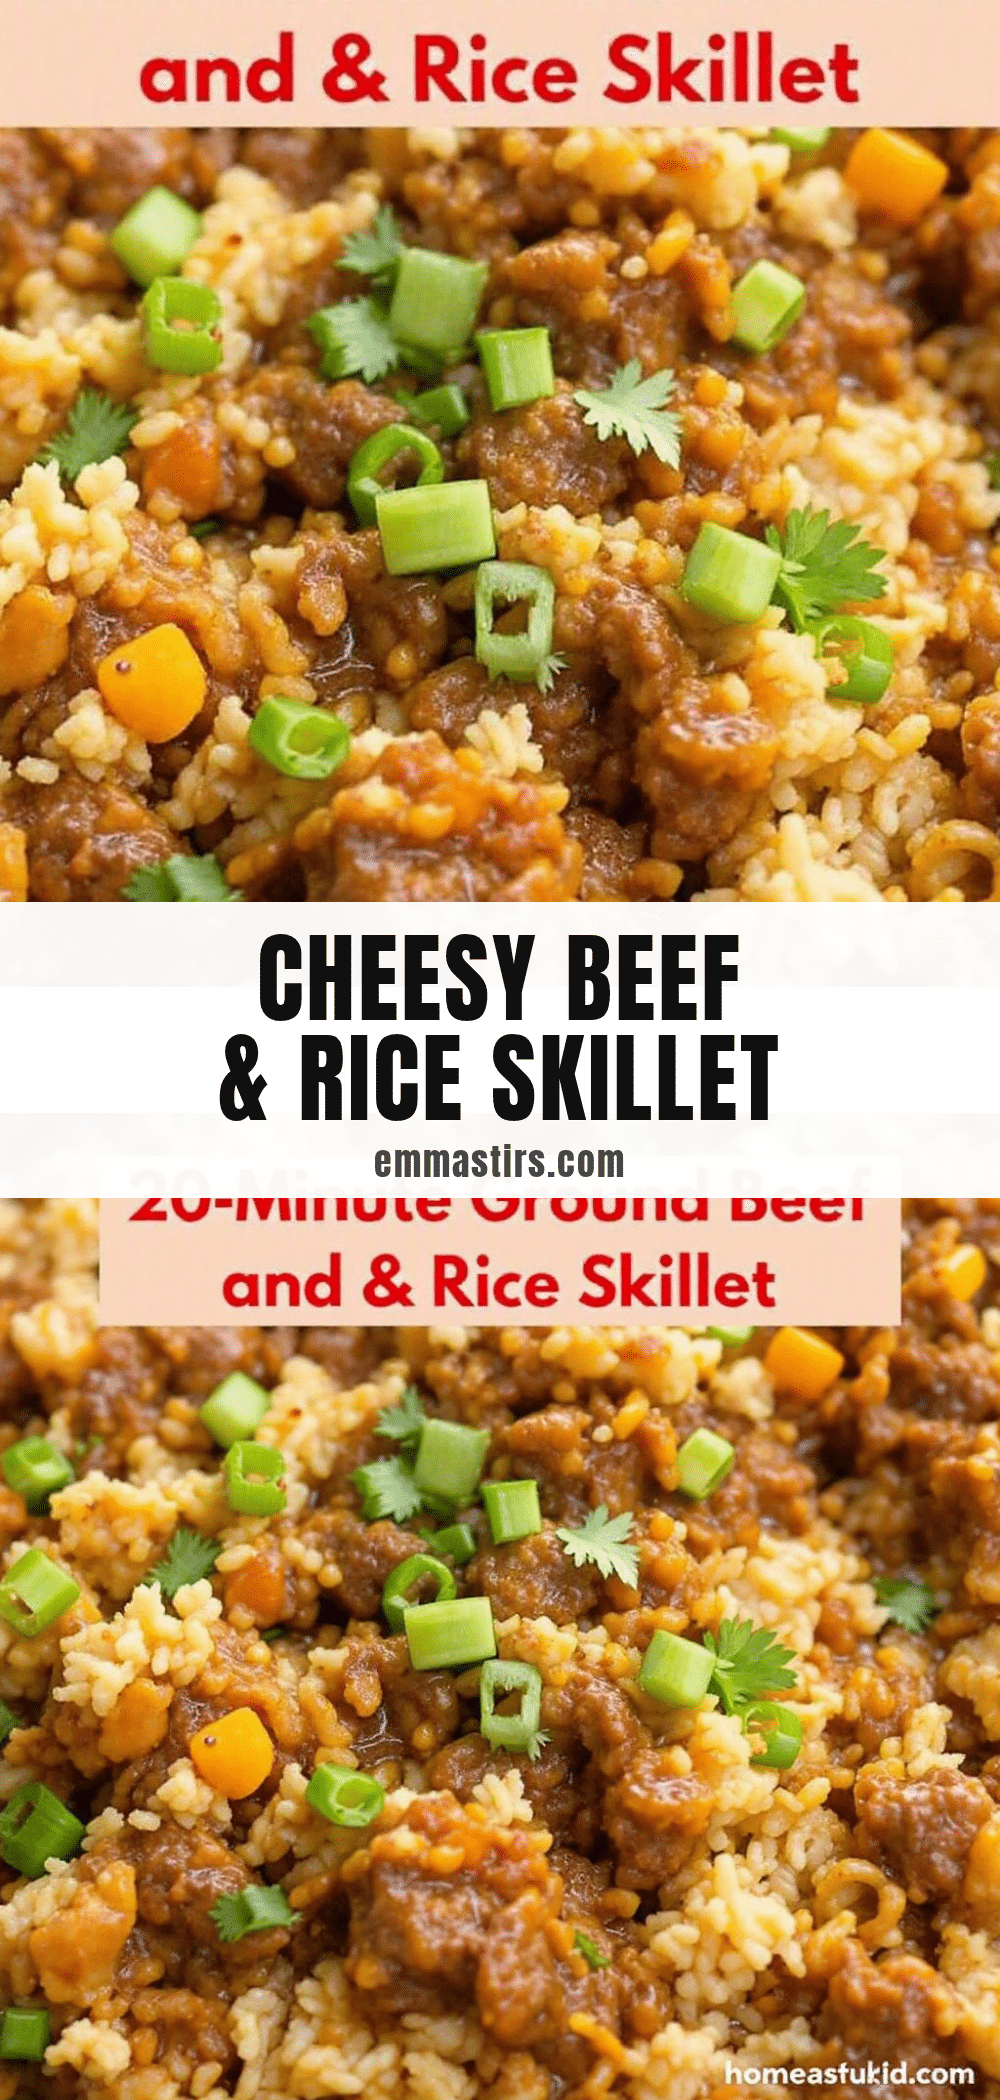
Easy Cheesy Ground Beef and Rice Skillet: Best One-Pan Dinner

A quick and comforting one-pan dinner with ground beef, rice, and melted cheese that comes together in under 30 minutes. Perfect for busy weeknights with minimal cleanup.
- Prep Time: 10 minutes
- Cook Time: 25 minutes
- Total Time: 35 minutes
- Yield: 6 servings 1x
- Category: Main Course
- Cuisine: American
Ingredients
- 1 pound ground beef (80/20 works best)
- 1 medium yellow onion, diced (about 1 cup)
- 3 cloves garlic, minced
- 1 cup long-grain white rice, uncooked
- 1 can (14.5 oz) diced tomatoes (fire-roasted preferred)
- 1 can (8 oz) tomato sauce
- 1 ½ cups beef broth (low-sodium preferred)
- 1 teaspoon smoked paprika
- 1 teaspoon dried oregano
- ½ teaspoon garlic powder
- ½ teaspoon onion powder
- Salt and black pepper to taste (start with ½ teaspoon salt and ¼ teaspoon pepper)
- 1 ½ cups shredded cheddar cheese (sharp cheddar recommended)
- ½ cup shredded mozzarella cheese
- 2 tablespoons cream cheese, softened
- 2 tablespoons butter (optional)
- Fresh parsley or cilantro, chopped (for garnish, optional)
- Green onions, sliced (for garnish, optional)
- Hot sauce or red pepper flakes (for garnish, optional)
Instructions
- Brown the ground beef: Place a large skillet over medium-high heat. Add the ground beef and break it apart with a wooden spoon. Let it cook undisturbed for about 3 minutes to develop browned bits, then stir and cook for 5-6 minutes total until browned and no longer pink. Drain excess fat, leaving about 1 tablespoon in the pan.
- Sauté the aromatics: Add the diced onion to the skillet and cook for 3-4 minutes until softened and translucent. Add the minced garlic and cook for 30 seconds until fragrant.
- Add the seasonings: Sprinkle smoked paprika, dried oregano, garlic powder, onion powder, salt, and pepper over the mixture. Stir and cook for 30 seconds to toast the spices.
- Stir in the tomatoes and rice: Add the diced tomatoes (with juices), tomato sauce, and uncooked rice. Stir until the rice is evenly distributed and coated. Scrape the bottom of the pan to incorporate any browned bits.
- Pour in the broth: Add the beef broth and stir gently. Bring to a boil over medium-high heat, then reduce heat to low, cover with a tight-fitting lid, and simmer. Do not lift the lid for the first 15 minutes.
- Let it simmer: Cook covered for 18-20 minutes. Check the rice after 18 minutes; it should be tender and most liquid absorbed. If rice is still firm, cook for another 2-3 minutes. If tender but some liquid remains, that’s fine.
- Add the cheese: Remove the lid. If using butter and cream cheese, drop them in small pieces over the top. Sprinkle shredded cheddar and mozzarella evenly over everything. Cover and let sit off the heat for 2-3 minutes until cheese melts. Optionally, broil for 1-2 minutes for a browned top (if skillet is oven-safe).
- Finish and serve: Stir gently to incorporate the melted cheese. Taste and adjust salt and pepper if needed. Garnish with fresh parsley or cilantro and sliced green onions. Serve hot.
Notes
For best results, use freshly shredded cheese instead of pre-shredded to avoid anti-caking agents. Let the beef brown undisturbed for a flavorful crust. Do not lift the lid during the first 15 minutes of simmering to ensure proper rice cooking. If rice is still crunchy after 20 minutes, add ¼ cup more broth and cook for another 5 minutes. Soften cream cheese beforehand for smoother incorporation.
Nutrition
- Serving Size: 1 serving (about 1.5
- Calories: 435
- Sugar: 5
- Sodium: 680
- Fat: 20
- Saturated Fat: 10
- Carbohydrates: 36
- Fiber: 2
- Protein: 29
Keywords: ground beef, rice, cheese, one-pan, skillet, easy dinner, comfort food, weeknight meal


