Love this? Save it for later!
Share the inspiration with your friends
That first crumble of chocolate cookie dirt under my thumb. The way it gives, then settles into a fine, dark powder against the cream. I was ten, maybe eleven, sitting cross-legged on my grandmother’s kitchen floor, a clear plastic cup in one hand and a gummy worm dangling from my lips. She was laughing, I remember—that low, wheezy laugh she got when she was truly delighted. She had seen the recipe in a magazine at the doctor’s office and ripped the page out, creasing it badly. “For my little gardener,” she said, handing me the torn paper. I wasn’t a gardener. I was a kid who loved chocolate pudding and anything that felt like a secret. And this—this dirt cup—felt like the best kind of secret. It was dessert, but it was also a game. A little world you could eat. I made them with her that afternoon, my fingers sticky from the crushed cookies, her hand guiding mine as we spooned the pudding into the cups. We buried the worms together, giggling at how silly it looked. I didn’t know it then, but that moment was seared into me—not just the taste, but the feeling. The feeling of making something that was more than just food. It was a tiny, edible adventure. And honestly? That feeling has never left. Every time I make these easy chocolate dirt cups with gummy worms, I’m right back on that linoleum floor, the sun slanting through the window, the world simple and sweet.
Why You’ll Love This Recipe
Let’s be real—some recipes are for impressing dinner guests. This one is for impressing your inner child. These easy chocolate dirt cups with gummy worms are the kind of dessert that makes everyone at the table smile, no matter their age. I’ve tested this version more times than I can count, tweaking the pudding texture and the cookie crumb ratio until it was just right. Not too soupy, not too dry. Just that perfect, spoon-stand-up-straight consistency.
- Incredibly Quick & Easy: We’re talking 15 minutes of active prep. No baking, no complicated steps. Just stir, layer, and chill. Perfect for those last-minute school parties or when you need a fun activity for a rainy afternoon.
- Simple, Budget-Friendly Ingredients: You likely have most of these in your pantry right now. Instant pudding mix, milk, Oreo cookies, and gummy worms. That’s it. No fancy trips to a specialty store.
- Perfect for Parties & Holidays: These are a guaranteed hit at birthday parties, Halloween gatherings, Earth Day celebrations, or just a fun Friday night movie snack. They even work beautifully for a baby shower if you swap the worms for something cuter!
- Undeniably a Crowd-Pleaser: Kids go absolutely wild for them. But I’ve served these at adult dinner parties too, and watched grown adults argue over who gets the last one. The nostalgia factor is powerful.
- Unbelievably Delicious: This isn’t just pudding and crushed cookies. The texture is pure magic—silky, creamy pudding against the crunch of the “dirt,” with those chewy, fruity worms hiding inside. It’s a complete sensory experience.
What makes this version different from all the others? It’s the little tricks I’ve picked up along the way. Like using cold milk to make the pudding extra thick, or pulsing the Oreos in a food processor for a finer, more soil-like crumb. I’ve also learned that letting the pudding set for a full hour makes all the difference. Rushing it leads to a soupy mess, and nobody wants a mudslide in their cup. This recipe isn’t just good—it’s the kind that makes you close your eyes after the first bite, just for a second, and remember being a kid.
What Ingredients You Will Need
This recipe uses simple, wholesome ingredients to deliver that classic, nostalgic flavor. You don’t need anything complicated here—just a few pantry staples that come together to create something magical. Each ingredient plays a specific role in building the perfect dirt cup.
- For the Pudding Base:
- 1 (3.9 oz) box instant chocolate pudding mix: I prefer Jell-O brand for its reliable, smooth texture. You want the instant kind, not the cook-and-serve, for that quick-set convenience. The chocolate flavor is the star here, so don’t skimp.
- 2 cups cold whole milk: Whole milk gives the richest, creamiest pudding. You can use 2% in a pinch, but avoid skim—it will be too thin. For a dairy-free version, use full-fat oat milk or canned coconut milk (the boxed kind, not the can for drinking).
- 1/2 teaspoon vanilla extract (optional): This isn’t strictly necessary, but I find it rounds out the chocolate flavor beautifully. It adds a subtle warmth that makes the pudding taste more homemade.
- For the “Dirt”:
- 1 (14.3 oz) package Oreo cookies (about 24 cookies): You’ll use the whole cookie—filling and all. The cream filling helps the crumbs clump slightly, mimicking real soil. Don’t try to scrape it off; that’s where some of the magic lives. I’ve tried using chocolate wafer cookies, but Oreos are truly the best for that deep, dark color and flavor.
- 2 tablespoons unsalted butter, melted (optional): This is my secret trick. A little melted butter mixed into the crushed Oreos gives the “dirt” a slightly more cohesive, clumpy texture, just like real garden soil. It’s not required, but it adds a wonderful richness.
- For the “Worms”:
- 1 cup gummy worms (about 12-15 worms): The classic sour gummy worms are the most fun, but you can use any variety. I like to cut some of them in half so they look like they’re poking out of the dirt. For a less sour option, use the regular sweet gummy worms.
- Optional: A few extra gummy worms for topping: Because you can never have too many worms. I always reserve a couple of the best-looking ones to place right on top.
- For Assembly:
- 6 small (5-6 oz) clear plastic cups or glass jars: Clear cups are essential for showing off the layers! You can use small mason jars, disposable party cups, or even small terracotta pots for a truly thematic presentation. Just make sure they’re clean and dry.
- Optional: Mint leaves or small edible flowers: For a “garden” garnish. This is a fun touch for a party, but totally unnecessary for the classic version.
Equipment Needed
You don’t need a professional kitchen to whip up these dirt cups. Most of these tools you probably already own. Here’s what you’ll need:
- Large mixing bowl: For whisking the pudding. A glass or stainless steel bowl works best.
- Whisk: A good, sturdy whisk is key for getting the pudding smooth without lumps.
- Food processor or a sturdy zip-top bag and a rolling pin: The food processor is my preferred method for a fine, even crumb. But if you don’t have one, a zip-top bag and a rolling pin (or even a heavy-bottomed pan) works perfectly. It’s a great way to let kids help! Just be prepared for a few rogue cookie crumbs to escape.
- Measuring cups and spoons: For precise milk and vanilla measurements.
- Spatula: For scraping every last bit of pudding out of the bowl. Waste not, want not!
- Small spoon or piping bag (optional): A small spoon is perfect for layering. A piping bag makes it a little neater, but it’s not necessary at all.
- 6 small cups or jars: As mentioned above, clear cups are best for the visual effect.
- Refrigerator: The most important piece of equipment! The pudding needs time to set.
Budget-Friendly Tip: Don’t have a food processor? No problem. The zip-top bag method is actually more fun for kids and creates a more rustic, uneven crumb that looks even more like real dirt. Just double-bag the cookies to prevent any explosions!
Preparation Method
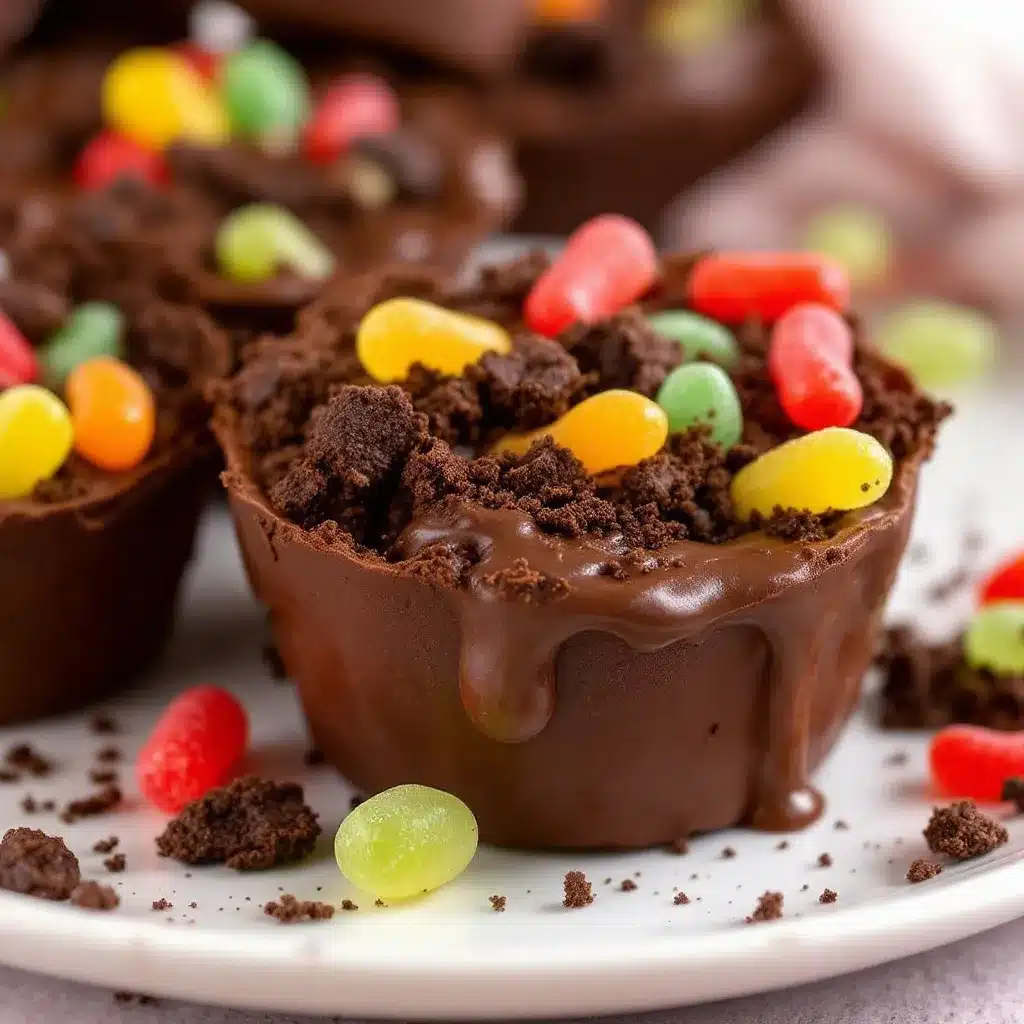
This is where the magic happens. Follow these steps, and you’ll have a batch of perfect dirt cups in no time. I’ve added all my little notes and tricks along the way, so you get the best results possible.
- Make the Pudding: In your large mixing bowl, pour in the 2 cups of cold whole milk. Add the 1/2 teaspoon of vanilla extract (if using). Then, sprinkle the entire box of instant chocolate pudding mix over the milk. Whisk vigorously for about 2 minutes. You’ll feel it start to thicken almost immediately. Don’t over-whisk, or it can get a bit too stiff. Just whisk until it’s smooth and beginning to set. Let it sit for 5 minutes to thicken further while you prepare the “dirt.”
- Crush the Oreos: While the pudding is resting, make your dirt. If using a food processor, add the whole Oreos (filling and all) and pulse about 10-12 times until you have a fine, sandy crumb. You want some slightly larger pieces for texture, but mostly a fine powder. If using the zip-top bag method, place the Oreos in a sturdy bag, seal it, and use a rolling pin to crush them until you reach the desired consistency. Be careful not to pulverize them into dust—a few small chunks are nice. If you’re using the melted butter, pour it over the crushed cookies and mix with a fork until it’s evenly distributed. The crumbs should clump together slightly when pressed.
- Layer the Cups: Now for the fun part. Grab your 6 clear cups. Start by spooning about 2 tablespoons of the Oreo “dirt” into the bottom of each cup. This creates the base layer. Gently press it down with the back of your spoon to create a solid foundation.
- Add the Pudding: Next, spoon or pipe the chocolate pudding over the Oreo layer. Fill each cup about halfway with pudding. Use the back of your spoon to spread it evenly, making sure it reaches the edges of the cup. This is your “soil” layer.
- Bury the Worms: Here’s where it gets playful. Take your gummy worms and press them into the pudding layer. You can push them all the way down so they’re completely hidden, or leave a few wiggling out the top. I like to do a mix—some completely buried, some peeking out, and some cut in half and sticking straight up as if they’re trying to escape. Use about 2-3 worms per cup for the middle layer.
- Top with More Dirt: Spoon the remaining Oreo crumbs over the pudding, completely covering it. This is the topsoil. You want a nice, thick layer—about 2-3 tablespoons per cup. Don’t press it down this time; leave it loose and crumbly, just like real dirt.
- Garnish and Chill: For the final touch, place one or two whole gummy worms on top of the “dirt,” as if they’ve just crawled out. You can also add a small mint leaf or an edible flower for a “garden” look, but I usually skip that. The worms are the star. Cover the cups loosely with plastic wrap or their lids and refrigerate for at least 1 hour. This is crucial. The pudding needs time to fully set, and the flavors need to meld. The longer they sit, the better they get. Overnight is even better.
- Serve and Enjoy: When you’re ready to serve, pull them out of the fridge. Hand them out with a small spoon and watch the smiles appear. The first bite is always the best—that cold, creamy pudding mixed with the crunchy, buttery “dirt” and the chewy, fruity worm. Pure joy in a cup.
Cooking Tips & Techniques
I’ve made these dirt cups more times than I can count, and I’ve learned a few things the hard way. Here are my top tips to ensure your dirt cups are perfect every single time.
- The Milk Matters: Seriously, use cold milk. I’ve been in a rush and used room-temperature milk, and the pudding never set properly. It was a sad, soupy mess. The cold milk is essential for the instant pudding to activate and thicken correctly. Leave the milk in the fridge until the very last second.
- Patience is a Virtue: I know it’s tempting to dig in right away, but please, I’m begging you—wait the full hour. The first time I made these as an adult, I was so excited I ate one after only 20 minutes. The pudding was still runny, the “dirt” had turned into a paste, and the worm was swimming in a chocolate puddle. It was not cute. Let them chill. The texture transforms completely.
- The Dirt Consistency: You want a fine crumb, not a powder. If you over-process the Oreos in the food processor, you’ll get a dusty, flour-like substance that doesn’t feel like dirt. Pulse in short bursts. You want to see small, dark specks and the occasional tiny chunk of cookie. It should look like dark, rich potting soil.
- No Food Processor? No Problem. I’ve used the bag-and-rolling-pin method more times than I can count, especially when camping or traveling. It’s a great arm workout! Just make sure the bag is well-sealed—a rogue cookie shard can fly across the room. I learned that one the hard way, too.
- Make-Ahead Magic: These are the perfect make-ahead dessert. You can assemble them a day in advance. In fact, they’re even better the next day. The pudding firms up beautifully, and the “dirt” stays crunchy because it’s sitting on top of the pudding, not mixed into it. Just keep them covered in the fridge.
Variations & Adaptations
The beauty of this recipe is how endlessly adaptable it is. You can change it up for different holidays, dietary needs, or just because you’re feeling creative. Here are a few of my favorite variations.
- Halloween Dirt Cups: This is the classic. Use orange and black gummy worms, or even add some candy eyeballs for a spooky touch. You can also use chocolate cookie crumbs mixed with a little orange food coloring for a “pumpkin patch” dirt.
- Peanut Butter Dirt Cups: My personal indulgence. Add 2 tablespoons of creamy peanut butter to the milk before whisking in the pudding mix. It creates a rich, peanut butter-chocolate pudding that is absolutely divine. Top with crushed peanut butter cookies instead of Oreos for an extra hit of peanut butter flavor.
- Vegan & Dairy-Free Version: This is super easy. Use a high-quality vegan chocolate pudding mix (like Simply Delish) and replace the milk with full-fat oat milk or canned coconut milk. For the “dirt,” use vegan chocolate sandwich cookies (like Newman’s Own or Oreos, which are actually vegan!). It works perfectly and tastes just as good.
- Gluten-Free Dirt Cups: You can find gluten-free chocolate sandwich cookies at most grocery stores now (Kinnikinnick makes a great one). Just make sure your pudding mix is also certified gluten-free. Everything else is naturally gluten-free. This is a fantastic option for those with dietary restrictions who still want to join the fun.
- “Garden” Dirt Cups: For a spring or baby shower theme, swap the gummy worms for gummy flowers or small sugar flowers. You can also add a “carrot” by inserting a small, orange gummy candy into the top. It’s a beautiful and whimsical presentation.
Serving & Storage Suggestions
These dirt cups are best served cold, straight from the fridge. The contrast between the chilly pudding and the crunchy “dirt” is what makes them so satisfying. I like to serve them in their clear cups with a small spoon tied with a ribbon for a festive touch.
- Presentation: For a party, you can arrange the cups on a large tray or platter. If you’re using small terracotta pots, place them on a bed of fake moss for an incredibly realistic “garden” display. It’s a showstopper.
- Complementary Dishes: These are a dessert on their own, but they pair wonderfully with a light, fresh fruit salad. The acidity of the fruit cuts through the richness of the chocolate. A fresh low-calorie fruit salad with mint would be a perfect, refreshing companion. Or, if you’re serving them at a barbecue, they go great with a watermelon cucumber feta salad for a sweet and savory balance.
- Storage: Store any leftover dirt cups in the refrigerator, tightly covered with plastic wrap or a lid. They will keep for up to 3 days. The “dirt” might soften slightly over time, but it will still be delicious. Do not leave them out at room temperature for more than 2 hours.
- Reheating: You don’t need to reheat these. They are meant to be served cold. If the pudding gets too firm after a couple of days, just let it sit at room temperature for 5-10 minutes before serving. It will soften up perfectly.
- Flavor Development: As I mentioned, these are even better the next day. The flavors meld together beautifully, and the pudding sets to a perfect, spoonable consistency. The “dirt” stays surprisingly crunchy, especially if you used the butter trick. It’s a dessert that truly rewards patience.
Nutritional Information & Benefits
Let’s be honest—these are a treat, not a health food. But that doesn’t mean they can’t fit into a balanced lifestyle! Here’s a rough estimate of what’s in one dirt cup (based on 6 servings).
- Estimated Nutritional Values (per serving):
- Calories: ~380
- Fat: 16g
- Carbohydrates: 55g
- Protein: 6g
- Sugar: 40g
- Health Highlights: The milk provides a good dose of calcium and vitamin D for bone health. The cocoa in the pudding and Oreos contains antioxidants called flavanols, which are good for heart health (though the sugar content does balance that out a bit). The gummy worms? Well, they’re a source of pure, unadulterated joy. And that counts for something, right?
- Dietary Considerations: As noted above, this recipe can easily be made vegan, dairy-free, and gluten-free with simple substitutions. It is not suitable for a low-sugar or keto diet in its standard form, but you could experiment with sugar-free pudding and keto-friendly chocolate cookies.
- Potential Allergens: This recipe contains milk, wheat (in the cookies), and soy (often in the cookies and pudding). The gummy worms may also contain corn syrup and artificial colors. Always check labels if you are serving someone with allergies. If you’re looking for a protein-packed breakfast to balance out this indulgence, I highly recommend my healthy egg white breakfast burrito for the next morning!
Conclusion
So there you have it. My grandmother’s torn-out magazine recipe, perfected over years of trial and error (and a few soupy disasters). These easy chocolate dirt cups with gummy worms are more than just a dessert—they’re a little piece of nostalgia you can hold in your hand. They’re for the kids’ table at Thanksgiving, the last-minute school bake sale, or a quiet Tuesday night when you just need something fun. I love that they’re so forgiving. You can make them with your kids, get chocolate on your counter, and it doesn’t matter. The mess is part of the memory. I hope you make these and feel that same spark of joy I felt on my grandmother’s kitchen floor. Don’t be afraid to customize them—use different candies, different cookies, make them your own. And when you do, I’d love to hear about it. Drop a comment below and tell me your dirt cup story. Did your kids try to eat the “dirt” before you could layer it? Did you hide extra worms for yourself? Share your wins, your messes, and your photos. Let’s keep the tradition alive, one chocolatey, worm-filled cup at a time. Happy cooking, friends!
Frequently Asked Questions
Can I use homemade chocolate pudding instead of instant?
Absolutely! Homemade pudding will work wonderfully. Just make sure it is completely cooled and thickened before layering it into the cups. Instant pudding is just faster and more convenient for a last-minute treat.
How far in advance can I make these dirt cups?
You can make them up to 2 days in advance. Store them tightly covered in the refrigerator. The “dirt” will soften slightly, but the flavor will be even better as the pudding sets completely.
Can I use a different type of cookie for the dirt?
Yes! Chocolate wafer cookies, gluten-free chocolate cookies, or even crushed chocolate graham crackers work great. You can also use vanilla wafers for a “sand” effect, though the chocolate flavor is the classic pairing.
My pudding didn’t set! What went wrong?
This usually happens for one of two reasons: the milk wasn’t cold enough, or you didn’t whisk it long enough. Make sure your milk is straight from the fridge, and whisk for a full 2 minutes. Let it rest for 5 minutes before layering to see if it thickens.
Can I freeze these dirt cups?
I don’t recommend freezing them. The pudding will become icy and watery when thawed, and the cookie “dirt” will turn into a soggy mess. They are best enjoyed fresh from the refrigerator.
Pin This Recipe!
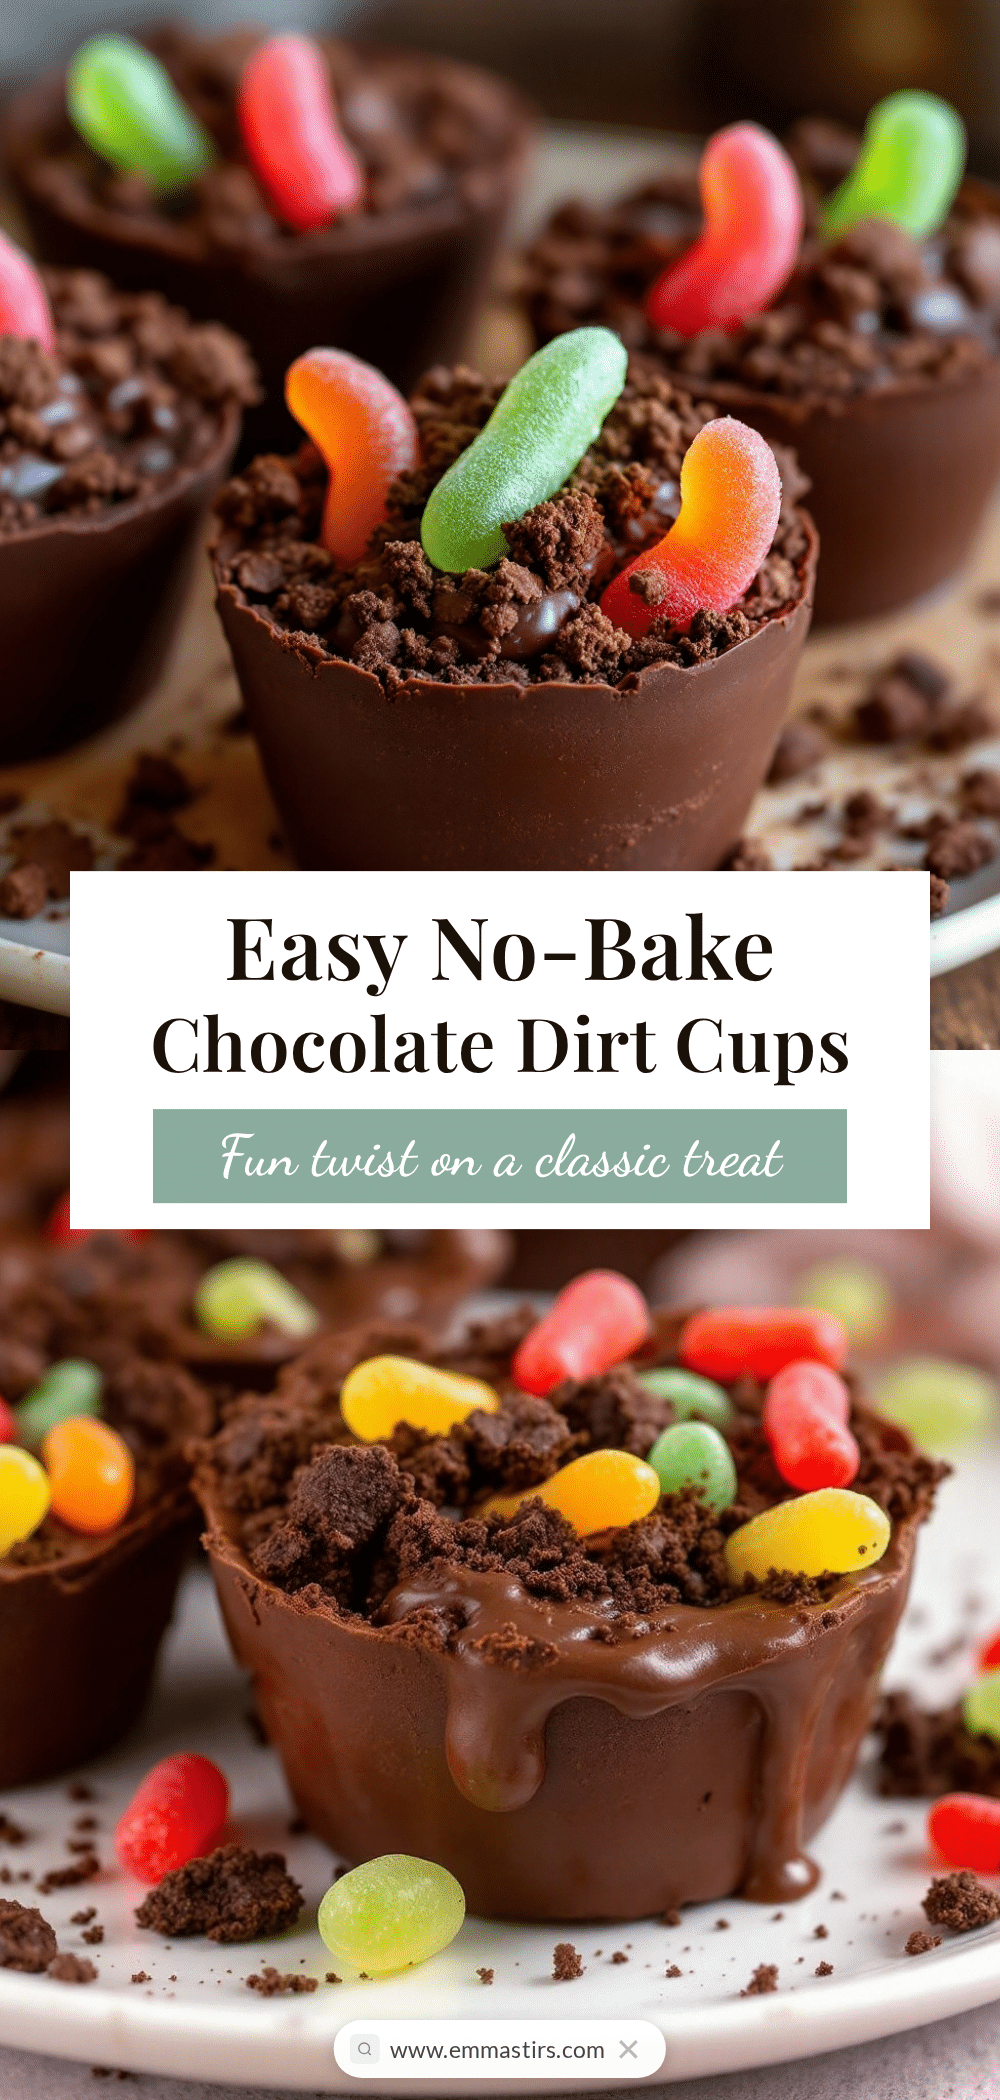
Easy Chocolate Dirt Cups with Gummy Worms

A nostalgic, no-bake dessert featuring creamy chocolate pudding, crushed Oreo ‘dirt,’ and gummy worms hidden inside. Perfect for parties and a guaranteed crowd-pleaser for kids and adults alike.
- Prep Time: 15 minutes
- Cook Time: 0 minutes
- Total Time: 1 hour 15 minutes (includes chilling time)
- Yield: 6 servings 1x
- Category: Dessert
- Cuisine: American
Ingredients
- 1 (3.9 oz) box instant chocolate pudding mix (Jell-O brand recommended)
- 2 cups cold whole milk
- 1/2 teaspoon vanilla extract (optional)
- 1 (14.3 oz) package Oreo cookies (about 24 cookies)
- 2 tablespoons unsalted butter, melted (optional)
- 1 cup gummy worms (about 12–15 worms)
- Optional: a few extra gummy worms for topping
- 6 small (5-6 oz) clear plastic cups or glass jars
- Optional: mint leaves or small edible flowers for garnish
Instructions
- Make the Pudding: In a large mixing bowl, pour in 2 cups of cold whole milk. Add 1/2 teaspoon vanilla extract (if using). Sprinkle the entire box of instant chocolate pudding mix over the milk. Whisk vigorously for about 2 minutes until smooth and beginning to thicken. Let it sit for 5 minutes to thicken further.
- Crush the Oreos: While the pudding rests, make the ‘dirt.’ If using a food processor, add whole Oreos (filling and all) and pulse 10-12 times until you have a fine, sandy crumb with some slightly larger pieces. If using a zip-top bag, place Oreos in a sturdy bag, seal, and crush with a rolling pin. If using melted butter, pour it over the crushed cookies and mix with a fork until evenly distributed.
- Layer the Cups: Spoon about 2 tablespoons of Oreo ‘dirt’ into the bottom of each of the 6 clear cups. Gently press it down with the back of a spoon to create a solid foundation.
- Add the Pudding: Spoon or pipe the chocolate pudding over the Oreo layer, filling each cup about halfway. Use the back of a spoon to spread it evenly to the edges.
- Bury the Worms: Press gummy worms into the pudding layer. Push some all the way down, leave a few peeking out, or cut some in half and stick them straight up. Use about 2-3 worms per cup for the middle layer.
- Top with More Dirt: Spoon the remaining Oreo crumbs over the pudding, completely covering it with a thick layer (about 2-3 tablespoons per cup). Leave it loose and crumbly; do not press down.
- Garnish and Chill: Place one or two whole gummy worms on top of the ‘dirt.’ Cover cups loosely with plastic wrap or lids and refrigerate for at least 1 hour (overnight is even better).
- Serve and Enjoy: Serve cold straight from the fridge with a small spoon.
Notes
Use cold milk for the pudding to set properly. Let the assembled cups chill for at least 1 hour; overnight is even better. For a finer ‘dirt,’ pulse Oreos in a food processor; for a rustic crumb, use a zip-top bag and rolling pin. The melted butter in the ‘dirt’ is optional but adds richness and a clumpy texture. These can be made up to 2 days in advance and stored covered in the refrigerator. Do not freeze.
Nutrition
- Serving Size: 1 dirt cup
- Calories: 380
- Sugar: 40
- Sodium: 380
- Fat: 16
- Saturated Fat: 8
- Carbohydrates: 55
- Fiber: 2
- Protein: 6
Keywords: chocolate dirt cups, gummy worms, no-bake dessert, easy dessert, kids dessert, Halloween dessert, Oreo pudding cups


