Love this? Save it for later!
Share the inspiration with your friends
The neighborhood book club was in less than an hour and I’d completely forgotten to bring a snack for the kids. Everyone else would be showing up with fancy charcuterie boards or homemade cookies that took hours to whip up. I had nothing but a half-empty pantry and a vague hope to pull something together quickly. Honestly, I was scrambling when my friend Mia peeked over my fence and reminded me about those easy DIY after-school snack boxes I had mentioned once. I decided to throw something together with what was on hand—fresh fruit, some nuts, cheese slices—and, surprisingly, those simple snack boxes won over every kid in the room.
You know that feeling when you’re caught off guard and think, “This is going to be a disaster,” but it somehow turns out better than expected? That’s exactly what happened. These snack boxes have since become my go-to quick fix, and I keep finding new ways to make them even better. Maybe you’ve been there too—racing the clock, wanting to give your kids something wholesome but not complicated. That’s why I keep coming back to these easy DIY after-school snack boxes for kids—because they’re fuss-free, flexible, and, honestly, a little lifesaver in hectic moments.
Why You’ll Love This Recipe
Having tested countless snacks over the years, I can say these easy DIY after-school snack boxes really stand out. They’re not just a last-minute idea but a reliable, kid-approved solution when hunger hits after school.
- Quick & Easy: Comes together in under 10 minutes—perfect for busy afternoons or unexpected guests.
- Simple Ingredients: Uses common pantry staples and fresh produce you likely already have.
- Perfect for Any Occasion: Great for after-school hunger, playdates, or even a light lunch.
- Crowd-Pleaser: Both picky eaters and adventurous kids enjoy these customizable boxes.
- Unbelievably Delicious: The mix of textures and flavors keeps kids interested bite after bite.
What sets this recipe apart? It’s the freedom to personalize. Whether you swap in seasonal fruits, add a little nut butter for extra protein, or throw in some crunchy veggies, these snack boxes adapt easily. Plus, I’ve learned that prepping a few in advance saves a ton of stress—plus, my kids feel like they’re getting a special treat every day. Honestly, after making these a dozen times, I’m convinced this isn’t just another snack recipe—it’s a simple way to bring joy and nutrition to the table, without the fuss.
What Ingredients You Will Need
This recipe uses simple, wholesome ingredients to deliver bold flavor and satisfying texture without the fuss. Most are pantry staples, and you can easily swap items based on your child’s preferences or what’s in season.
- Fresh Fruit: Apple slices, grapes, berries, or banana chunks (choose firm, ripe fruit for best texture)
- Cheese: String cheese, cheddar cubes, or mozzarella sticks (I recommend using mild cheddar from Cabot for its creamy texture)
- Nuts & Seeds: Almonds, walnuts, pumpkin seeds, or sunflower seeds (omit if there are allergy concerns)
- Vegetables: Baby carrots, cucumber slices, cherry tomatoes (fresh, crisp veggies add crunch)
- Whole-Grain Crackers: Look for brands with minimal added sugar like Triscuit or Mary’s Gone Crackers
- Nut Butters: Peanut butter, almond butter, or sunflower seed butter (choose natural, no-sugar-added options)
- Dips: Hummus or yogurt-based dips for extra flavor and nutrition
- Extras: Mini pretzels, dried fruit (unsweetened), or a small sweet treat like a dark chocolate square
For substitutions, use dairy-free cheese alternatives if needed and swap nuts for seeds in allergy-sensitive homes. In warmer months, fresh berries or melon chunks are delightful swaps for apples or bananas. I personally love adding a small container of homemade honey-yogurt dip—it’s a hit every time and adds a creamy contrast.
Equipment Needed
Here’s what you’ll want on hand to assemble these easy DIY after-school snack boxes:
- Snack Containers: Bento boxes or small divided containers work best for separating components and keeping things fresh.
- Sharp Knife: For slicing fruit and veggies safely and efficiently. I prefer a serrated knife for apples.
- Cutting Board: A sturdy board makes quick work of prep.
- Small Bowls: To portion dips or smaller items like nuts.
- Measuring Cups & Spoons: Helpful if you want to keep portions consistent, though eyeballing works fine here.
If you don’t have bento boxes, small reusable silicone cups within a larger container also do the trick. Personally, I’ve used dollar-store compartment trays when in a pinch—they’re budget-friendly and easy to clean. Just remember to wash everything thoroughly between uses to keep things hygienic. I keep a set of bamboo snack picks handy for fun presentation, but they’re totally optional.
Preparation Method
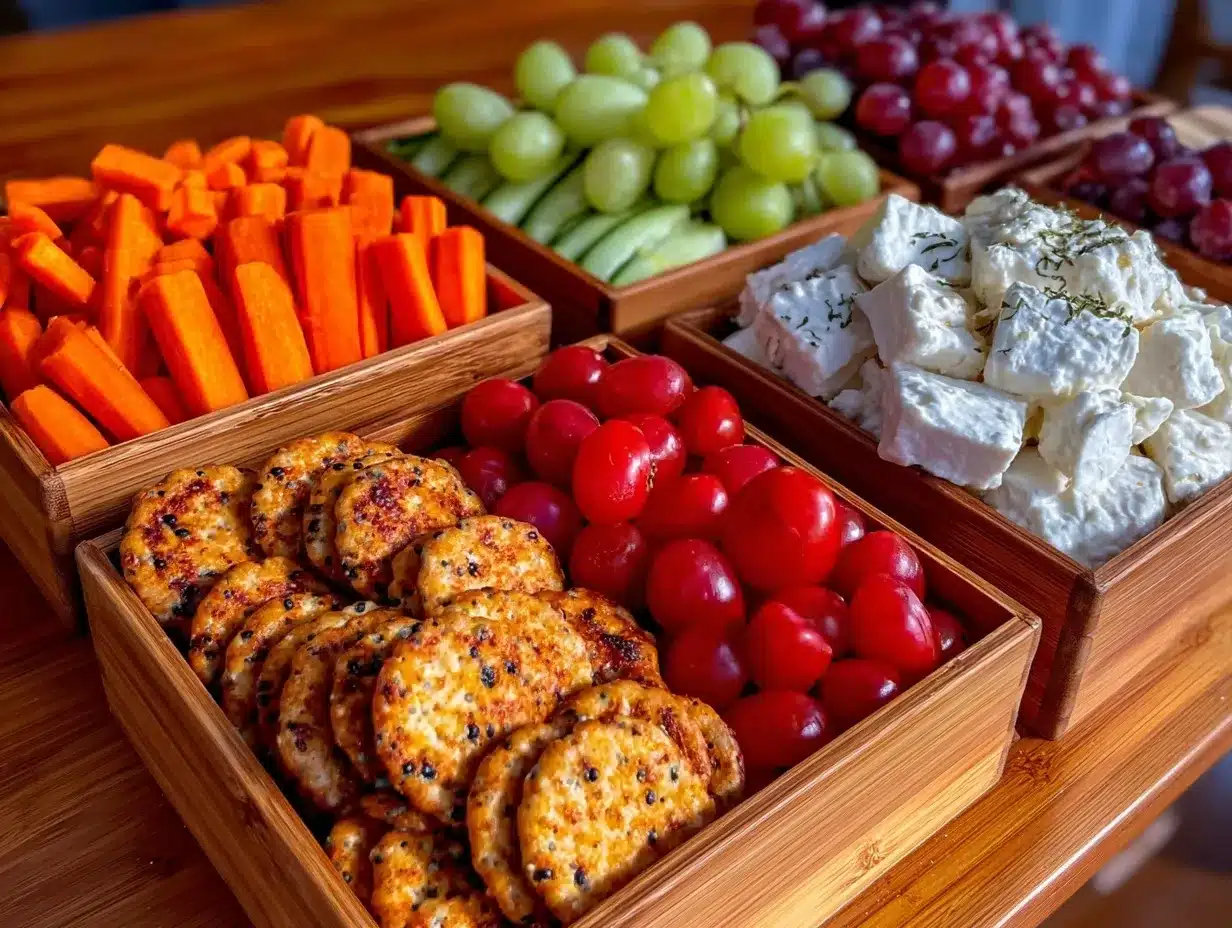
- Wash and Prep: Rinse all fresh produce under cold water. Pat dry with a clean towel. (5 minutes)
- Slice Fruits and Veggies: Cut apples into thin wedges, slice cucumbers into coins, and halve cherry tomatoes. Keep pieces bite-sized for easy eating. (5-7 minutes)
- Portion Cheese: Cut cheese into cubes or grab string cheese sticks. For younger kids, smaller pieces reduce choking risks. (2 minutes)
- Gather Nuts and Crackers: Measure out a small handful (about ¼ cup or 30 grams) of nuts and crackers per box. (1-2 minutes)
- Assemble Snack Boxes: In each compartment or section, arrange the fruit, veggies, cheese, nuts, crackers, and any extras neatly. Avoid mixing wet and dry items directly to prevent sogginess. (3-5 minutes)
- Add Dips: Place dips like hummus or yogurt in small containers or silicone cups, then tuck them into the box. (1 minute)
- Seal and Store: Close the snack box securely. Refrigerate if not serving immediately. These hold well for up to 24 hours. (Immediate)
Tip: If prepping in the morning, add sliced apples just before serving or toss them lightly in lemon juice to prevent browning. When you’re short on time, pre-sliced pre-packaged veggies and fruits can save a few extra minutes.
Cooking Tips & Techniques
Although this recipe doesn’t involve actual cooking, there are a few tricks I’ve picked up to make snack box prep smooth and kid-friendly.
- Balance Textures: Mixing crunchy, creamy, and juicy elements keeps kids interested and satisfies different cravings.
- Portion Wisely: Kids’ appetites vary, so start with small portions and allow them to ask for more if needed. Overstuffed boxes can overwhelm.
- Prevent Sogginess: Keep wet and dry items separate. Use small containers for dips and juicy fruits.
- Safety First: Cut foods into bite-sized pieces appropriate for your child’s age to minimize choking hazards.
- Mix It Up: Rotate ingredients to avoid snack fatigue. My kids get bored fast if I serve the same things repeatedly.
- Multitask: Prep multiple snack boxes at once on weekends to save time on busy school days.
One time, I forgot to wipe the cutting board between slicing apples and carrots, and the apples tasted oddly like carrots. Lesson learned: always clean your prep surfaces between ingredients. These little details make a big difference in flavor and appeal.
Variations & Adaptations
Feel free to customize these snack boxes to suit your child’s tastes, dietary needs, or what you have on hand.
- Gluten-Free Option: Swap whole-grain crackers with gluten-free rice crackers or crispbreads.
- Dairy-Free: Use dairy-free cheese alternatives or add extra fruit and nut butter for protein.
- Seasonal Themes: In fall, include roasted pumpkin seeds and apple slices with cinnamon. In summer, fresh berries and melon chunks shine.
- Sweet Tooth Swap: Add a small portion of dried fruit or a mini dark chocolate square for an occasional treat.
- Protein Boost: Include boiled eggs or turkey roll-ups alongside the usual suspects for heartier snack boxes.
Personally, I once made a tropical-themed box with mango chunks, coconut flakes, and macadamia nuts after a beach day—it was a hit and felt like a mini vacation in a box!
Serving & Storage Suggestions
These snack boxes are best served chilled or at room temperature. I usually pull them from the fridge about 10 minutes before serving so the cheese isn’t too hard and the flavors have a chance to mellow.
Pair the boxes with a refreshing drink like infused water or a small smoothie to round out the snack. They also work well alongside simple sandwiches or wraps if you want to offer a more filling after-school meal.
For storage, keep the boxes sealed in the refrigerator for up to 24 hours. Avoid freezing as fresh fruits and vegetables don’t freeze well in this context. When reheating isn’t applicable, but if you add leftovers like boiled eggs or small baked items, consume those within the day.
Flavors tend to develop nicely if you prepare these snack boxes a few hours ahead, but keep an eye on moisture buildup inside the container to prevent sogginess.
Nutritional Information & Benefits
Each snack box packs a balanced mix of macronutrients: carbohydrates from fruits and crackers, protein from cheese and nuts, and healthy fats from nut butters and seeds. This combination helps sustain energy levels and keeps hunger at bay until dinner.
Key ingredients like fresh fruit provide essential vitamins and antioxidants, while nuts contribute heart-healthy fats and minerals. Using whole-grain crackers adds fiber, which supports digestion.
These snack boxes are naturally gluten-free if you choose appropriate crackers and can be adapted for dairy-free diets by swapping cheeses. They avoid added sugars and artificial additives, making them a wholesome choice for growing kids.
From a wellness perspective, I find these boxes encourage mindful eating and portion control, which is a small but meaningful step toward healthy habits in my household.
Conclusion
If you’re looking for a quick, healthy, and kid-friendly solution to after-school hunger, these easy DIY after-school snack boxes for kids are well worth trying. They’re flexible enough to fit your family’s tastes and schedule, yet nutritious enough to keep little tummies satisfied.
I love that they’re so customizable—whether you’re in a mad rush or want to make something special, these boxes rise to the occasion. Plus, kids often get excited to help assemble their own, which makes snack time even more fun.
Give this recipe a shot, tweak it your way, and let me know how your kids respond! I’d love to hear your favorite combos or any creative twists you come up with. Here’s to simple snacks that bring smiles and fuel after-school adventures.
FAQs
What are some kid-friendly fruits to include in snack boxes?
Fruits like apple slices, grapes, berries, and banana chunks are usually popular choices. They’re easy to eat and naturally sweet without being messy.
Can I prepare these snack boxes ahead of time?
Yes! You can prep them up to 24 hours in advance and store them in the fridge. Just keep wet items like dips separate until serving to avoid sogginess.
How can I make these snack boxes allergy-friendly?
Omit nuts if allergies are a concern and substitute with seeds like pumpkin or sunflower seeds. Use dairy-free cheese alternatives and avoid cross-contamination during prep.
Are these snack boxes suitable for toddlers?
With proper portion sizes and bite-size pieces, these boxes work well for toddlers. Always supervise young children while eating to prevent choking hazards.
What are good dip options to add to the snack boxes?
Hummus, yogurt-based dips, or nut butters are tasty and nutritious options that pair well with fruits and veggies in the boxes.
Pin This Recipe!
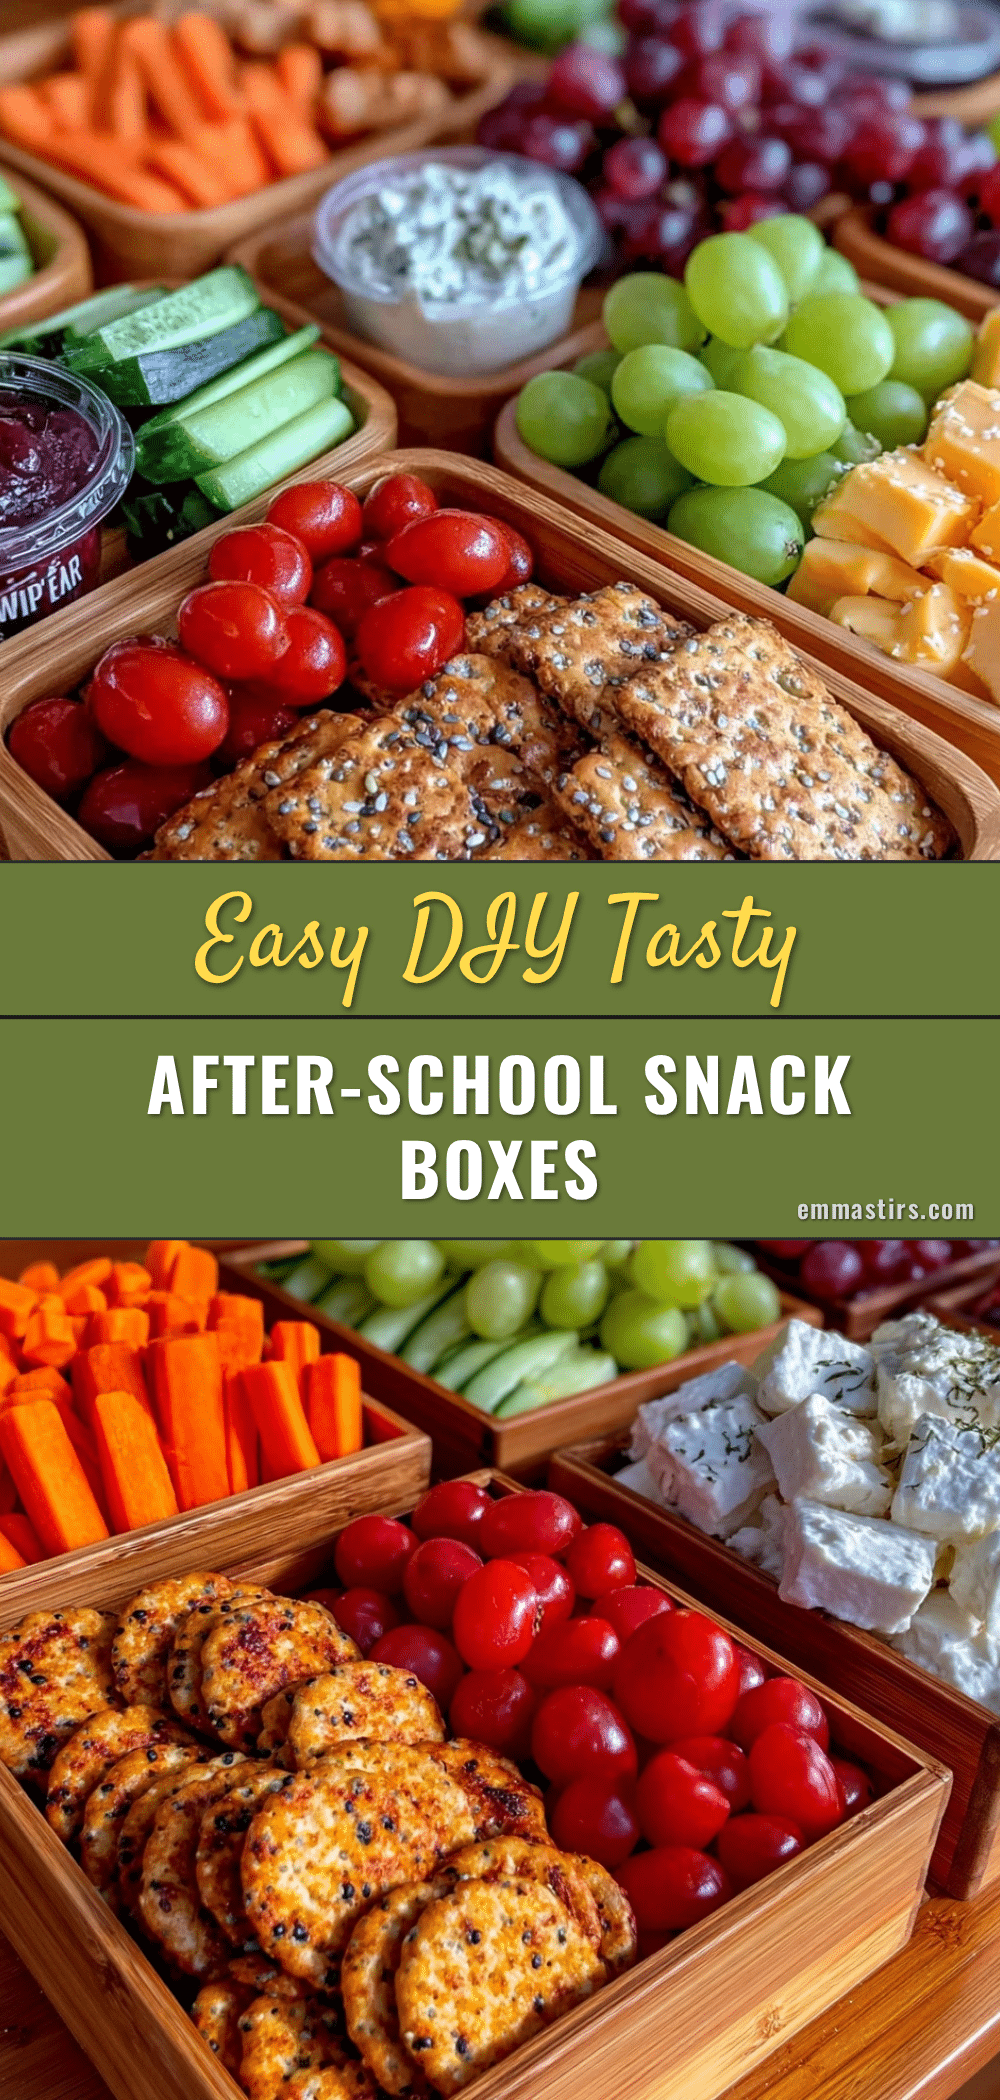
Easy DIY After-School Snack Boxes for Kids
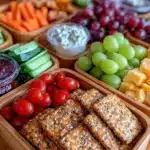
Quick, healthy, and customizable snack boxes perfect for after-school hunger, playdates, or light lunches. These fuss-free snack boxes combine fresh fruits, veggies, cheese, nuts, and more for a balanced and kid-approved treat.
- Prep Time: 10 minutes
- Cook Time: 0 minutes
- Total Time: 10 minutes
- Yield: 1 snack box (adjustable)
- Category: Snack
- Cuisine: American
Ingredients
- Fresh fruit: apple slices, grapes, berries, banana chunks
- Cheese: string cheese, cheddar cubes, mozzarella sticks
- Nuts & seeds: almonds, walnuts, pumpkin seeds, sunflower seeds (omit if allergy concerns)
- Vegetables: baby carrots, cucumber slices, cherry tomatoes
- Whole-grain crackers (e.g., Triscuit, Mary’s Gone Crackers)
- Nut butters: peanut butter, almond butter, sunflower seed butter (natural, no sugar added)
- Dips: hummus or yogurt-based dips
- Extras: mini pretzels, dried fruit (unsweetened), small dark chocolate square
Instructions
- Wash and prep all fresh produce under cold water. Pat dry with a clean towel. (5 minutes)
- Slice fruits and veggies: cut apples into thin wedges, slice cucumbers into coins, halve cherry tomatoes. Keep pieces bite-sized. (5-7 minutes)
- Portion cheese into cubes or use string cheese sticks. For younger kids, cut into smaller pieces to reduce choking risk. (2 minutes)
- Measure out a small handful (about 1/4 cup or 30 grams) of nuts and crackers per box. (1-2 minutes)
- Assemble snack boxes by arranging fruit, veggies, cheese, nuts, crackers, and extras neatly in compartments. Avoid mixing wet and dry items directly to prevent sogginess. (3-5 minutes)
- Add dips like hummus or yogurt in small containers or silicone cups and tuck them into the box. (1 minute)
- Seal the snack box securely. Refrigerate if not serving immediately. Hold well up to 24 hours.
Notes
Keep wet and dry items separate to prevent sogginess. Cut foods into bite-sized pieces appropriate for child’s age to minimize choking hazards. Prep multiple boxes ahead to save time. Add lemon juice to apple slices to prevent browning if prepping early. Use dairy-free cheese and seed substitutes for allergy-friendly versions.
Nutrition
- Serving Size: One snack box per ch
- Calories: 25030
- Sugar: 12
- Sodium: 250
- Fat: 12
- Saturated Fat: 4
- Carbohydrates: 28
- Fiber: 5
- Protein: 8
Keywords: after-school snack, kids snack, healthy snack, DIY snack box, easy snack, quick snack, kid-friendly, nutritious snack