Love this? Save it for later!
Share the inspiration with your friends
Third batch in three days, and I finally figured out why the first two looked more like sad little clouds than ghosts. The piping bag angle. Sounds ridiculous, right? But that ten-degree tilt—holding the bag straight up instead of at a slight angle—changed everything. Suddenly those peaks had personality, that little wobble at the top looked intentional, and my kitchen counter looked like a tiny ghost convention had taken over.
I am not a baker. Honestly, I am more of a savory cook—the kind of person who can riff on a one-pan Tuscan chicken without thinking but gets twitchy around precise sugar temperatures. Meringue scared me for years. Too fussy, too finicky, too likely to collapse into a sugary puddle. But these ghost pops? They are forgiving in a way meringue usually isn’t. You don’t need a candy thermometer or a pastry degree. You just need patience, a clean bowl, and maybe a little less perfectionism than I brought to batch one.
The best part—and this is what kept me coming back—is how they make people smile. I brought a dozen to my neighbor’s Halloween get-together, and grown adults literally squealed. There is something about a tiny ghost on a stick that bypasses all pretense. It’s silly and charming and exactly the kind of treat that makes a holiday feel special without requiring elaborate fondant work or specialty molds.
I think that is why this recipe stuck with me. It’s not about technical prowess. It’s about the joy of making something that looks like it took hours when really, it took maybe forty minutes of active work and a lot of staring at the oven door waiting for them to dry. These Easy Ghost Meringue Cookie Pops have become my Halloween signature, and I have a feeling they are about to become yours too.
Why You Will Love This Recipe
Let me tell you why these ghost pops are worth every whisk stroke and every minute of oven time. I have tested this recipe six times in the past two weeks—yes, six—and I can confidently say it works every single time when you follow a few simple rules.
- Only 4 Ingredients : Egg whites, sugar, cream of tartar, and vanilla extract. That is it. You probably have all of them right now.
- No Specialty Equipment Needed : A hand mixer works perfectly. No stand mixer required, though it helps. You also need a piping bag, but a zip-top bag with the corner snipped off does the job just fine.
- Gluten-Free and Low-Fat : These naturally fit gluten-free diets, and each pop has minimal fat. Perfect for anyone watching what they eat but still wanting a Halloween treat.
- Make-Ahead Friendly : They stay fresh in an airtight container for up to two weeks. You can make them days before your Halloween party without any stress.
- Kid-Approved and Adult-Addicting : The texture is light and airy, like a crispy marshmallow that melts on your tongue. Kids love the ghost shape, adults love the not-too-sweet vanilla flavor.
What makes this recipe different from other meringue cookies I have tried is the technique. Most recipes tell you to bake at a low temperature for hours, but they never explain why your meringue cracked or turned brown. I learned the hard way that the key is starting at a slightly higher temperature to set the structure, then dropping the heat to dry them out completely. No browning, no cracking, just perfect little white ghosts every time.
There is also something deeply satisfying about making these. The transformation from liquid egg whites to glossy, stiff peaks feels like magic every single time. And when you pipe those little ghosts and add chocolate chip eyes? Honestly, it is impossible not to smile. This is the kind of recipe that makes you feel like a kitchen wizard without actually requiring wizard-level skills.
What Ingredients You Will Need
This recipe uses simple, pantry-friendly ingredients that work together to create that signature light-as-air meringue texture. Each ingredient plays a specific role, so understanding them helps you get perfect results every time.
- 3 large egg whites, room temperature : Room temperature egg whites whip up to significantly more volume than cold ones. Separate your eggs when they are cold—it is easier—then let the whites sit on the counter for 30 minutes before whipping. I have tested this with fresh eggs and with carton egg whites, and fresh always gives better structure. If you have leftover yolks, use them in a batch of brown butter chocolate chip cookies.
- 3/4 cup (150g) granulated white sugar : Not confectioners sugar, not brown sugar. Granulated sugar dissolves cleanly and provides the structure meringue needs. I have tried superfine sugar and it works slightly faster, but regular granulated is perfectly fine. The sugar does more than sweeten—it stabilizes the foam and creates that crisp, shattery texture.
- 1/4 teaspoon cream of tartar : This is your insurance policy. Cream of tartar is an acid that stabilizes the egg white foam and prevents over-beating. If you do not have it, substitute 1/2 teaspoon lemon juice or white vinegar. I have made meringue without it and regretted it—the texture was less stable and the peaks drooped during piping.
- 1/2 teaspoon vanilla extract : Pure vanilla extract adds warmth and depth. Imitation vanilla works in a pinch but the flavor is noticeably different. For a fun twist, try peppermint extract for a candy-cane vibe or almond extract for a subtle nutty note. Just remember that extracts are more concentrated than vanilla, so use half the amount.
- Mini chocolate chips for eyes : About 1/4 cup. You only need two tiny chips per ghost, so this goes a long way. I prefer mini chips because they look more proportional on small meringues. Regular chocolate chips work, but they look a little cartoonish. Place them on the meringue right after piping, before the surface starts to dry.
- 6-8 lollipop sticks : These are optional but highly recommended for the “pop” experience. You can find them at craft stores or online. If you skip the sticks, you just have ghost-shaped meringue cookies, which are also adorable.
Ingredient Selection Tips : For the best results, use eggs that are at least a few days old. Fresh egg whites actually whip less reliably because they contain more water. Eggs that have been in your fridge for a week or so are ideal. If you are buying eggs specifically for this recipe, look for large size—not extra-large or jumbo, which throw off the sugar ratio.
Substitution Guidance : If you need an egg-free option, meringue is unfortunately not possible to replicate with standard egg substitutes. Aquafaba (chickpea brine) can work, but the texture and stability are different, and I have not tested it specifically for these pops. For a dairy-free option, you are already set—meringue contains no dairy naturally.
Equipment Needed
You do not need a professional pastry kitchen to make these ghost pops. I made my first batch with a hand mixer and a plastic bag, and they turned out great. Here is what you actually need:
- Electric hand mixer or stand mixer : Whisking by hand is theoretically possible but genuinely exhausting. Egg whites need to reach stiff peaks, which takes 8-10 minutes with a hand mixer and about 5 minutes with a stand mixer. I prefer my hand mixer because it gives me more control and I can feel when the peaks are getting stiff.
- Large glass or metal mixing bowl : Plastic bowls can retain grease residue, which prevents egg whites from whipping properly. Glass or metal is safer. Make sure your bowl is completely clean and dry—any trace of oil or yolk will sabotage your meringue.
- Piping bag with a round tip : A Wilton #12 or any 1/2-inch round tip works perfectly. If you do not have a piping bag, a zip-top bag with one corner snipped to 1/2-inch wide does the same job. I have used both methods extensively, and honestly, the zip-top bag is easier for beginners because you control the pressure more intuitively.
- Baking sheet lined with parchment paper : Parchment is non-negotiable. Wax paper will stick, and silicone mats can sometimes cause spreading. Parchment gives the best release and cleanup.
- Lollipop sticks : Optional but fun. If using them, insert them into the piped meringue base before baking, then gently rotate to secure.
- Small offset spatula : Helpful for smoothing any rough edges on your ghosts, but not essential. A butter knife works too.
Budget-Friendly Option : Skip the piping bag entirely and use a zip-top bag. Skip the lollipop sticks and serve them as regular cookies. The ghosts will still taste exactly the same, and no one will miss the sticks once they start eating them.
Preparation Method
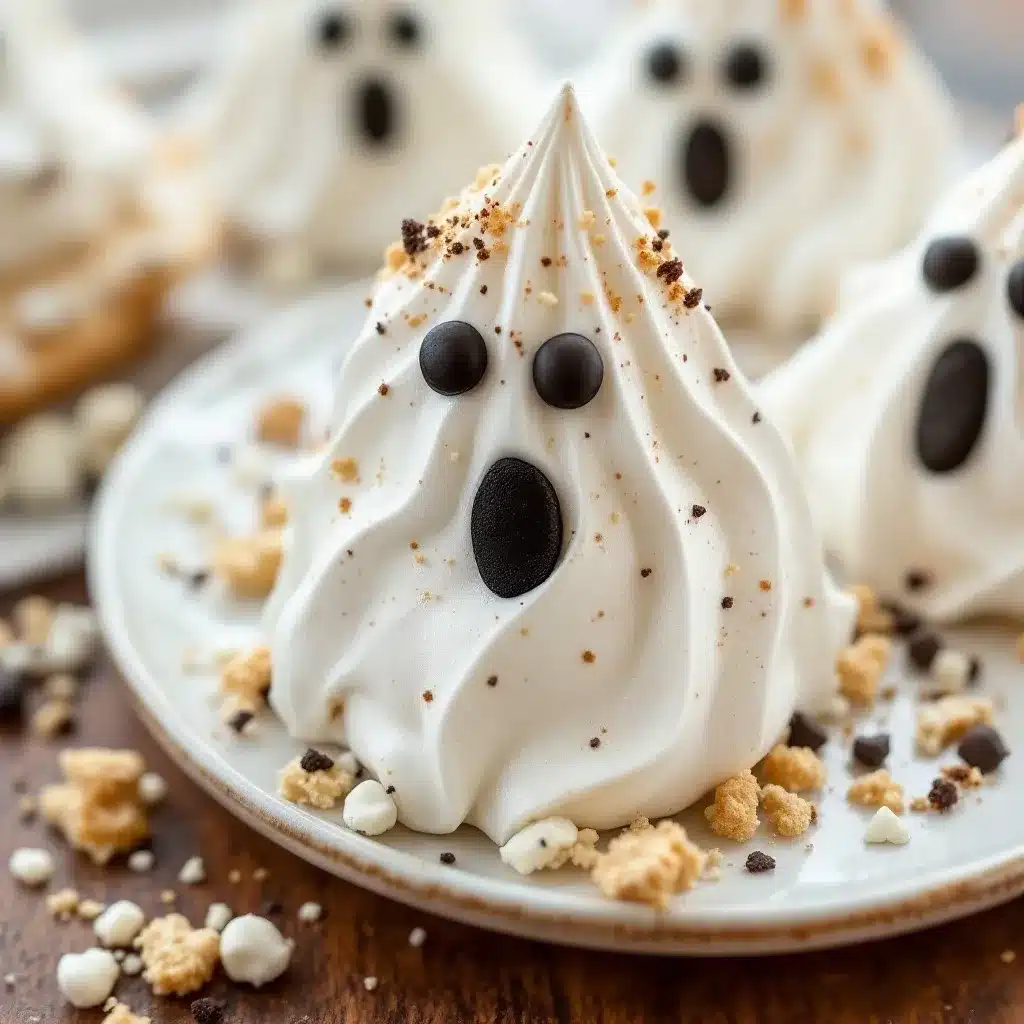
Follow these steps carefully, and you will have perfect ghost meringue pops. I have numbered everything so you can follow along without getting lost.
Step 1: Prepare Your Workspace
Preheat your oven to 200°F (93°C). Line a large baking sheet with parchment paper. If using lollipop sticks, have them ready nearby. Make sure your mixing bowl and beaters are completely clean and dry. Any grease will ruin the meringue, so wipe them with a little vinegar on a paper towel if you are nervous about residue.
Step 2: Whip the Egg Whites
Place the room temperature egg whites and cream of tartar in your mixing bowl. Beat on medium speed until frothy and opaque, about 2 minutes. The mixture should look like soap bubbles—pale and foamy with tiny bubbles throughout.
Increase speed to medium-high and start adding sugar gradually. Add about 1 tablespoon at a time, waiting about 15 seconds between additions. This slow incorporation helps the sugar dissolve completely. If you dump all the sugar in at once, your meringue will be grainy and less stable. Trust me, I learned this the hard way on batch one.
Step 3: Beat to Stiff Peaks
Once all sugar is added, continue beating on high speed for 5-7 minutes. The mixture will transform from liquid to glossy, thick foam. You are looking for stiff peaks—when you lift the beaters, the meringue should stand up straight without drooping. The surface should look smooth and glossy, not dull or grainy.
To test if the sugar is fully dissolved, rub a tiny bit of meringue between your fingers. If it feels gritty, keep beating. If it feels smooth, you are ready. Add the vanilla extract and beat for another 30 seconds just to incorporate.
Step 4: Pipe the Ghosts
Transfer the meringue to your piping bag fitted with the round tip. Hold the bag straight up and down—remember that ten-degree tilt I mentioned? Straight up is key. Pipe a 2-inch diameter circle for the base, then pull the bag straight up while squeezing continuously to create a tall, slightly wobbly peak. Release pressure and pull away sharply to create a little point at the top.
If you are using lollipop sticks, pipe a small dot of meringue on the parchment, place the stick on top, then pipe the ghost directly over the stick, covering the top half inch. Gently rotate the stick to secure it in the meringue.
Space the ghosts about 1 inch apart—they do not spread much, but they need airflow for even drying.
Step 5: Add the Eyes
Working quickly before the meringue starts to dry, press two mini chocolate chips into each ghost for eyes. Place them about halfway up the body, slightly angled for a cute expression. Do not press too deep or the meringue will crack. Just set them gently on the surface.
Step 6: Bake and Dry
Place the baking sheet in the preheated oven and bake for 60 minutes. After 60 minutes, turn the oven off but do not open the door. Let the meringues cool completely inside the oven with the door closed for at least 2 hours, or overnight if you have the patience. This slow drying process is what gives meringues their crisp texture without browning.
The ghosts are done when they lift easily off the parchment paper. If they stick, they need more drying time. Return them to the turned-off oven and check again after 30 minutes.
Step 7: Cool and Store
Once completely cool and dry, remove the ghosts from the parchment. They should be light as air and perfectly crisp. Store in an airtight container at room temperature for up to 2 weeks. Do not refrigerate—humidity will make them sticky and soft.
Cooking Tips & Techniques
After six batches in two weeks, I have learned a few things that will save you from my early mistakes. Here is what I wish someone had told me before I started.
Humidity is your enemy. Meringue is essentially sugar foam, and sugar loves moisture. Do not make these on a rainy or humid day. I made my fourth batch during a thunderstorm, and the meringue never fully dried—it stayed tacky and soft. If you live in a humid climate, run a dehumidifier in your kitchen or wait for a dry day.
Do not over-beat. There is a fine line between stiff peaks and over-beaten meringue. Over-beaten meringue looks grainy and curdled, and it will weep liquid as it sits. If you see your meringue starting to look separated or watery, stop immediately. You have gone too far, and unfortunately, you need to start over. This happened to me on batch two when I got distracted by a phone call.
Use a timer for sugar additions. I set a timer for 15-second intervals and add sugar at each beep. It sounds obsessive, but it ensures the sugar dissolves evenly. No one wants gritty meringue.
Pipe with confidence. Hesitation shows in the final shape. Commit to each ghost. If you mess up, scrape the meringue back into the bag and try again. Meringue is forgiving that way—you can re-pipe it as long as you haven’t baked it yet.
Check your oven temperature. Ovens run hot or cold. I use an inexpensive oven thermometer to verify my temperature. If your ghosts start browning during baking, your oven is too hot. Crack the door open slightly or reduce the temperature by 25 degrees.
Multitasking strategy: While the meringue is baking, clean your equipment immediately. Dried meringue is stubborn and hard to remove. Hot water and a little dish soap works best if you soak right away.
Variations & Adaptations
These ghost pops are endlessly customizable. Here are some variations I have tried and loved.
Flavor Variations
Peppermint Ghosts : Replace vanilla extract with 1/4 teaspoon peppermint extract. The minty flavor pairs beautifully with the sweet meringue and makes these feel extra festive for Christmas too. I made these for a holiday party and they disappeared faster than the cookies.
Chocolate Ghosts : Sift 2 tablespoons of unsweetened cocoa powder with the sugar before adding to the egg whites. Fold it in gently after the meringue reaches stiff peaks. The ghosts turn a pale brown, which is slightly less spooky but delicious. Add white chocolate chips for eyes instead of dark.
Lemon Ghosts : Add 1 teaspoon of lemon zest along with the vanilla. The citrus cuts through the sweetness and adds a bright, fresh note. These are perfect for spring or summer parties, not just Halloween.
Dietary Adaptations
Naturally Gluten-Free : This recipe contains no flour, so it is naturally gluten-free. Just make sure your vanilla extract is certified gluten-free if you have celiac disease.
Lower Sugar Option : You can reduce the sugar to 1/2 cup (100g), but the texture will be less crisp and the meringue will be more fragile. I have tested this and it works, but the ghosts are harder to pipe and more prone to cracking. Use within a few days for best texture.
Method Variations
No-Stick Version : Skip the lollipop sticks and pipe the ghosts directly onto parchment. They become adorable ghost-shaped cookies that are perfect for classroom treats or party platters.
Colored Ghosts : Add a drop of gel food coloring after the stiff peaks form. Gel coloring is better than liquid because it does not add extra moisture. A tiny drop of black or purple gel creates a subtle pastel tint. Orange ghosts for Halloween are surprisingly cute.
Serving & Storage Suggestions
These ghost pops are best served at room temperature. The texture is perfectly crisp and airy, and the chocolate chips add a nice contrast. Arrange them standing up in a small vase or jar for a spooky centerpiece. I like to place them in a mason jar filled with black beans or coffee beans to hold the sticks upright.
Presentation Ideas : For Halloween parties, arrange the ghosts on a platter with some dry ice (safely contained) for a smoky, spooky effect. Or stick them into a pumpkin that has been hollowed out and filled with florist foam. Kids love grabbing them by the stick, and they make excellent party favors.
Complementary Dishes : These pair beautifully with warm drinks like hot chocolate, apple cider, or coffee. The contrast between the warm beverage and the cool, crisp meringue is lovely. For a dessert spread, serve them alongside campfire banana s’mores boats for a fun Halloween dessert table.
Storage Instructions : Store in an airtight container at room temperature. Do not refrigerate—the humidity will soften them. They last up to 2 weeks, though they rarely survive that long in my house. If they do soften slightly, you can re-crisp them in a 200°F oven for 15 minutes, then cool completely before re-storing.
Freezer Instructions : Meringue freezes surprisingly well. Place them in a single layer in a freezer-safe container with parchment between layers. Freeze for up to 3 months. Thaw at room temperature for 30 minutes before serving. Do not thaw in the refrigerator.
Flavor Development : Interestingly, these ghosts taste even better after a day or two. The flavors meld and the texture becomes even more crisp. If you can resist eating them immediately, make them a day ahead for best results.
Nutritional Information & Benefits
Per ghost pop (without stick), approximately:
- Calories: 35
- Fat: 0g
- Carbohydrates: 8g
- Sugar: 8g
- Protein: 1g
- Sodium: 10mg
These are a relatively low-calorie treat compared to most cookies and candies. The primary ingredient is egg whites, which are pure protein and contain no fat or cholesterol (the cholesterol is in the yolk). Each pop provides a small amount of protein, making them slightly more satisfying than a purely sugar-based candy.
Health Benefits of Key Ingredients : Egg whites are rich in protein and contain selenium, riboflavin, and potassium. They are also naturally low in calories. The sugar content is the main consideration, but because meringue is so light and airy, you get a lot of volume for relatively few calories. One ghost pop has about the same sugar content as a single fun-size candy bar, but it takes longer to eat and feels more satisfying.
Dietary Considerations : This recipe is naturally gluten-free, dairy-free, nut-free, and soy-free. It contains eggs, so it is not suitable for vegan diets. The sugar content makes it inappropriate for strict keto or low-carb diets. However, for most people, these are a perfectly reasonable treat that fits into a balanced eating pattern.
I personally love that I can offer these at Halloween parties without feeling like I am serving pure sugar. They feel lighter and more wholesome than a typical cookie, and guests always comment on how “not too sweet” they are.
Conclusion
These Easy Ghost Meringue Cookie Pops have become my Halloween signature, and I think they will become yours too. They are simple enough for a beginner baker, impressive enough to wow a crowd, and genuinely fun to make. The ingredient list is short, the technique is forgiving, and the result is absolutely adorable.
I love that this recipe lets me be creative without requiring perfection. Each ghost has its own personality—some are tall and skinny, some are short and round, some have slightly crooked eyes. That is the charm. They are handmade, and they look it, in the best possible way.
Please try these for your next Halloween gathering or spooky movie night. Customize them with different extracts or colors, get the kids involved in piping (it is messy but so worth it), and do not stress if they are not perfect. The imperfect ones always taste just as good.
I would love to hear how yours turn out! Leave a comment below with your ghost stories—any funny piping mishaps, creative variations, or photos of your finished pops. Share them on Pinterest and tag me so I can see your spooky creations. Happy Halloween, and happy baking!
Frequently Asked Questions
Can I make these without a piping bag?
Absolutely. Use a zip-top plastic bag with one corner snipped to about 1/2 inch wide. It works exactly the same way. Just be careful not to squeeze too hard or the bag might burst at the seam. Double-bagging helps prevent that.
Why did my meringue turn brown?
Your oven temperature is too high. Meringue should bake low and slow. Check your oven with an external thermometer—many ovens run hotter than their dial indicates. Reduce the temperature by 25 degrees and try again. Also, make sure your meringue is not touching the top heating element.
Can I use liquid egg whites from a carton?
You can, but the results are less reliable. Carton egg whites are pasteurized at high temperatures, which slightly denatures the protein and reduces their whipping ability. If you use carton whites, add an extra 1/8 teaspoon of cream of tartar and expect slightly less volume. Fresh egg whites give the best results.
How do I know when the meringue is fully baked?
The ghosts should lift easily off the parchment paper without sticking. They should feel dry and crisp, not tacky or soft. If they stick, return them to the turned-off oven with the door closed for another 30 minutes. Do not open the oven during the drying process or the temperature drop can cause cracking.
Can I double this recipe?
Yes, but do not try to whip more than 6 egg whites at once in a standard stand mixer. The volume increases dramatically, and you risk overflowing the bowl. Make two separate batches if you need more. The baking time stays the same regardless of batch size.
Pin This Recipe!
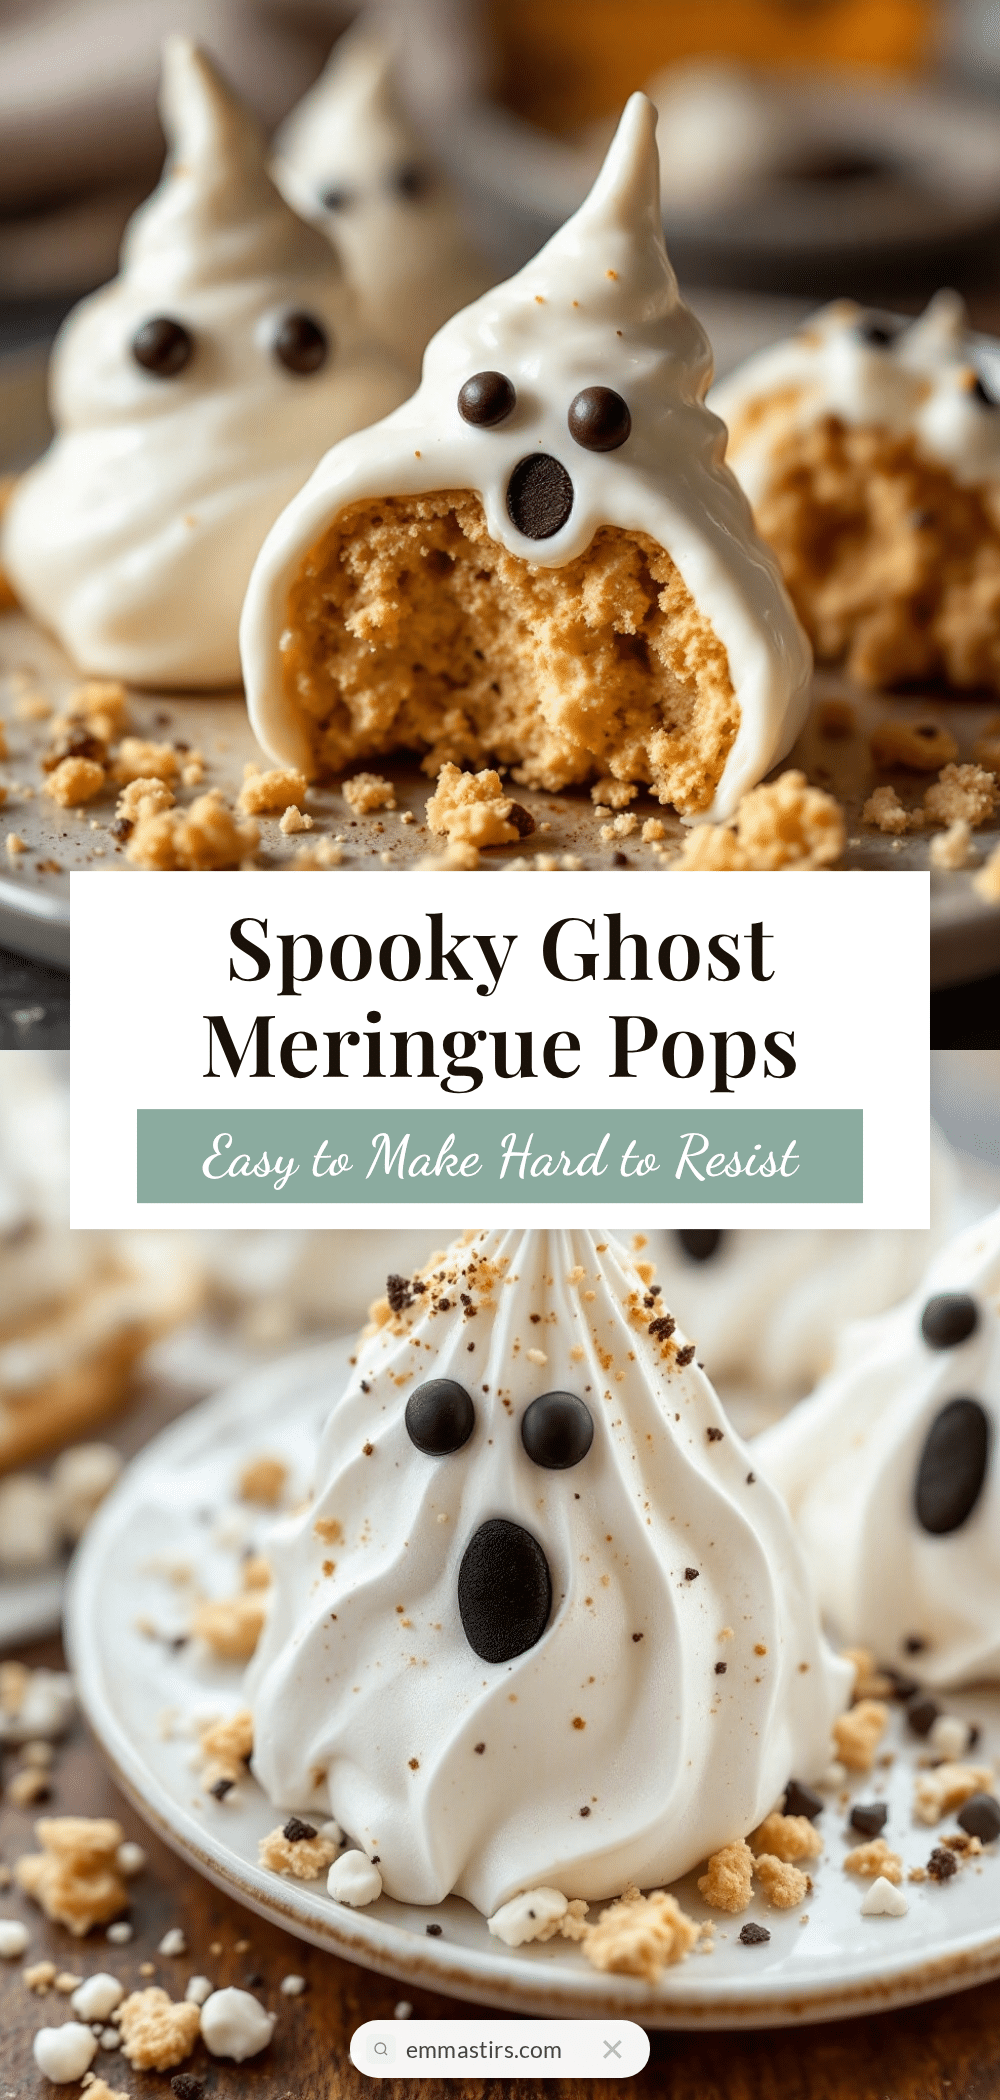
Easy Ghost Meringue Cookie Pops
These adorable ghost meringue pops are made with just 4 ingredients and require no specialty equipment. Perfect for Halloween, they are light, airy, gluten-free, and guaranteed to make everyone smile.
- Prep Time: 15 minutes
- Cook Time: 60 minutes
- Total Time: 3 hours 15 minutes (includes cooling time)
- Yield: 6-8 pops 1x
- Category: Dessert
- Cuisine: American
Ingredients
- 3 large egg whites, room temperature
- 3/4 cup (150g) granulated white sugar
- 1/4 teaspoon cream of tartar
- 1/2 teaspoon vanilla extract
- 1/4 cup mini chocolate chips (for eyes)
- 6–8 lollipop sticks (optional)
Instructions
- Preheat oven to 200°F (93°C). Line a large baking sheet with parchment paper. Have lollipop sticks ready if using.
- Place room temperature egg whites and cream of tartar in a clean, dry mixing bowl. Beat on medium speed until frothy and opaque, about 2 minutes.
- Increase speed to medium-high and add sugar gradually, about 1 tablespoon at a time, waiting 15 seconds between additions.
- Beat on high speed for 5-7 minutes until stiff peaks form. The meringue should be glossy and smooth. Test by rubbing a bit between fingers—it should feel smooth, not gritty.
- Add vanilla extract and beat for 30 seconds to incorporate.
- Transfer meringue to a piping bag fitted with a round tip (or a zip-top bag with corner snipped to 1/2 inch).
- Pipe ghosts: Hold bag straight up, pipe a 2-inch diameter circle for the base, then pull bag straight up while squeezing to create a tall, wobbly peak. Release pressure and pull away sharply.
- If using lollipop sticks, pipe a small dot of meringue on parchment, place stick on top, then pipe ghost over the stick, covering the top half inch. Gently rotate stick to secure.
- Working quickly, press two mini chocolate chips into each ghost for eyes, about halfway up the body.
- Bake for 60 minutes. Turn off oven but do not open door. Let meringues cool completely inside oven with door closed for at least 2 hours or overnight.
- Ghosts are done when they lift easily off parchment. If they stick, return to turned-off oven for 30 more minutes.
- Store in an airtight container at room temperature for up to 2 weeks. Do not refrigerate.
Notes
Do not make on humid days. Ensure bowl and beaters are completely clean and grease-free. Pipe with confidence—hesitation shows in the shape. If ghosts brown, oven is too hot; reduce temperature by 25°F. Meringue can be re-piped if not yet baked.
Nutrition
- Serving Size: 1 ghost pop
- Calories: 35
- Sugar: 8
- Sodium: 10
- Carbohydrates: 8
- Protein: 1
Keywords: ghost meringue pops, Halloween treats, meringue cookies, easy Halloween dessert, gluten-free Halloween, low-fat cookies, ghost cookies


