Love this? Save it for later!
Share the inspiration with your friends
“Why can’t we just skip the oven and mix everything in one bowl?” my friend Jake asked during last year’s game day prep. I started to explain why that wouldn’t work—then stopped. Honestly, it was one of those moments where stubbornness met practicality head-on, and practicality won. I mean, I was set on roasting nuts and melting chocolate separately, but Jake’s no-fuss idea stuck with me.
So, I gave it a shot. No baking, no mess, just straightforward mixing and chilling. The result? These easy no-bake game day chocolate peanut butter bars that somehow managed to taste like a decadent treat but took less time than it took me to park the car at the tailgate. You know that feeling when you’re sure you’re right, and then you’re totally wrong? Yeah, that.
There was a tiny mishap, too—my cat knocked over the bowl mid-mix, sending a splash of peanut butter and chocolate onto the carpet (thank goodness I caught it quickly). Despite the chaos, the bars came together perfectly, and they quickly became the star snack of the afternoon. If you’ve ever wrestled with complicated game day recipes that take forever to prep, these bars might just change your snack game entirely.
So, whether you’re hosting friends, needing a quick fix between plays, or just want something sweet without the oven heat, these bars are your go-to. Let me tell you, once you try this recipe, you’ll find yourself making it over and over—just like me.
Why You’ll Love This Recipe
After lots of testing (and a few chocolate-covered fingers), I can confidently say these easy no-bake game day chocolate peanut butter bars bring something special to the table. Not just any peanut butter bar, but a crowd-pleaser that’s perfect for hectic game days when you want maximum flavor with minimum effort. Here’s why they stand out:
- Quick & Easy: Ready in under 20 minutes, no oven needed—perfect when the game’s about to start and you’re still prepping snacks.
- Simple Ingredients: Pantry staples like peanut butter, chocolate chips, and crunchy cereal or oats—you probably have everything on hand already.
- Perfect for Game Day: These bars are finger-friendly, mess-free, and pack that sweet-salty punch everyone loves during the big match.
- Crowd-Pleaser: Kids, adults, and even picky eaters can’t get enough of the combination of creamy peanut butter and rich chocolate.
- Unbelievably Delicious: The layers of texture and flavor are spot-on—think smooth, crunchy, and fudgy all at once.
What sets this recipe apart? It’s the way the peanut butter blends seamlessly with the chocolate without needing to melt and temper it separately. Plus, the secret touch of crispy rice cereal gives it that satisfying crunch that makes every bite exciting. Honestly, this isn’t your average peanut butter bar – it’s the kind you’ll want to bring to every get-together.
So, if you’re looking for a snack that’s as easy as it is irresistible, this recipe ticks all the boxes. And trust me, you’ll want to have the recipe saved for every game day, movie night, or whenever the snack cravings hit.
What Ingredients You Will Need
This recipe uses simple, wholesome ingredients to deliver bold flavor and satisfying texture without the fuss. Most of these are probably sitting in your pantry right now, which makes this recipe a snap for last-minute snack emergencies.
- Peanut Butter, creamy (smooth texture helps bind the bars nicely; I prefer natural peanut butter without added sugar)
- Chocolate Chips, semi-sweet or milk chocolate (Ghirardelli or Nestlé Toll House are my go-tos for melty goodness)
- Butter, unsalted (adds richness and helps set the bars)
- Honey or maple syrup (acts as a natural sweetener and binder)
- Vanilla Extract (just a splash for depth)
- Crispy Rice Cereal (for the crunch; use gluten-free if needed)
- Powdered Sugar (smooths out the peanut butter texture and adds a touch of sweetness)
Optional additions:
- Chopped peanuts (for extra crunch)
- Sea salt flakes (a sprinkle on top to balance the sweetness)
- Mini chocolate chips mixed in with the cereal for extra chocolate bursts
For those with dietary preferences, almond butter can replace peanut butter for a different nutty flavor, and coconut oil can swap the butter for a dairy-free version. When fresh ingredients are in season, a handful of crushed pretzels or chopped dried fruit can add a fun twist.
Equipment Needed
- Mixing Bowl: A large, sturdy bowl to combine all ingredients. I like using glass or stainless steel for easy cleanup.
- Microwave-Safe Bowl or Double Boiler: To gently melt the chocolate and butter together. No rushing here—slow and steady wins.
- Measuring Cups and Spoons: For precise ingredient measurement. I recommend a reliable set like the OXO brand for consistent results.
- Spatula or Wooden Spoon: For mixing the batter evenly.
- 8×8 Inch Baking Pan: To press and chill the bars. If you don’t have an 8×8, a 9×9 works fine, just expect slightly thinner bars.
- Parchment Paper: To line the pan and make removing bars a breeze.
If you don’t own a microwave, a double boiler works beautifully for melting chocolate without burning it. Also, a food processor isn’t necessary but if you want to chop peanuts finely or crush pretzels, it can come in handy. Personally, I find that pressing the mixture firmly into the pan with clean hands helps compact the bars better than a spatula.
Preparation Method
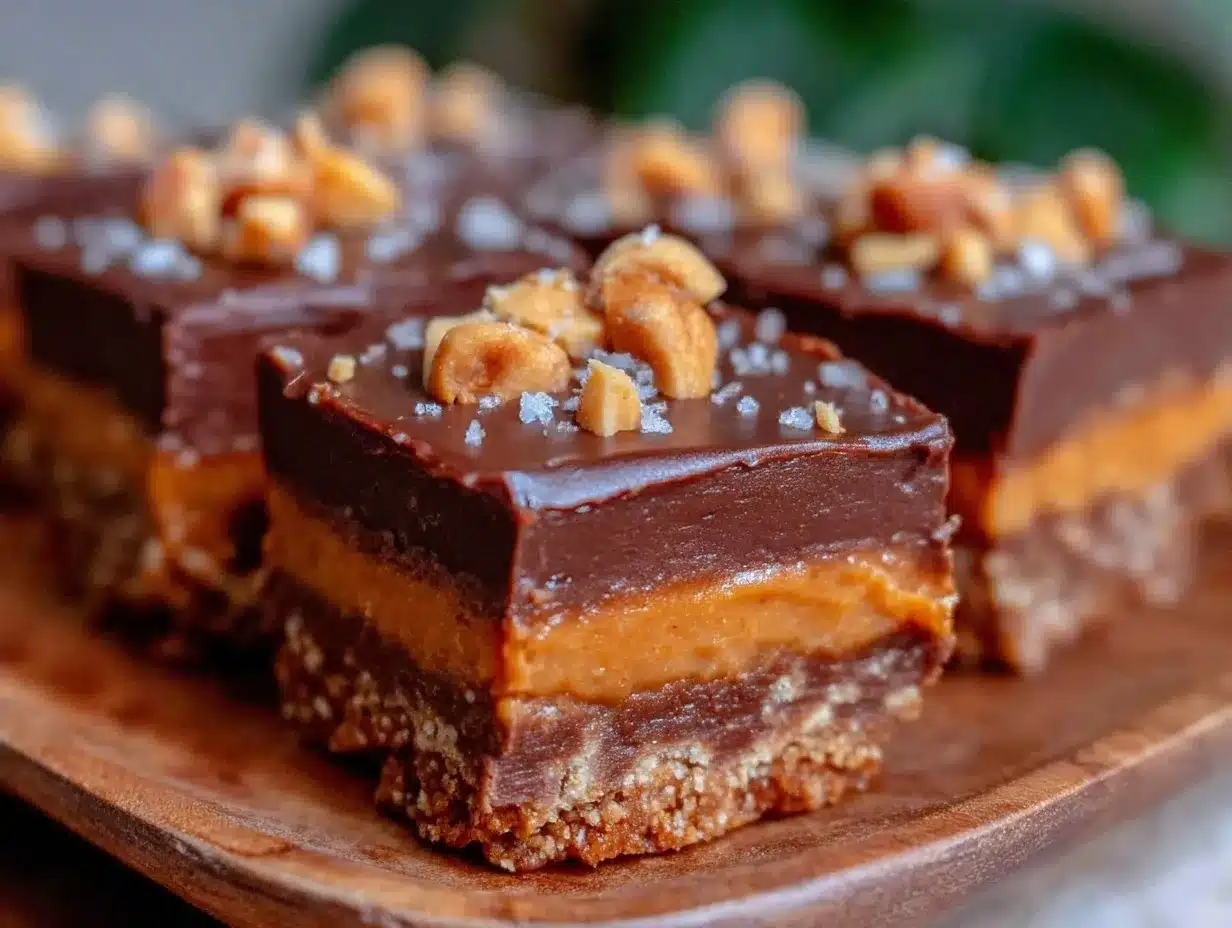
- Prepare your pan: Line an 8×8 inch baking pan with parchment paper, leaving some overhang for easy removal later. This step saves you from sticky fingers and mess.
- Melt the chocolate and butter: In a microwave-safe bowl, combine 1 cup (170g) semi-sweet chocolate chips and 1/4 cup (57g) unsalted butter. Microwave in 30-second bursts, stirring gently each time, until smooth and glossy. This should take about 1-2 minutes total. Alternatively, use a double boiler.
- Mix peanut butter and sweeteners: In a large bowl, combine 1 cup (250g) creamy peanut butter, 1/3 cup (80ml) honey, 1 teaspoon vanilla extract, and 1 cup (120g) powdered sugar. Stir until smooth and well blended.
- Combine melted chocolate and peanut butter mixture: Slowly pour the warm chocolate mixture into the peanut butter bowl, stirring continuously so it doesn’t seize. The warmth of the chocolate helps everything meld beautifully.
- Add crispy rice cereal: Gently fold in 3 cups (90g) crispy rice cereal until evenly coated. The mixture should be thick but spreadable.
- Transfer and press: Pour the mixture into the lined pan. Use a spatula or clean hands to press firmly and evenly into the pan, smoothing the top.
- Chill: Refrigerate for at least 2 hours or until firm. This waiting time is the hardest part, honestly, but necessary so the bars set perfectly.
- Cut and serve: Lift the bars out using the parchment overhang and slice into 12 even pieces. For neater edges, wipe your knife clean between cuts.
Tips: If the mixture feels too sticky, add a little more powdered sugar or cereal. If too dry, a teaspoon of milk or cream can help. Remember, every peanut butter brand behaves a bit differently, so adjust as needed.
Cooking Tips & Techniques
One of the trickiest parts in no-bake bars is getting the right texture—too soft, and they fall apart; too hard, and they’re tough to bite. Here’s what I’ve learned from trial and error:
- Melting chocolate slowly: Always melt chocolate and butter in short bursts to avoid burning. Stirring between bursts helps keep the mixture smooth and shiny.
- Room temperature ingredients: Using room temperature peanut butter and honey helps the mixture combine more easily. Cold peanut butter can create lumps.
- Pressing firmly: Don’t be shy about compacting the mixture in the pan. I use clean, slightly damp hands to press it down evenly, which keeps the bars from crumbling.
- Chill time: Don’t rush chilling! At least 2 hours, preferably longer, helps the bars hold their shape. If you’re in a hurry, a quick stint in the freezer works but watch closely to avoid freezing solid.
- Cutting bars: Use a sharp knife and wipe it clean between cuts to get clean edges. A warm knife helps too!
One time, I forgot to stir the chocolate mixture after microwaving, and it ended up grainy. Lesson: patience with melting is key. Also, don’t skip lining your pan—sticky bars are no fun to remove.
Variations & Adaptations
Want to shake things up or cater to different diets? Here are a few ways I’ve tweaked this recipe successfully:
- Nut-free version: Replace peanut butter with sunflower seed butter and use allergen-free cereal. The flavor is a bit different but just as satisfying.
- Vegan adaptation: Use dairy-free butter or coconut oil, maple syrup in place of honey, and vegan chocolate chips. The bars still set nicely and taste indulgent.
- Flavor twists: Add a pinch of cinnamon or a teaspoon of espresso powder to the chocolate for a subtle depth. Or mix in chopped dried cherries or cranberries for a fruity contrast.
- Crunch factor: Swap crispy rice cereal for crushed pretzels or gluten-free granola for a heartier bite.
Once, I added a layer of crushed peppermint candies on top for a winter game day—it was a hit! Feel free to experiment with what you have on hand; this recipe is forgiving and flexible.
Serving & Storage Suggestions
These bars are best served cold or at room temperature. The chocolate coating firms up nicely when chilled but softens slightly at room temp, making each bite creamy.
For game day, arrange them on a platter with a sprinkle of sea salt or chopped peanuts on top for a little extra pop. They pair wonderfully with a cold drink—think iced coffee or a fizzy soda. For a rich contrast, try serving alongside a bowl of fresh fruit.
To store, keep the bars in an airtight container in the refrigerator for up to one week. They also freeze well—just wrap each bar individually in plastic wrap and place in a freezer-safe container for up to 3 months. When ready to eat, thaw in the fridge overnight or at room temperature for 30 minutes.
The flavors actually deepen after a day in the fridge, so if you can wait, that’s even better. Just be sure to keep them covered to avoid absorbing fridge odors.
Nutritional Information & Benefits
Each bar offers a satisfying blend of protein, healthy fats, and a touch of sweetness. Here’s an estimated breakdown per serving (one bar, 1/12th of the batch):
| Calories | 220 kcal |
|---|---|
| Protein | 6g |
| Fat | 14g (mostly from peanut butter and butter) |
| Carbohydrates | 18g |
| Fiber | 2g |
Peanut butter provides heart-healthy monounsaturated fats and protein, while dark or semi-sweet chocolate offers antioxidants. Using natural sweeteners like honey cuts down on refined sugars, making these bars a more balanced snack option.
For gluten-free needs, just swap the crispy rice cereal with a certified gluten-free brand. Also, keep in mind allergens: these bars contain peanuts, dairy, and possibly gluten depending on cereal choice.
From a wellness perspective, these bars are a great way to satisfy sweet cravings without overloading on artificial ingredients or preservatives. A treat that feels indulgent but has some nutritional grounding? That’s a win in my book.
Conclusion
So, there you have it—easy no-bake game day chocolate peanut butter bars that are quick to whip up, packed with flavor, and perfect for sharing. I love how this recipe hits that sweet spot of simplicity and satisfaction, especially when time is tight and the game is on.
Honestly, it’s one of those recipes that makes snack prep feel fun instead of stressful. Feel free to tweak it to your liking—add more crunch, swap ingredients, or toss in your favorite mix-ins. It’s your snack, after all!
If you give this recipe a try, I’d love to hear how you make it your own. Drop a comment or share your variations—I’m always curious about new takes on this classic combo. Thanks for stopping by, and here’s to many delicious game days ahead!
FAQs
Can I use crunchy peanut butter instead of creamy?
Yes, crunchy peanut butter works but expect a chunkier texture. It adds extra nutty bites but may make the bars slightly less smooth.
How long do these bars last in the fridge?
Stored in an airtight container, they keep well for up to one week. Just make sure to keep them covered to maintain freshness.
Can I substitute the crispy rice cereal with oats?
You can use oats, but the texture will be denser and less crispy. Toasted oats can add a nice nutty flavor if you prefer.
Is it possible to make these bars nut-free?
Absolutely. Swap peanut butter for sunflower seed butter and use allergen-free cereal. This makes the bars safe for nut-free diets.
Do I have to refrigerate the bars before slicing?
Yes, chilling helps the bars set properly and makes cutting cleaner. If you skip this step, the bars might be too soft and crumbly.
Pin This Recipe!
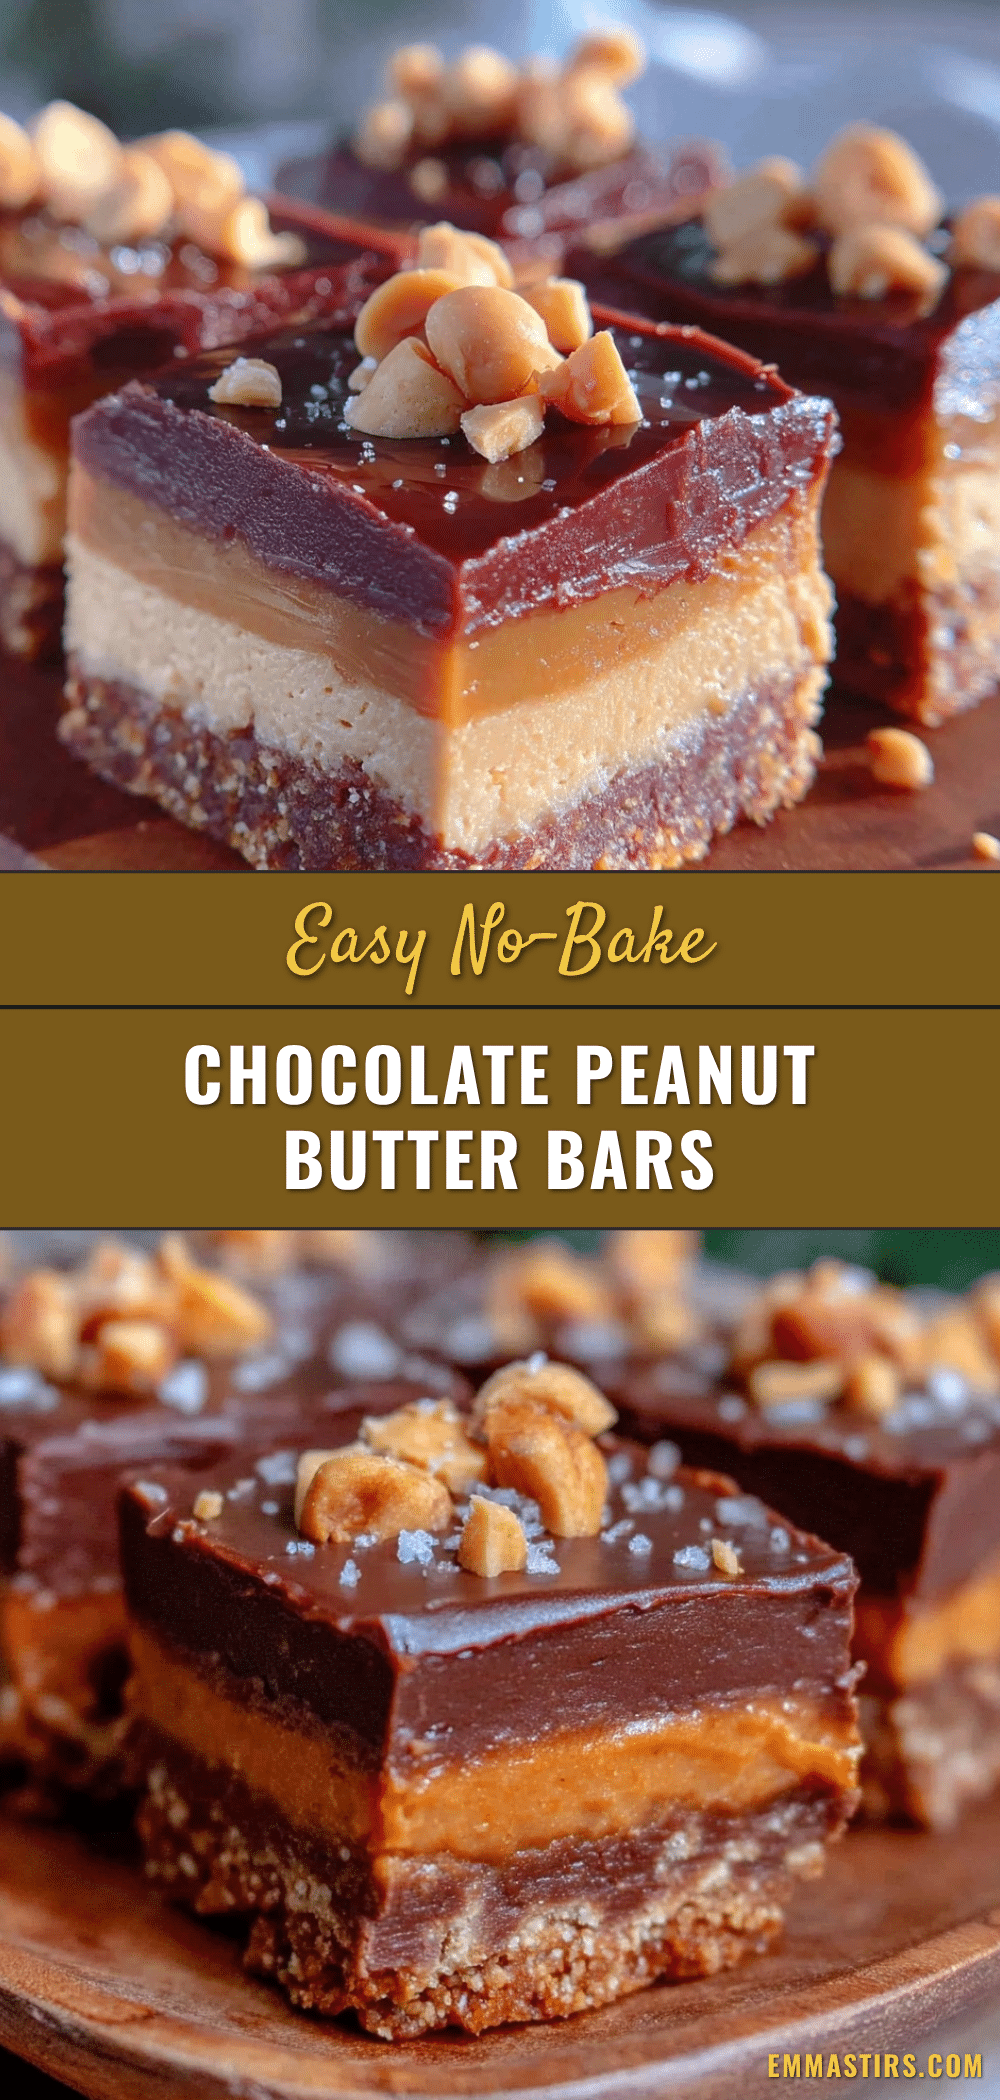
Easy No-Bake Game Day Chocolate Peanut Butter Bars

These easy no-bake chocolate peanut butter bars are a quick, crowd-pleasing snack perfect for game day. They combine creamy peanut butter, rich chocolate, and crispy rice cereal for a fudgy, crunchy treat without any baking.
- Prep Time: 10 minutes
- Cook Time: 5 minutes
- Total Time: 2 hours 15 minutes
- Yield: 12 bars 1x
- Category: Snack
- Cuisine: American
Ingredients
- 1 cup (250g) creamy peanut butter
- 1 cup (170g) semi-sweet chocolate chips
- 1/4 cup (57g) unsalted butter
- 1/3 cup (80ml) honey or maple syrup
- 1 teaspoon vanilla extract
- 3 cups (90g) crispy rice cereal
- 1 cup (120g) powdered sugar
- Optional: chopped peanuts
- Optional: sea salt flakes
- Optional: mini chocolate chips mixed with cereal
Instructions
- Line an 8×8 inch baking pan with parchment paper, leaving some overhang for easy removal.
- Melt chocolate chips and unsalted butter together in a microwave-safe bowl in 30-second bursts, stirring until smooth (about 1-2 minutes), or use a double boiler.
- In a large bowl, mix peanut butter, honey, vanilla extract, and powdered sugar until smooth.
- Slowly pour the warm chocolate mixture into the peanut butter mixture, stirring continuously to combine.
- Gently fold in crispy rice cereal until evenly coated.
- Pour the mixture into the lined pan and press firmly and evenly with a spatula or clean hands.
- Refrigerate for at least 2 hours or until firm.
- Lift bars out using parchment overhang and cut into 12 even pieces.
Notes
Use room temperature peanut butter and honey for easier mixing. Press mixture firmly into pan to prevent crumbling. Chill bars for at least 2 hours for best texture. Use a warm knife and wipe clean between cuts for neat edges. For gluten-free, use certified gluten-free crispy rice cereal. Variations include using sunflower seed butter for nut-free or dairy-free butter and vegan chocolate chips for vegan adaptation.
Nutrition
- Serving Size: 1 bar (1/12th of bat
- Calories: 220
- Fat: 14
- Carbohydrates: 18
- Fiber: 2
- Protein: 6
Keywords: no-bake, peanut butter bars, chocolate bars, game day snack, easy snack, no oven, quick dessert


