Love this? Save it for later!
Share the inspiration with your friends
My friend Jenna showed up at my door on a Saturday afternoon, already in her team jersey, holding a bag of chips and looking way too excited for a 1 PM game. I had completely forgotten we were supposed to watch together. My fridge was bare—like, a jar of pickles and half a stick of butter bare. But I had peanut butter in the pantry, some chocolate chips left over from a baking project I never finished, and a package of cream cheese that was staring at me every time I opened the fridge door. I needed something fast, something that felt like a treat, and something I could eat with my hands while yelling at the TV.
That’s how these Easy No-Bake Peanut Butter Football Brownie Bites were born. They weren’t planned. They were a small kitchen miracle born from desperation and a strong craving for something sweet and salty. I mashed things together, rolled them into little shapes, and by the time the first quarter ended, Jenna was asking for the recipe. Honestly, they turned out way better than anything I could have planned. The best recipes often do, you know?
These little bites have become my secret weapon for game days ever since. They’re rich, fudgy, and have that perfect peanut butter-chocolate combo that makes people close their eyes when they take a bite. No oven required, no fancy ingredients, and they come together in about 15 minutes. It’s the kind of recipe that saves you when you’re unprepared—and honestly, that’s the only kind of recipe I really trust.
Why You’ll Love This Recipe
Let me tell you why these little football-shaped brownie bites have earned a permanent spot in my game day rotation. I’ve tested this recipe at three different parties now, and each time, people hover around the platter like it’s the main event. They’re not just cute—they’re genuinely delicious.
- No-Bake & Ready in 15 Minutes : You don’t need to turn on the oven or wait for anything to cool. Mix, shape, chill, and you’re done. Perfect for those moments when you realize kickoff is in 20 minutes.
- Simple Ingredients : You probably have most of these in your kitchen right now. No weird specialty items or expensive extracts. Just real food that comes together beautifully.
- Perfect for Game Day : They look like little footballs, which is just fun. But beyond the theme, they’re portable, not messy, and easy to grab between plays. I’ve also brought them to a grazing board spread and they fit right in.
- Crowd-Pleaser : Kids love them, adults love them, and people who claim they don’t like sweets somehow eat three. The peanut butter-chocolate combination is basically a universal language.
- Unbelievably Fudgy : The texture is what gets people. They’re dense and rich without being heavy, with a slight chewiness that makes them feel like a real brownie bite. No one believes they’re no-bake until I show them the empty oven.
What makes these different from other no-bake treats is the texture. I use a specific ratio of cream cheese to peanut butter that gives them a fudge-like consistency without being greasy. They hold their shape perfectly, even when you pipe that little white lacing on top. It’s not just another energy ball situation—these are legit dessert bites that happen to be easy.
And honestly? They make me feel like I have my act together, even when I clearly don’t. There’s something satisfying about showing up with themed treats that look like you spent hours on them. That’s the kind of energy I want to bring to every party.
What Ingredients You Will Need
This recipe relies on a handful of simple ingredients that work together to create that rich, fudgy texture. Most of these are pantry staples, which is exactly what you want when you’re throwing something together last minute.
- 1 cup creamy peanut butter (I prefer Skippy or Jif for the sweetness and smooth texture—natural peanut butter can be too oily and cause the bites to separate)
- 1/4 cup unsalted butter, softened (adds richness and helps the mixture hold together; use salted butter if that’s all you have, just reduce the added salt)
- 4 oz cream cheese, softened (full-fat works best for texture; Neufchâtel or low-fat works too but the bites will be slightly less firm)
- 1 1/2 cups powdered sugar (sweetens and thickens the mixture; sift it first to avoid lumps)
- 1/2 cup unsweetened cocoa powder (use Dutch-process for a deeper chocolate flavor, or natural cocoa works fine too)
- 1 tsp vanilla extract (pure vanilla makes a difference, but imitation works in a pinch)
- 1/4 tsp salt (balances the sweetness and enhances the chocolate)
- 1/2 cup finely crushed graham crackers or chocolate wafer crumbs (adds structure and a slight crunch; you can substitute with crushed digestive biscuits or even crushed pretzels for a salty twist)
- 1/4 cup white candy melts or white chocolate chips (for the football lacing; you can also use a small tube of white decorating icing if you want to skip melting)
- 1 tsp coconut oil or shortening (helps thin the white chocolate for piping)
Ingredient Selection Tips: For the best football shape, make sure your cream cheese and butter are truly softened to room temperature. Cold cream cheese will leave lumps in your mixture, and nobody wants a surprise cream cheese chunk in their brownie bite. I usually leave mine out on the counter for about 30 minutes before I start.
Substitution Guidance: If you need a dairy-free version, use vegan cream cheese and plant-based butter. The texture will be slightly softer, so you might need to chill them a little longer before shaping. For a gluten-free option, make sure your graham crackers or wafer crumbs are certified gluten-free—there are some great brands available now.
Equipment Needed
You don’t need much to make these, which is part of the beauty. Here’s what you’ll want to have on hand:
- Large mixing bowl (any bowl works, but a wider one makes mixing easier)
- Electric hand mixer or stand mixer (you can mix by hand, but a mixer makes the texture much smoother, especially for the cream cheese and butter)
- Rubber spatula (for scraping down the sides and folding in the crumbs)
- Small cookie scoop or tablespoon (for portioning uniform bites)
- Parchment paper or wax paper (for lining the baking sheet while they chill)
- Baking sheet or large plate (to hold the bites while they firm up in the fridge)
- Small piping bag or zip-top bag (for piping the white lacing; a toothpick also works in a pinch)
- Microwave-safe bowl (for melting the white chocolate)
I’ve made these with just a fork and a bowl before, and they turned out fine. The mixer just saves your arm from getting tired. If you don’t have a piping bag, seriously, just snip the corner off a sandwich bag—it works perfectly.
Preparation Method
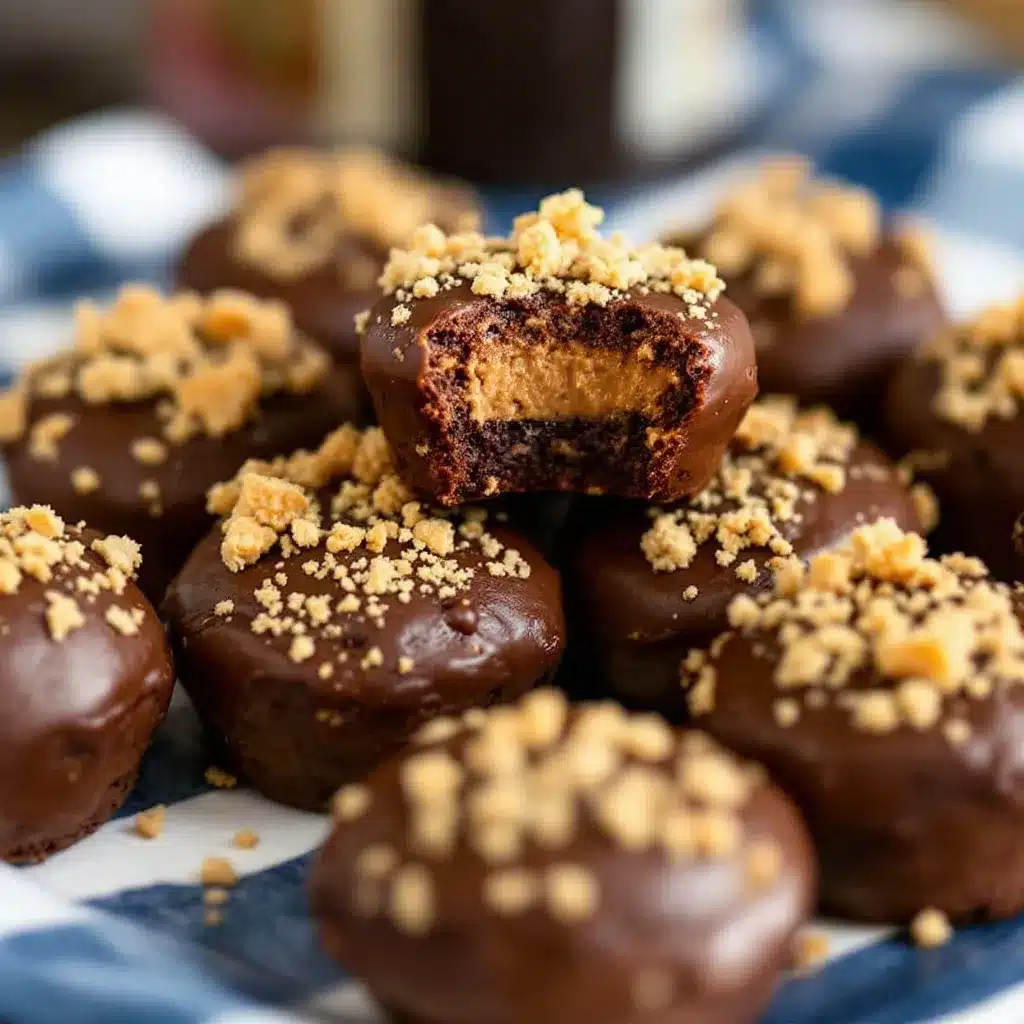
Alright, let’s get into the actual making of these little guys. I’ve broken this down step by step so you don’t miss anything. Trust me on the order of these steps—I learned the hard way that adding things in the wrong sequence can mess up the texture.
- Soften your dairy. Take your cream cheese and butter out of the fridge about 30 minutes before you start. They should be soft enough that a finger pressed into them leaves an indent without resistance. If you’re in a hurry, you can microwave the cream cheese for about 10 seconds on low power, but be careful not to melt it.
- Cream the base. In a large mixing bowl, combine the softened cream cheese, softened butter, and peanut butter. Beat with an electric mixer on medium speed until smooth and fluffy—about 2 minutes. Scrape down the sides of the bowl with your spatula halfway through. The mixture should look like a thick, creamy peanut butter frosting at this point.
- Add the dry ingredients. Sift the powdered sugar and cocoa powder together into a separate bowl (trust me on the sifting—lumps are hard to get out once they’re mixed in). Add the vanilla extract and salt. Gradually add the dry mixture to the wet mixture, beating on low speed at first to avoid a powdered sugar cloud. Increase to medium speed and beat until fully combined and smooth. The mixture will be thick and fudge-like.
- Fold in the crumbs. Add the finely crushed graham crackers or chocolate wafer crumbs. Fold them in with a rubber spatula until evenly distributed. The crumbs help give the bites structure and a slight texture contrast. If the mixture feels too soft to shape, add an extra tablespoon of crumbs.
- Chill the mixture. Cover the bowl with plastic wrap and refrigerate for about 20-30 minutes. This step is crucial—the mixture needs to be firm enough to shape into footballs without sticking to your hands. If you skip this, you’ll end up with a sticky mess. I’ve made that mistake before, and it’s not fun.
- Shape the footballs. Line a baking sheet or large plate with parchment paper. Scoop out about 1 1/2 tablespoons of the mixture (a small cookie scoop works perfectly here). Roll it into a ball between your palms, then gently shape it into an oval football shape by pressing the sides slightly to taper the ends. Place each shaped bite on the prepared baking sheet. Repeat until all the mixture is used—you should get about 18-20 bites.
- Chill again. Place the baking sheet with the shaped bites in the refrigerator for at least 30 minutes, or up to 2 hours if you have time. They need to be firm before you add the lacing, otherwise the white chocolate will just sink into the surface.
- Melt the white chocolate. In a microwave-safe bowl, combine the white candy melts or white chocolate chips with the coconut oil or shortening. Microwave in 20-second intervals, stirring between each, until completely smooth and melted. Be careful not to overheat—white chocolate burns easily and gets grainy.
- Pipe the lacing. Transfer the melted white chocolate to a small piping bag or a zip-top bag with a tiny corner snipped off. Pipe small lines across the top of each football to mimic the laces. You can do a simple straight line with small cross marks, or get fancy with the classic football lace pattern. I’m not great at it, but even my messy attempts look cute.
- Final chill. Return the bites to the refrigerator for another 15-20 minutes to set the white chocolate. Once the lacing is firm, they’re ready to serve.
Sensory Cues: When you’re mixing the base, it should smell like a Reese’s peanut butter cup in a bowl. The mixture should be thick enough that it holds its shape when you scoop it, but not so dry that it crumbles. If it feels too sticky, add a little more crushed crumbs. If it feels too dry, add a teaspoon of milk or water.
Cooking Tips & Techniques
I’ve made these bites at least a dozen times now, and I’ve picked up a few tricks along the way. Let me save you from some of the mistakes I made.
Don’t skip the chilling steps. I know it’s tempting to rush through, especially when you’re hungry and the mixture smells amazing. But the first chill firms up the mixture so you can actually shape it without it sticking to your hands like glue. The second chill ensures the football shape holds and the lacing doesn’t smear. Patience pays off here.
Keep your hands slightly damp. If the mixture starts sticking to your palms while shaping, lightly wet your hands with cold water. Not soaking wet—just a little damp. It creates a barrier that prevents sticking without adding moisture to the mixture. This trick works for shaping energy balls and truffles too.
Use a toothpick for the lacing if you’re nervous about piping. Honestly, I still do this sometimes when I want a more rustic look. Dip a toothpick into the melted white chocolate and draw the lines on. It gives you more control and feels less intimidating than a piping bag.
Make them ahead of time. These bites actually taste better after they’ve sat in the fridge for a few hours—the flavors meld together and the texture firms up perfectly. I usually make them the night before a game and just pull them out 10 minutes before serving. They’re one of those rare recipes that actually improves with a little rest.
If the mixture cracks while shaping, it’s too cold. Let it sit at room temperature for a few minutes and try again. The warmth from your hands will soften it slightly and make it more pliable. If it’s too soft, pop it back in the fridge for 10 minutes.
Double the batch. Seriously. These disappear fast, and you’ll wish you had made more. The recipe doubles beautifully, and they freeze well for up to a month.
Variations & Adaptations
One of the things I love about this recipe is how flexible it is. You can change it up based on what you have or who you’re serving.
- Chocolate Peanut Butter Explosion: Roll the finished bites in crushed chocolate sandwich cookies (like Oreos) before chilling. It adds a dark chocolate crunch that contrasts beautifully with the creamy peanut butter filling.
- Gluten-Free Version: Use gluten-free graham crackers or crushed gluten-free pretzels instead of regular graham crackers. The texture stays exactly the same, and nobody will know the difference. I’ve tested this with Schär brand graham crackers and it worked perfectly.
- Vegan Option: Substitute the cream cheese with a high-quality vegan cream cheese (Miyoko’s or Kite Hill work best), use plant-based butter, and swap the white chocolate for a dairy-free white chocolate bar. The texture will be slightly softer, so add an extra tablespoon of crushed crumbs to firm it up.
- Protein-Packed Version: Add 2 scoops of chocolate or vanilla protein powder to the dry ingredients. You’ll need to add an extra 2-3 tablespoons of milk to compensate for the dryness. These make a great post-workout treat that still feels indulgent. I’ve made a similar version with no-bake protein energy balls and the technique transfers perfectly.
- Spicy Kick: Add 1/4 teaspoon of cayenne pepper or chipotle powder to the cocoa mixture. The heat sneaks up on you after the sweetness and it’s surprisingly addictive. I tried this on a whim during a playoff game and it was a hit with the spice lovers.
- Holiday Twist: Skip the football shape and roll them into regular balls. Drizzle with white chocolate and sprinkle with crushed candy canes for Christmas, or orange sprinkles for Halloween. The base recipe is versatile enough for any occasion.
Serving & Storage Suggestions
These bites are best served cold or at cool room temperature. If you’re serving them at a party, take them out of the fridge about 10-15 minutes before guests arrive. They soften just enough to become perfectly fudgy without losing their shape.
Presentation Ideas: Arrange them on a platter lined with green parchment paper or a green napkin to look like a football field. You can even pipe little white yard lines on the paper for extra fun. For a more sophisticated look, serve them on a slate board with fresh berries and a dusting of cocoa powder.
What to Serve With Them: These pair beautifully with cold milk, hot coffee, or even a stout beer for the adults. They’re also great alongside a grilled vegetable platter for a sweet-savory contrast on a party table. If you’re doing a full spread, balance the richness with something fresh like a watermelon cucumber feta salad.
Storage: Store the bites in an airtight container in the refrigerator for up to 1 week. Layer them between sheets of parchment paper to prevent the lacing from smudging. They actually taste better on day 2 or 3, so don’t worry about making them ahead.
Freezing: These freeze beautifully for up to 1 month. Place them in a single layer on a baking sheet and freeze until solid (about 1 hour), then transfer to a freezer-safe container or bag. To thaw, move them to the refrigerator overnight or let them sit at room temperature for about 20 minutes. The texture remains perfect—no sogginess or separation.
Reheating: Honestly, I wouldn’t recommend reheating these. They’re meant to be served cold or cool. If you want a warm treat, try microwaving one for about 10 seconds—it softens the peanut butter and makes it almost like a warm brownie. But proceed with caution; they can get too soft quickly.
Nutritional Information & Benefits
Let’s be real—these are a treat, not a health food. But they’re made with real ingredients, and there are some nutritional bright spots worth mentioning.
Estimated Nutritional Values (per bite, based on 20 servings):
| Nutrient | Amount |
|---|---|
| Calories | 185 |
| Total Fat | 12g |
| Saturated Fat | 5g |
| Carbohydrates | 17g |
| Fiber | 2g |
| Sugar | 12g |
| Protein | 5g |
Health Highlights: Peanut butter provides healthy monounsaturated fats and a decent amount of protein, which helps keep you full longer. Cocoa powder is rich in antioxidants called flavonoids, which support heart health. Cream cheese adds calcium and vitamin A. The portion size is small enough that you can enjoy one or two without derailing your day.
Dietary Considerations: These are vegetarian and can be made gluten-free, dairy-free, or vegan with simple substitutions. They contain peanuts, dairy, and gluten (depending on your crumb choice), so keep that in mind if you’re serving a crowd with allergies.
My Take: I don’t believe in labeling food as “good” or “bad.” These are a fun, homemade treat that uses real ingredients. They’re way better than anything you’d buy in a package, and you control exactly what goes into them. That’s a win in my book.
Frequently Asked Questions
Can I use natural peanut butter for this recipe?
You can, but I don’t recommend it. Natural peanut butter has more oil separation and less sugar, which can make the mixture greasy and harder to shape. If you only have natural peanut butter, stir it very well and add an extra tablespoon of crushed graham crackers to absorb the excess oil.
How do I get the football shape to look right?
Practice makes perfect, honestly. Start with a round ball, then gently press the sides to create a slight oval shape. Taper the ends by rolling them between your thumb and index finger. They don’t need to be perfect—even slightly misshapen ones look charming and homemade.
Can I make these without a mixer?
Absolutely. You can mix everything by hand with a sturdy spatula or wooden spoon. Just make sure your cream cheese and butter are very soft so you don’t wear out your arm. It takes a little more elbow grease, but the result is the same.
How far ahead can I make these for a party?
I’ve made them up to 3 days in advance and they were perfect. Store them in an airtight container in the fridge, and add the white chocolate lacing on the day you serve them if you want it to look its best. The lacing can soften slightly over time, but it still tastes great.
My mixture is too sticky to shape. What did I do wrong?
This usually happens if the mixture wasn’t chilled long enough, or if you used a different brand of peanut butter that’s more liquidy. Pop it back in the fridge for 20-30 minutes, or add a tablespoon more of crushed graham crackers and mix well. If it’s still sticky after that, your hands might be too warm—rinse them with cold water and try again.
Conclusion
These Easy No-Bake Peanut Butter Football Brownie Bites have saved me more times than I can count. They’re the recipe I turn to when I need something impressive without the stress, when I want to show up to a party with homemade treats, or when I just need a little sweet something after a long day. They’re forgiving, flexible, and genuinely delicious.
I hope you make them your own. Add a little extra salt if you’re into that sweet-salty thing. Double the batch because you know they’ll disappear. Pipe the lacing however you want—there’s no wrong way to do it. The best part about cooking is making a recipe work for your life, not the other way around.
If you try these, I’d love to hear how they turned out. Drop a comment below, tag me in your photos, or share your own twist on the recipe. And if you’re looking for more easy, no-fuss treats, check out my campfire banana s’mores boats for another fun, no-bake idea. Happy game day, and happy snacking!
Pin This Recipe!
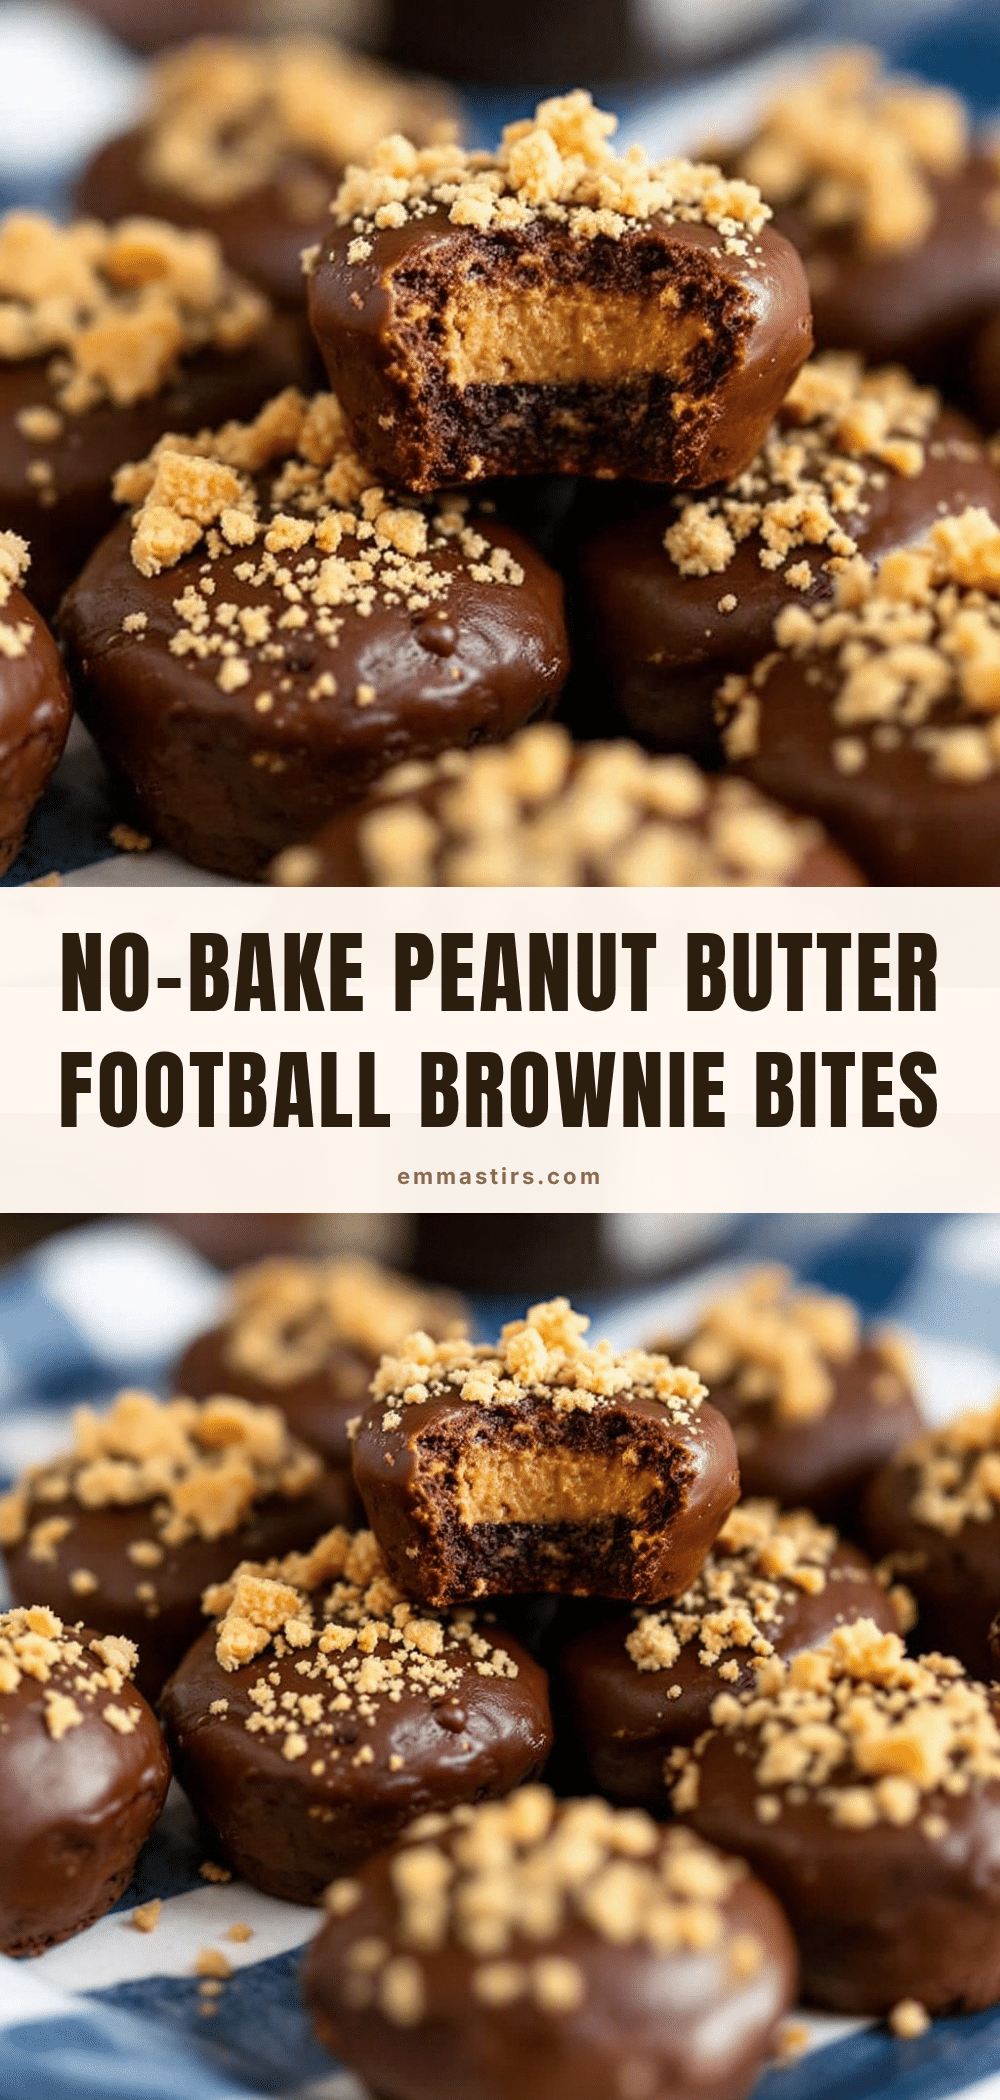
Easy No-Bake Peanut Butter Football Brownie Bites: Perfect Game Day Treat

Rich, fudgy, no-bake peanut butter brownie bites shaped like footballs, perfect for game day. Made with simple ingredients and ready in 15 minutes.
- Prep Time: 15 minutes
- Cook Time: 0 minutes
- Total Time: 1 hour 15 minutes (includes chilling)
- Yield: 18-20 bites 1x
- Category: Dessert
- Cuisine: American
Ingredients
- 1 cup creamy peanut butter (Skippy or Jif recommended)
- 1/4 cup unsalted butter, softened
- 4 oz cream cheese, softened
- 1 1/2 cups powdered sugar, sifted
- 1/2 cup unsweetened cocoa powder (Dutch-process preferred)
- 1 tsp vanilla extract
- 1/4 tsp salt
- 1/2 cup finely crushed graham crackers or chocolate wafer crumbs
- 1/4 cup white candy melts or white chocolate chips
- 1 tsp coconut oil or shortening
Instructions
- Soften cream cheese and butter at room temperature for 30 minutes.
- In a large bowl, beat cream cheese, butter, and peanut butter with an electric mixer on medium speed until smooth and fluffy, about 2 minutes.
- Sift powdered sugar and cocoa powder together. Add vanilla and salt. Gradually beat into the peanut butter mixture on low speed, then increase to medium until fully combined and smooth.
- Fold in crushed graham crackers or chocolate wafer crumbs with a rubber spatula until evenly distributed. If mixture is too soft, add an extra tablespoon of crumbs.
- Cover bowl with plastic wrap and refrigerate for 20-30 minutes until firm enough to shape.
- Line a baking sheet with parchment paper. Scoop about 1 1/2 tablespoons of mixture, roll into a ball, then shape into an oval football by pressing sides to taper ends. Place on prepared sheet. Repeat for 18-20 bites.
- Refrigerate shaped bites for at least 30 minutes until firm.
- In a microwave-safe bowl, combine white candy melts or white chocolate chips with coconut oil. Microwave in 20-second intervals, stirring between, until smooth.
- Transfer melted white chocolate to a small piping bag or zip-top bag with a tiny corner snipped off. Pipe small lines across each football to mimic laces.
- Return bites to refrigerator for 15-20 minutes to set the white chocolate. Serve cold or at cool room temperature.
Notes
Don’t skip the chilling steps—they ensure the mixture is firm enough to shape and the lacing sets properly. If mixture sticks to hands while shaping, lightly wet palms with cold water. For best results, make ahead and refrigerate overnight; flavors meld and texture firms up. These freeze well for up to 1 month.
Nutrition
- Serving Size: 1 bite
- Calories: 185
- Sugar: 12
- Sodium: 120
- Fat: 12
- Saturated Fat: 5
- Carbohydrates: 17
- Fiber: 2
- Protein: 5
Keywords: no-bake, peanut butter, chocolate, football, game day, brownie bites, easy dessert


