Love this? Save it for later!
Share the inspiration with your friends
Staring at a heaping bowl of sourdough discard in the fridge—the one I swore I’d feed on schedule this time—when the lunch panic hit. Everyone hungry, pantry looking sad, and that starter leftover just sitting there like a challenge I didn’t ask for. Honestly, I almost tossed it. But then I remembered a focaccia I’d grabbed at a farmers market weeks ago, all crispy bottom and airy crumb, and something clicked. Could this be that easy? No kneading, no fancy techniques, just discard and a bit of patience?
So I dumped it into a bowl with some flour and water, crossed my fingers, and let it sit. An hour later, my kitchen smelled like a real bakery—not the fake-candle kind, but the warm, yeasty, I-made-this kind. The kids ate it straight off the sheet pan, pulling apart the golden edges before I could even slice it. That was the moment I knew this easy no-knead sourdough discard focaccia wasn’t just a happy accident. It was the recipe I’d been looking for.
You don’t need a perfect starter or a fancy mixer. You just need a little time and the willingness to get your hands a bit oily. Trust me, it’s worth it.
Why You’ll Love This Recipe
Let me tell you why this focaccia is different from every other bread recipe you’ve tried. I tested this thing six times before I got it right—too dense, too flat, not enough bubbles. Each failure taught me something, and now I’m handing you the shortcut.
- No Kneading Required: Seriously. You mix it with a spatula, wait, and bake. That’s it. Your arms get a break, and your gut gets happy bread.
- Uses Up Sourdough Discard: Instead of tossing that unfed starter, you turn it into something crave-worthy. No more guilt about the jar in the back of the fridge.
- Simple Pantry Ingredients: Flour, water, olive oil, salt, and discard. You probably have everything right now, unless you’re out of flour—in which case, neighbor, I feel your pain.
- Perfect for Beginners: If you’ve never baked bread before, this is your starting line. The dough forgives over-mixing, under-proofing, and general clumsiness. I speak from experience.
- Crowd-Pleasing Texture: Crispy, golden crust on the outside, soft and airy on the inside. The dimpled top catches olive oil and salt in little pools of flavor. It’s the kind of bread you eat standing at the counter.
- Versatile Base: Top it with rosemary and flaky salt, or go sweet with caramelized onions and figs. This focaccia adapts to whatever you’re craving.
I’ve made this for potlucks, lazy Sunday afternoons, and even as a side for a healthy grilled chicken Caesar salad with 30g protein. It always disappears first. There’s something about pulling apart a warm, oily piece of bread that makes people feel taken care of.
What Ingredients You Will Need
This recipe keeps it simple. You don’t need a grocery list longer than your arm. Here’s what you’ll grab—and a few notes from my own kitchen mishaps.
- 1 cup (240g) sourdough discard – Unfed, straight from the fridge. It doesn’t need to be bubbly or active. In fact, flat discard works perfectly here because the yeast has already broken down some of the flour, giving you better flavor. If your discard is super thick, let it sit out for 15 minutes to loosen up.
- 2 cups (250g) all-purpose flour – Bread flour works too, but AP flour gives a softer crumb. I’ve used King Arthur and Gold Medal with equal success. If you’re gluten-free, try a 1:1 gluten-free blend, but expect a denser texture.
- 1 cup (240ml) warm water – About 100°F, like bathwater. Too hot kills the yeast; too cold slows everything down. I test it on my wrist, same as baby formula.
- 1 teaspoon salt – Fine sea salt or table salt. Kosher salt works too, but use 1.5 teaspoons since the flakes are bigger. Salt isn’t just for flavor—it strengthens the gluten structure.
- 1 teaspoon active dry yeast or instant yeast – Optional but recommended. The discard alone won’t give you the big bubbles you want. Yeast gives it that bakery lift. If you’re out, you can skip it, but the focaccia will be flatter and denser.
- 1/4 cup (60ml) extra-virgin olive oil – Divided. Use a good-quality oil for flavor, but save the fancy stuff for drizzling on top. A robust olive oil makes the crust sing. I like California Olive Ranch for everyday baking.
- Flaky sea salt for topping – Maldon or any flaky salt. Don’t skip this. The crunch adds texture and balances the richness.
- Optional toppings – Fresh rosemary, thyme, cherry tomatoes, garlic slices, or everything bagel seasoning. Go wild, but don’t overcrowd—you want the bread to shine.
I once used a discard that had been sitting in the fridge for three weeks. It smelled a little funky, but the focaccia came out tangy and incredible. So don’t be afraid of old discard—it adds character.
Equipment Needed
You don’t need a bread mixer or a proofing basket. Here’s what actually matters:
- Large mixing bowl – Any bowl big enough to hold the dough as it rises. Glass or ceramic is fine. Metal works too, but avoid plastic if you’re using warm water.
- Spatula or wooden spoon – For mixing. A Danish dough whisk is nice but not necessary.
- 9×13-inch baking pan – Metal or ceramic. Glass works, but it takes longer to brown. I prefer a dark metal pan for maximum crust crispiness.
- Plastic wrap or a damp kitchen towel – To cover the dough while it rises. A shower cap actually works great in a pinch—I’ve done it.
- Measuring cups and spoons – For accuracy. If you have a kitchen scale, use it. Flour can vary wildly by scooping method.
- Cooling rack – Essential for keeping the bottom crispy. If you cool it in the pan, the steam softens the crust.
I bought a fancy baker’s lame for scoring bread and never use it. For focaccia, your fingers are the best tool. Save your money and buy better olive oil instead.
Preparation Method
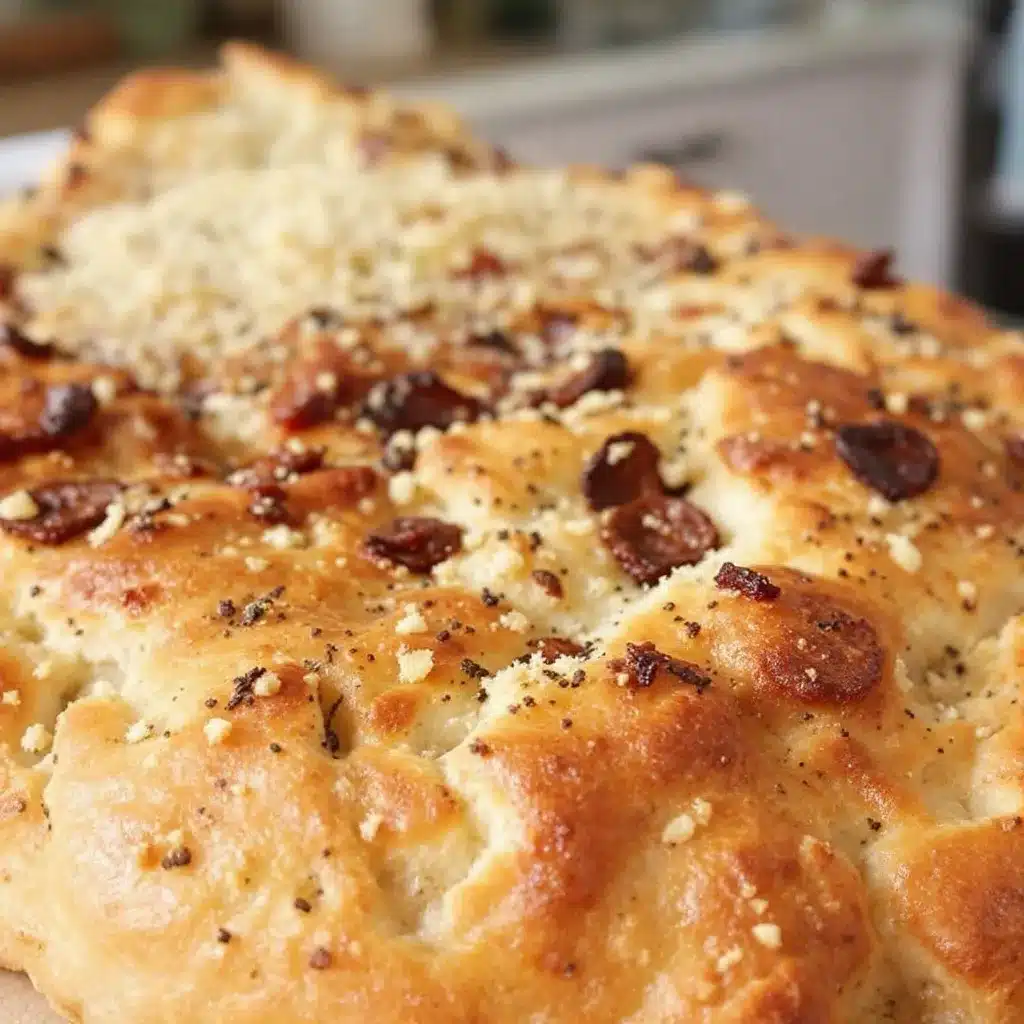
This is where the magic happens. Follow these steps, and you’ll have focaccia that rivals any bakery.
- Mix the dough – In your large bowl, combine the sourdough discard, warm water, and yeast. Stir until the yeast dissolves. Add the flour and salt. Mix with your spatula until no dry bits remain. The dough will be sticky and shaggy—that’s perfect. Don’t overmix; just get everything combined. Cover the bowl with plastic wrap and let it rest for 30 minutes. This autolyse step lets the flour absorb the liquid and starts gluten development without effort.
- First rise – After the rest, the dough will look smoother. Cover it again and let it rise at room temperature for 2-3 hours, until it doubles in size. If your kitchen is cold, it might take longer. I’ve let it rise on top of the fridge where it’s warmer. You’ll know it’s ready when the surface is dotted with small bubbles and the dough jiggles when you shake the bowl.
- Prepare the pan – Pour 2 tablespoons of olive oil into your 9×13 pan. Use your fingers to spread it all over the bottom and sides. Don’t skimp—the oil creates that crispy, golden crust. If you’re using a glass pan, reduce the oil slightly to avoid sogginess.
- Transfer the dough – Scrape the dough into the oiled pan. It will be sticky and uneven. Don’t panic. Let it rest for 10 minutes so it relaxes. Then, using oiled fingers, gently stretch the dough to the edges of the pan. If it resists, let it rest another 10 minutes and try again. Patience here prevents tearing.
- Second rise – Cover the pan with plastic wrap and let the dough rise again for 1-2 hours, until it’s puffy and nearly doubled. The surface should look bubbly and alive. This second rise builds the airy crumb you’re after. If you’re short on time, 45 minutes works, but the texture won’t be as open.
- Dimple the dough – Preheat your oven to 425°F (220°C). Uncover the pan and drizzle the remaining 2 tablespoons of olive oil over the top. Using your fingertips, press deep dimples all over the dough—almost to the bottom of the pan. This isn’t just for looks; the dimples hold oil and create those crispy, craggy pockets. Sprinkle flaky salt and any toppings you like over the surface.
- Bake – Place the pan on the middle rack and bake for 20-25 minutes, until the top is deep golden brown and the bottom is crispy. If you want extra color, broil for 1-2 minutes at the end, but watch it closely—it burns fast. The bread should sound hollow when you tap the bottom.
- Cool and serve – Let the focaccia cool in the pan for 5 minutes, then transfer it to a cooling rack. If you leave it in the pan, the bottom gets soggy. Let it cool for at least 10 minutes before slicing—if you can wait that long. I usually can’t.
Pro tip: If the dough sticks to your fingers during dimpling, just oil them again. Sticky dough is happy dough.
Cooking Tips & Techniques
I’ve made this focaccia more times than I can count, and I’ve messed it up plenty. Here’s what I learned the hard way so you don’t have to.
- Don’t skip the yeast – Even though it’s called “sourdough discard focaccia,” the discard alone won’t give you enough lift. The added yeast ensures big, beautiful bubbles. If you want a true wild yeast version, let the dough ferment overnight in the fridge for 12-18 hours.
- Wet hands are your friend – When handling sticky dough, wet your hands with water or oil. It prevents sticking without adding extra flour, which would make the bread dense. I keep a small bowl of water nearby.
- Let it rise fully – Underproofed focaccia is flat and heavy. Give it time. If you’re in a rush, use warm water (110°F) and place the bowl in a warm spot, like an oven with the light on. Check it by poking the dough—it should slowly spring back.
- Oil is not optional – The olive oil in the pan isn’t just for flavor; it fries the bottom of the dough as it bakes, creating a crispy, golden crust. Use enough to coat the pan generously. I once used too little oil, and the focaccia stuck to the pan like glue.
- Dimple deep and often – Shy dimples make for a flat top. Press firmly and evenly across the entire surface. The dough should look like a moon crater. Those pockets catch oil and salt, making every bite interesting.
- Watch the bake time – Ovens vary wildly. My old oven took 22 minutes; my new one needs 25. Start checking at 20 minutes. The top should be dark golden, almost amber. If it’s pale, it needs more time.
I once forgot the salt entirely. The focaccia was edible but bland, like eating a pillow. Salt isn’t just seasoning—it strengthens the gluten and enhances the fermentation flavor. Don’t skip it.
Variations & Adaptations
This recipe is a blank canvas. Here are some of my favorite twists.
- Herb and Garlic – Before the second rise, press 3 cloves of thinly sliced garlic and 2 tablespoons of fresh rosemary into the dough. The garlic roasts into buttery, sweet pockets. I’ve also used thyme and oregano for a more Italian vibe.
- Everything Bagel – After dimpling, sprinkle everything bagel seasoning generously over the top. The sesame seeds and poppy seeds toast in the oven, adding crunch and flavor. This version disappears fastest at parties.
- Tomato and Basil – Press halved cherry tomatoes into the dough before baking. They’ll roast and burst, creating little jammy spots. Add fresh basil after baking for a pop of color. This pairs beautifully with a fresh Mediterranean chickpea bowl with creamy tzatziki.
- Cheese Lover’s – Sprinkle 1/2 cup of grated Parmesan or crumbled feta over the top before baking. The cheese melts into the dimples and gets crispy at the edges. Goat cheese works too, but add it halfway through baking so it doesn’t burn.
- Sweet Version – Skip the salt and add 2 tablespoons of honey or maple syrup to the dough. Top with sliced figs, walnuts, and a drizzle of honey before baking. It’s incredible with coffee or as a dessert bread.
- Gluten-Free Adaptation – Use a 1:1 gluten-free flour blend and add 1 teaspoon of xanthan gum if your blend doesn’t include it. The texture will be denser and more cake-like, but still delicious. Let the dough rest longer—gluten-free flours need extra hydration time.
I once made a batch with caramelized onions and blue cheese crumbles. It was messy and decadent and absolutely worth the extra effort. Don’t be afraid to experiment.
Serving & Storage Suggestions
This focaccia is best warm, straight from the oven, when the crust is still crackly and the inside is pillowy. But let’s be real—you’ll have leftovers, and they’re still amazing.
- Serving temperature – Serve warm or at room temperature. If it’s been sitting, reheat it in a 350°F oven for 5 minutes to revive the crust. Microwaving makes it chewy and sad—avoid it.
- Presentation – Cut into squares or tear into irregular pieces. Serve on a wooden board or a simple plate. A drizzle of olive oil and a sprinkle of flaky salt right before serving makes it look intentional.
- Pairings – This focaccia is perfect alongside soups, salads, or pasta. Try it with a creamy one-pan Tuscan chicken with spinach and sun-dried tomatoes for a complete meal. It also works as a sandwich bread—split it horizontally and fill with roasted veggies, mozzarella, and pesto.
- Storage – Store in an airtight container at room temperature for up to 3 days. Don’t refrigerate—it dries out the bread. If you need to keep it longer, freeze it.
- Freezing – Wrap the cooled focaccia tightly in plastic wrap, then foil, and freeze for up to 3 months. To serve, thaw at room temperature and reheat in a 350°F oven for 10 minutes. I freeze individual squares for quick lunches.
- Flavor development – The flavor actually improves after a day. The tanginess from the sourdough deepens, and the olive oil soaks into the crumb. Day-old focaccia makes the best croutons or breadcrumbs.
I’ve packed this focaccia for picnics, and it holds up beautifully. Just wrap it in a clean kitchen towel to keep the crust from softening.
Nutritional Information & Benefits
This isn’t health food, but it’s not junk either. Made with simple ingredients, it’s a satisfying bread that fits into a balanced diet.
- Estimated per serving (1/8 of recipe): Calories: 220, Fat: 9g, Carbs: 30g, Protein: 5g, Fiber: 1g. These values vary based on toppings and flour type.
- Sourdough benefits – The fermentation process breaks down phytic acid, making minerals like iron and zinc more absorbable. Some people with mild gluten sensitivities find sourdough easier to digest.
- Olive oil – Extra-virgin olive oil provides healthy monounsaturated fats and antioxidants. It’s a cornerstone of the Mediterranean diet, which is linked to heart health and longevity.
- Whole grain option – Swap half the all-purpose flour for whole wheat or spelt flour. This adds fiber, B vitamins, and a nuttier flavor. The texture will be slightly denser, but still delicious.
- Dietary considerations – This recipe is vegetarian and can be made dairy-free. For a vegan version, ensure your toppings are plant-based. It’s not gluten-free unless you use a GF flour blend.
- Allergens – Contains wheat and gluten. If you’re avoiding gluten, use a certified GF flour blend and add xanthan gum for structure.
I’m not a nutritionist, but I believe in eating real food made with care. This focaccia fits that philosophy—simple ingredients, made from scratch, shared with people you love.
Conclusion
This easy no-knead sourdough discard focaccia is the recipe that keeps on giving. It uses up that discard you’ve been guiltily ignoring, requires almost no effort, and delivers bakery-quality bread that makes you look like a pro. The crispy bottom, the airy crumb, the pools of olive oil and salt—it’s comfort in every bite.
I’ve made this for busy weeknights, lazy weekends, and everything in between. It’s become my go-to when I need something that feels special but doesn’t demand hours of work. And honestly, the smell alone is worth it. Your whole house will smell like a bakery, and everyone will wander into the kitchen asking what’s for dinner.
Now I want to hear from you. What toppings are you going to try? Did you experiment with a sweet version or go savory? Drop a comment below and let me know how it turned out. And if you loved this recipe, share it with a friend who needs a little bread in their life. Happy baking!
Frequently Asked Questions
Can I use active sourdough starter instead of discard?
Yes, absolutely. If your starter is bubbly and active, reduce the added yeast to 1/2 teaspoon or skip it entirely. The active starter will provide enough lift on its own. Just expect a slightly longer rise time.
Why is my focaccia dense and flat?
This usually happens from underproofing. The dough needs enough time to double in size during both rises. If your kitchen is cold, find a warm spot or extend the rise time. Also, make sure your yeast is fresh—expired yeast won’t give you the lift you need.
Can I make this recipe gluten-free?
Yes, but the texture will be different. Use a 1:1 gluten-free flour blend that includes xanthan gum. The dough will be more like a batter, and the crumb will be denser and more cake-like. Let the dough rest longer to hydrate fully.
How do I get a crispier bottom crust?
Use a metal pan instead of glass or ceramic. Metal conducts heat better and creates a crispier bottom. Also, don’t skimp on the olive oil in the pan—it fries the bottom as the bread bakes. Baking on the lower rack of the oven can also help.
Can I refrigerate the dough overnight?
Yes! After the first rise, cover the bowl tightly and refrigerate for up to 24 hours. The cold fermentation develops deeper flavor. When you’re ready to bake, let the dough come to room temperature for 30 minutes before transferring to the oiled pan for the second rise.
Pin This Recipe!
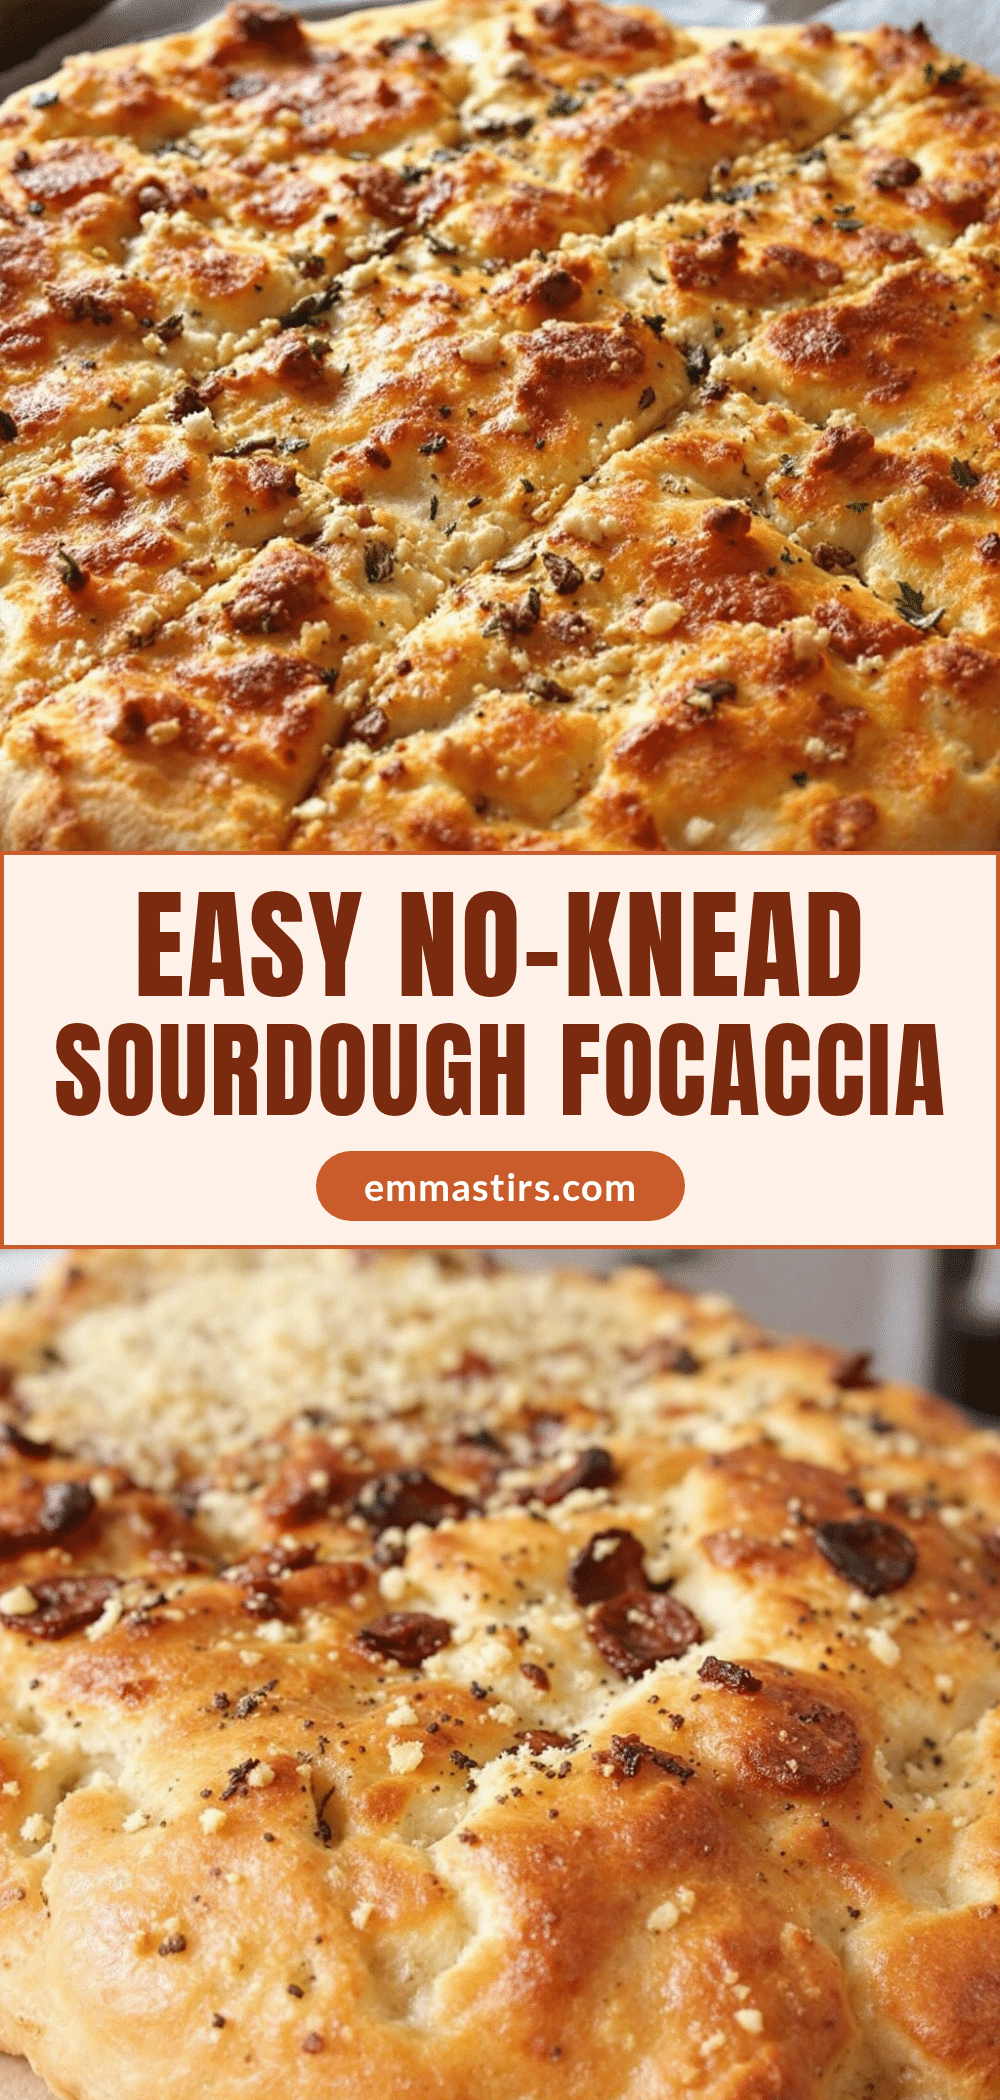
Easy No-Knead Sourdough Discard Focaccia (Best Recipe)
This easy no-knead sourdough discard focaccia uses up that discard you’ve been guiltily ignoring, requires almost no effort, and delivers bakery-quality bread with a crispy bottom, airy crumb, and pools of olive oil and salt.
- Prep Time: 15 minutes
- Cook Time: 25 minutes
- Total Time: 3 hours 40 minutes (includes rising time)
- Yield: 8 servings 1x
- Category: Bread
- Cuisine: Italian
Ingredients
- 1 cup (240g) sourdough discard
- 2 cups (250g) all-purpose flour
- 1 cup (240ml) warm water (about 100°F)
- 1 teaspoon salt (fine sea salt or table salt; use 1.5 teaspoons if using kosher salt)
- 1 teaspoon active dry yeast or instant yeast (optional but recommended)
- 1/4 cup (60ml) extra-virgin olive oil, divided
- Flaky sea salt for topping (e.g., Maldon)
- Optional toppings: fresh rosemary, thyme, cherry tomatoes, garlic slices, everything bagel seasoning
Instructions
- Mix the dough: In a large bowl, combine sourdough discard, warm water, and yeast. Stir until yeast dissolves. Add flour and salt. Mix with a spatula until no dry bits remain. Dough will be sticky and shaggy. Cover with plastic wrap and let rest for 30 minutes.
- First rise: After rest, cover again and let rise at room temperature for 2-3 hours until doubled in size. Surface should have small bubbles and dough should jiggle when bowl is shaken.
- Prepare the pan: Pour 2 tablespoons of olive oil into a 9×13-inch baking pan. Spread all over bottom and sides with fingers.
- Transfer the dough: Scrape dough into oiled pan. Let rest 10 minutes. Using oiled fingers, gently stretch dough to edges of pan. If it resists, let rest another 10 minutes and try again.
- Second rise: Cover pan with plastic wrap and let rise for 1-2 hours until puffy and nearly doubled. Surface should look bubbly.
- Dimple the dough: Preheat oven to 425°F (220°C). Uncover pan and drizzle remaining 2 tablespoons olive oil over top. Using fingertips, press deep dimples all over dough almost to bottom of pan. Sprinkle flaky salt and any desired toppings.
- Bake: Place pan on middle rack and bake for 20-25 minutes until top is deep golden brown and bottom is crispy. For extra color, broil 1-2 minutes at end, watching closely. Bread should sound hollow when tapped on bottom.
- Cool and serve: Let cool in pan for 5 minutes, then transfer to a cooling rack. Cool at least 10 minutes before slicing.
Notes
Don’t skip the yeast for best lift. Wet hands with water or oil when handling sticky dough. Let rise fully for airy crumb. Olive oil in pan is essential for crispy crust. Dimple deep and often. Check bake time starting at 20 minutes as ovens vary. Flavor improves after a day. Store at room temperature up to 3 days; freeze for up to 3 months.
Nutrition
- Serving Size: 1/8 of recipe
- Calories: 220
- Sodium: 290
- Fat: 9
- Saturated Fat: 1.5
- Carbohydrates: 30
- Fiber: 1
- Protein: 5
Keywords: sourdough discard, focaccia, no-knead bread, easy bread recipe, sourdough bread, discard recipe, Italian bread


