Love this? Save it for later!
Share the inspiration with your friends
My first batch of pickled jalapeños came out sad. Limp. Soggy. The kind of sad that makes you wonder why you bothered slicing all those peppers in the first place. I had followed a random blog’s advice to boil the brine for twenty minutes before pouring it over the slices. By the time I cracked open a jar a week later, the jalapeños had turned into translucent, floppy ribbons that tasted more like hot vinegar than anything resembling a crunchy taco topping. For a while, I just accepted that homemade pickled jalapeños weren’t going to taste like the ones from the jar at the taqueria. I kept buying the store-bought stuff, even though I knew it had calcium chloride and artificial coloring and who knows what else.
Then a friend who cans hot sauce every fall told me her secret. “You’re cooking them too long,” she said, barely looking up from her stove. “You just need to warm the brine, not boil the peppers.” That was it. That single sentence changed everything. The quick-pickled jalapeños I made that afternoon stayed crisp. Bright. Snappy. They had that perfect balance of heat and tang that makes you want to put them on everything. (And I do mean everything.)
This recipe for easy quick-pickled jalapeños for canning beginners is the one I wish I had found years ago. It is forgiving. It is fast. And honestly, it is the kind of recipe that makes you feel like a kitchen wizard even if you have never canned a thing in your life. No special equipment required. No complicated sterilization routines. Just peppers, vinegar, salt, and a little patience. The first time I opened a jar and heard that perfect pop, I knew I was never going back to store-bought.
Why You Will Love This Recipe
I have made this recipe at least two dozen times over the past year, and it has never let me down. That is the kind of track record that earns a permanent spot in my recipe binder. Here is why I think you will feel the same way.
- Beginner-Friendly : If you can slice a jalapeño and boil water, you can make this recipe. There is no pressure canner, no water bath processing, no complicated pH testing. It is the perfect entry point for anyone who has ever felt intimidated by the idea of canning.
- Quick Turnaround : The active prep time is about 15 minutes. Fifteen minutes. You can have jars cooling on the counter before your coffee finishes brewing. And the jalapeños are ready to eat in as little as 24 hours, though they get better after a few days.
- Crunchy Every Time : The key is using a cold brine method that preserves the pepper’s natural crispness. No more sad, soggy slices. These stay snappy for weeks in the fridge.
- Customizable Heat : You control the spice level. Remove the seeds and membranes for a milder pickle, or leave them in for a fiery kick. You can even add a habanero or two if you are feeling bold.
- Pantry-Friendly : The ingredients are basic. White vinegar, water, salt, sugar, garlic, and jalapeños. That is it. No trips to a specialty store required.
- Endless Uses : I put these on tacos, nachos, burgers, sandwiches, salads, grain bowls, and even pizza. They also make fantastic gifts. (I gave a jar to my neighbor last summer, and now she asks me every month if I have a fresh batch.)
What sets this recipe apart is the technique. Most quick-pickle recipes tell you to pour hot brine over the peppers and let it cool. That works, but it often results in softer pickles. My method uses a room-temperature brine that you pour over ice-cold peppers. The temperature shock helps lock in that perfect crunch. It is a small tweak that makes a big difference.
This recipe is not just good. It is the kind that makes you close your eyes after the first bite. The kind where you find yourself eating jalapeños straight out of the jar at 10 p.m. and pretending you are just checking the flavor. Trust me on this one.
What Ingredients You Will Need
This recipe uses simple, wholesome ingredients to deliver bold flavor and satisfying texture without the fuss. Most of these are probably already in your kitchen. If not, they are easy to find at any grocery store.
For the Brine
- 1 cup distilled white vinegar — White vinegar has a clean, sharp acidity that lets the jalapeño flavor shine. Avoid apple cider vinegar here; it can muddy the taste and darken the peppers. I use Heinz or store brand, both work fine.
- 1 cup water — Tap water is fine, but if your water has a strong chlorine taste, use filtered water instead. It makes a subtle difference in the final flavor.
- 1 tablespoon kosher salt — Use pickling salt or kosher salt without anti-caking agents. Table salt can make the brine cloudy. I prefer Diamond Crystal kosher salt for its clean taste and easy dissolving.
- 1 tablespoon granulated sugar — Just enough to balance the acidity without making the pickles sweet. You can omit it if you prefer a purely tangy brine, but I find the sugar rounds out the sharp edges nicely.
For the Jalapeños
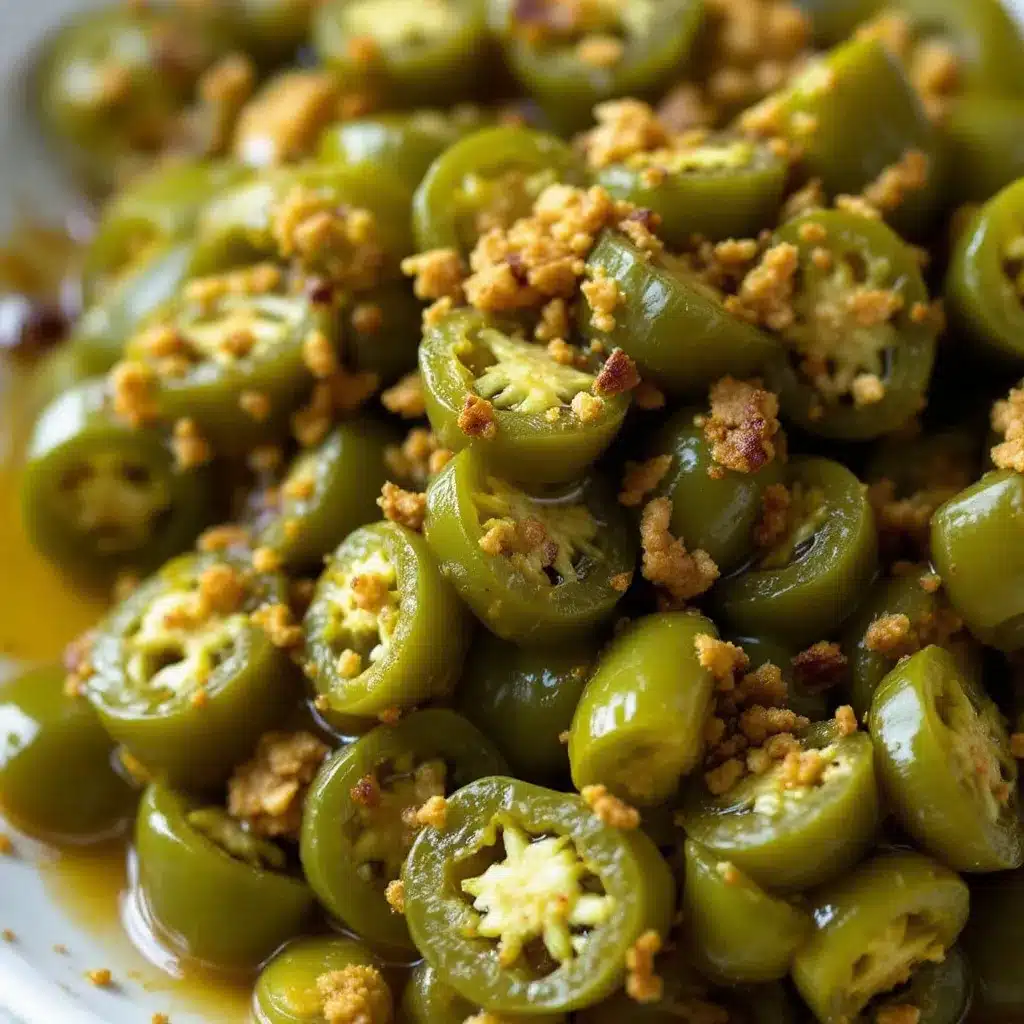
- 1 pound fresh jalapeños — Look for firm, glossy peppers with no soft spots or wrinkles. The fresher the pepper, the crunchier the pickle. I like to mix green and red jalapeños for color contrast. Red ones are riper and slightly sweeter, which adds nice complexity. (adds visual appeal and varied heat)
- 4 cloves garlic, smashed — Smashing the garlic releases more flavor than slicing. You can use more if you are a garlic lover. I sometimes add a whole head, halved crosswise, for a milder garlic infusion.
- 1 teaspoon black peppercorns — Optional, but I like the subtle warmth they add. You can also use red pepper flakes for extra heat.
- 1 teaspoon mustard seeds — Optional. They add a pleasant pop of texture and a mild earthy flavor. Yellow mustard seeds are milder; brown ones are more pungent.
Ingredient Selection Tips
I have tried this recipe with different vinegars, and white vinegar consistently gives the best results. It is neutral enough to let the jalapeño flavor come through without competing. If you want a slightly different profile, you can substitute half the white vinegar with rice vinegar for a milder, slightly sweeter brine. Just do not use balsamic or red wine vinegar – they will turn your pickles an unappetizing brown color.
For the jalapeños, try to buy them from a farmer’s market or a store with high turnover. Fresher peppers are firmer and have brighter flavor. If you end up with slightly older peppers, they will still work, but they might not be as crunchy. I learned that the hard way after buying a bag of sad-looking jalapeños from a discount grocery store. The pickles were edible, but they lacked that satisfying snap.
Substitution Guidance
If you do not have kosher salt, use fine sea salt at a slightly reduced amount (about 2 teaspoons). If you want a sugar-free version, you can omit the sugar entirely or use a pinch of stevia. The pickles will be more assertively tangy, which some people prefer. For a low-sodium option, reduce the salt to 1 teaspoon, but note that the pickles will not keep as long. They are still safe to eat, just less preserved.
Equipment Needed
You do not need a fancy canning setup for this recipe. Here is what you will need.
- 2 pint-sized glass jars with lids — Wide-mouth mason jars are easiest for packing the pepper slices. I use Ball or Kerr jars. You can also reuse pasta sauce jars, just make sure they are thoroughly cleaned and the lids are in good condition.
- Cutting board and sharp knife — A sharp knife makes clean slices and reduces the risk of slipping. A mandoline slicer works great if you want uniform slices, but a knife is totally fine.
- Small saucepan — For heating the brine. Any small pot will do.
- Measuring cups and spoons — Accurate measurements matter for the brine ratio.
- Funnel (optional but helpful) — A wide-mouth funnel makes pouring the brine into jars much less messy. I used to skip this and always regretted it.
- Kitchen towel — For cleaning jar rims before sealing.
If you do not have mason jars, you can use any heat-safe glass container with a tight-fitting lid. I have made these in a repurposed pickle jar before, and they turned out just fine. Just make sure the container is clean and the lid seals well. Avoid plastic containers; the vinegar can absorb plastic flavors over time.
One tip I learned from experience: always check your jar lids before starting. If the lid has rust spots or the seal looks damaged, use a different one. A bad seal means your pickles might spoil faster. It is a small thing, but it matters.
Preparation Method
This method is straightforward, but a few key details make the difference between good pickles and great ones. Follow these steps closely, especially the part about chilling the peppers.
- Prepare the jalapeños. Wash the peppers thoroughly and pat them dry. Wearing gloves (seriously, do not skip this), slice off the stems. Slice the jalapeños into uniform rounds about 1/8 to 1/4 inch thick. Uniform slices ensure even pickling. If you want milder pickles, cut each pepper in half lengthwise and scrape out the seeds and white membranes before slicing. For maximum heat, leave everything intact. I usually leave the seeds in about half the peppers for a medium heat level.
- Chill the peppers. This is the trick that keeps them crunchy. Place the sliced jalapeños in a bowl and put them in the freezer for 15 minutes while you prepare the brine. They should be cold but not frozen. The temperature shock when you pour the brine over them helps maintain their crisp texture. I learned this from a fermentation expert, and it works like magic.
- Prepare the brine. In a small saucepan, combine the vinegar, water, salt, and sugar. Add the smashed garlic cloves, peppercorns, and mustard seeds if using. Heat over medium heat, stirring occasionally, until the salt and sugar are fully dissolved. Do not let it boil. You want it hot but not simmering. This usually takes about 3-4 minutes. Remove from heat and let it cool for 5 minutes. The brine should be warm but not scalding when you pour it over the peppers.
- Pack the jars. Remove the chilled jalapeños from the freezer. Pack them tightly into the jars, leaving about 1/2 inch of headspace at the top. Distribute the garlic cloves and any spices evenly between the jars. Do not overpack; you want the brine to be able to circulate around the slices. If you pack too tightly, the pickles at the center might not pickle evenly.
- Pour the brine. Carefully pour the warm brine over the jalapeños, making sure they are completely submerged. Use a chopstick or butter knife to gently poke around the jar and release any air bubbles. This step is important – trapped air can lead to spoilage. Wipe the jar rims clean with a damp kitchen towel to remove any brine residue. A clean rim is essential for a good seal.
- Seal and cool. Screw on the lids until they are fingertip-tight. Do not overtighten. Let the jars cool to room temperature on the counter, about 1-2 hours. You should hear the lids pop as they seal. If a lid does not pop, do not worry – it is still safe to eat, just store that jar in the fridge and use it first.
- Refrigerate and wait. Once the jars are cool, transfer them to the refrigerator. The pickles are technically ready to eat after 24 hours, but they reach their peak flavor after about 3-5 days. The waiting is the hardest part. I usually make a double batch so I can start eating one jar immediately and let the other one develop fully.
Prep note: If you are new to slicing jalapeños, here is a safety tip. The capsaicin in the seeds and membranes can burn your skin and eyes. Wear gloves. I learned this the hard way after rubbing my eye an hour after slicing peppers. It was not a fun evening. If you do not have gloves, wash your hands thoroughly with soap and warm water after handling the peppers, and avoid touching your face.
Cooking Tips & Techniques
I have made plenty of mistakes with pickled jalapeños over the years. Here is what I have learned so you do not have to repeat my errors.
Do not boil the brine. This is the most common mistake. Boiling the brine can break down the vinegar’s acidity and make the pickles taste flat. You just need to heat it enough to dissolve the salt and sugar. Warm, not boiling. I once let the brine boil while I was distracted by a phone call, and the resulting pickles were noticeably less vibrant.
Use the right salt. Iodized table salt can make the brine cloudy and add a metallic taste. Stick with kosher salt or pickling salt. If you only have table salt, reduce the amount by about half because it is denser. Cloudy brine is not dangerous, but it does not look as pretty in the jar.
Let the flavors meld. I know it is tempting to crack open a jar after 24 hours, and you can. But the pickles really hit their stride after a few days. The garlic mellows out, the heat distributes evenly, and the brine absorbs all the pepper flavor. I made the mistake of eating an entire jar on day two once, and by day five I was kicking myself for not waiting.
Keep them submerged. If any pepper slices float above the brine line, they can discolor and spoil. Use a clean weight or simply press them down with a spoon before sealing. I sometimes add a clean cabbage leaf or a slice of onion on top to help keep everything submerged. It works surprisingly well.
Timing and multitasking. This recipe comes together quickly, so I like to prep all my ingredients before I start. Slice the peppers, measure the spices, have the jars ready. That way, everything flows smoothly. I usually make these while my morning coffee is brewing. By the time I have finished my first cup, the brine is ready and the jars are packed.
Variations & Adaptations
Once you have mastered the basic recipe, the fun really begins. Here are some variations I have tried and loved.
- Spicy Garlic Jalapeños : Add 2-3 whole cloves of garlic per jar and 1 teaspoon of red pepper flakes. The garlic infuses the brine and becomes soft and spreadable after a week. I love mashing these onto toast with a little butter.
- Sweet and Spicy : Increase the sugar to 2 tablespoons and add 1/2 teaspoon of ground cinnamon. The sweetness balances the heat beautifully. This version is amazing on pulled pork sandwiches or grilled cheese. I brought a jar to a potluck once, and it disappeared in ten minutes.
- Smoky Chipotle Jalapeños : Add 1 dried chipotle pepper and 1 teaspoon of smoked paprika to the brine. The smokiness adds a whole new dimension. These are incredible on tacos or in a bloody mary. I use this version when I am making my grilled chicken skewers – the smoky heat pairs perfectly with the char from the grill.
- Herb-Infused : Add a sprig of fresh dill, a few sprigs of cilantro, or a bay leaf to each jar. Herbs add freshness and complexity. I love the dill version on a Greek yogurt chicken salad for an extra pop of flavor.
- Milder Version : Use only green jalapeños and remove all seeds and membranes. You can also substitute half the jalapeños with bell peppers for a very mild pickle that still has the jalapeño flavor. This is perfect for kids or anyone with a low heat tolerance.
- Quick Refrigerator Version : If you want pickles in 2 hours, slice the jalapeños very thin (1/16 inch) and use a hot brine (just below boiling). They will be ready much faster but will be softer. I use this method when I realize at 5 p.m. that I need pickled jalapeños for dinner.
For a fun twist, try adding a few slices of carrot or onion to the jars. They pickle beautifully and add color and texture. I once made a jar with sliced red onion, and the resulting pickled onions were almost better than the jalapeños themselves.
Serving & Storage Suggestions
These pickled jalapeños are incredibly versatile. Here is how I use them and how to keep them at their best.
Serving temperature: I prefer them cold, straight from the fridge. The cold temperature mellows the heat slightly and makes the crunch more pronounced. You can also let them come to room temperature for about 15 minutes before serving if you want the flavors to open up a bit.
Ways to use them:
- On tacos, nachos, burritos, and quesadillas (obviously)
- On burgers and hot dogs for a tangy kick
- In sandwiches and wraps – try them on a turkey and cheese sandwich
- On pizza, especially with pepperoni or sausage
- In salads and grain bowls for acidity and heat
- As a garnish for soups, chili, and stews
- On eggs – scrambled, fried, or in a breakfast burrito
- In a savory cottage cheese bowl for a spicy protein boost
- Blended into dressings or sauces for a spicy kick
Storage: Keep the jars sealed in the refrigerator. They will stay good for up to 3 months, though they are usually gone long before that. Once opened, use within 4-6 weeks for best quality. The brine may become slightly cloudy over time, but that is normal and safe. If you see mold, discoloration, or an off smell, discard the jar immediately.
Reheating note: These are best cold, but if you want warm pickled jalapeños for a dish, just microwave a few slices for 10-15 seconds. Do not heat the whole jar, as repeated temperature changes can affect texture and safety.
How flavors develop: The pickles are at their crunchiest in the first week. After that, they soften slightly but remain pleasant for several weeks. The heat also mellows over time, so if you want maximum fire, eat them within the first week. I like having a jar that is a month old for a milder, more rounded flavor, and a fresh jar for the spicy kick.
Nutritional Information & Benefits
These pickled jalapeños are a low-calorie, low-fat way to add big flavor to your meals. Here is the estimated nutritional breakdown per serving (about 1/4 cup, drained).
- Calories : 5-10
- Fat : 0g
- Sodium : 150-200mg (depending on salt used)
- Carbohydrates : 1-2g
- Fiber : 0.5g
- Sugar : 1g
- Protein : 0g
Health benefits of key ingredients:
- Jalapeños are rich in vitamin C, vitamin B6, and vitamin A. They also contain capsaicin, which has anti-inflammatory properties and may boost metabolism. The heat from capsaicin can also help clear sinuses and aid digestion.
- Garlic is known for its immune-boosting and heart-healthy properties. It contains allicin, a compound with antibacterial and antiviral effects.
- Vinegar may help regulate blood sugar levels and improve insulin sensitivity. The acetic acid in vinegar also acts as a natural preservative.
Dietary considerations: This recipe is naturally gluten-free, vegan, dairy-free, and low-carb. It is also Paleo and Whole30-friendly if you omit the sugar. The only potential allergen is if you are sensitive to sulfites, which can occur naturally in vinegar. Most commercial vinegars are sulfite-free, but check the label if you have concerns.
I love that I can add these to almost any meal without guilt. They make a simple salad or a bowl of beans feel like a real treat. And for anyone watching their sodium, you can easily reduce the salt without compromising safety – just keep the jar in the fridge and use it within a few weeks.
Conclusion
If you have ever wanted to try canning but felt overwhelmed, this is your recipe. It is forgiving, fast, and incredibly rewarding. The first time you open a jar and hear that pop, you will feel like you have unlocked a secret kitchen superpower. And the first time you taste one of these crunchy, tangy, spicy slices, you will wonder why you ever bought the store-bought stuff.
This recipe is worth trying because it delivers consistent, delicious results every single time. It is the kind of recipe that becomes a staple in your kitchen, the one you reach for when you want to add a little excitement to a simple meal. And because it is so easy, you can make a batch whenever you want – no special occasion required.
I encourage you to make this recipe your own. Adjust the heat level. Try different spices. Add a slice of onion or a sprig of dill. The beauty of quick pickling is that it is hard to mess up, and the possibilities are endless. I would love to hear how your batch turns out. Drop a comment below and tell me about your favorite way to use pickled jalapeños, or share a variation you have tried. Your twist might inspire someone else to give it a shot.
Go ahead and slice those peppers. Your future self, standing in front of an open fridge at 10 p.m. with a fork in hand, will thank you.
Frequently Asked Questions
Can I use other types of peppers for this recipe?
Absolutely. This brine works beautifully with serrano peppers, banana peppers, habaneros, or even a mix of sweet and hot peppers. Just adjust the heat level by choosing milder or hotter varieties. For a colorful mix, try using red, yellow, and orange bell peppers alongside a few jalapeños.
How long do these pickled jalapeños last in the refrigerator?
Properly sealed and stored in the fridge, they will stay good for up to 3 months. Once opened, use them within 4-6 weeks for the best flavor and texture. Always check for signs of spoilage like mold, off smells, or slimy texture before eating.
Do I need to sterilize the jars before using them?
For refrigerator pickles, a thorough wash with hot, soapy water is sufficient. Since these are not shelf-stable (they require refrigeration), sterilization is not necessary. Just make sure your jars and lids are clean and free of residue.
Can I make these pickled jalapeños shelf-stable?
This recipe is designed for refrigerator storage only. To make shelf-stable pickles, you would need to use a water bath canner and follow tested recipes with specific vinegar-to-water ratios and processing times. I recommend starting with this refrigerator version before attempting water bath canning.
Why are my pickled jalapeños soft or mushy?
Soft pickles are usually caused by using older peppers, boiling the brine, or not chilling the peppers before packing. For the crunchiest results, use the freshest peppers you can find, chill them before packing, and do not let the brine boil. Also, avoid overpacking the jars, which can prevent proper brine circulation.
Pin This Recipe!
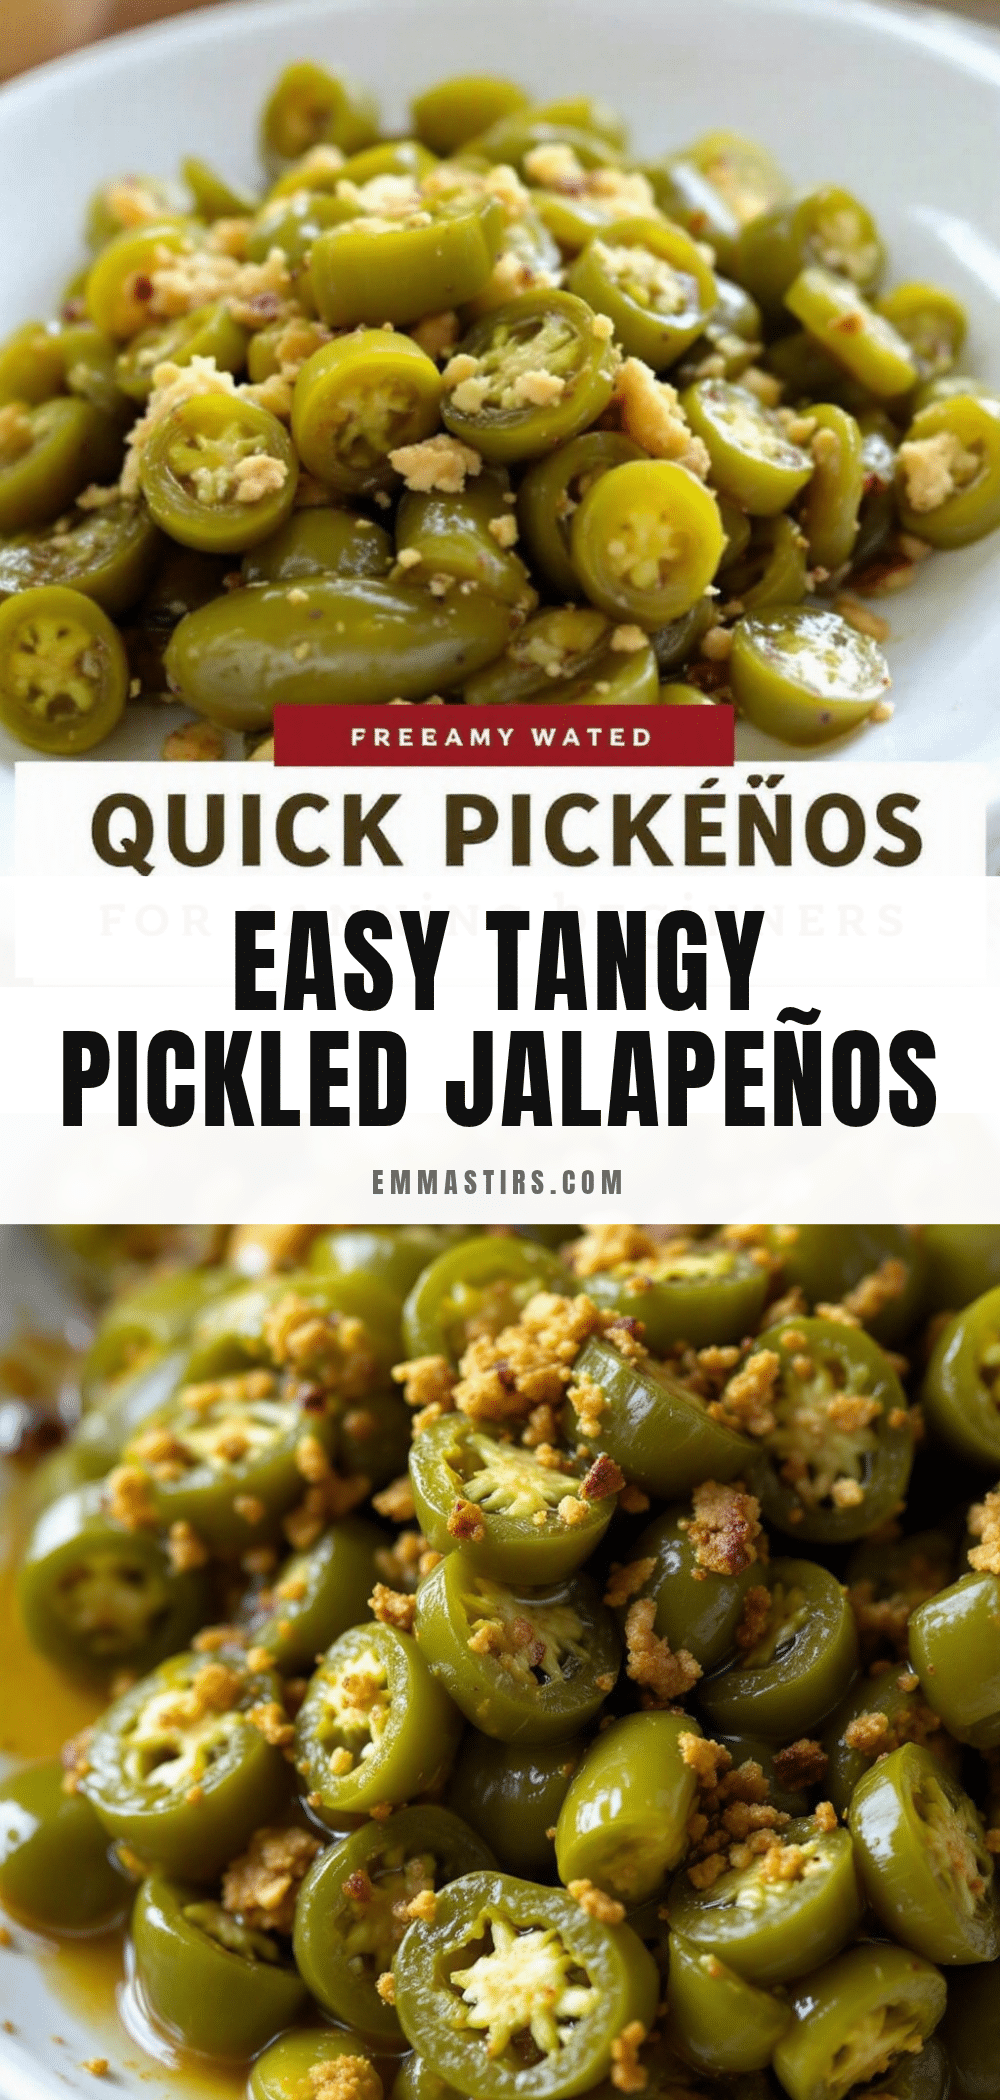
Easy Quick-Pickled Jalapeños for Canning Beginners
This recipe for easy quick-pickled jalapeños is forgiving, fast, and perfect for canning beginners. It uses a cold brine method to preserve the pepper’s natural crispness, resulting in crunchy, tangy, spicy slices every time.
- Prep Time: 15 minutes
- Cook Time: 5 minutes
- Total Time: 20 minutes (plus 24 hours to 5 days for pickling)
- Yield: 2 pint jars (about 16 servings) 1x
- Category: Condiment
- Cuisine: Mexican
Ingredients
- 1 cup distilled white vinegar
- 1 cup water
- 1 tablespoon kosher salt
- 1 tablespoon granulated sugar
- 1 pound fresh jalapeños
- 4 cloves garlic, smashed
- 1 teaspoon black peppercorns (optional)
- 1 teaspoon mustard seeds (optional)
Instructions
- Prepare the jalapeños: Wash the peppers thoroughly and pat them dry. Wearing gloves, slice off the stems. Slice the jalapeños into uniform rounds about 1/8 to 1/4 inch thick. If you want milder pickles, cut each pepper in half lengthwise and scrape out the seeds and white membranes before slicing. For maximum heat, leave everything intact.
- Chill the peppers: Place the sliced jalapeños in a bowl and put them in the freezer for 15 minutes while you prepare the brine. They should be cold but not frozen.
- Prepare the brine: In a small saucepan, combine the vinegar, water, salt, and sugar. Add the smashed garlic cloves, peppercorns, and mustard seeds if using. Heat over medium heat, stirring occasionally, until the salt and sugar are fully dissolved. Do not let it boil. Remove from heat and let it cool for 5 minutes. The brine should be warm but not scalding.
- Pack the jars: Remove the chilled jalapeños from the freezer. Pack them tightly into the jars, leaving about 1/2 inch of headspace at the top. Distribute the garlic cloves and any spices evenly between the jars. Do not overpack.
- Pour the brine: Carefully pour the warm brine over the jalapeños, making sure they are completely submerged. Use a chopstick or butter knife to gently poke around the jar and release any air bubbles. Wipe the jar rims clean with a damp kitchen towel.
- Seal and cool: Screw on the lids until they are fingertip-tight. Do not overtighten. Let the jars cool to room temperature on the counter, about 1-2 hours. You should hear the lids pop as they seal.
- Refrigerate and wait: Once the jars are cool, transfer them to the refrigerator. The pickles are technically ready to eat after 24 hours, but they reach their peak flavor after about 3-5 days.
Notes
Do not boil the brine. Use kosher or pickling salt, not iodized table salt. Let the flavors meld for at least 3-5 days for best results. Keep peppers submerged to prevent spoilage. Wear gloves when handling jalapeños to avoid skin irritation.
Nutrition
- Serving Size: 1/4 cup (drained)
- Calories: 510
- Sugar: 1
- Sodium: 150200
- Carbohydrates: 12
- Fiber: 0.5
Keywords: pickled jalapeños, quick pickles, canning for beginners, refrigerator pickles, spicy pickles, homemade pickles


