Love this? Save it for later!
Share the inspiration with your friends
My niece Luna showed up at my door on a Tuesday afternoon, already in her sparkly cat-ear headband, two weeks before Halloween. She had that look—the one that says “I’m bored and I expect you to fix it.” The pantry was in rough shape. A bag of pretzel sticks, some leftover candy corn from last year (don’t judge), and a block of almond bark I’d bought for a project I never started. I needed something fast, something fun, and something that didn’t require turning on the oven because it was still 80 degrees outside.
That’s how this Easy Witch Finger Halloween Snack Mix was born. I started tossing things into a bowl—salty pretzels, sweet cereal, those creepy candy corn “fingernails”—and suddenly it looked like something a witch might leave behind after a midnight snack. Luna dipped her hand in before I even finished mixing, and she got that quiet, satisfied grin. The one that says “this is the best thing you’ve made all month.” She wasn’t wrong.
Honestly, this snack mix has become my secret weapon for Halloween gatherings. It takes ten minutes, uses stuff you probably already have, and it disappears faster than a ghost at sunrise. There’s something about the combo of salty, sweet, and slightly spooky that just works. No fancy techniques, no stress—just a bowl of crunchy, addictive goodness that makes everyone feel like a kid again.
Why You’ll Love This Recipe
I’ve tested this snack mix at three different Halloween parties now, and every single time, someone asks for the recipe. That’s not a brag—it’s just what happens when you nail that perfect balance of flavors and textures. Let me break down why this one’s a keeper.
- Quick & Easy: From start to finish, you’re looking at about 10 minutes. No baking, no complicated steps, no waiting around. Perfect for those last-minute Halloween plans or when the kids are already bouncing off the walls.
- Simple Ingredients: Everything here is a pantry staple or easily found at any grocery store. No hunting down specialty items or spending a fortune on fancy decorations.
- Perfect for Halloween Parties: Whether it’s a classroom celebration, a spooky movie night, or a trunk-or-treat event, this mix fits right in. It’s portable, shareable, and doesn’t require plates or forks.
- Crowd-Pleaser: Kids love the creepy finger shapes, and adults love the salty-sweet crunch. I’ve seen it convert people who swear they don’t like candy corn.
- Unbelievably Delicious: The texture is what gets you—crunchy pretzels, crispy cereal, chewy candy corn, and that smooth white chocolate coating that ties everything together. It’s next-level snack mix, honestly.
What makes this recipe different from all the other Halloween snack mixes out there? It’s the witch finger concept. Those pretzel sticks become the “bones” and the candy corn becomes the “fingernails.” It’s not just another sweet-salty mix—it’s an experience. Plus, I figured out the perfect ratio so every handful has a little bit of everything. No picking through for the good stuff.
This is the kind of snack that makes you close your eyes after the first bite. It’s Halloween comfort food—playful, nostalgic, and completely satisfying without any stress.
What Ingredients You Will Need
This recipe uses simple, everyday ingredients to create something that looks way more complicated than it actually is. Most of these are probably already sitting in your pantry, which is exactly how I like to cook.
For the Snack Mix Base
- Pretzel sticks (3 cups) – These form the “witch fingers.” Look for the thin, straight pretzel sticks, not the thick ones. I prefer Snyder’s brand for their consistent crunch, but any brand works.
- Chex cereal (2 cups) – Rice Chex or Corn Chex both work great. They add that light, airy crunch that balances the denser ingredients. If you’re gluten-free, Rice Chex is a safe bet.
- Mini pretzel twists (1 cup) – These add more surface area for the chocolate to cling to. Plus, they look like little witch hats if you squint.
- Salted peanuts (1/2 cup) – Optional but highly recommended. The salt cuts through the sweetness and adds protein. Use dry-roasted for best texture.
- Candy corn (1 cup) – The star of the show for those “fingernails.” I know candy corn is divisive, but trust me on this one. The texture and subtle vanilla flavor work perfectly here. Brach’s is my go-to brand.
- Orange candy melts (1/2 cup) – These add color and reinforce the Halloween theme. You can find them at craft stores or online.
For the Coating
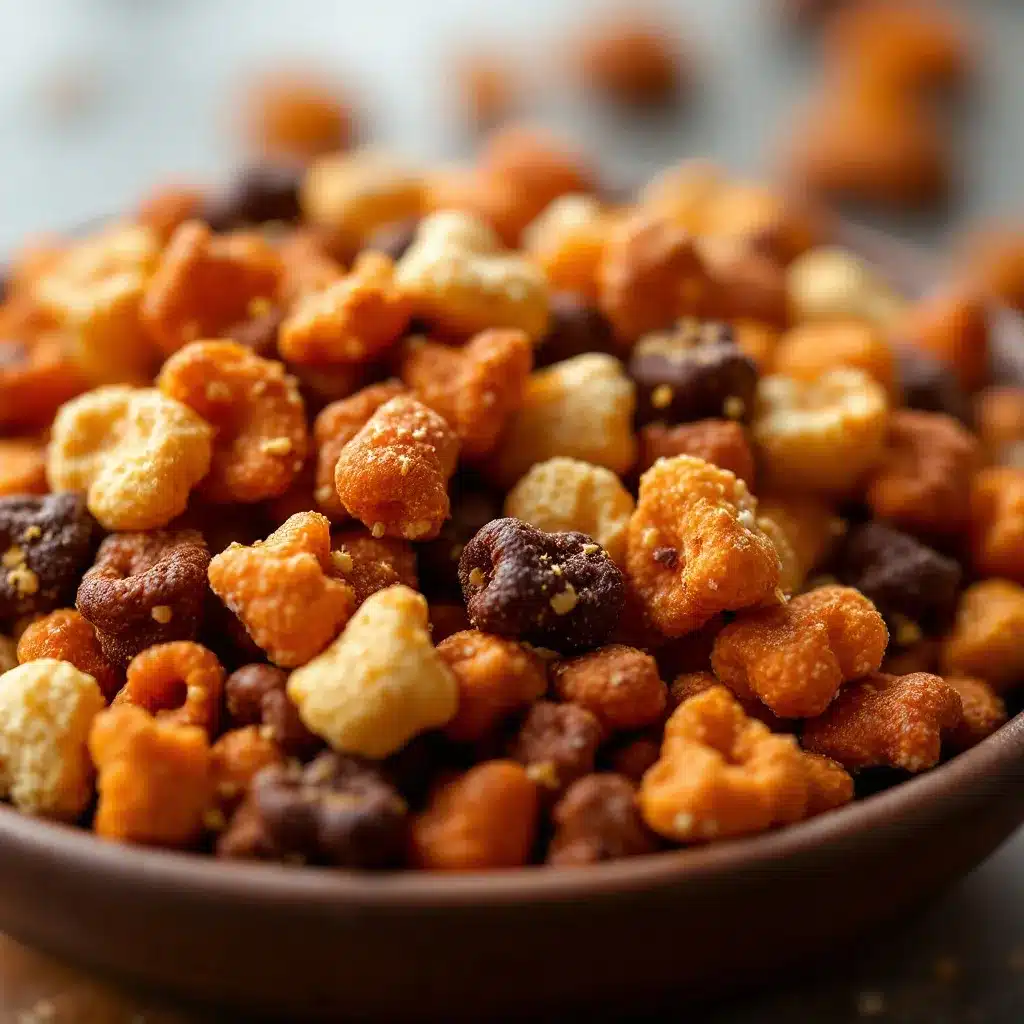
- White almond bark (12 ounces) – This is my secret weapon. Almond bark melts smoother than white chocolate chips and sets up firmer. You can find it in the baking aisle near the chocolate chips. If you can’t find it, use white chocolate melting wafers instead.
- Coconut oil (1 tablespoon) – Just a little helps thin the coating and gives it that beautiful glossy finish. It also helps the coating set up without blooming.
- Orange gel food coloring (a few drops) – Optional but fun. It gives the white coating a subtle Halloween orange tint. Use gel, not liquid, to avoid seizing the chocolate.
For Decoration
- Black sanding sugar (2 tablespoons) – This creates that “dirt” or “witchy” effect. You can also use black sprinkles or crushed Oreo crumbs.
- Edible glitter (optional) – For a magical, sparkly finish that kids absolutely lose their minds over.
Substitution Notes: If you’re avoiding nuts, swap the peanuts for sunflower seeds or just leave them out. For a dairy-free version, use dairy-free white chocolate and skip the almond bark. If candy corn isn’t your thing, try candy pumpkins or autumn-colored M&M’s instead.
Equipment Needed
You don’t need a fancy kitchen to pull this off. Here’s what you’ll need:
- Large mixing bowl – Big enough to toss everything together without spilling. I use a stainless steel bowl because it doesn’t retain heat.
- Microwave-safe bowl – For melting the almond bark. Glass works best.
- Spatula or wooden spoon – For stirring. Silicone spatulas are great because they scrape the sides clean.
- Parchment paper or silicone baking mat – For the coated mix to set on. Parchment is cheaper and works just as well.
- Baking sheet – Any size will do. You just need a flat surface.
- Small bowl – For the black sanding sugar.
- Measuring cups and spoons – Accuracy matters here, especially with the coating ratio.
Budget-Friendly Tip: Don’t have a silicone baking mat? No problem. Parchment paper is cheap and works perfectly. If you’re really in a pinch, you can even use wax paper, though it’s not as non-stick.
Personal Experience: I used to melt chocolate in a double boiler until I realized the microwave is faster and less fussy. Just go in 30-second intervals and stir between each. My first batch seized because I got impatient and cranked the heat. Learn from my mistakes!
Preparation Method
This is where the magic happens. Follow these steps, and you’ll have a bowl of witchy goodness in no time.
- Prep your workspace (2 minutes). Line a large baking sheet with parchment paper. Set aside. Have all your ingredients measured and ready—this goes fast once you start.
- Combine the dry ingredients (3 minutes). In your large mixing bowl, combine the pretzel sticks, Chex cereal, mini pretzel twists, salted peanuts, and candy corn. Toss gently with your hands to distribute everything evenly. Don’t crush the cereal—you want those pieces intact.
- Melt the almond bark (2-3 minutes). Break the almond bark into pieces and place in a microwave-safe bowl. Microwave on high for 30 seconds, then stir. Repeat in 20-second intervals, stirring well after each, until completely smooth. Stir in the coconut oil and orange gel food coloring if using. The mixture should be thin enough to drizzle easily.
- Pour and toss (2 minutes). Pour the melted almond bark over the dry ingredients. Use your spatula to gently fold everything together until every piece is coated. Don’t overmix—you want the coating distributed evenly, not stirred into oblivion. Work quickly before the coating starts to set.
- Spread and shape (3 minutes). Transfer the coated mixture to your prepared baking sheet. Spread it into an even layer. Here’s where the “witch fingers” come to life: pick out some of the pretzel sticks and arrange them so they look like long, bony fingers. Group a few together with candy corn at the tips for the fingernail effect. Don’t stress about making every piece perfect—the charm is in the imperfection.
- Add the finishing touches (1 minute). While the coating is still wet, sprinkle the black sanding sugar over the top. If you’re using edible glitter, now’s the time. Press the sprinkles gently into the coating so they stick.
- Let it set (20-30 minutes). Allow the snack mix to cool and set completely at room temperature. Don’t rush this step—if you try to break it apart too soon, you’ll end up with a sticky mess. The coating should be firm and snap when you break the pieces.
- Break into pieces (2 minutes). Once fully set, break the snack mix into clusters. Some pieces will naturally separate; others you’ll need to break apart with your hands. Aim for bite-sized pieces that still show off those witch fingers.
Sensory Cues: When the almond bark is melted, it should look like thick cream and smell sweet and vanilla-like. When you toss it with the dry ingredients, you’ll hear that satisfying crunch as everything gets coated. The finished mix should have a glossy sheen and feel firm to the touch.
Cooking Tips & Techniques
I’ve made this snack mix about a dozen times now, and I’ve learned a few things the hard way. Here’s what I wish someone had told me.
Don’t overheat the almond bark. This is the number one mistake. Almond bark burns easily and turns grainy when overheated. Always microwave in short bursts and stir between each. If it starts to look thick or lumpy, you’ve gone too far. Toss it and start over—trust me, it’s not worth salvaging.
Work in batches if needed. If you’re doubling the recipe (and you will, because this stuff disappears), work in two separate batches. Overcrowding the bowl makes it hard to coat everything evenly, and the coating will set before you’re done mixing.
Use your hands for the final mix. Once the coating is mostly incorporated, use your clean hands to gently toss everything together. You’ll feel if any pieces are dry and can make sure every pretzel stick gets its share of chocolate. Plus, it’s more fun.
Room temperature matters. This sets best at cool room temperature, around 65-70°F. If your kitchen is hot and humid, the coating might not set properly. Pop the baking sheet in the fridge for 10 minutes if you’re in a rush, but let it come back to room temp before serving to avoid condensation.
My biggest failure: I once tried to speed things up by pouring the hot coating over the mix and stirring too aggressively. I ended up with a clumpy, uneven mess where half the pieces were swimming in chocolate and the other half were bare. Slow and gentle wins this race.
Variations & Adaptations
This recipe is incredibly flexible. Here are some ways to make it your own.
Spicy Witch Fingers: Add 1/2 teaspoon of cayenne pepper or chili powder to the melted almond bark. The heat cuts through the sweetness and gives it an unexpected kick. I tried this on a dare and ended up loving it.
Dark Chocolate Version: Swap the white almond bark for dark chocolate melting wafers. Use orange and black sprinkles instead of the candy corn for a more sophisticated look. This version is less sweet and pairs beautifully with a cup of coffee.
Nut-Free Option: Omit the peanuts and add pumpkin seeds or roasted chickpeas for crunch. Everything else is naturally nut-free, so this works great for school parties.
Gluten-Free Adaptation: Use gluten-free pretzels and Chex cereal. Most candy corn is gluten-free, but always check the label. This version tastes exactly the same—no one will know the difference.
Mummy Makeover: Instead of witch fingers, drizzle the finished mix with white chocolate in zigzag patterns to look like mummy wraps. Add candy eyes for extra creepiness. My niece requested this version for her birthday party and it was a hit.
Serving & Storage Suggestions
This snack mix is best served at room temperature. The coating should be firm but not hard, and the pretzels should still have a satisfying crunch.
Presentation Ideas: Serve in a cauldron-shaped bowl or a hollowed-out pumpkin for maximum Halloween vibes. Line the bowl with black tissue paper to make the colors pop. For party favors, portion the mix into small cellophane bags tied with orange and black ribbon.
Perfect Pairings: This snack mix pairs beautifully with hot apple cider, pumpkin spice lattes, or a cold glass of milk. For a grown-up twist, serve alongside a dark beer or a bourbon cocktail. The salty-sweet combo is a natural match for those flavors.
Storage Instructions: Store in an airtight container at room temperature for up to 2 weeks. Do not refrigerate—the humidity will soften the pretzels and ruin the crunch. If you’re in a humid climate, add a silica gel packet to the container to absorb moisture.
Freezer Tips: This mix freezes beautifully for up to 3 months. Place in a freezer-safe bag, squeeze out all the air, and freeze flat. Thaw at room temperature for about 30 minutes before serving. The texture remains surprisingly good—I’ve done this multiple times.
Flavor Development: Honestly, this snack mix tastes even better the next day. The flavors meld together, and the coating sets up perfectly. If you can resist eating it all immediately, you’ll be rewarded.
Nutritional Information & Benefits
Let’s be real—this is a treat, not a health food. But here’s the breakdown if you’re curious.
Estimated per serving (about 1/2 cup):
- Calories: 280
- Fat: 12g
- Carbohydrates: 40g
- Protein: 4g
- Fiber: 2g
- Sugar: 22g
Health Highlights: The peanuts provide a small amount of protein and healthy fats. The pretzels offer quick energy from carbohydrates. Candy corn, while sugary, is surprisingly low in fat compared to other Halloween candies.
Dietary Considerations: This recipe can be made gluten-free and nut-free with simple substitutions. It’s not suitable for vegan diets unless you use dairy-free white chocolate. Always check labels for allergens, especially if serving at school events.
My Perspective: I believe in balance. This snack mix is meant to be enjoyed in moderation as part of the Halloween fun. It’s not an everyday food, and that’s okay. Sometimes you just need a bowl of something silly and delicious to make the holiday special.
FAQs
Can I make this snack mix ahead of time?
Absolutely! This is actually one of those recipes that benefits from being made a day or two in advance. The flavors meld together and the coating sets up perfectly. Just store it in an airtight container at room temperature and it’ll stay fresh for up to two weeks.
My coating seized up and became grainy. What went wrong?
This usually happens when the almond bark gets too hot or when moisture gets into the bowl. Always microwave in short bursts and stir well between each. Make sure your bowl and utensils are completely dry. If it seizes, unfortunately there’s no saving it—start over with fresh almond bark.
Can I use chocolate chips instead of almond bark?
You can, but the texture will be different. Chocolate chips contain stabilizers that prevent them from melting as smoothly as almond bark. If you use chocolate chips, add a tablespoon of coconut oil to help thin the coating. The result won’t be as glossy, but it’ll still taste great.
How do I keep the pretzels from getting soggy?
The key is working quickly and making sure the coating is fully set before storing. Don’t overmix once the coating is added, and let the mix cool completely at room temperature before transferring to a container. If you’re in a humid climate, add a silica gel packet to the storage container.
Can I double this recipe for a party?
Yes, but work in batches. Don’t try to coat everything at once—you’ll end up with an uneven mess. Make one batch, spread it on the baking sheet, then start the second batch. It takes a little longer, but the results are worth it.
Conclusion
This Easy Witch Finger Halloween Snack Mix is proof that you don’t need complicated recipes to create something memorable. It’s quick, it’s fun, and it tastes like the best parts of Halloween all rolled into one bowl. The salty crunch of pretzels, the sweet chew of candy corn, and that smooth white chocolate coating—it’s a combination that just works.
The best part? You can customize it however you want. Make it spicy, make it dark chocolate, make it nut-free—the possibilities are endless. I love this recipe because it brings people together. Every time I make it, someone lights up and says “Oh my gosh, I remember these!” It’s nostalgia in a bowl.
I’d love to hear how yours turns out. Did you add your own twist? Did the kids go crazy for it? Drop a comment below and share your creation. And if you’re looking for more easy treats, check out our cozy campfire banana s’mores boats or our no-bake peanut butter chocolate protein energy balls for more snack inspiration. Happy Halloween, and happy snacking!
Pin This Recipe!
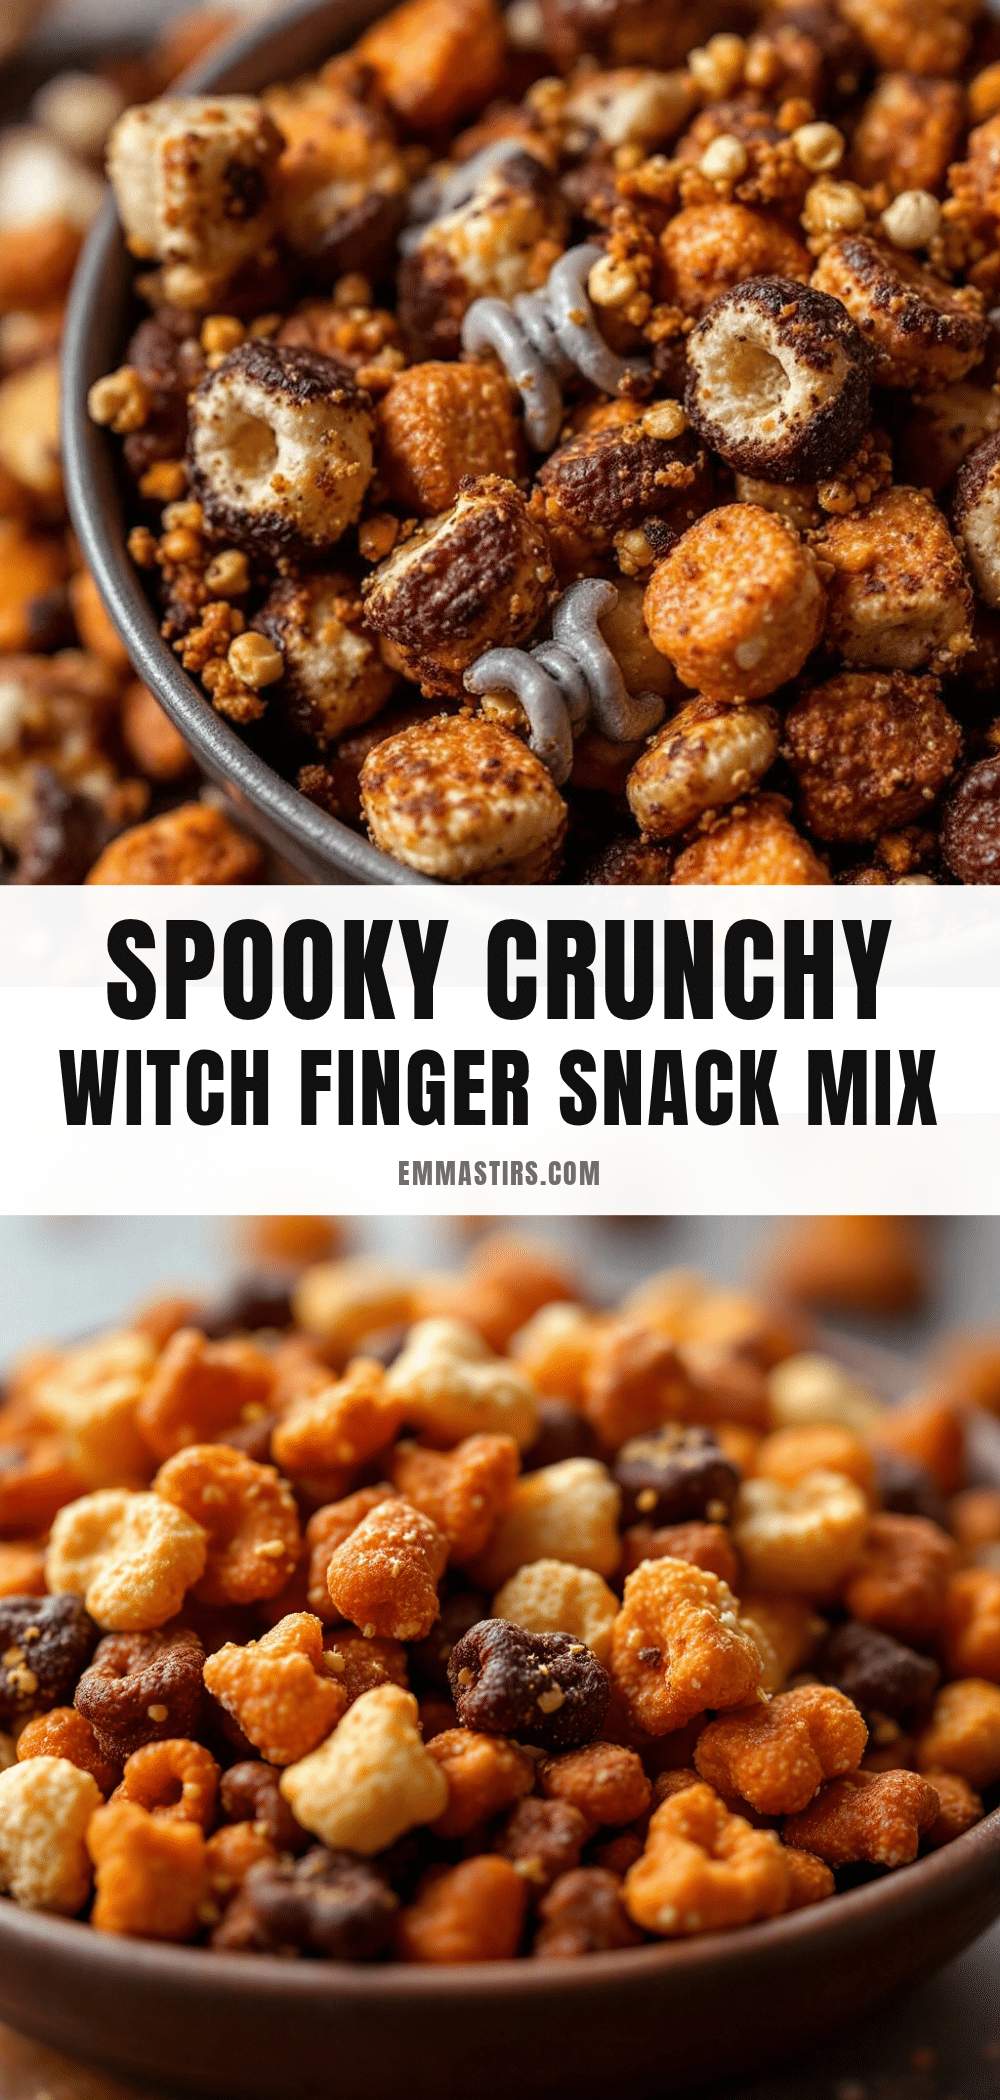
Easy Witch Finger Snack Mix: The Best Halloween Treat
A quick and easy Halloween snack mix featuring pretzel sticks as witch fingers and candy corn as fingernails, coated in white almond bark for a salty-sweet, crunchy treat that comes together in just 10 minutes.
- Prep Time: 10 minutes
- Cook Time: 0 minutes
- Total Time: 10 minutes
- Yield: 8 servings 1x
- Category: Snack
- Cuisine: American
Ingredients
- 3 cups pretzel sticks
- 2 cups Chex cereal (Rice or Corn)
- 1 cup mini pretzel twists
- 1/2 cup salted peanuts
- 1 cup candy corn
- 1/2 cup orange candy melts
- 12 ounces white almond bark
- 1 tablespoon coconut oil
- A few drops orange gel food coloring (optional)
- 2 tablespoons black sanding sugar
- Edible glitter (optional)
Instructions
- Prep your workspace: Line a large baking sheet with parchment paper. Measure all ingredients.
- Combine dry ingredients: In a large mixing bowl, combine pretzel sticks, Chex cereal, mini pretzel twists, salted peanuts, and candy corn. Toss gently with hands.
- Melt almond bark: Break almond bark into pieces and microwave in a microwave-safe bowl on high for 30 seconds, then stir. Repeat in 20-second intervals until smooth. Stir in coconut oil and orange gel food coloring if using.
- Pour and toss: Pour melted almond bark over dry ingredients. Fold gently with a spatula until everything is evenly coated.
- Spread and shape: Transfer coated mixture to prepared baking sheet. Arrange some pretzel sticks to look like witch fingers with candy corn at tips for fingernails.
- Add finishing touches: While coating is still wet, sprinkle black sanding sugar and edible glitter over top. Press gently to adhere.
- Let it set: Allow to cool and set at room temperature for 20-30 minutes until firm.
- Break into pieces: Once fully set, break snack mix into bite-sized clusters.
Notes
Don’t overheat almond bark; microwave in short bursts. Work quickly once coating is added. Store in airtight container at room temperature for up to 2 weeks. For best results, let set at cool room temperature (65-70°F).
Nutrition
- Serving Size: 1/2 cup
- Calories: 280
- Sugar: 22
- Fat: 12
- Carbohydrates: 40
- Fiber: 2
- Protein: 4
Keywords: Halloween snack mix, witch fingers, pretzel snack, candy corn, easy Halloween treat, no-bake snack


