Love this? Save it for later!
Share the inspiration with your friends
My neighbor across the hall knocked on my door holding a bushel of Roma tomatoes that looked like they’d been through a war. “My garden went crazy,” she said, practically shoving them into my arms. “I can’t even look at another tomato.” I took them, mostly out of pity, but honestly, I had zero plans for thirty pounds of bruised fruit. I set them on my counter and forgot about them for two days. By the time I remembered, half of them were starting to wrinkle and a few had soft spots. I almost tossed the whole batch in the compost bin. But something stopped me — maybe it was the guilt of wasting food, or maybe it was the memory of winter pasta dinners that always felt a little flat. I decided to roast them instead. I figured if they were already on their way out, roasting couldn’t make things worse. So I chopped off the bad parts, halved the rest, and tossed them with olive oil and salt. Two hours later, my entire apartment smelled like August in Italy. I pureed everything, canned it — and let me tell you, that sauce saved my winter.
I mean, I’d made tomato sauce before. Hundreds of times. But this was different. The roasting transformed those sad, borderline-overripe tomatoes into something deeply sweet and almost smoky. I couldn’t believe I’d almost thrown them away. That first jar I opened in January, when snow was piling up outside my window, tasted like a memory of summer I didn’t know I’d stored. The whole process taught me something important — you don’t need perfect tomatoes to make perfect sauce. You just need to treat them right. And roasting? That’s the secret. Maybe you’ve been there, staring at a pile of tomatoes that are past their prime, wondering what to do. This homemade roasted tomato canning sauce is your answer.
I’ve been making this recipe every late summer for five years now. I’ve tweaked the roasting temperature, tested different garlic ratios, and even tried it with cherry tomatoes once (worked surprisingly well). This version is the one I keep coming back to. It’s the one that makes winter pasta taste like a celebration instead of a compromise. Honestly, I don’t think I’ll ever go back to plain canned tomatoes again.
Why You’ll Love This Recipe
This isn’t just another tomato sauce recipe. This is the one that will make you forget about store-bought jars forever. I’ve tested this method on busy weeknights, lazy Sundays, and even for a dinner party where I pretended to be fancy. Every single time, it delivers.
- Deep, Concentrated Flavor : Roasting caramelizes the natural sugars in tomatoes, creating a richness you can’t get from stovetop simmering alone. It’s like the difference between a quick sketch and an oil painting.
- Simple Ingredients : You only need tomatoes, garlic, onions, olive oil, salt, and a few herbs. No weird additives or preservatives. You probably have most of this in your kitchen right now.
- Perfect for Winter : When you open a jar in February, you’ll taste July. It’s a little bit of sunshine stored on your pantry shelf, ready for the coldest, darkest pasta nights.
- Crowd-Pleaser : I’ve served this to picky kids, Italian grandmothers, and vegan friends. Everyone asks for the recipe. It’s that good.
- Budget-Friendly : Late summer tomatoes are cheap, especially if you buy in bulk or grow your own. You’re preserving peak-season produce at a fraction of the cost of fancy imported jars.
What makes this recipe different from every other tomato sauce online? It’s the roasting technique. Most recipes have you simmer tomatoes on the stove for hours. That works, but it doesn’t give you the same depth. Roasting concentrates flavor without evaporating all the liquid. Plus, it’s hands-off — you can prep other things while the oven does the work. This isn’t just another version of tomato sauce. It’s the best version I’ve ever made, and I’ve made a lot of sauce.
What Ingredients You Will Need
This recipe uses simple, wholesome ingredients to deliver bold flavor and satisfying texture without the fuss. Most of these are pantry staples or easy to find at any grocery store or farmers market.
- Tomatoes (10 pounds / 4.5 kg) : Roma or San Marzano tomatoes work best because they’re meaty with fewer seeds. If you only have regular round tomatoes, that’s fine — just remove the seeds before roasting. I prefer Roma for their thick walls and low water content. Look for firm, deeply colored tomatoes without major bruises.
- Garlic (2 whole heads) : Yes, whole heads. Roasted garlic turns sweet and buttery, almost like a spread. Don’t skimp here. I’ve tried using pre-minced garlic and it’s not the same — the roasting process needs whole cloves to develop that mellow sweetness.
- Yellow Onions (3 large) : Onions add natural sweetness and body to the sauce. I’ve used red onions in a pinch, and they work, but yellow onions give the most balanced flavor. Chop them into large chunks so they don’t burn during roasting.
- Extra Virgin Olive Oil (1/2 cup / 120 ml) : Use good quality olive oil here — it’s a major flavor component. I recommend California Olive Ranch or a local brand you trust. Don’t use the cheap stuff; you’ll taste the difference.
- Kosher Salt (2 tablespoons / 36 grams) : Salt is crucial for drawing out moisture and enhancing flavor. I use Diamond Crystal kosher salt. If you’re using table salt, reduce the amount by half.
- Fresh Basil (1 cup / 30 grams, packed) : Fresh basil adds brightness at the end. Dried basil works too, but use only 2 tablespoons and add it during roasting instead of after.
- Fresh Oregano (2 tablespoons / 6 grams, or 2 teaspoons dried) : Oregano gives that classic Italian flavor. I grow my own in a pot on my windowsill, but store-bought is perfectly fine.
- Bay Leaves (4) : Bay leaves add subtle depth. Remove them before blending or canning. Trust me, nobody wants to bite into a whole bay leaf.
- Balsamic Vinegar (2 tablespoons / 30 ml) : This is my secret ingredient. A splash of balsamic vinegar brightens the sauce and balances the sweetness from roasting. It doesn’t make the sauce taste like vinegar — it just makes everything taste more like itself.
- Black Pepper (1 teaspoon / 2 grams, freshly ground) : Freshly ground pepper makes a difference. Pre-ground pepper is fine in a pinch, but fresh adds a floral note that complements the roasted tomatoes.
- Optional: Red Pepper Flakes (1/2 teaspoon / 1 gram) : If you like a little heat, add these during roasting. I usually skip them, but my brother-in-law insists on them.
Equipment Needed
You don’t need a professional kitchen to make this sauce. Most of these tools you probably already own. If you’re new to canning, don’t let the equipment list intimidate you — you can start with just the basics and build up over time.
- Large Roasting Pans (2) : Half-sheet pans work perfectly. I use Nordic Ware aluminum half-sheets because they distribute heat evenly. If you don’t have two, you can roast in batches, but it’ll take longer.
- Food Mill or Immersion Blender : A food mill removes seeds and skins while pureeing the sauce. I prefer the Oxo Food Mill for its sturdy construction. If you don’t have one, an immersion blender works fine — just peel the tomato skins after roasting (they slip right off).
- Canning Pot with Rack : A large stockpot with a rack at the bottom is essential for safe canning. I use a 21-quart Granite Ware canner that I found at a thrift store for fifteen dollars.
- Canning Jars (8-10 pint-sized) : Mason jars are the standard. I prefer wide-mouth jars for easy filling. Always inspect jars for cracks or chips before using.
- New Lids and Bands : Never reuse lids — they won’t seal properly. Bands can be reused as long as they’re not rusted or bent.
- Jar Lifter and Canning Funnel : These make the process safer and less messy. A jar lifter is non-negotiable — trying to grab hot jars with tongs is a disaster waiting to happen.
- Large Pot or Dutch Oven (8-quart / 7.5 L) : For simmering the sauce before canning. I use a Le Creuset Dutch oven that I saved up for years to buy. It’s worth every penny for even heating.
Preparation Method
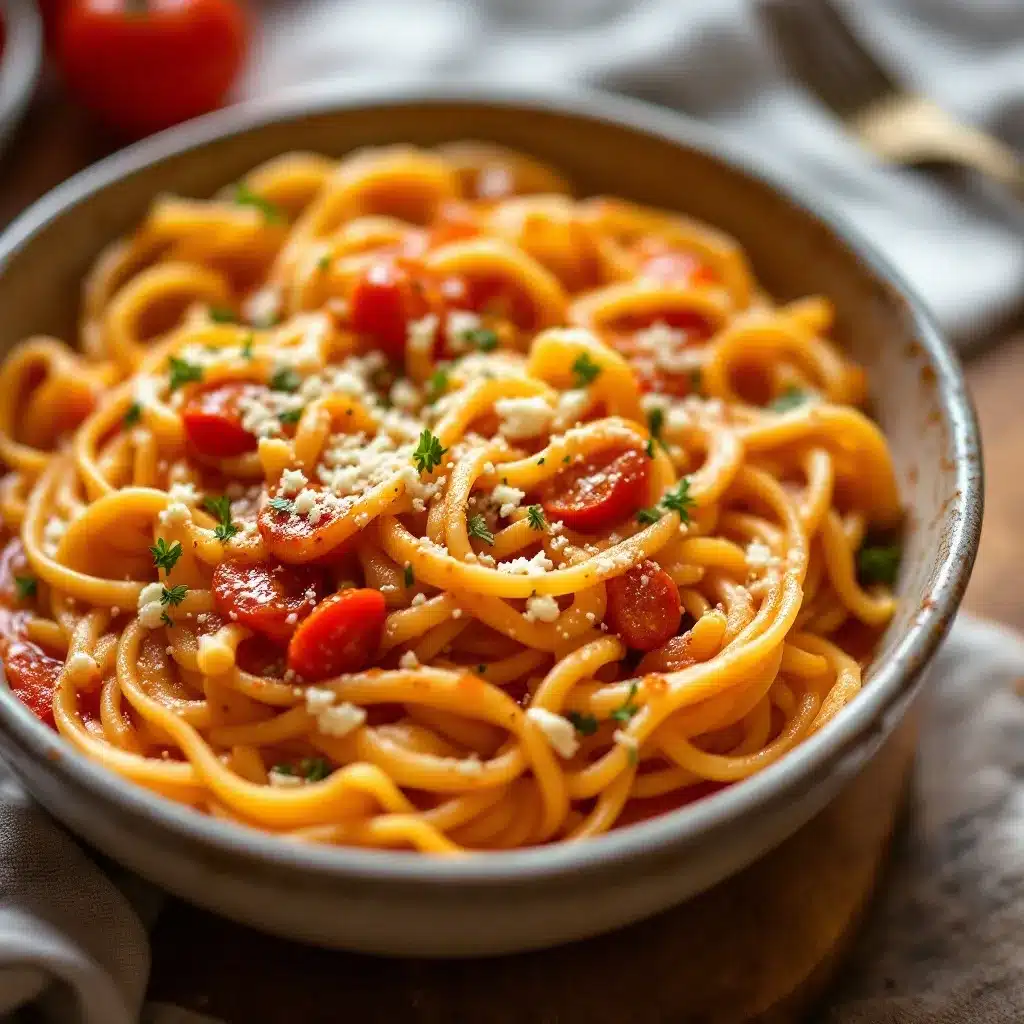
This process takes about 4-5 hours from start to finish, but most of that is hands-off roasting time. I usually start in the morning and finish by early afternoon. The active prep time is only about 45 minutes.
- Preheat your oven to 400°F (200°C). Position racks in the upper and lower thirds of the oven. If your oven runs hot, set it to 375°F — you want the tomatoes to roast, not burn.
- Prepare the tomatoes. Wash all 10 pounds of tomatoes. Cut out any bad spots or cores. Halve the tomatoes lengthwise. If you’re using large round tomatoes, quarter them. Arrange the tomatoes cut-side up on your roasting pans. Don’t overcrowd — leave a little space between each piece so they roast instead of steam.
- Prep the aromatics. Cut the tops off both heads of garlic — just enough to expose the cloves. Peel and quarter the three onions. Scatter the garlic heads and onion chunks around the tomatoes on the pans. Tuck the bay leaves in between everything.
- Season and oil. Drizzle everything with the olive oil. Sprinkle with kosher salt and black pepper. Use your hands to gently toss everything together, making sure each tomato piece gets a little oil. Don’t be shy — your hands will get messy, but that’s part of the fun.
- Roast for 60-75 minutes. Check at 45 minutes — the tomatoes should be wrinkled and starting to brown on the edges. The garlic should be soft when squeezed. If the onions are burning on the edges, rotate the pans. I usually swap the pans between racks halfway through for even cooking.
- Cool slightly. Let the pans cool on wire racks for about 15 minutes. This makes handling safer and prevents steam burns when you process the sauce.
- Process the roasted vegetables. If using a food mill, work in batches, feeding the roasted tomatoes, onions, and squeezed garlic through the mill. The mill will separate skins and seeds from the pulp. If using an immersion blender, let the vegetables cool enough to handle, then peel off the tomato skins (they should slip right off). Remove the bay leaves. Blend everything until smooth, working in batches if needed.
- Simmer the sauce. Transfer the pureed sauce to your large pot or Dutch oven. Add the fresh basil, oregano, and balsamic vinegar. Bring to a gentle simmer over medium heat, then reduce to low. Simmer for 30-40 minutes, stirring occasionally, until the sauce thickens to your liking. It should coat the back of a spoon but still be loose enough to pour.
- Prepare for canning. While the sauce simmers, wash your jars in hot soapy water and rinse well. Place the jars in your canning pot, cover with water, and bring to a simmer. Keep them hot until ready to fill. Put the lids in a small saucepan of simmering water — don’t boil them, just keep them hot.
- Fill the jars. Using your canning funnel, ladle the hot sauce into the hot jars, leaving 1/2 inch (1.25 cm) of headspace. Run a clean chopstick or bubble remover tool around the inside of each jar to release air bubbles. Wipe the rims with a clean, damp cloth. Center the lids on the jars and screw on the bands until fingertip-tight — not too tight, or air can’t escape during processing.
- Process in a water bath. Place the filled jars in the canning rack and lower into the boiling water. Make sure the water covers the jars by at least 1 inch (2.5 cm). Bring to a full rolling boil, then start your timer. Process pint jars for 35 minutes (adjust for altitude if needed — add 5 minutes for every 1,000 feet above sea level).
- Cool and check seals. After processing, turn off the heat and let the jars sit in the water for 5 minutes. Use your jar lifter to remove the jars and place them on a towel-lined counter. Leave them undisturbed for 12-24 hours. You’ll hear the satisfying “pop” as each jar seals. After cooling, press the center of each lid — if it doesn’t flex up and down, it’s sealed. Store sealed jars in a cool, dark place for up to 18 months.
Cooking Tips & Techniques
I’ve made this sauce more times than I can count, and I’ve learned a few things the hard way. Here are the tips I wish someone had told me before my first batch.
Don’t skip the roasting step. I know it’s tempting to just dump everything in a pot and simmer. I tried that once when I was short on time. The sauce was fine, but it wasn’t great. Roasting concentrates the tomato flavor in a way that stovetop cooking can’t replicate. It’s the difference between a good sauce and a memorable one.
Watch your oven temperature. Ovens vary wildly. My old oven ran hot and burned the garlic on my second batch. I learned to check at 45 minutes and rotate pans. If you notice the edges of your tomatoes getting too dark, reduce the temperature to 375°F. Burnt garlic will ruin the entire batch with a bitter taste.
Use a food mill if you can. I used an immersion blender for my first three batches. It worked, but the sauce had tiny seeds and bits of skin that bothered me. When I finally bought a food mill, the texture became silky smooth. If you don’t have one, peel the skins after roasting — they really do slip right off. Then blend away.
Season gradually. Taste your sauce at every stage. What tastes perfect after roasting might need more salt after simmering. I add salt in three stages — a little before roasting, a little after blending, and a final adjustment before canning. This layering builds depth.
Don’t overcook during the simmer. You want the sauce to thicken, but don’t reduce it too much. It will continue to concentrate in the jars during processing. If your sauce is too thick when you open a jar in winter, just add a splash of pasta water when you reheat it.
Label everything. I thought I’d remember which jars were from which batch. I didn’t. Now I use a permanent marker to write the date and any variations on the lid. Trust me, future you will thank present you.
Variations & Adaptations
This recipe is flexible. I’ve made it with whatever tomatoes I could find, and it always works. Here are some variations I’ve tried and loved.
Smoky Chipotle Version : Add 2-3 chipotle peppers in adobo sauce to the roasting pan. The smoky heat pairs beautifully with roasted tomatoes. I made this for a taco night and ended up using it on everything for a week. Just be careful — chipotles are spicy. Start with one and taste as you go.
Herb-Forward Variation : Swap the basil and oregano for rosemary and thyme. Use 3 sprigs of each during roasting, then remove before blending. This version works better with heartier dishes like lasagna or baked ziti. I made this for a winter dinner party and my friend asked for three jars to take home.
Roasted Red Pepper Addition : Add 3 large red bell peppers, seeded and quartered, to the roasting pan. They add sweetness and a gorgeous color. This version is slightly thinner, so simmer an extra 10 minutes. I discovered this by accident when I had leftover peppers from a farmers market haul.
Low-Sodium Option : Reduce the salt to 1 tablespoon during roasting. You can always add more salt when you use the sauce. I make this version for my dad, who watches his sodium. He says he can’t tell the difference.
Garlic Lovers Version : Use 4 heads of garlic instead of 2. Roast them whole, then squeeze the cloves into the sauce. I did this once when I had a cold and wanted something intensely savory. It worked. Your breath might not thank you, but your taste buds will.
Serving & Storage Suggestions
This sauce is incredibly versatile. I use it for pasta, but it also works on pizza, in soups, or as a dipping sauce for crusty bread. Here’s how I like to serve and store it.
Serving Temperature : Heat the sauce gently in a saucepan over medium-low heat. Don’t boil it aggressively — you’ll lose the delicate roasted flavors. I usually add a splash of pasta water to loosen it up. Serve over your favorite pasta with a generous grating of Parmesan cheese and fresh basil on top.
Perfect Pairings : This sauce loves hearty pasta shapes like rigatoni, pappardelle, or orecchiette. It also works beautifully with gnocchi or polenta. For a complete meal, serve with a simple green salad dressed with lemon vinaigrette and a glass of Chianti.
Refrigerator Storage : Once opened, store the jar in the refrigerator for up to 7 days. The flavors actually improve after a day or two. I keep a small jar in the fridge for quick weeknight dinners.
Freezer Storage : If you don’t want to can the sauce, freeze it in quart-sized freezer bags. Lay them flat to save space. Frozen sauce keeps for up to 6 months. Thaw overnight in the refrigerator before using.
Reheating Tips : For the best texture, reheat the sauce gently. If it seems too thick, add a splash of water, broth, or pasta water. I’ve found that reheating in a skillet rather than a saucepan gives better control over the temperature.
Flavor Development : This sauce is at its best after about a month of aging. The flavors meld and mellow over time. I always try to save at least one jar for at least three months. The difference is subtle but real.
Nutritional Information & Benefits
This sauce is naturally healthy, especially compared to store-bought versions that often have added sugar and preservatives. Here’s what you’re getting in a 1/2 cup (120 ml) serving.
- Calories : Approximately 70-80 calories per serving
- Fat : 4-5 grams (mostly from olive oil, which is heart-healthy)
- Carbohydrates : 8-10 grams (from tomatoes and onions)
- Fiber : 2-3 grams
- Protein : 1-2 grams
- Sodium : 250-300 mg (adjustable based on salt added)
- Vitamin C : 20% of daily value per serving
- Vitamin A : 15% of daily value per serving
- Lycopene : Tomatoes are rich in lycopene, a powerful antioxidant that may reduce the risk of chronic disease. Roasting actually increases the bioavailability of lycopene, making this sauce even more beneficial.
Dietary Considerations : This recipe is naturally vegan, gluten-free, dairy-free, and nut-free. It contains no added sugar — the sweetness comes entirely from the roasted vegetables. If you’re watching your sodium, reduce the salt as noted in the variations section.
Allergen Note : This recipe contains no common allergens, but always check your specific ingredients for cross-contamination risks, especially if you have severe allergies.
Conclusion
This homemade roasted tomato canning sauce has become a late-summer tradition in my kitchen. It’s the recipe that taught me not to judge ingredients by their appearance, and that sometimes the best things come from the most unlikely beginnings. Every jar I open in winter reminds me of that afternoon when my neighbor showed up with too many tomatoes and I almost gave up before I started.
I really hope you try this recipe. Don’t be intimidated by the canning process — it’s easier than it looks, and the payoff is incredible. Customize it with your favorite herbs, adjust the garlic to your liking, and make it your own. That’s the beauty of homemade food — it bends to your preferences.
If you make this sauce, I’d love to hear about it. Leave a comment below and tell me how you used it, what variations you tried, or just share your favorite winter pasta memory. And if you’re feeling generous, share this recipe with a friend who loves tomatoes as much as we do. Happy cooking, and here’s to summer flavors all year long!
Frequently Asked Questions
Can I use cherry tomatoes instead of Roma tomatoes?
Yes, cherry tomatoes work great! They’re sweeter than Roma tomatoes, so your sauce will have a slightly different flavor profile. You don’t need to halve them — just toss them whole on the roasting pan. The roasting time might be slightly shorter, so check at 50 minutes instead of 60.
Do I have to can this sauce, or can I freeze it?
You can absolutely freeze this sauce instead of canning it. Let the sauce cool completely, then transfer it to freezer-safe bags or containers. Leave some headspace for expansion. Frozen sauce keeps for up to 6 months. Thaw overnight in the refrigerator before using.
How long does the canned sauce last?
Properly sealed jars of this sauce will keep for up to 18 months in a cool, dark place. I’ve used jars that were 2 years old and they were still delicious, though the color had faded slightly. Always check the seal before opening — if the lid flexes up and down, don’t eat the contents.
Can I add meat to this sauce?
Absolutely. If you want a meat sauce, brown 1 pound of ground beef, Italian sausage, or ground turkey before simmering the sauce. Drain the fat, then add the roasted tomato puree and continue with the recipe. Just note that meat sauce should be refrigerated or frozen, not water-bath canned, unless you have a pressure canner.
My sauce tastes too acidic. What can I do?
If your sauce tastes acidic, don’t add sugar — it masks the flavor rather than balancing it. Instead, add a pinch of baking soda while the sauce simmers. It will fizz slightly, then settle. Taste and repeat if needed. You can also add a splash of balsamic vinegar, which naturally balances acidity without making the sauce taste vinegary.
Pin This Recipe!
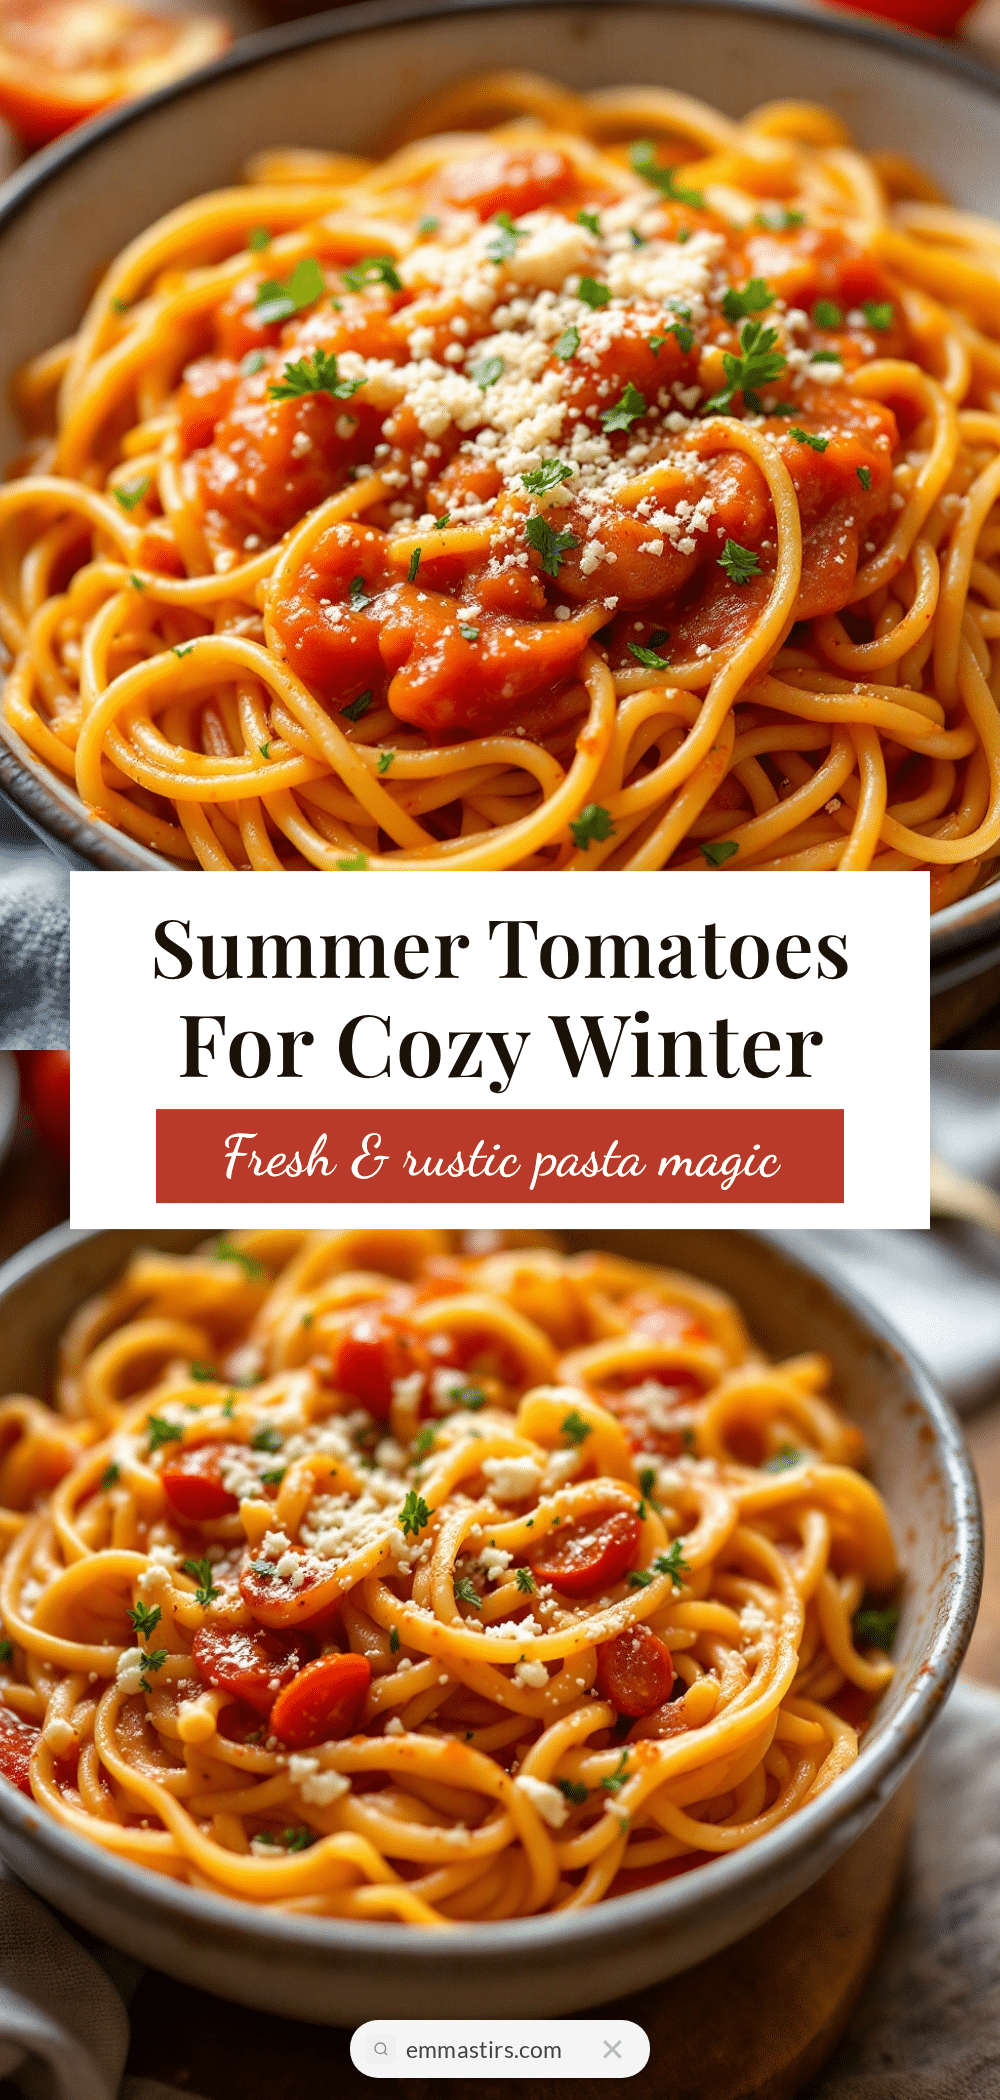
Homemade Roasted Tomato Sauce: Best for Winter Pasta
This homemade roasted tomato sauce transforms even bruised, overripe tomatoes into a deeply sweet and smoky sauce that tastes like summer in a jar. Perfect for winter pasta dinners, it’s a budget-friendly, crowd-pleasing recipe that’s naturally vegan and gluten-free.
- Prep Time: 45 minutes
- Cook Time: 2 hours 15 minutes
- Total Time: 4-5 hours
- Yield: 8-10 pint jars 1x
- Category: Sauce
- Cuisine: Italian
Ingredients
- 10 pounds (4.5 kg) Roma or San Marzano tomatoes
- 2 whole heads garlic
- 3 large yellow onions
- 1/2 cup (120 ml) extra virgin olive oil
- 2 tablespoons (36 grams) kosher salt
- 1 cup (30 grams) packed fresh basil
- 2 tablespoons (6 grams) fresh oregano (or 2 teaspoons dried)
- 4 bay leaves
- 2 tablespoons (30 ml) balsamic vinegar
- 1 teaspoon (2 grams) freshly ground black pepper
- 1/2 teaspoon (1 gram) red pepper flakes (optional)
Instructions
- Preheat your oven to 400°F (200°C). Position racks in the upper and lower thirds of the oven.
- Wash all 10 pounds of tomatoes. Cut out any bad spots or cores. Halve the tomatoes lengthwise (quarter if using large round tomatoes). Arrange cut-side up on two large roasting pans, leaving space between pieces.
- Cut the tops off both heads of garlic to expose the cloves. Peel and quarter the three onions. Scatter garlic heads and onion chunks around the tomatoes. Tuck bay leaves in between.
- Drizzle everything with olive oil. Sprinkle with kosher salt and black pepper. Gently toss with your hands to coat evenly.
- Roast for 60-75 minutes, checking at 45 minutes. Tomatoes should be wrinkled and browning on edges; garlic should be soft when squeezed. Rotate pans halfway through if needed.
- Let pans cool on wire racks for about 15 minutes.
- If using a food mill, work in batches, feeding roasted tomatoes, onions, and squeezed garlic through the mill. If using an immersion blender, let vegetables cool enough to handle, peel off tomato skins, remove bay leaves, and blend until smooth.
- Transfer pureed sauce to a large pot or Dutch oven. Add fresh basil, oregano, and balsamic vinegar. Bring to a gentle simmer over medium heat, then reduce to low. Simmer for 30-40 minutes, stirring occasionally, until sauce thickens to coat the back of a spoon.
- While sauce simmers, wash jars in hot soapy water and rinse well. Place jars in canning pot, cover with water, and bring to a simmer. Keep hot until ready to fill. Place lids in a small saucepan of simmering water.
- Using a canning funnel, ladle hot sauce into hot jars, leaving 1/2 inch (1.25 cm) headspace. Run a clean chopstick around inside to release air bubbles. Wipe rims with a clean, damp cloth. Center lids on jars and screw on bands until fingertip-tight.
- Place filled jars in canning rack and lower into boiling water. Ensure water covers jars by at least 1 inch (2.5 cm). Bring to a full rolling boil, then process pint jars for 35 minutes (adjust for altitude: add 5 minutes per 1,000 feet above sea level).
- After processing, turn off heat and let jars sit in water for 5 minutes. Use jar lifter to remove jars and place on a towel-lined counter. Leave undisturbed for 12-24 hours. Check seals: press center of each lid; if it doesn’t flex, it’s sealed. Store sealed jars in a cool, dark place for up to 18 months.
Notes
Don’t skip the roasting step—it concentrates flavor. Watch oven temperature to avoid burning garlic. Use a food mill for silky texture. Season gradually in three stages. Don’t overcook during simmer; sauce will continue to concentrate in jars. Label jars with date and variations.
Nutrition
- Serving Size: 1/2 cup (120 ml)
- Calories: 7080
- Sugar: 46
- Sodium: 250300
- Fat: 45
- Saturated Fat: 0.51
- Carbohydrates: 810
- Fiber: 23
- Protein: 12
Keywords: roasted tomato sauce, homemade tomato sauce, canning recipe, winter pasta sauce, vegan tomato sauce, gluten-free sauce, roasted tomatoes, tomato canning


