Love this? Save it for later!
Share the inspiration with your friends
The timer beeps, and I pull the baking sheet from the oven a full minute before the recipe says to. The edges are just barely golden, the centers still puffed and pale. I let them rest on the hot pan, and the kitchen smells like browned butter and vanilla and something like patience. That’s the thing about these perfect bakery-style chocolate chip cookies — they teach you to trust the carryover heat, the way a cookie keeps baking even after it’s out of the fire. I spent two years chasing this texture. Two years of flat cookies, crispy cookies, cookies that spread into one giant sad disc. And then, on a random Tuesday night in November, I finally got it right. The first bite was thick and chewy, with that slight crackle on top and a soft, almost underbaked center. I actually stood there in my kitchen, holding the cookie, feeling a little ridiculous for how happy I was. This recipe is that recipe — the one I scribbled notes on for months, the one that made me understand that baking is less about precision and more about knowing when to break the rules.
These aren’t fussy cookies. They don’t require a stand mixer or chilled dough for hours. They just need the right ratio of butter to sugar, a little patience with browning, and the willingness to pull them out before they look done. Honestly, that last part is the hardest. But once you taste that thick, chewy center with pools of melted chocolate, you’ll never go back.
Why You’ll Love This Recipe
I’ve tested this recipe more times than I care to admit. I’ve tried different ratios of bread flour to all-purpose, different chilling times, different methods for browning butter. What I landed on is the version that works every single time, without fuss. Here’s why this one stands out:
- Thick and Chewy, Not Cakey: The combination of melted butter and an extra egg yolk gives you that dense, fudgy texture without making the cookies puff up like muffins. They spread just enough to get those crispy edges, but the centers stay soft for days.
- No Chill Time Required: I know, I know — every cookie expert says you have to chill the dough. But sometimes you want cookies in 30 minutes, not tomorrow. This recipe uses room temperature ingredients and a specific technique to give you that bakery texture without waiting.
- Simple Pantry Ingredients: You probably have everything already. Butter, sugar, eggs, flour, vanilla, baking soda, salt, and chocolate chips. No fancy extracts or specialty flours needed.
- Perfect for Any Occasion: These work for a casual Tuesday night, a holiday cookie swap, or when you need to bring something to a friend’s house and you’re short on time. They’re the kind of cookies that disappear fast.
- Crowd-Pleaser, Always: I’ve brought these to potlucks, family dinners, and work events. Every time, someone asks for the recipe. They’re that good.
What makes these different from every other chocolate chip cookie recipe? It’s the technique. I brown the butter, which adds a nutty depth that you can’t get any other way. Then I let it cool slightly before mixing in the sugars, which helps the cookies stay thick. And I use a combination of bread flour and all-purpose flour — the bread flour gives them structure and chew, while the all-purpose keeps them tender. It’s a small tweak that makes a big difference.
This isn’t just a good cookie. It’s the kind that makes you close your eyes after the first bite. It’s comfort in edible form — warm, buttery, with pockets of melted chocolate in every bite. And the best part? You don’t need to be a professional baker to pull it off.
What Ingredients You Will Need
This recipe uses simple, everyday ingredients, but a few small choices make a big difference. I’ll walk you through each one so you know exactly what to grab at the store.
- 1 cup (2 sticks) unsalted butter: Use unsalted so you can control the salt level. I prefer Kerrygold for its rich flavor, but any good-quality unsalted butter works. You’ll be browning this, so don’t use margarine or spreads.
- 1 cup (200g) packed light brown sugar: Brown sugar adds moisture and that deep, caramel-like flavor. Pack it firmly into the measuring cup. Dark brown sugar works too, but the cookies will be slightly darker and more molasses-forward.
- 1/2 cup (100g) granulated sugar: White sugar helps the cookies spread just a little and gives them those crispy edges. Don’t skip it — the balance of sugars is key.
- 2 large eggs, room temperature: Room temperature eggs mix more evenly into the butter mixture. If you forget to take them out ahead of time, place them in a bowl of warm water for 5 minutes.
- 1 large egg yolk, room temperature: This is my secret weapon. The extra yolk adds richness and helps keep the cookies chewy without making them cakey.
- 2 teaspoons vanilla extract: Use pure vanilla extract, not imitation. It makes a difference in flavor. I like Nielsen-Massey, but any good brand works.
- 2 cups (260g) bread flour: Bread flour has higher protein content than all-purpose, which gives the cookies structure and that satisfying chew. I recommend King Arthur for consistent results.
- 1 cup (130g) all-purpose flour: The all-purpose flour keeps the cookies tender so they’re not tough or bready. This combination is what gives you that perfect texture.
- 1 teaspoon baking soda: Make sure your baking soda is fresh. To test, drop a little into vinegar — if it fizzes vigorously, it’s good to go.
- 1 teaspoon salt: I use fine sea salt. If you use table salt, reduce to 3/4 teaspoon. Don’t skip the salt — it balances the sweetness and enhances the chocolate.
- 2 cups (12 oz) semi-sweet chocolate chips: I prefer Ghirardelli or Guittard for their flavor and meltability. You can also chop up a good-quality chocolate bar for bigger pools of chocolate. Dark chocolate chips work beautifully too.
- Flaky sea salt for topping (optional but recommended): A sprinkle of Maldon sea salt right when the cookies come out of the oven takes them to another level. It’s that sweet-salty thing that makes people unable to stop eating them.
Substitution Notes: If you don’t have bread flour, you can use all-purpose flour for the entire amount (3 cups total). The cookies will still be good, just slightly less chewy. For a dairy-free version, use a high-quality vegan butter stick (not spread) and dairy-free chocolate chips. I’ve had good results with Miyoko’s European Style Cultured Vegan Butter.
Equipment Needed
You don’t need fancy equipment for these cookies, but a few tools make the process smoother. Here’s what I use:
- Large baking sheets: I use two half-sheet pans (18×13 inches). Light-colored aluminum pans work best — dark pans can cause the bottoms to brown too quickly.
- Parchment paper or silicone baking mats: Parchment paper is my go-to. It prevents sticking and makes cleanup a breeze. Silicone mats work too, but cookies may spread slightly more.
- Medium saucepan: For browning the butter. Use a light-colored pan so you can see the butter change color. I use my All-Clad for this.
- Large mixing bowl: Any large bowl works. I prefer glass or stainless steel.
- Whisk and rubber spatula: A whisk for combining dry ingredients, a spatula for folding in the chocolate chips.
- Cookie scoop or measuring spoons: A 3-tablespoon cookie scoop gives you perfectly uniform cookies. If you don’t have one, use two spoons to portion the dough.
- Cooling rack: Essential for letting the cookies cool properly so the bottoms don’t get soggy.
If you don’t have a cookie scoop, don’t worry. I used a regular tablespoon for years. Just make sure each portion is roughly the same size so they bake evenly. And if you don’t have a cooling rack, let the cookies cool on the baking sheet for 5 minutes, then transfer them carefully to a plate.
Preparation Method
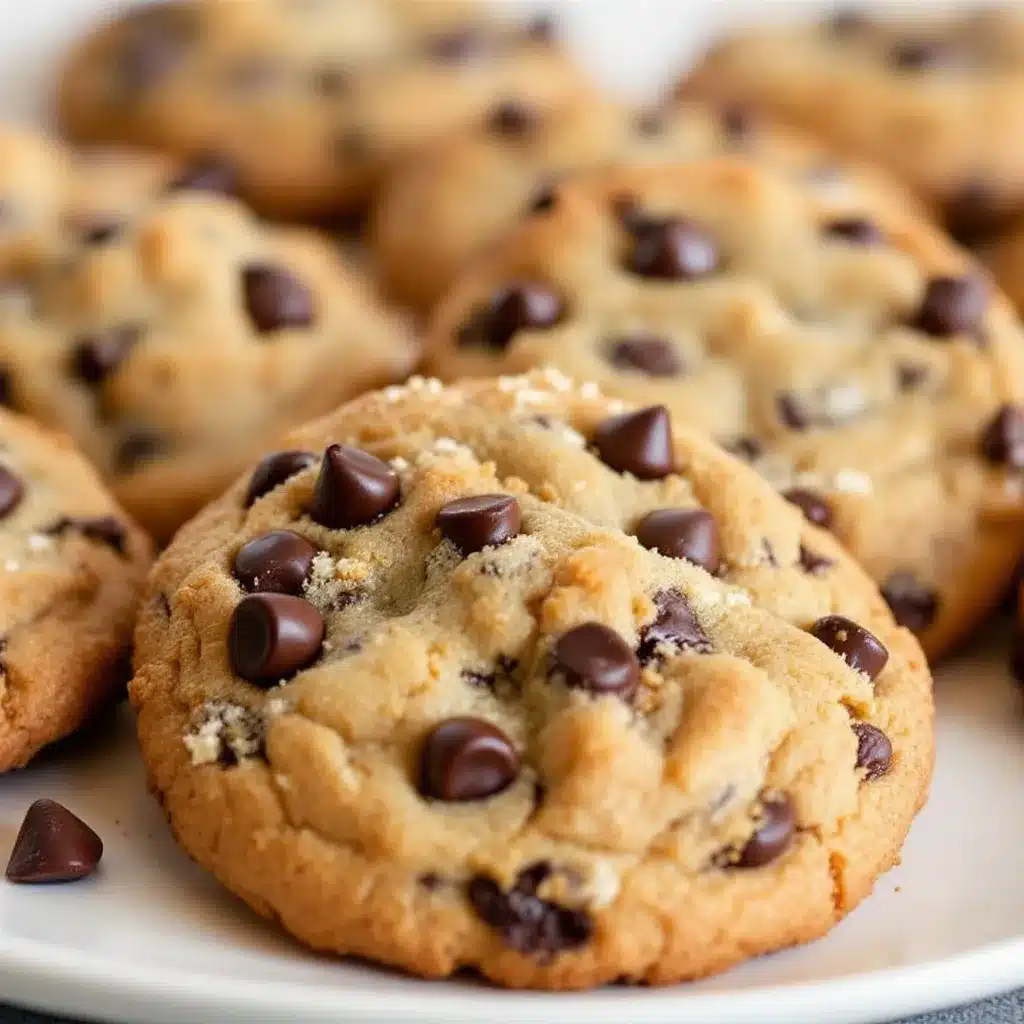
Let’s get to the good part. Follow these steps carefully, and you’ll have thick, chewy, bakery-style cookies in about 30 minutes.
- Brown the butter: Place the 1 cup (2 sticks) of unsalted butter in a medium saucepan over medium heat. Stir occasionally with a rubber spatula or whisk. The butter will melt, then foam, then start to crackle and pop. After about 5-7 minutes, the crackling will subside, and you’ll see brown specks forming at the bottom of the pan. The butter will smell nutty and toasty. As soon as it turns a golden amber color, remove it from the heat immediately. Pour it into a large mixing bowl (including all the brown bits) and let it cool for 10-15 minutes. Don’t skip the cooling — if the butter is too hot, it will cook the eggs.
- Mix the sugars and butter: Once the browned butter has cooled slightly (it should be warm but not hot), add the 1 cup packed brown sugar and 1/2 cup granulated sugar. Whisk vigorously for about 30 seconds until the mixture looks like wet sand and is slightly thickened. This helps dissolve the sugar and creates a better texture.
- Add the eggs and vanilla: Add the 2 room temperature eggs and 1 extra egg yolk, one at a time, whisking well after each addition. Then add the 2 teaspoons vanilla extract. Whisk until the mixture is smooth, pale, and slightly thickened — about 1 minute. It should look like a thick, glossy caramel.
- Combine the dry ingredients: In a separate medium bowl, whisk together the 2 cups bread flour, 1 cup all-purpose flour, 1 teaspoon baking soda, and 1 teaspoon salt. Make sure the baking soda is evenly distributed — nobody wants a pocket of baking soda in their cookie.
- Mix the dry into the wet: Add the flour mixture to the butter mixture in two additions. Use a rubber spatula to fold gently until just combined. Be careful not to overmix — stop as soon as you no longer see streaks of flour. Overmixing develops gluten and makes cookies tough.
- Fold in the chocolate chips: Add the 2 cups chocolate chips and fold them in with the spatula until evenly distributed. The dough will be thick and slightly sticky. If it feels too soft to scoop, let it rest at room temperature for 10 minutes — the flour will absorb some moisture and firm it up.
- Preheat the oven: While the dough rests, preheat your oven to 375°F (190°C). Line two baking sheets with parchment paper.
- Portion the dough: Use a 3-tablespoon cookie scoop (or two spoons) to portion the dough into balls about 1.5 inches in diameter. Place them on the prepared baking sheets, leaving about 3 inches of space between each cookie — they will spread. I fit 6 cookies per sheet.
- Bake one sheet at a time: Place one baking sheet on the center rack of the oven. Bake for 10-12 minutes, rotating the pan halfway through. The cookies are done when the edges are golden brown and set, but the centers still look slightly puffy and underdone. They should be pale in the middle. Trust me — they will continue baking on the hot pan.
- Cool on the pan: Remove the baking sheet from the oven and let the cookies cool on the pan for 5-7 minutes. This is crucial — it allows the centers to set without overbaking. After 5-7 minutes, transfer the cookies to a wire cooling rack to cool completely. If you’re using flaky sea salt, sprinkle it on right when they come out of the oven.
- Repeat with remaining dough: Let the baking sheet cool completely between batches, or use a second sheet. If the dough gets too warm, pop it in the fridge for 10 minutes.
Troubleshooting Tip: If your cookies spread too much, the butter was likely too warm when you mixed in the dry ingredients. Next time, let the browned butter cool for a full 15 minutes. You can also chill the portioned dough balls for 15 minutes before baking.
Cooking Tips & Techniques
After countless batches, I’ve learned a few things the hard way. Here are my best tips for perfect cookies every time:
Don’t skip browning the butter. I know it’s an extra step, but it adds so much depth. The nutty flavor from browning is what makes these cookies taste like they came from a bakery. Plus, browning removes some water from the butter, which helps prevent spreading.
Use a kitchen scale if you have one. Flour is tricky to measure by volume — you can easily pack in too much or too little. I’ve included gram measurements for the flours and sugars because they’re more accurate. If you’re scooping flour with a measuring cup, use the spoon-and-level method: fluff the flour with a spoon, spoon it into the cup, then level off with a knife.
Room temperature ingredients matter. Cold eggs will seize the butter mixture and make the dough stiff. Room temperature eggs incorporate more smoothly and create a better emulsion, which means a more tender cookie. Same goes for the butter — let it cool but don’t let it solidify.
Underbake them slightly. This is the single most important tip. Pull the cookies out when the edges are set but the centers are still soft and puffy. They’ll look underdone, but they’ll set up perfectly as they cool. If you wait until the centers look done, they’ll be overbaked and crunchy.
Rotate your baking sheet halfway through. Ovens have hot spots, and rotating ensures even baking. I do this at the 5-minute mark.
Let the baking sheet cool between batches. If you put cookie dough on a hot sheet, the butter will melt immediately and the cookies will spread into thin discs. Run the sheet under cold water and dry it, or use a second sheet.
One thing I learned the hard way: don’t crowd the pan. I once tried to fit 12 cookies on one sheet, and they all merged into one giant cookie. Tasty, sure, but not what I was going for. Give them space to spread.
Variations & Adaptations
Once you’ve mastered the basic recipe, feel free to play around. Here are some of my favorite variations:
- Double Chocolate Chip: Replace 1/4 cup of the all-purpose flour with 1/4 cup unsweetened cocoa powder. Use dark chocolate chips instead of semi-sweet. These are dangerously good.
- Chocolate Chip Pecan: Reduce chocolate chips to 1 1/2 cups and add 1 cup of toasted, chopped pecans. Toast the pecans in a dry skillet over medium heat for 3-4 minutes until fragrant, then let them cool before adding to the dough.
- Sea Salt Dark Chocolate: Use dark chocolate chunks (70% cacao or higher) and increase the flaky sea salt on top. The bitterness of the dark chocolate balances the sweetness beautifully.
- Gluten-Free Version: Substitute the bread flour and all-purpose flour with 3 cups of a high-quality gluten-free flour blend that contains xanthan gum. I’ve had good results with Cup4Cup. The texture will be slightly more tender, but still delicious.
- Smaller Cookies: Use a 1-tablespoon scoop and bake for 8-9 minutes. Great for parties or portion control. You’ll get about 36 smaller cookies.
- Freeze-and-Bake: Portion the dough into balls, place them on a parchment-lined baking sheet, and freeze until solid. Transfer the frozen dough balls to a zip-top bag. To bake, place frozen dough balls on a baking sheet (no need to thaw) and add 2-3 minutes to the baking time.
I personally love the sea salt dark chocolate variation. The flaky salt on top creates this incredible contrast that makes each bite interesting. It’s my go-to when I want to impress someone.
Serving & Storage Suggestions
These cookies are best served warm, when the chocolate is still melty and the edges are slightly crisp. But they’re also fantastic at room temperature — the texture stays soft and chewy for days.
Serving Ideas:
- Serve with a tall glass of cold milk. It’s classic for a reason.
- Pair with a scoop of vanilla bean ice cream for an incredible ice cream sandwich. Just press a scoop of ice cream between two cookies and freeze for 30 minutes.
- Crush them over a bowl of vanilla yogurt or cottage cheese for a sweet-savory treat. Honestly, don’t knock it until you try it.
- Serve alongside a cup of strong coffee or a latte for an afternoon pick-me-up.
Storage:
- Store baked cookies in an airtight container at room temperature for up to 5 days. Place a slice of bread in the container — it will absorb excess moisture and keep the cookies soft. Replace the bread slice every other day.
- To freeze baked cookies, place them in a single layer on a baking sheet and freeze until firm. Transfer to a zip-top freezer bag and freeze for up to 3 months. Thaw at room temperature or reheat in a 300°F oven for 5 minutes.
- Unbaked dough balls can be frozen for up to 3 months. Bake from frozen, adding 2-3 minutes to the baking time.
Reheating: For that just-baked experience, pop a cookie in the microwave for 10-15 seconds. Or place it on a baking sheet in a 300°F oven for 5 minutes. The edges will crisp up slightly, and the chocolate will get melty again.
One thing I love about these cookies is that the flavor actually improves after a day. The brown butter flavor deepens, and the texture becomes even more chewy. If you can resist eating them all on day one, you’re in for a treat on day two.
Nutritional Information & Benefits
Let’s be real — these are cookies, not health food. But that doesn’t mean they can’t fit into a balanced lifestyle. Here’s the approximate nutritional breakdown per cookie (based on 24 cookies using the standard recipe):
| Nutrient | Amount Per Cookie |
|---|---|
| Calories | 245 |
| Total Fat | 13g |
| Saturated Fat | 8g |
| Cholesterol | 45mg |
| Sodium | 180mg |
| Total Carbohydrates | 30g |
| Dietary Fiber | 1g |
| Sugars | 19g |
| Protein | 3g |
Health Highlights: Dark chocolate (if you use it) contains antioxidants called flavonoids, which have been linked to heart health. The eggs provide high-quality protein and essential vitamins like B12 and riboflavin. And believe it or not, a little butter in moderation can be part of a balanced diet — it’s a source of fat-soluble vitamins A, D, E, and K.
Dietary Considerations: This recipe contains gluten, dairy, and eggs. For a gluten-free version, see the variations section above. For a dairy-free version, use vegan butter and dairy-free chocolate chips. For an egg-free version, I recommend using a commercial egg replacer, though I haven’t tested it myself.
My philosophy? Enjoy the cookie. Savor it. And then get back to your healthy high-protein cottage cheese bowl for breakfast tomorrow. Balance, right?
Frequently Asked Questions
Can I use all-purpose flour instead of bread flour?
Yes, you can substitute all-purpose flour for the entire 3 cups. The cookies will still be delicious, but they’ll be slightly less chewy and a bit more tender. The bread flour is what gives them that signature bakery-style chew.
Why did my cookies spread too much?
This usually happens for one of three reasons: the butter was too warm when you mixed the dough, the dough wasn’t chilled before baking, or you used too little flour. Next time, make sure your browned butter has cooled to room temperature, and try chilling the portioned dough balls for 15 minutes before baking. Also, make sure you’re measuring your flour correctly — use the spoon-and-level method or a kitchen scale.
Can I make the dough ahead of time?
Absolutely. You can prepare the dough, cover it tightly with plastic wrap, and refrigerate it for up to 3 days. Let the dough sit at room temperature for 10-15 minutes before scooping and baking, as it will be firm. The flavor actually develops more over time. You can also freeze the portioned dough balls for up to 3 months — see the variations section for details.
Can I use dark brown sugar instead of light?
Yes, dark brown sugar will work. The cookies will be slightly darker in color and have a deeper molasses flavor. They’ll also be a bit more moist and chewy. If you’re using dark brown sugar, you might want to reduce the granulated sugar by a tablespoon to keep the sweetness balanced.
How do I know when the cookies are done?
The cookies are done when the edges are golden brown and set, but the centers are still pale, puffy, and look slightly underdone. They should look soft and slightly domed in the middle. Trust the carryover heat — they’ll continue baking on the hot pan for another 5-7 minutes. If the centers look fully set in the oven, they’ll be overbaked.
Conclusion
These perfect bakery-style chocolate chip cookies are everything I wanted them to be — thick, chewy, with those crispy edges and soft centers that make you reach for another one before you’ve finished the first. They’re the kind of cookies that feel special, even though they come together with simple ingredients and no fancy techniques.
I love that this recipe is forgiving enough for a beginner but precise enough to satisfy a perfectionist. You can customize it a hundred ways — add nuts, swap the chocolate, sprinkle with sea salt — and it will still be delicious. But honestly, the original version is so good that I usually make it as written.
If you try these cookies, I’d love to hear how they turned out. Did you add any twists? Did you manage to save some for day two? Leave a comment below or tag me in your photos — I love seeing your baking adventures. And if you’re looking for another sweet treat, try my cozy one-bowl banana bread with brown butter and walnuts — it’s made with the same love for brown butter and perfect texture.
Go ahead, preheat that oven. Your kitchen is about to smell incredible.
Pin This Recipe!
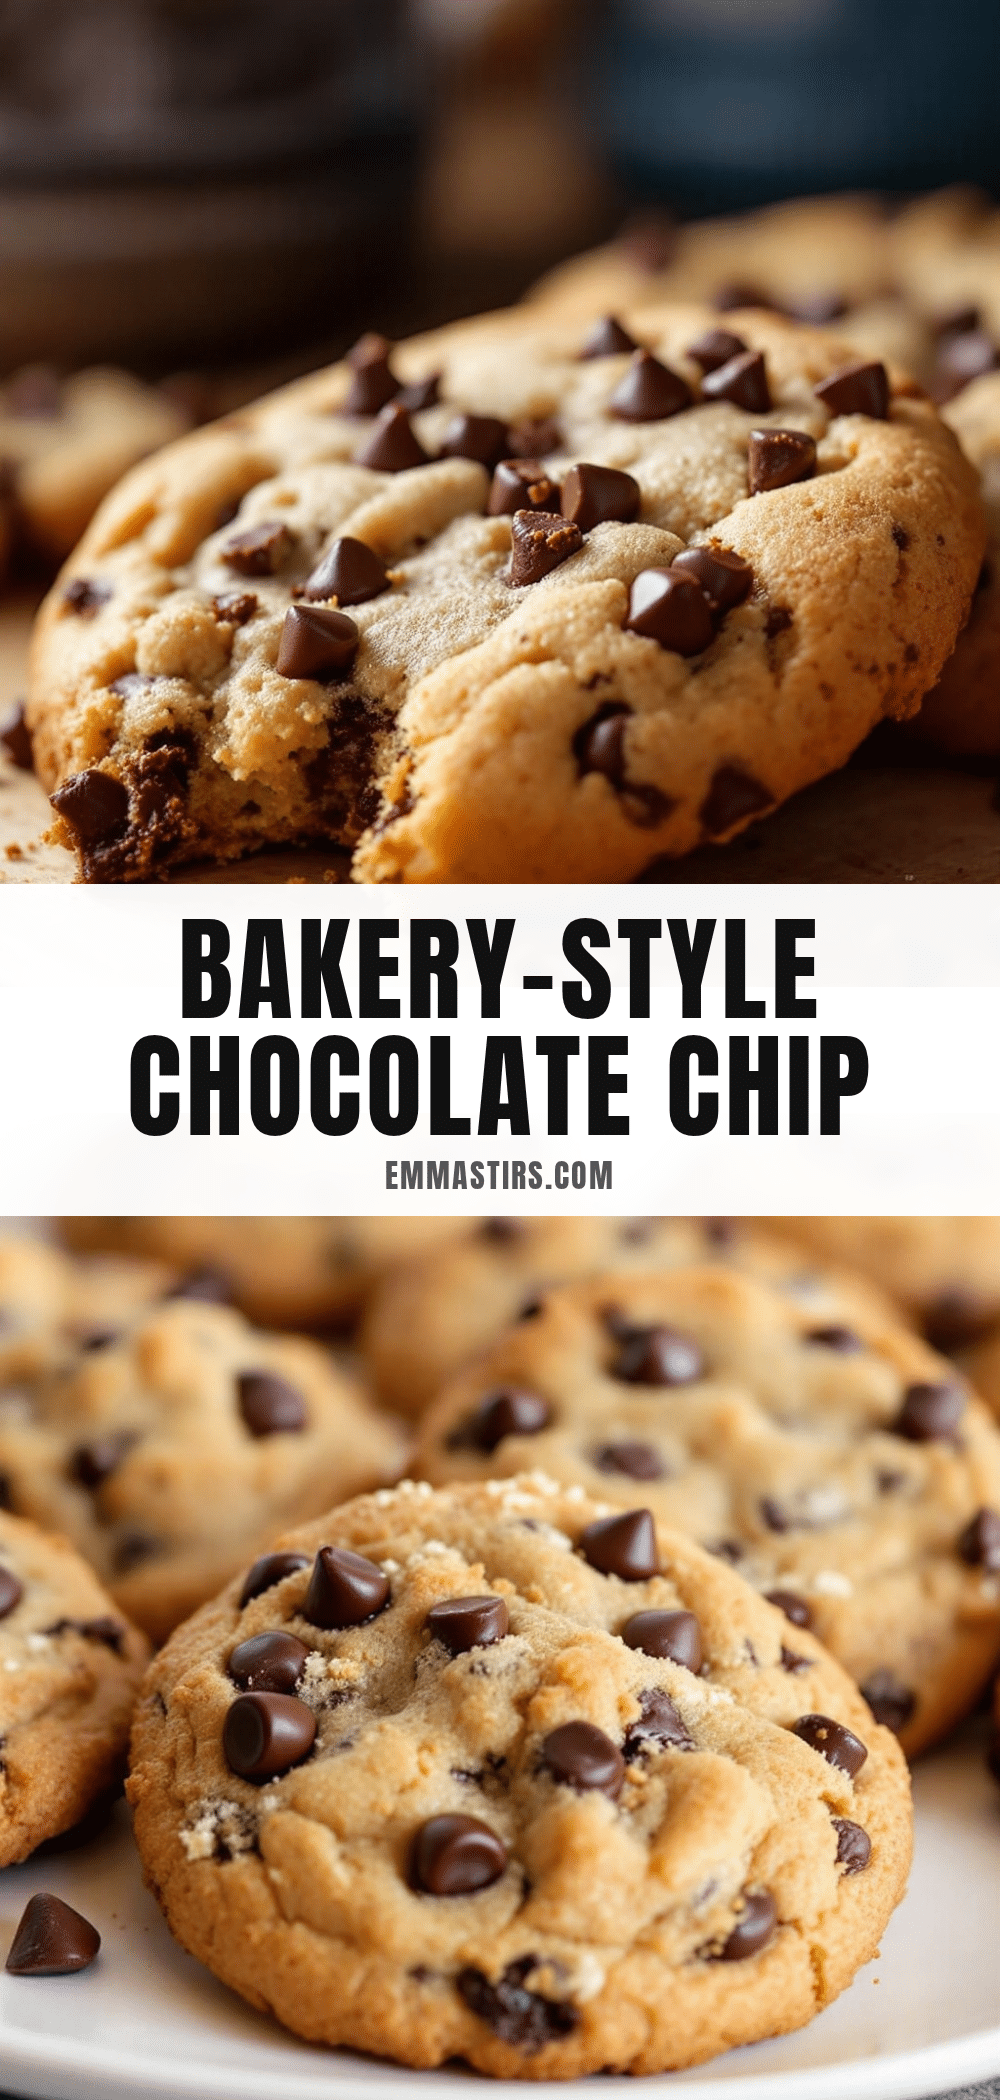
Perfect Bakery-Style Chocolate Chip Cookies: Thick, Chewy & Easy

These thick, chewy chocolate chip cookies have crispy edges and soft centers, made with browned butter and a blend of bread and all-purpose flour for the perfect texture. No chill time required, and they come together in about 30 minutes.
- Prep Time: 15 minutes
- Cook Time: 12 minutes
- Total Time: 27 minutes
- Yield: 24 servings 1x
- Category: Dessert
- Cuisine: American
Ingredients
- 1 cup (2 sticks) unsalted butter
- 1 cup (200g) packed light brown sugar
- 1/2 cup (100g) granulated sugar
- 2 large eggs, room temperature
- 1 large egg yolk, room temperature
- 2 teaspoons vanilla extract
- 2 cups (260g) bread flour
- 1 cup (130g) all-purpose flour
- 1 teaspoon baking soda
- 1 teaspoon salt
- 2 cups (12 oz) semi-sweet chocolate chips
- Flaky sea salt for topping (optional)
Instructions
- Brown the butter: Place the 1 cup (2 sticks) of unsalted butter in a medium saucepan over medium heat. Stir occasionally with a rubber spatula or whisk. The butter will melt, then foam, then start to crackle and pop. After about 5-7 minutes, the crackling will subside, and you’ll see brown specks forming at the bottom of the pan. The butter will smell nutty and toasty. As soon as it turns a golden amber color, remove it from the heat immediately. Pour it into a large mixing bowl (including all t…
- Mix the sugars and butter: Once the browned butter has cooled slightly (it should be warm but not hot), add the 1 cup packed brown sugar and 1/2 cup granulated sugar. Whisk vigorously for about 30 seconds until the mixture looks like wet sand and is slightly thickened.
- Add the eggs and vanilla: Add the 2 room temperature eggs and 1 extra egg yolk, one at a time, whisking well after each addition. Then add the 2 teaspoons vanilla extract. Whisk until the mixture is smooth, pale, and slightly thickened — about 1 minute.
- Combine the dry ingredients: In a separate medium bowl, whisk together the 2 cups bread flour, 1 cup all-purpose flour, 1 teaspoon baking soda, and 1 teaspoon salt.
- Mix the dry into the wet: Add the flour mixture to the butter mixture in two additions. Use a rubber spatula to fold gently until just combined. Be careful not to overmix.
- Fold in the chocolate chips: Add the 2 cups chocolate chips and fold them in with the spatula until evenly distributed. The dough will be thick and slightly sticky. If it feels too soft to scoop, let it rest at room temperature for 10 minutes.
- Preheat the oven: While the dough rests, preheat your oven to 375°F (190°C). Line two baking sheets with parchment paper.
- Portion the dough: Use a 3-tablespoon cookie scoop (or two spoons) to portion the dough into balls about 1.5 inches in diameter. Place them on the prepared baking sheets, leaving about 3 inches of space between each cookie. I fit 6 cookies per sheet.
- Bake one sheet at a time: Place one baking sheet on the center rack of the oven. Bake for 10-12 minutes, rotating the pan halfway through. The cookies are done when the edges are golden brown and set, but the centers still look slightly puffy and underdone.
- Cool on the pan: Remove the baking sheet from the oven and let the cookies cool on the pan for 5-7 minutes. After 5-7 minutes, transfer the cookies to a wire cooling rack to cool completely. If you’re using flaky sea salt, sprinkle it on right when they come out of the oven.
- Repeat with remaining dough: Let the baking sheet cool completely between batches, or use a second sheet. If the dough gets too warm, pop it in the fridge for 10 minutes.
Notes
Don’t skip browning the butter; it adds depth. Use a kitchen scale for accurate flour measurement. Room temperature ingredients matter. Underbake slightly for best texture. Rotate baking sheet halfway through. Let baking sheet cool between batches. Don’t crowd the pan.
Nutrition
- Serving Size: 1 cookie
- Calories: 245
- Sugar: 19
- Sodium: 180
- Fat: 13
- Saturated Fat: 8
- Carbohydrates: 30
- Fiber: 1
- Protein: 3
Keywords: chocolate chip cookies, bakery-style cookies, thick cookies, chewy cookies, browned butter cookies, easy cookie recipe


