Love this? Save it for later!
Share the inspiration with your friends
My sister asked why I couldn’t just brown the butter with the pumpkin puree already in it. I started to explain why that wouldn’t work — then stopped. She had a point, honestly. I mean, we brown butter for cookies all the time, and pumpkin is mostly water, so what was I actually afraid of? A little splatter? A ruined batch of butter? I was making this harder than it needed to be, and she saw right through it.
Let me set the scene. It was a rainy Tuesday afternoon, and I was determined to crack the code on the perfect pumpkin chocolate chip cookie. You know the ones I’m talking about — soft in the middle, slightly crisp at the edges, and that deep, nutty flavor that makes you close your eyes after the first bite. I had already gone through three test batches that week, and my kitchen looked like a flour bomb had gone off. My sister wandered in, grabbed a spoon, and asked that simple question that would change everything.
So I tried it. I tossed a stick of butter into the saucepan, added a generous scoop of pumpkin puree, and watched it bubble and hiss. The butter started to foam, and that familiar nutty aroma filled the air, but it was different — richer, almost caramel-like, with a hint of earthiness from the pumpkin. I’ll be honest, I was skeptical until I saw the color. That deep golden brown with tiny specks of toasted milk solids floating in the pumpkin-infused butter? It was gorgeous. I poured it into a bowl, let it cool, and knew I was onto something special.
The cookies that came out of that oven were unlike anything I had made before. They were tender, fragrant, and had this incredible depth of flavor that regular pumpkin cookies just don’t have. The brown butter brought out the natural sweetness of the pumpkin, and the chocolate chips added little pockets of richness in every bite. Maybe you’ve been there — that moment when a recipe finally clicks and you know you’ll be making it for years to come. That was this cookie for me.
Why You’ll Love This Recipe
These perfect brown butter pumpkin chocolate chip cookies are the kind of recipe that makes you look like a baking genius with minimal effort. I’ve tested this recipe more times than I care to admit, and every single batch has been devoured within hours. Here is why this recipe deserves a permanent spot in your baking rotation:
- Quick & Easy: From start to finish, these cookies come together in under 45 minutes. The brown butter step adds maybe 10 extra minutes, but the flavor payoff is massive.
- Simple Ingredients: You probably already have most of these in your pantry. No fancy extracts, no hard-to-find flours — just real, everyday ingredients that work magic together.
- Perfect for Fall Baking: These cookies scream autumn without being overly pumpkin-spiced. They are great for Halloween parties, Thanksgiving dessert tables, or just a cozy weekend treat.
- Crowd-Pleaser: I brought a batch to my neighbor’s potluck last week, and three people asked for the recipe before the night ended. Kids love them, adults love them — they just work.
- Unbelievably Delicious: The combination of nutty brown butter, tender pumpkin, and melted chocolate is pure comfort. The texture is soft and chewy, with slightly crisp edges that give way to a pillowy center.
What makes this recipe different from the dozens of pumpkin cookie recipes out there? It is the browned butter technique combined with the pumpkin. Most recipes just mix melted butter with pumpkin puree and call it a day. But by browning the butter with the pumpkin, you unlock a whole new level of flavor. The milk solids in the butter toast and caramelize, while the pumpkin adds moisture and a subtle sweetness that balances the richness. It is not just another pumpkin cookie — it is the best version I have ever made.
Honestly, this recipe is the kind that makes you close your eyes after the first bite. It is comfort food reimagined — familiar enough to feel nostalgic, but elevated enough to feel special. Perfect for impressing guests without stress, or turning a simple Tuesday into something memorable.
What Ingredients You Will Need
This recipe uses simple, wholesome ingredients to deliver that deep, nutty flavor and soft, chewy texture. Most of these are pantry staples, but a few key choices make all the difference.
- Unsalted butter: 1 cup (2 sticks), cut into tablespoons. I recommend using a high-quality brand like Kerrygold or Plugrà for the best browning results. The lower water content in European-style butter gives you a richer, more consistent brown butter.
- Pumpkin puree: 1 cup (about half a 15-ounce can). Make sure you are using 100% pure pumpkin puree, not pumpkin pie filling. Libby’s is my go-to brand because it has a consistent texture and moisture level.
- Dark brown sugar: 1 cup, packed. The molasses in brown sugar adds depth and helps keep the cookies soft. Light brown sugar works too, but dark gives a richer flavor that pairs beautifully with the brown butter.
- Granulated sugar: 1/2 cup. This helps with spreading and gives the cookies those slightly crisp edges.
- Large egg: 1, at room temperature. A room-temperature egg incorporates more easily into the butter mixture, creating a smoother dough.
- Vanilla extract: 2 teaspoons. Pure vanilla extract is worth the splurge here — it enhances all the other flavors without overpowering them.
- All-purpose flour: 2 cups. Spoon and level your flour for the most accurate measurement. Scooping directly from the bag can pack in too much flour and make your cookies dry.
- Baking soda: 1 teaspoon. This helps the cookies spread and become tender.
- Baking powder: 1/2 teaspoon. Adds a little extra lift for a softer texture.
- Salt: 1 teaspoon. I use fine sea salt. Salt balances the sweetness and enhances the nutty flavor of the brown butter.
- Pumpkin pie spice: 2 teaspoons. You can use store-bought or make your own with cinnamon, nutmeg, ginger, and cloves. I prefer making my own blend — it lets me control the intensity.
- Cinnamon: 1 teaspoon. Adds warmth and complements the pumpkin beautifully.
- Semi-sweet chocolate chips: 1 1/2 cups. I like using Guittard or Ghirardelli chips for their rich flavor and smooth melt. You can also chop up a dark chocolate bar for bigger, more rustic chunks.
Ingredient Selection Tips: When choosing pumpkin puree, look for cans with no added sugar or spices. The texture should be smooth and thick, not watery. If you are using fresh pumpkin, roast it until tender and puree it until silky smooth, then strain off any excess liquid. For the chocolate chips, semi-sweet is my favorite because it is not too sweet and lets the brown butter shine. But milk chocolate or dark chocolate both work great here.
Substitution Guidance: If you are dairy-free, you can use vegan butter for browning, but the flavor will be slightly different. For a gluten-free version, swap the all-purpose flour with a 1:1 gluten-free baking flour blend that contains xanthan gum. Coconut sugar can replace the brown sugar in a pinch, though the texture will be a bit less tender.
Equipment Needed
You do not need a fancy kitchen to make these cookies. Here is what you will need:
- Medium saucepan: For browning the butter and pumpkin together. A light-colored saucepan is ideal because you can see the color change more easily. I use my stainless steel saucepan and it works perfectly.
- Large mixing bowl: For combining the wet and dry ingredients. A glass or ceramic bowl is fine.
- Whisk: For mixing the sugars into the brown butter mixture. A wooden spoon works too, but a whisk helps break up any lumps.
- Rubber spatula: For folding in the chocolate chips and scraping down the sides of the bowl.
- Baking sheets: Two large baking sheets. I prefer light-colored aluminum sheets because they promote even browning. Dark sheets can cause the bottoms to brown too quickly.
- Parchment paper or silicone baking mats: These prevent sticking and make cleanup a breeze. Silicone mats also help the cookies spread evenly.
- Cookie scoop: A 1.5-tablespoon scoop is perfect for uniform cookies. If you do not have one, use two spoons to portion the dough.
- Cooling rack: For cooling the cookies completely. This helps them set properly and prevents soggy bottoms.
If you do not have a cookie scoop, just use a tablespoon to measure out the dough and roll it into balls with your hands. It takes a little longer but works just as well. For the saucepan, any medium pot will do — just keep a close eye on the butter as it browns so it does not burn.
Preparation Method
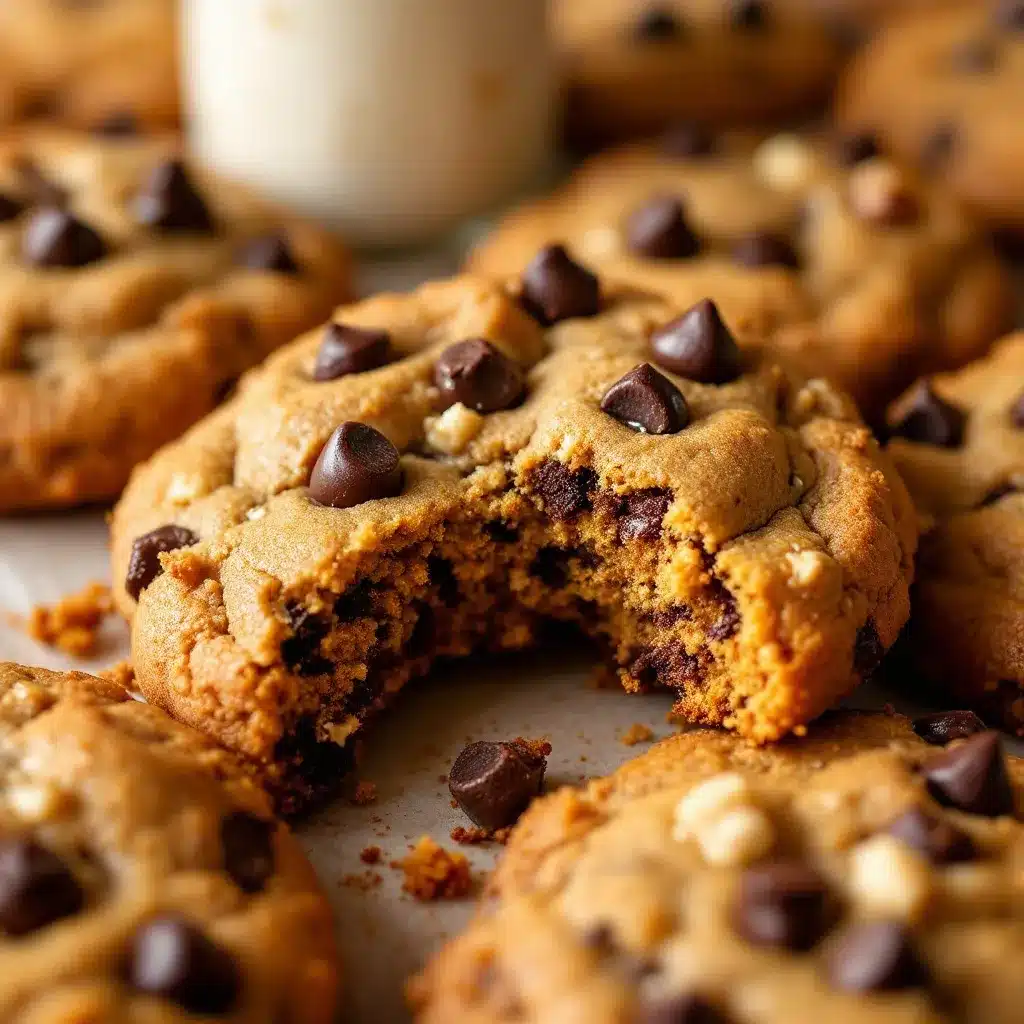
Let me walk you through this step by step. Trust me, the process is straightforward, and the results are absolutely worth it.
- Brown the butter with pumpkin puree: Place the 1 cup of unsalted butter (cut into tablespoons) and 1 cup of pumpkin puree in a medium saucepan over medium heat. Stir constantly with a whisk or wooden spoon as the butter melts. The mixture will start to bubble and foam — this is normal. Keep stirring until you see the milk solids at the bottom of the pan turn a deep golden brown and the mixture smells nutty and rich. This takes about 6-8 minutes. Remove from heat immediately and pour into a large mixing bowl to stop the cooking process. Let it cool for 10-15 minutes until it is warm but not hot.
- Mix the sugars and egg: Add 1 cup packed dark brown sugar and 1/2 cup granulated sugar to the cooled brown butter mixture. Whisk until well combined and smooth. The mixture should look glossy and slightly thick. Add 1 large room-temperature egg and 2 teaspoons vanilla extract, and whisk vigorously until the egg is fully incorporated and the mixture looks creamy, about 1 minute.
- Combine the dry ingredients: In a separate medium bowl, whisk together 2 cups all-purpose flour, 1 teaspoon baking soda, 1/2 teaspoon baking powder, 1 teaspoon salt, 2 teaspoons pumpkin pie spice, and 1 teaspoon cinnamon. Make sure there are no lumps — especially with the spices.
- Mix wet and dry ingredients: Gradually add the dry ingredients to the wet mixture, stirring with a rubber spatula until just combined. Do not overmix! A few streaks of flour are fine at this point. The dough will be soft and slightly sticky, which is exactly what you want.
- Fold in the chocolate chips: Add 1 1/2 cups semi-sweet chocolate chips and fold them in gently with the spatula. Make sure they are evenly distributed throughout the dough. If the dough feels too soft to scoop, you can refrigerate it for 15-20 minutes at this point.
- Preheat and prepare baking sheets: Preheat your oven to 350°F (175°C). Line two baking sheets with parchment paper or silicone baking mats.
- Scoop the dough: Using a 1.5-tablespoon cookie scoop or two spoons, portion the dough into balls about 1.5 inches in diameter. Place them on the prepared baking sheets about 2 inches apart — these cookies spread a bit, so give them room.
- Bake the cookies: Bake one sheet at a time in the preheated oven for 10-12 minutes. The edges should look set and lightly golden, but the centers will still look slightly soft and underdone. This is perfect — they will continue to set as they cool. If you like crispier cookies, bake for 12-13 minutes.
- Cool and enjoy: Let the cookies cool on the baking sheet for 5 minutes. This allows them to firm up without breaking. Then transfer them to a cooling rack to cool completely. The centers will sink slightly and become perfectly soft and chewy.
Pro tip from my kitchen: If your dough feels too sticky to handle after mixing, pop it in the fridge for 20 minutes. This makes scooping much easier and helps the cookies hold their shape better in the oven. Also, if you want thicker cookies, chill the dough for 30 minutes before baking — the cold butter takes longer to melt, resulting in less spread.
Cooking Tips & Techniques
Over the years, I have learned a few tricks that make these cookies turn out perfect every time. Here are my best tips:
Watch the brown butter closely: The line between perfectly browned and burnt is thin. Once you see those milk solids turn amber and smell that nutty aroma, pull it off the heat immediately. I learned this the hard way when I got distracted by my phone and ended up with burnt butter that tasted bitter. The whole batch was ruined. Now I set a timer and stay right by the stove.
Use room temperature ingredients: Your egg should be at room temperature so it incorporates smoothly into the brown butter mixture. Cold egg can cause the butter to seize up and create a lumpy dough. Just set your egg on the counter 30 minutes before you start baking.
Do not overmix the dough: Once you add the flour, mix only until you no longer see dry streaks. Overmixing develops gluten, which makes cookies tough and dense instead of tender and soft. I use a gentle hand and stop the moment everything comes together.
Chill if you have time: While these cookies bake beautifully right away, chilling the dough for 30 minutes to 2 hours gives you thicker, more flavorful cookies. The flour has time to hydrate, and the flavors meld together. I often make the dough the night before and bake fresh cookies the next day.
Bake one sheet at a time: I know it is tempting to cram both sheets in the oven, but they bake unevenly that way. The top sheet browns faster while the bottom sheet takes longer. Bake one sheet at a time on the middle rack for consistent results.
Variations & Adaptations
This recipe is wonderfully flexible. Here are some ways to make it your own:
Gluten-Free Version: Swap the all-purpose flour with a 1:1 gluten-free baking flour blend that contains xanthan gum. I have used King Arthur Measure for Measure with great results. The cookies will be slightly more tender but just as delicious.
Dairy-Free Option: Use vegan butter for browning. Just keep in mind that vegan butter has a higher water content, so the browning process might take a minute or two longer. Use dairy-free chocolate chips like Enjoy Life brand.
Spice It Up: If you love warm spices, add an extra 1/2 teaspoon of ginger and a pinch of cloves. The ginger adds a subtle heat that pairs beautifully with the pumpkin and brown butter.
Add Mix-Ins: Swap half the chocolate chips for white chocolate chips and dried cranberries for a festive twist. Or add 1/2 cup toasted pecans or walnuts for crunch. I once made a batch with chopped crystallized ginger and dark chocolate — it was incredible.
Make Them Larger: For bakery-style cookies, use a 3-tablespoon scoop and bake for 13-15 minutes. You will get about 18 large cookies instead of 30 smaller ones.
Serving & Storage Suggestions
These cookies are best enjoyed warm, when the chocolate is still slightly melted and the edges are perfectly crisp. I like to serve them with a cold glass of milk or a warm cup of chai tea. They also make a fantastic dessert with a scoop of vanilla ice cream and a drizzle of caramel sauce.
Storage: Store baked cookies in an airtight container at room temperature for up to 5 days. Place a slice of bread in the container to keep them soft — the bread absorbs excess moisture and the cookies stay tender. Replace the bread slice every other day.
Freezing: You can freeze both baked cookies and unbaked dough. For baked cookies, let them cool completely, then layer them between sheets of parchment paper in a freezer-safe container. They will keep for up to 3 months. Thaw at room temperature for about 30 minutes.
For unbaked dough, scoop the dough balls onto a baking sheet and freeze until solid, about 1 hour. Transfer the frozen dough balls to a freezer bag and store for up to 3 months. When ready to bake, add 2-3 minutes to the baking time — no need to thaw.
Reheating: To bring back that fresh-from-the-oven texture, pop a cookie in the microwave for 10-15 seconds. For a crispier edge, reheat in a 300°F oven for 5 minutes.
Nutritional Information & Benefits
Here is the estimated nutritional information for one cookie (based on 30 cookies):
- Calories: 165
- Total Fat: 9g
- Saturated Fat: 5g
- Cholesterol: 25mg
- Sodium: 120mg
- Total Carbohydrates: 21g
- Dietary Fiber: 1g
- Sugars: 13g
- Protein: 2g
While these are definitely a treat, the pumpkin puree adds a good dose of vitamin A and fiber. Pumpkin is rich in beta-carotene, which supports eye health and immune function. The dark chocolate chips provide antioxidants, and the brown butter, well, it makes everything better. I believe in enjoying desserts in moderation — life is too short to skip the good stuff.
If you are watching your sugar intake, you can reduce the granulated sugar to 1/4 cup without affecting the texture too much. The cookies will be slightly less sweet but still delicious.
Conclusion
These perfect brown butter pumpkin chocolate chip cookies are everything I want in a fall dessert — soft, chewy, deeply flavorful, and just a little bit special. The brown butter technique transforms simple ingredients into something truly memorable, and the pumpkin keeps every bite tender and moist.
I hope you give this recipe a try and make it your own. Maybe add extra cinnamon, swap in dark chocolate chunks, or sprinkle a little flaky sea salt on top before baking. Whatever you do, I promise these cookies will become a staple in your kitchen.
I would love to hear how they turn out for you! Drop a comment below and let me know if you tried any variations or if these cookies made someone in your family smile. And if you share them on social media, tag me so I can see your beautiful bakes. Happy baking, friend!
Frequently Asked Questions
Can I use pumpkin pie filling instead of pumpkin puree?
No, I do not recommend using pumpkin pie filling. It contains added sugar and spices, which will throw off the balance of this recipe. Stick with 100% pure pumpkin puree for the best results.
Why did my cookies turn out flat?
Flat cookies usually mean the butter was too warm when you mixed the dough, or the dough was not chilled before baking. Make sure your brown butter mixture has cooled to warm (not hot) before adding the egg and flour. Chilling the dough for 20-30 minutes also helps prevent excessive spreading.
Can I make these cookies ahead of time?
Absolutely! You can make the dough up to 3 days in advance and keep it covered in the refrigerator. Let it sit at room temperature for 10 minutes before scooping and baking. You can also freeze the baked cookies or unbaked dough for up to 3 months.
Can I use fresh pumpkin instead of canned?
Yes, you can use fresh pumpkin puree. Roast a small sugar pumpkin until tender, scoop out the flesh, and puree it until smooth. Be sure to strain off any excess liquid through a cheesecloth or fine-mesh sieve — fresh pumpkin tends to be more watery than canned.
How do I know when the cookies are done baking?
The edges should look set and lightly golden, but the centers will still look soft and slightly underdone. This is exactly what you want. The cookies will continue to set as they cool on the baking sheet. If you wait until the centers look fully baked, they will be overdone and dry.
Pin This Recipe!
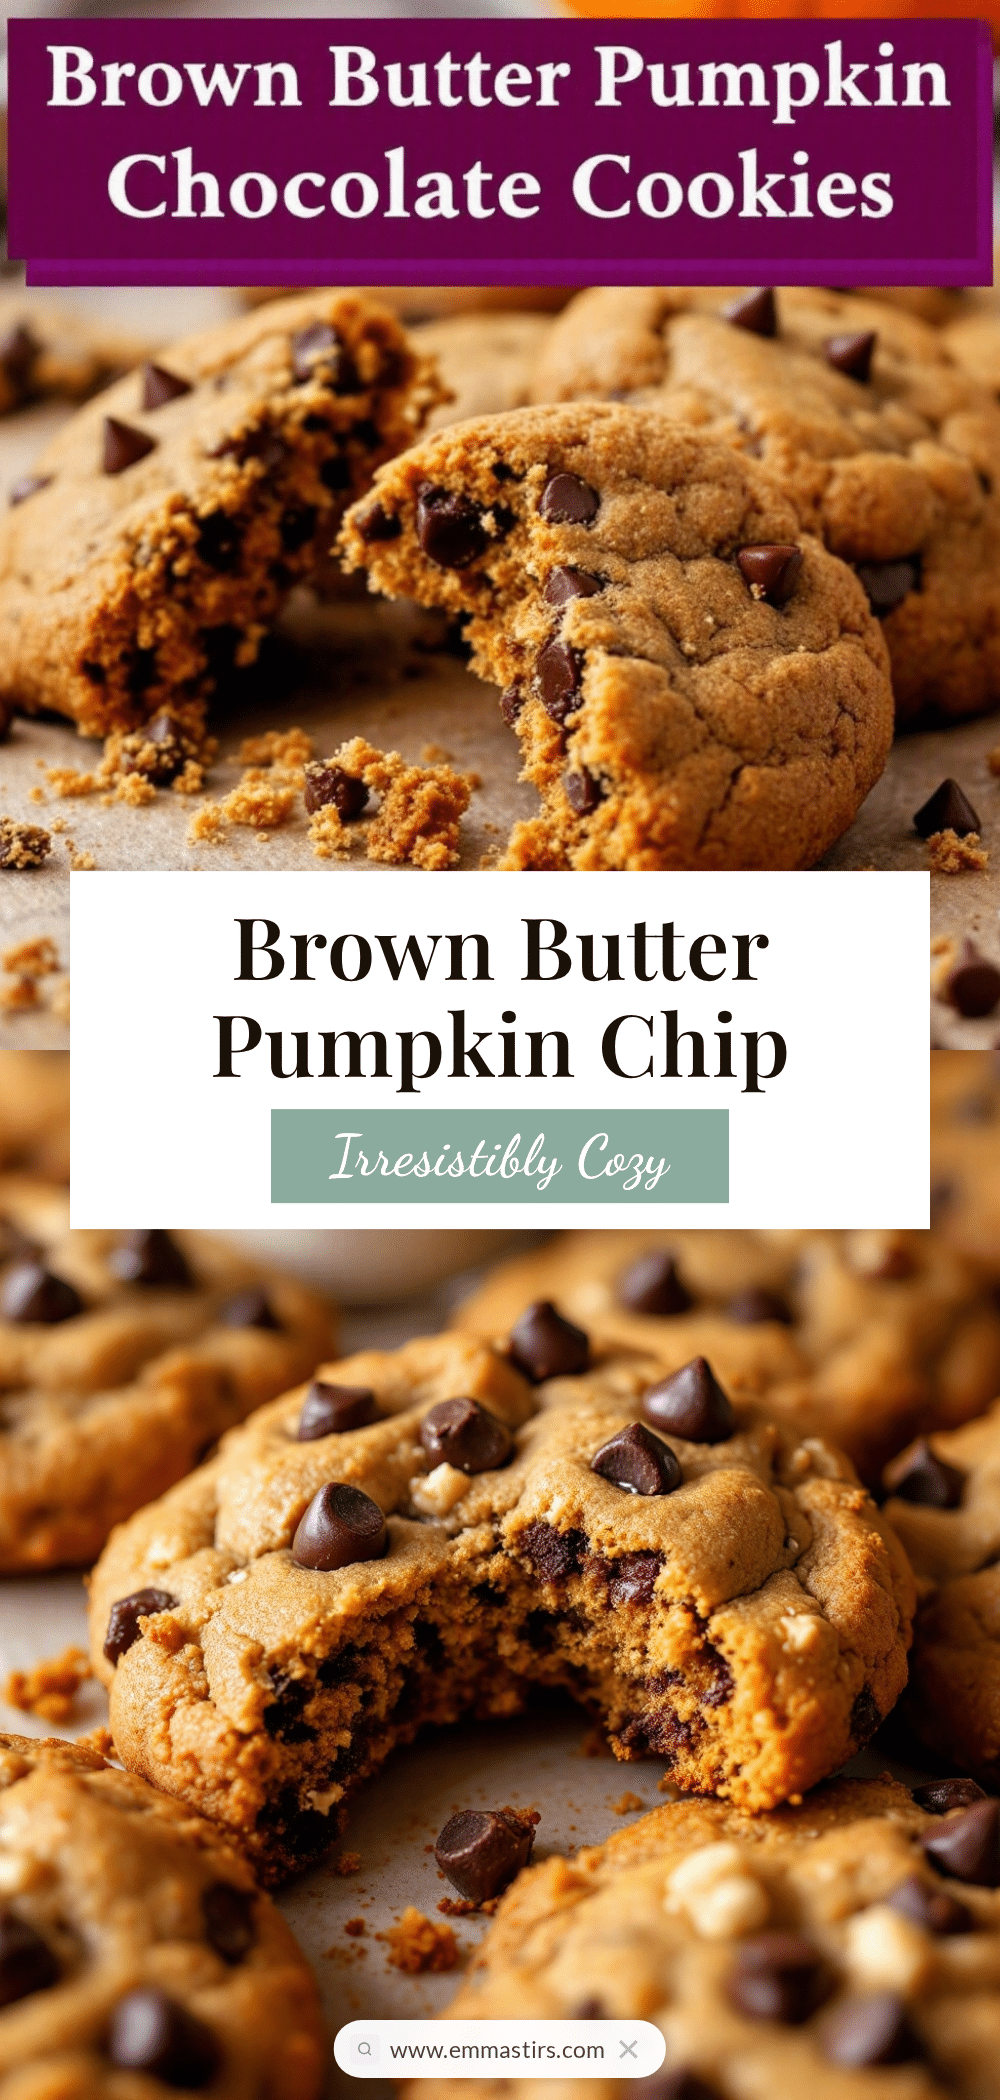
Perfect Brown Butter Pumpkin Chocolate Chip Cookies

These soft and chewy pumpkin chocolate chip cookies are elevated with nutty brown butter, creating a deep, caramel-like flavor that makes them the ultimate fall treat.
- Prep Time: 15 minutes
- Cook Time: 12 minutes
- Total Time: 45 minutes
- Yield: 30 cookies 1x
- Category: Dessert
- Cuisine: American
Ingredients
- 1 cup (2 sticks) unsalted butter, cut into tablespoons
- 1 cup pumpkin puree
- 1 cup packed dark brown sugar
- 1/2 cup granulated sugar
- 1 large egg, at room temperature
- 2 teaspoons vanilla extract
- 2 cups all-purpose flour
- 1 teaspoon baking soda
- 1/2 teaspoon baking powder
- 1 teaspoon fine sea salt
- 2 teaspoons pumpkin pie spice
- 1 teaspoon cinnamon
- 1 1/2 cups semi-sweet chocolate chips
Instructions
- Brown the butter with pumpkin puree: Place the 1 cup of unsalted butter (cut into tablespoons) and 1 cup of pumpkin puree in a medium saucepan over medium heat. Stir constantly with a whisk or wooden spoon as the butter melts. The mixture will start to bubble and foam — this is normal. Keep stirring until you see the milk solids at the bottom of the pan turn a deep golden brown and the mixture smells nutty and rich. This takes about 6-8 minutes. Remove from heat immediately and pour into a large…
- Mix the sugars and egg: Add 1 cup packed dark brown sugar and 1/2 cup granulated sugar to the cooled brown butter mixture. Whisk until well combined and smooth. The mixture should look glossy and slightly thick. Add 1 large room-temperature egg and 2 teaspoons vanilla extract, and whisk vigorously until the egg is fully incorporated and the mixture looks creamy, about 1 minute.
- Combine the dry ingredients: In a separate medium bowl, whisk together 2 cups all-purpose flour, 1 teaspoon baking soda, 1/2 teaspoon baking powder, 1 teaspoon salt, 2 teaspoons pumpkin pie spice, and 1 teaspoon cinnamon. Make sure there are no lumps — especially with the spices.
- Mix wet and dry ingredients: Gradually add the dry ingredients to the wet mixture, stirring with a rubber spatula until just combined. Do not overmix! A few streaks of flour are fine at this point. The dough will be soft and slightly sticky, which is exactly what you want.
- Fold in the chocolate chips: Add 1 1/2 cups semi-sweet chocolate chips and fold them in gently with the spatula. Make sure they are evenly distributed throughout the dough. If the dough feels too soft to scoop, you can refrigerate it for 15-20 minutes at this point.
- Preheat and prepare baking sheets: Preheat your oven to 350°F (175°C). Line two baking sheets with parchment paper or silicone baking mats.
- Scoop the dough: Using a 1.5-tablespoon cookie scoop or two spoons, portion the dough into balls about 1.5 inches in diameter. Place them on the prepared baking sheets about 2 inches apart — these cookies spread a bit, so give them room.
- Bake the cookies: Bake one sheet at a time in the preheated oven for 10-12 minutes. The edges should look set and lightly golden, but the centers will still look slightly soft and underdone. This is perfect — they will continue to set as they cool. If you like crispier cookies, bake for 12-13 minutes.
- Cool and enjoy: Let the cookies cool on the baking sheet for 5 minutes. This allows them to firm up without breaking. Then transfer them to a cooling rack to cool completely. The centers will sink slightly and become perfectly soft and chewy.
Notes
For thicker cookies, chill the dough for 30 minutes before baking. If the dough feels too sticky, refrigerate for 20 minutes before scooping. Watch the brown butter closely to avoid burning.
Nutrition
- Serving Size: 1 cookie
- Calories: 165
- Sugar: 13
- Sodium: 120
- Fat: 9
- Saturated Fat: 5
- Carbohydrates: 21
- Fiber: 1
- Protein: 2
Keywords: pumpkin cookies, chocolate chip cookies, brown butter, fall baking, easy cookie recipe


