Love this? Save it for later!
Share the inspiration with your friends
That smell of sage and thyme hitting you the second you walk through the back door—the kind that wraps around you before you even take off your coat—still takes me straight to my first Thanksgiving in my own apartment. I was twenty-three, completely in over my head, and I had a twelve-pound turkey sitting in my sink, still partially frozen. I remember staring at it, this big, pale, slightly terrifying bird, thinking, “What have I gotten myself into?” I had called my mom three times before noon, once to ask if I really needed to take the giblets out (yes, you do) and another time to ask if butter counted as a herb (she laughed for a solid minute). Honestly, I was convinced I was going to ruin the whole meal. But that turkey, slathered in a simple herb butter and roasted until the skin turned a deep, glossy gold, came out so juicy and flavorful that my roommates actually argued over the leftovers. It wasn’t fancy or complicated. It was just… good. And it taught me something important: you don’t need years of experience to pull off a showstopper. You just need a little patience, a good recipe, and the courage to get your hands messy. This perfect herb butter roasted turkey for beginners is that recipe—the one that makes you look like a hero even if you’re still figuring out which end is up.
Why You’ll Love This Recipe
Let’s be honest—roasting a whole turkey can feel intimidating. It’s big, it’s the centerpiece of the meal, and there’s a lot of pressure to get it right. But this perfect herb butter roasted turkey for beginners is designed to take all that stress away. I’ve tested this method more times than I can count, tweaking the butter-to-herb ratio, adjusting the roasting temperature, and even learning the hard way what happens when you forget to tent the breast with foil (spoiler: it gets a little too crispy). This version is the result of all those trials, and it’s the one I come back to every single time.
- Incredibly forgiving: This recipe uses a simple herb butter that acts like a flavor shield, keeping the meat moist even if your oven temp fluctuates a bit. It’s perfect for first-timers.
- Simple ingredients: You don’t need a specialty butcher or a dozen exotic spices. Butter, fresh herbs, garlic, salt, and pepper—that’s your whole pantry list. You probably have most of it right now.
- Perfect for the holidays: Whether it’s Thanksgiving, Christmas, or just a Sunday dinner that feels special, this turkey delivers. It’s the kind of meal that makes people pause and say, “Wow, you made this?”
- Juicy, not dry: The herb butter gets rubbed under the skin, right onto the breast meat. That fat bastes the bird from the inside out, so you get tender, flavorful meat every time. No dry turkey here.
- Unbelievably delicious: The combination of roasted garlic, fragrant rosemary, and rich butter creates a crust that is crispy, golden, and packed with flavor. The leftovers are almost better than the main event.
What makes this perfect herb butter roasted turkey for beginners different from the rest is the technique. It’s not about complicated brines or fancy equipment. It’s about understanding that a little fat and a lot of flavor can do the heavy lifting for you. This is comfort food at its finest—a meal that feels like a hug on a plate.
What Ingredients You Will Need
This recipe uses simple, high-quality ingredients to deliver big flavor without the fuss. Most of these are pantry staples or easy to find at any grocery store. Let’s break down what you’ll need and why each ingredient matters.
- 1 whole turkey (12-14 pounds), thawed: This is the star. For a beginner, I recommend a bird in this size range. It’s manageable to handle and cooks relatively evenly. Make sure it’s completely thawed in the refrigerator—this takes about 24 hours for every 4-5 pounds. Don’t rush this step! A partially frozen turkey will cook unevenly and can be dangerous.
- 1 cup (2 sticks) unsalted butter, softened: The foundation of our flavor. Unsalted butter lets you control the salt level. It needs to be truly soft—think the texture of mayonnaise—so it spreads easily under the skin. I like to leave mine out on the counter for at least an hour before I start.
- 4 cloves garlic, minced: Fresh garlic is non-negotiable here. The jarred stuff won’t give you the same punch. Mince it finely so it blends into the butter without leaving big chunks.
- 2 tablespoons fresh rosemary, finely chopped: Rosemary has a piney, almost lemony flavor that pairs beautifully with poultry. Fresh is best, but if you only have dried, use 2 teaspoons.
- 2 tablespoons fresh thyme leaves: Thyme is more subtle than rosemary but adds a lovely earthy depth. Run your fingers down the stems to strip the leaves easily.
- 1 tablespoon fresh sage, finely chopped: Sage is that classic Thanksgiving flavor. It’s slightly peppery and a little bit floral. Don’t skip it—it’s the soul of this herb butter.
- 1 tablespoon kosher salt: I use Diamond Crystal kosher salt. It’s less salty by volume than table salt, so if you’re using a different brand, you might need to adjust. Salt is crucial for drawing out moisture and seasoning the meat all the way through.
- 1 teaspoon black pepper, freshly ground: Freshly ground pepper has a much brighter, more aromatic flavor than pre-ground. Give it a good crack.
- 1 lemon, halved: We’re not using the juice here—we’re stuffing the lemon halves inside the cavity. As the turkey roasts, the lemon steams and releases a gentle citrus aroma that perfumes the meat from the inside out. It’s a subtle touch that makes a big difference.
- 1 onion, quartered: Same idea as the lemon. The onion adds a savory, slightly sweet note to the cavity aromatics. You don’t need to peel it all the way; just remove the papery outer layer.
- 4 sprigs fresh thyme (for the cavity): Toss these inside with the lemon and onion for an extra layer of herbaceous flavor.
- 2 cups low-sodium chicken broth (for the pan): This isn’t for the turkey itself—it’s for the pan. As the turkey roasts, the broth catches the drippings and prevents them from burning. It also creates the base for an incredible gravy later. I prefer low-sodium so I can control the salt.
Equipment Needed
You don’t need a professional kitchen to make this perfect herb butter roasted turkey for beginners. Here’s what you’ll need, along with a few tips I’ve picked up along the way.
- Roasting pan with a rack: A sturdy roasting pan is a must. The rack lifts the turkey off the bottom of the pan, allowing hot air to circulate all around it for even cooking. If you don’t have a rack, you can use a few thick carrot or celery stalks as a makeshift one. I’ve done it—it works!
- Instant-read thermometer: This is your best friend. Guessing when a turkey is done is a recipe for dry meat. An instant-read thermometer takes the guesswork out completely. I recommend a digital one for accuracy. It’s a small investment that pays off every single time.
- Kitchen twine: Tying the legs together helps the turkey cook more evenly and gives it a nice, tidy shape. If you don’t have twine, you can tuck the legs under the flap of skin at the tail—some turkeys come with that already. No stress either way.
- Pastry brush (optional): This is handy for brushing the melted herb butter over the skin, but you can also just use your hands. Honestly, getting your hands in there is more fun.
- Aluminum foil: You’ll need this to tent the breast if it starts browning too quickly. It’s a simple trick that prevents the skin from burning while the rest of the bird catches up.
- Large cutting board: You need a sturdy surface for carving. Make sure it’s big enough to hold the whole turkey and has a groove to catch the juices.
Preparation Method
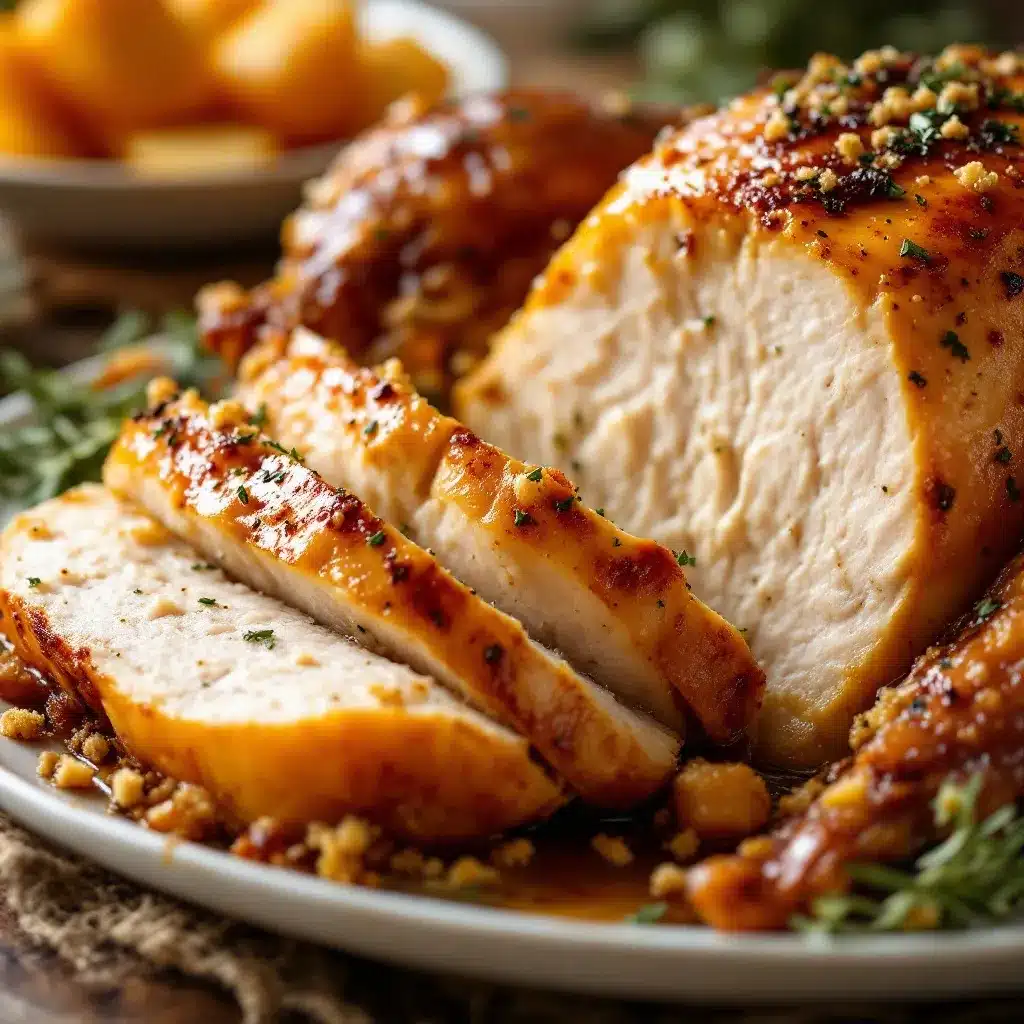
Alright, let’s get to the good part. This step-by-step guide will walk you through every single detail, so you feel confident and prepared. Take a deep breath—you’ve got this.
- Preheat your oven to 425°F (220°C). Getting the oven hot is key. The high initial heat will help the skin start crisping up right away. Position your oven rack in the lower third of the oven so the turkey sits in the center.
- Make the herb butter. In a small bowl, combine the softened butter, minced garlic, chopped rosemary, thyme, sage, salt, and pepper. Mix it all together with a fork until it’s well combined and looks like a speckled, fragrant paste. Give it a little taste—it should be savory and bright. Set it aside at room temperature.
- Prep the turkey. Take your thawed turkey out of its packaging. Remove the bag of giblets and the neck from the cavity. I know it’s gross, but just do it. Pat the turkey completely dry inside and out with paper towels. This is a crucial step—dry skin equals crispy skin. Don’t skip it.
- Loosen the skin. Using your fingers, gently separate the skin from the breast meat. Start at the neck end and work your way down, being careful not to tear the skin. You’re creating a little pocket between the skin and the meat. This is where the magic happens.
- Apply the herb butter. Take about two-thirds of the herb butter and slide it under the loosened skin. Use your fingers to spread it evenly over both breasts, pressing from the outside to distribute it. It should look like a thin, even layer. Then, take the remaining butter and rub it all over the outside of the turkey—the legs, the thighs, the back, everywhere. Don’t be shy.
- Stuff the cavity. Place the halved lemon, quartered onion, and the 4 sprigs of fresh thyme inside the turkey’s cavity. Don’t pack it tight—you just want the aromatics in there to do their job. Tie the legs together with kitchen twine and tuck the wing tips under the body. This keeps everything neat and promotes even cooking.
- Set up the pan. Place the turkey breast-side up on the rack in your roasting pan. Pour the 2 cups of chicken broth into the bottom of the pan. Be careful not to splash it on the turkey. The broth will create steam and keep the drippings from burning.
- Roast the turkey. Place the pan in the preheated oven. Roast at 425°F (220°C) for 30 minutes. This high-heat blast gets the browning started. Then, without opening the oven, reduce the temperature to 350°F (175°C).
- Continue roasting. Roast for another 1 hour and 45 minutes to 2 hours and 15 minutes, depending on your turkey’s size. The general rule is about 13 minutes per pound at 350°F, but always trust your thermometer over the clock. About halfway through, check the breast. If it’s getting too dark, tent it loosely with a piece of aluminum foil.
- Check for doneness. The turkey is done when an instant-read thermometer inserted into the thickest part of the thigh (without touching bone) reads 165°F (74°C). Also check the breast—it should be at least 160°F (71°C), and it will continue to rise as it rests. The juices should run clear, not pink.
- Rest the turkey. This is the hardest part. Once the turkey is out of the oven, transfer it to a cutting board and tent it loosely with foil. Let it rest for at least 20-30 minutes. Do not skip this! Resting allows the juices to redistribute throughout the meat. If you cut into it too soon, all those beautiful juices will run out onto the board, leaving you with dry meat. I know you’re hungry, but be patient.
- Carve and serve. After the rest, remove the twine and the cavity aromatics. Carve the turkey by slicing the legs and thighs off first, then slicing the breast meat against the grain. Arrange it on a platter and spoon a little of the pan juices over the top. Serve immediately.
Cooking Tips & Techniques
I’ve made my fair share of mistakes in the kitchen, and I’m here to help you avoid them. These are the little things I wish someone had told me before my first turkey.
Don’t skip the drying step. I know it feels like a waste of paper towels, but moisture is the enemy of crispy skin. If your turkey is wet, the skin will steam instead of roast, and you’ll end up with rubbery, pale skin. Pat it dry, then pat it dry again.
Let the butter get truly soft. Cold butter won’t spread under the skin. It will just sit in clumps. Leave it out on the counter for a good hour. If you’re in a hurry, you can microwave it in 5-second bursts, but be careful not to melt it. You want it soft, not liquid.
Trust your thermometer, not the timer. Ovens vary wildly. I’ve had turkeys that were done a full hour early and others that took an extra 45 minutes. The pop-up timer that comes with some turkeys is notoriously unreliable. Use a good instant-read thermometer. It’s the only way to be sure.
If the skin is browning too fast, tent it. This happened to me on my second turkey. The breast was getting gorgeous and dark, but the thigh was still at 150°F. I just laid a piece of foil loosely over the breast, and it finished perfectly without burning. Simple fix.
Let those juices rest. I cannot stress this enough. I once carved a turkey straight out of the oven because I was impatient, and the meat was dry and sad. The juices literally ran out onto the cutting board. Give it those 20-30 minutes. It’s worth the wait.
Make gravy from the drippings. After you’ve removed the turkey, pour the pan drippings into a fat separator or a glass measuring cup. Let the fat rise to the top, then skim it off. Whisk the remaining juices into a roux (butter and flour cooked together) for the most incredible gravy you’ve ever had. It’s the best part of the meal, honestly.
Variations & Adaptations
This perfect herb butter roasted turkey for beginners is incredibly versatile. Here are a few ways to make it your own.
- Citrus and Herb: Swap the lemon for an orange and add a few sprigs of fresh tarragon to the cavity. The orange adds a sweeter, more floral note that’s lovely with the herbs.
- Spicy Herb Butter: Add 1/2 teaspoon of red pepper flakes or a teaspoon of smoked paprika to the butter. It gives the turkey a subtle warmth and a beautiful color. I tried this last year, and it was a hit with the adults.
- Garlic-Lover’s Version: Double the garlic in the herb butter. Roast a whole head of garlic alongside the turkey, then squeeze the soft cloves into the gravy. It’s rich, sweet, and deeply savory.
- Gluten-Free Gravy: Use cornstarch or arrowroot powder instead of flour to thicken the pan juices. Mix 2 tablespoons of cornstarch with 1/4 cup of cold water to make a slurry, then whisk it into the simmering drippings until thickened.
- Dairy-Free Option: Use a high-quality vegan butter or olive oil in place of the regular butter. The texture will be slightly different, but the flavor will still be fantastic. Just make sure your vegan butter is salted, and adjust your added salt accordingly.
Serving & Storage Suggestions
This turkey is best served warm, straight from the carving board. Arrange the sliced meat on a large platter, and spoon a little of the warm pan juices over the top to keep it moist. It pairs beautifully with classic sides like mashed potatoes, stuffing, and green bean casserole. For a lighter option, try serving it alongside a fresh grilled vegetable platter for a colorful, low-calorie side. A glass of dry white wine or a crisp apple cider is the perfect beverage companion.
Storage: Leftover turkey can be stored in an airtight container in the refrigerator for up to 4 days. The flavors actually deepen overnight, making it perfect for sandwiches, salads, and soups. I love using the leftovers in a wholesome high-protein Greek yogurt chicken salad—just swap the chicken for the turkey.
Freezing: You can freeze cooked, shredded turkey for up to 3 months. Wrap it tightly in plastic wrap and then in foil, or use a freezer-safe bag. Thaw it overnight in the refrigerator before using.
Reheating: To keep the meat moist, reheat it gently. Place slices in a baking dish, add a splash of chicken broth or turkey gravy, cover with foil, and warm in a 300°F (150°C) oven for about 15-20 minutes. Avoid the microwave—it will dry the meat out.
Nutritional Information & Benefits
Turkey is a fantastic source of lean protein, which is essential for muscle repair and keeping you full and satisfied. A 3-ounce serving of roasted turkey breast (without skin) provides about 25-30 grams of protein and is relatively low in fat. The herbs in this recipe—rosemary, thyme, and sage—are packed with antioxidants and anti-inflammatory compounds. Garlic is known for its immune-boosting properties. This dish is naturally gluten-free (just watch your gravy) and can be made dairy-free with a simple swap. It’s a wholesome, nourishing meal that feels indulgent without being heavy.
If you’re looking for another high-protein meal that’s perfect for meal prep, check out this healthy egg white frittata meal prep recipe. It’s a great way to use up leftover vegetables and get a protein boost in the morning.
Conclusion
This perfect herb butter roasted turkey for beginners is more than just a recipe—it’s your ticket to a stress-free, impressive holiday meal. It’s forgiving, it’s flavorful, and it’s designed to make you feel like a pro, even if you’ve never roasted a turkey before. I’ve made this for family gatherings, Friendsgivings, and quiet dinners for two, and it has never let me down. The herb butter does all the heavy lifting, so you can focus on enjoying the company and the moment. I honestly believe that anyone can make this turkey and be proud of the result.
So go ahead—get that bird in the oven. And when you pull it out, golden and fragrant and perfect, take a second to soak it in. You did that. I’d love to hear how it turns out! Drop a comment below and tell me about your turkey triumph, or share your own twist on the herb butter. And if you loved this recipe, don’t forget to pin it for later and share it with a friend who needs a little kitchen confidence. Happy roasting!
Frequently Asked Questions
How long does it take to cook a 12-pound turkey?
At 350°F (175°C), a 12-pound turkey will typically take about 2 hours and 30 minutes to 3 hours. Remember to start with a 30-minute blast at 425°F (220°C). Always use a meat thermometer to check for doneness rather than relying solely on time.
Do I need to brine the turkey first?
No, you don’t! The herb butter does a fantastic job of keeping the meat moist and flavorful without the extra step of brining. If you want to brine, go for it, but this recipe is designed to be simple and beginner-friendly.
Can I use dried herbs instead of fresh?
Yes, you can substitute dried herbs for fresh. Use about 1 teaspoon of dried herbs for every 1 tablespoon of fresh. The flavor won’t be quite as bright, but it will still be delicious.
What if my turkey is still frozen?
Do not attempt to roast a frozen or partially frozen turkey. It will cook unevenly and can be unsafe. Thaw it completely in the refrigerator, allowing 24 hours for every 4-5 pounds. If you’re in a hurry, you can use the cold water method, changing the water every 30 minutes.
Can I make the herb butter ahead of time?
Absolutely! You can make the herb butter up to 3 days in advance. Store it in an airtight container in the refrigerator. Let it come to room temperature for about 30 minutes before using so it’s soft and spreadable.
Pin This Recipe!
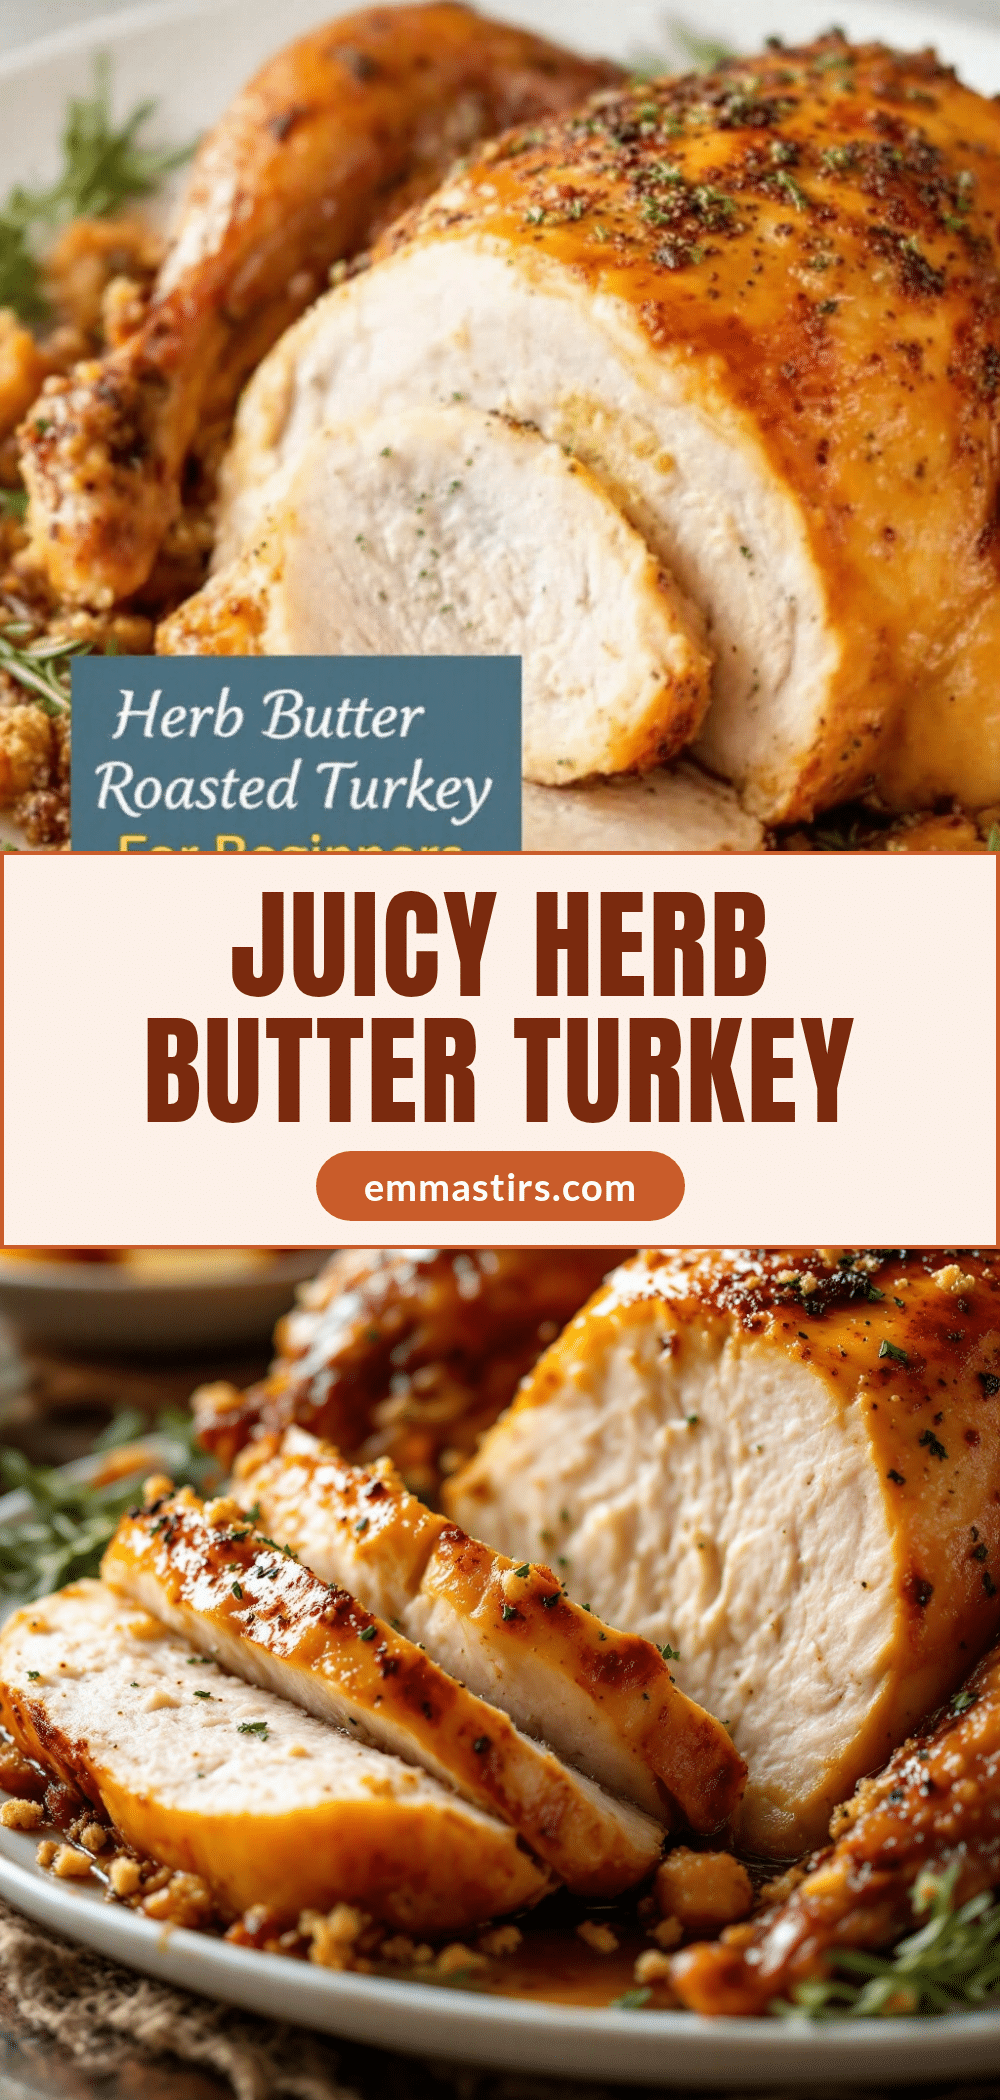
Perfect Herb Butter Roasted Turkey: An Easy Beginner’s Guide
This perfect herb butter roasted turkey for beginners is designed to take all the stress away. It’s forgiving, flavorful, and designed to make you feel like a pro, even if you’ve never roasted a turkey before.
- Prep Time: 30 minutes
- Cook Time: 2 hours 15 minutes to 2 hours 45 minutes
- Total Time: 2 hours 45 minutes to 3 hours 15 minutes
- Yield: 8-10 servings 1x
- Category: Main Course
- Cuisine: American
Ingredients
- 1 whole turkey (12–14 pounds), thawed
- 1 cup (2 sticks) unsalted butter, softened
- 4 cloves garlic, minced
- 2 tablespoons fresh rosemary, finely chopped
- 2 tablespoons fresh thyme leaves
- 1 tablespoon fresh sage, finely chopped
- 1 tablespoon kosher salt
- 1 teaspoon black pepper, freshly ground
- 1 lemon, halved
- 1 onion, quartered
- 4 sprigs fresh thyme (for the cavity)
- 2 cups low-sodium chicken broth (for the pan)
Instructions
- Preheat your oven to 425°F (220°C). Position your oven rack in the lower third of the oven so the turkey sits in the center.
- Make the herb butter. In a small bowl, combine the softened butter, minced garlic, chopped rosemary, thyme, sage, salt, and pepper. Mix it all together with a fork until it’s well combined and looks like a speckled, fragrant paste. Set it aside at room temperature.
- Prep the turkey. Take your thawed turkey out of its packaging. Remove the bag of giblets and the neck from the cavity. Pat the turkey completely dry inside and out with paper towels.
- Loosen the skin. Using your fingers, gently separate the skin from the breast meat. Start at the neck end and work your way down, being careful not to tear the skin.
- Apply the herb butter. Take about two-thirds of the herb butter and slide it under the loosened skin. Use your fingers to spread it evenly over both breasts. Then, take the remaining butter and rub it all over the outside of the turkey—the legs, the thighs, the back, everywhere.
- Stuff the cavity. Place the halved lemon, quartered onion, and the 4 sprigs of fresh thyme inside the turkey’s cavity. Tie the legs together with kitchen twine and tuck the wing tips under the body.
- Set up the pan. Place the turkey breast-side up on the rack in your roasting pan. Pour the 2 cups of chicken broth into the bottom of the pan.
- Roast the turkey. Place the pan in the preheated oven. Roast at 425°F (220°C) for 30 minutes. Then, without opening the oven, reduce the temperature to 350°F (175°C).
- Continue roasting. Roast for another 1 hour and 45 minutes to 2 hours and 15 minutes, depending on your turkey’s size. About halfway through, check the breast. If it’s getting too dark, tent it loosely with a piece of aluminum foil.
- Check for doneness. The turkey is done when an instant-read thermometer inserted into the thickest part of the thigh (without touching bone) reads 165°F (74°C). Also check the breast—it should be at least 160°F (71°C). The juices should run clear, not pink.
- Rest the turkey. Once the turkey is out of the oven, transfer it to a cutting board and tent it loosely with foil. Let it rest for at least 20-30 minutes.
- Carve and serve. After the rest, remove the twine and the cavity aromatics. Carve the turkey by slicing the legs and thighs off first, then slicing the breast meat against the grain. Arrange it on a platter and spoon a little of the pan juices over the top. Serve immediately.
Notes
Don’t skip the drying step. Let the butter get truly soft. Trust your thermometer, not the timer. If the skin is browning too fast, tent it. Let those juices rest. Make gravy from the drippings.
Nutrition
- Serving Size: 3 ounces
- Calories: 250
- Sodium: 450
- Fat: 12
- Saturated Fat: 6
- Carbohydrates: 2
- Protein: 30
Keywords: herb butter roasted turkey, beginner turkey recipe, Thanksgiving turkey, roasted turkey, easy turkey recipe, holiday turkey


