Love this? Save it for later!
Share the inspiration with your friends
Late June, and the air conditioner hums a low, steady note in the window. The kitchen counter is sticky with spilled sprinkles, and I am standing over a row of clear plastic cups, carefully pouring a layer of blue gelatin that looks exactly like a summer sky. It’s the kind of quiet, focused work I didn’t know I needed—no music, no podcast, just the gentle clink of a glass measuring cup and the soft wobble of Jello. Honestly, this is how I ended up making Easy Candy Corn Layered Jello Cups, and I haven’t looked back since.
I wasn’t trying to reinvent the wheel. I had a bag of candy corn left over from a random baking project (don’t ask), and a vague memory of layered Jello cups from a church potluck years ago. You know the ones—where the layers never quite set right, and everything bled into a muddy mess. I wanted the opposite. I wanted clean, sharp lines that looked like they came from a bakery, not a box. So I started testing. And testing again. And somewhere between the third failed orange layer and a very patient husband eating the evidence, I figured it out.
The secret is patience. Not skill, not fancy equipment—just patience. And a little bit of timing. These Easy Candy Corn Layered Jello Cups are my proof that a store-bought box can turn into something that feels special. Something that makes people say, “Wait, you made these?” with genuine surprise. That’s the feeling I wanted to bottle. That small, quiet pride of creating something beautiful from almost nothing.
So here it is. My best version of a classic summer treat. No stress, no complicated techniques, just a cool, wobbly, red-white-and-blue dessert that tastes like July. Let me show you how it’s done.
Why You’ll Love This Recipe
Listen, I have tested this recipe more times than I care to admit. I have learned the hard way what happens when you pour hot Jello over a layer that isn’t fully set (spoiler: it’s a disaster). But now, I can say with absolute confidence that this method works every single time. Here is why I think you will love these Easy Candy Corn Layered Jello Cups as much as I do:
- Quick & Easy : The active prep time is maybe 20 minutes. The rest is just waiting for the Jello to set. Perfect for a lazy weekend or a last-minute party.
- Simple Ingredients : You only need three boxes of Jello, some sweetened condensed milk, unflavored gelatin, and candy corn. That is it. No weird specialty ingredients.
- Perfect for the 4th of July : These cups look like a flag in a cup. Red, white, and blue never looked so good. They are the ultimate patriotic dessert.
- Crowd-Pleaser : Kids love the fun layers, and adults love the nostalgia. I have brought these to three barbecues already, and they disappear before the burgers are off the grill.
- Unbelievably Delicious : The combination of fruity Jello and creamy sweetened condensed milk is honestly addictive. The candy corn on top adds that perfect little crunch.
What makes this recipe different from all the other layered Jello cups out there? It is the technique. Most recipes tell you to just chill each layer for an hour, but that never works. The layers bleed. The white layer gets cloudy. It is a mess. My method uses a trick with unflavored gelatin in the creamy layer to keep it perfectly opaque, and I chill each layer for exactly the right amount of time. No guessing. No bleeding. Just perfect stripes every single time.
This is the kind of dessert that makes you look like a hero with almost zero effort. It is comfort food reimagined—cool, creamy, and bursting with fruity flavor. Perfect for impressing your neighbors at the block party or just making a Tuesday afternoon feel like a celebration.
What Ingredients You Will Need
Let’s talk about what goes into these Easy Candy Corn Layered Jello Cups. The ingredient list is short, but each one plays an important role. I have tested this with different brands and substitutions, so I will share what works best.
- 1 box (3 oz) strawberry Jello – This is your red layer. I prefer the classic strawberry flavor, but raspberry or cherry also work great. Just make sure it is the standard 3-ounce box, not the sugar-free version, as sugar-free sets much softer.
- 1 box (3 oz) lime Jello – This is your blue layer. Yes, lime Jello turns blue when you add the blue food coloring. It sounds weird, but it works perfectly. You could also use berry blue Jello if you can find it.
- 1 box (3 oz) lemon Jello – This is for the white layer. Wait, lemon Jello is yellow. I know. But when you mix it with sweetened condensed milk, the yellow disappears and you get a beautiful creamy white. It is my favorite trick.
- 1 can (14 oz) sweetened condensed milk – This is the backbone of the creamy white layer. It adds sweetness and that rich, velvety texture. Do not substitute with evaporated milk; it is not the same.
- 2 packets (0.25 oz each) unflavored gelatin – This is the secret weapon. The unflavored gelatin helps the creamy layer set firmly and stay opaque. Without it, the layer would be too soft and would bleed into the Jello layers.
- Blue food coloring – Just a few drops to turn the lime Jello into a true blue. I use the gel kind because it is more concentrated, but liquid works fine too.
- Candy corn – For garnish. I like to add a few pieces on top right before serving. It adds a pop of color and a sweet crunch. Plus, it makes the cups look extra festive.
- Boiling water and cold water – For dissolving the Jello. You will need 1 cup of boiling water and 1 cup of cold water for each box.
I recommend using Jello brand gelatin for the most consistent results. I have tried store-brand versions, and they sometimes set softer or have a weaker flavor. The unflavored gelatin should be Knox brand if you can find it—it is the most reliable. Also, make sure your sweetened condensed milk is fresh. I once used a can that had been sitting in my pantry for a year, and it had a weird grainy texture that ruined the layer.
For the food coloring, I prefer the gel kind from Wilton or Americolor. They are more concentrated, so you only need a tiny drop. Liquid food coloring works too, but you might need a few more drops to get a true blue.
Equipment Needed
You do not need any fancy equipment for these Easy Candy Corn Layered Jello Cups. I have made them with basic kitchen tools, and they turned out perfectly. Here is what you will need:
- Clear plastic cups (9 oz size) – These are essential for showing off the layers. I use the ones from the party supply store, but any clear cup works. You will need about 8 cups.
- Three small mixing bowls – One for each Jello flavor. Glass or ceramic works best because they hold heat well.
- One medium mixing bowl – For the creamy white layer.
- Measuring cups – A 1-cup measure for boiling water and a 1-cup measure for cold water.
- Whisk – For stirring the Jello and the creamy mixture. A fork works in a pinch, but a whisk is smoother.
- Small saucepan – For boiling water. I use a kettle, but a saucepan is fine.
- Liquid measuring cup with a spout – This makes pouring the Jello into the cups so much easier without spilling.
- Refrigerator – You will need space for the cups to chill. A flat surface in the fridge is ideal.
- Measuring spoons – For the unflavored gelatin and food coloring.
I have made these cups using disposable plastic cups from the dollar store, and they work perfectly. Just make sure they are clear so you can see the layers. If you do not have a liquid measuring cup with a spout, you can use a regular measuring cup and pour carefully. I have also used a small ladle in a pinch. Honestly, the most important piece of equipment is patience. You cannot rush the chilling time.
Preparation Method
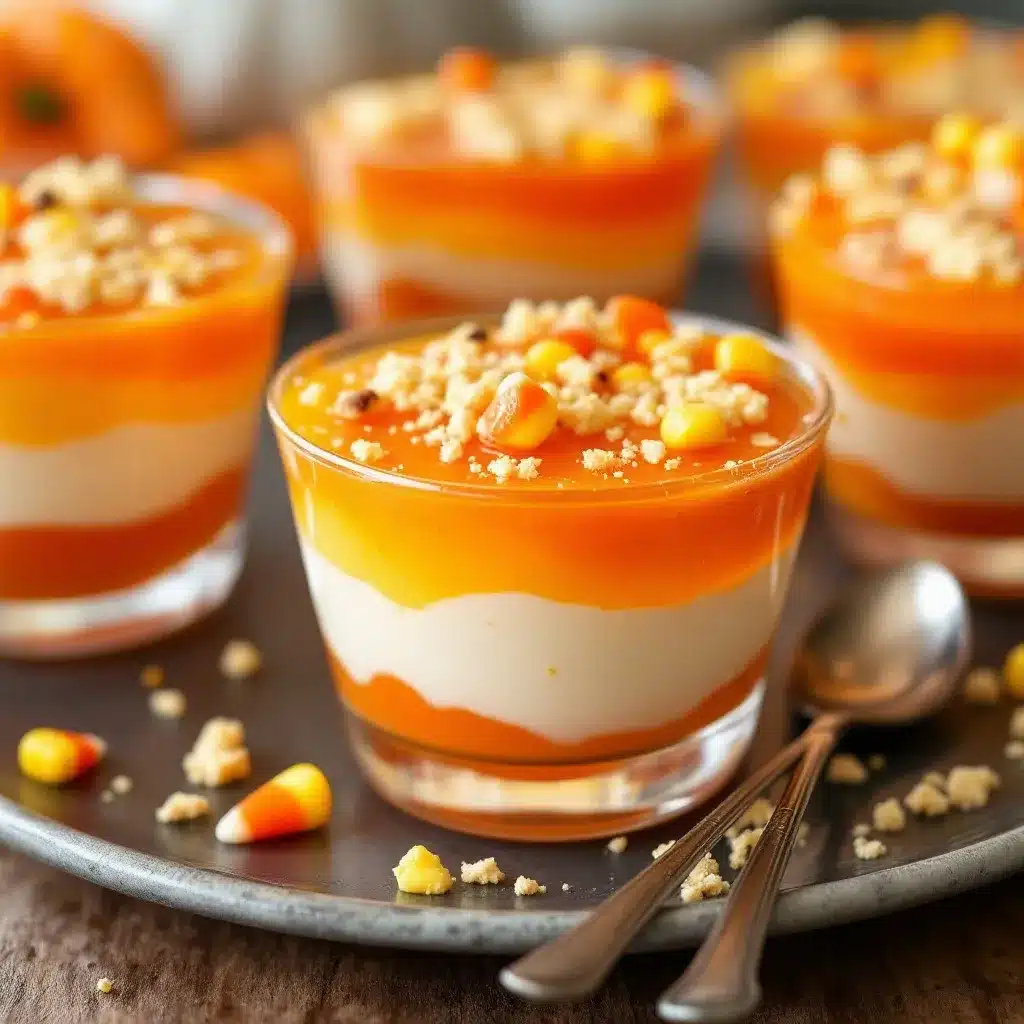
Okay, let’s get into the actual steps. I am going to walk you through this exactly how I do it. Follow these steps, and you will have perfect Easy Candy Corn Layered Jello Cups every time.
Step 1: Prepare the Red Layer (Strawberry)
In a small mixing bowl, empty the box of strawberry Jello. Add 1 cup of boiling water and whisk until the powder is completely dissolved, about 2 minutes. Then, add 1 cup of cold water and stir. Set it aside to cool slightly. You want it to be at room temperature, not hot, before you pour it into the cups. If it is too hot, it can melt the previous layer.
Step 2: Pour the First Layer
Divide the strawberry Jello evenly among your 8 clear cups. I use about ¼ cup per cup. Place the cups on a tray and carefully transfer them to the refrigerator. Chill for at least 45 minutes, or until the Jello is set and firm to the touch. Do not rush this step. If the layer is not fully set, the next layer will bleed into it.
Step 3: Prepare the White Creamy Layer
While the first layer is setting, make the white layer. In a medium bowl, empty the box of lemon Jello. Add 1 cup of boiling water and whisk until dissolved. In a separate small bowl, sprinkle the two packets of unflavored gelatin over ½ cup of cold water. Let it sit for 5 minutes to bloom. Then, microwave it for 15 seconds until it is liquid and clear. Add the bloomed gelatin and the can of sweetened condensed milk to the lemon Jello mixture. Whisk until everything is smooth and combined. Set it aside to cool to room temperature. Do not refrigerate it yet, or it will start to set.
Step 4: Pour the Second Layer
Once the red layer is fully set, gently pour the white creamy mixture over the top. Divide it evenly among the 8 cups, using about ¼ cup per cup. Be careful not to pour too forcefully, or you will disturb the red layer. Return the cups to the refrigerator and chill for at least 1 hour, or until the white layer is firm and set.
Step 5: Prepare the Blue Layer (Lime)
In a small mixing bowl, empty the box of lime Jello. Add 1 cup of boiling water and whisk until dissolved. Add 1 cup of cold water and stir. Now, add 5-6 drops of blue food coloring. Stir until the color is even. You want a deep, true blue. Set it aside to cool to room temperature.
Step 6: Pour the Third Layer
Once the white layer is fully set, gently pour the blue Jello over the top. Divide it evenly among the 8 cups, using about ¼ cup per cup. Again, pour gently to avoid disturbing the white layer. Return the cups to the refrigerator and chill for at least 1 hour, or until the blue layer is firm.
Step 7: Garnish and Serve
Once all three layers are fully set, you can garnish the cups. I like to add a few pieces of candy corn on top of each cup right before serving. You can also add a dollop of whipped cream or a small flag pick for extra festivity. Serve cold.
My Personal Tip: I always make these the day before I need them. That way, I am not rushing the chilling times. The layers set perfectly overnight, and the cups look their best. I also keep them in the fridge until the very last minute before serving. They do not hold up well at room temperature for more than 30 minutes.
Cooking Tips & Techniques
I have made these Easy Candy Corn Layered Jello Cups at least a dozen times, and I have made every mistake in the book. Let me save you the trouble with some hard-earned tips.
Tip 1: Patience is not optional. I know I keep saying this, but it is the most important thing. If you pour the next layer before the previous one is fully set, you will get bleeding. The layers will mix, and you will end up with a muddy mess. I have done it. It is heartbreaking. Wait the full time. If you are unsure, wait 15 more minutes.
Tip 2: Cool the Jello to room temperature. Do not pour hot Jello over a set layer. It will melt the layer underneath. Let the Jello sit on the counter for 10-15 minutes after you mix it. It should feel cool to the touch, not warm.
Tip 3: Use a spouted measuring cup. Trying to pour Jello from a bowl is a recipe for disaster. Use a liquid measuring cup with a spout. It gives you control and prevents spills. I also wipe the rim of the cup after each pour to keep the edges clean.
Tip 4: Bloom the unflavored gelatin properly. This step is crucial for the white layer. If you skip the blooming step, the gelatin will not dissolve evenly, and you will get lumps. Sprinkle the gelatin over cold water and let it sit for 5 minutes. It will look like a spongy mass. That is what you want. Then, microwave it for 15 seconds until it is liquid.
Tip 5: Do not overfill the cups. Each layer should be about ¼ cup. If you overfill, the layers will be too thick, and the cups will look unbalanced. I use a measuring cup to ensure each layer is even.
Tip 6: Keep the cups level. Place the cups on a flat tray in the refrigerator. If the tray is tilted, the layers will set at an angle. I learned this the hard way when I opened the fridge to find my cups leaning like the Tower of Pisa.
Tip 7: Make extra white layer mixture. I always make a little extra of the white creamy layer, just in case. It is better to have too much than not enough. You can always discard the extra.
Variations & Adaptations
One of the best things about these Easy Candy Corn Layered Jello Cups is how customizable they are. Here are some of my favorite variations.
Variation 1: Different Flavors
You can swap the strawberry and lime Jello for any flavors you like. For a different red-white-and-blue combo, try cherry and berry blue. For a tropical twist, use orange and pineapple. Just keep the white layer the same, as it is the key to the candy corn look.
Variation 2: Dietary Adaptations
To make these cups sugar-free, use sugar-free Jello and a can of sugar-free sweetened condensed milk. The texture will be slightly softer, but the flavor is still great. For a dairy-free version, use coconut cream instead of sweetened condensed milk. I have tried this, and it works, but the white layer is not as firm.
Variation 3: Seasonal Themes
These cups are perfect for the 4th of July, but you can adapt them for any holiday. For Halloween, use orange and black Jello with a white layer. For Christmas, use red and green. For Valentine’s Day, use pink and red. The possibilities are endless.
Variation 4: Boozy Adult Version
For a grown-up twist, replace the cold water in the Jello mixture with vodka or coconut rum. Use about ½ cup of alcohol and ½ cup of cold water. The layers will set a little softer, but the flavor is amazing. I made these for a Memorial Day party, and they were a hit.
Variation 5: Layered Jello Shots
If you want to make these into Jello shots, use 2-ounce shot cups instead of 9-ounce cups. Reduce the chilling time for each layer to about 20 minutes. You will get about 24 shots from one batch. Perfect for a party.
I have personally tried the Halloween version with orange and black Jello, and it was adorable. I used candy eyeballs on top instead of candy corn. My kids loved them.
Serving & Storage Suggestions
These Easy Candy Corn Layered Jello Cups are best served cold, straight from the refrigerator. I like to take them out about 10 minutes before serving so they are not ice-cold, but still firm. The candy corn on top should be added right before serving, or it will get soft and sticky from the moisture of the Jello.
Presentation Ideas:
Arrange the cups on a large platter or tray. I like to add some red, white, and blue napkins or a small American flag in the center of the platter for the 4th of July. You can also top each cup with a dollop of whipped cream and a few blue sprinkles. It makes them look extra festive.
What to Serve With Them:
These cups are a dessert on their own, but they pair beautifully with other summer treats. I love serving them alongside a fresh fruit salad with mint for a lighter option. They also go great with grilled meats and burgers. For a full party spread, try them with a flavorful grazing board with whipped feta and honey.
Storage Instructions:
Store the cups in the refrigerator, covered with plastic wrap or a lid, for up to 5 days. The layers will stay firm and clear. Do not freeze them, as the Jello will become watery and grainy when thawed. If you are transporting them to a party, keep them in a cooler with ice packs. They will hold up for about 2 hours in a cooler.
Reheating:
Do not reheat these cups. They are meant to be served cold. If they have been sitting out for more than an hour, they will start to soften. Just pop them back in the fridge for 30 minutes, and they will firm up again.
I have found that the flavors actually meld together beautifully after a day or two in the fridge. The Jello absorbs a bit of the creamy flavor from the white layer, and everything tastes more cohesive. So do not be afraid to make them ahead of time.
Nutritional Information & Benefits
Let’s be honest—these Easy Candy Corn Layered Jello Cups are a treat, not a health food. But that does not mean they cannot fit into a balanced lifestyle. Here is the estimated nutritional breakdown for one cup (without the candy corn garnish):
| Nutrient | Amount per Serving |
|---|---|
| Calories | 180 |
| Total Fat | 3g |
| Saturated Fat | 2g |
| Cholesterol | 10mg |
| Sodium | 120mg |
| Total Carbohydrates | 35g |
| Sugars | 30g |
| Protein | 4g |
The sweetened condensed milk provides a small amount of calcium and protein, while the Jello is mostly sugar and water. If you are watching your sugar intake, you can use sugar-free Jello and sugar-free sweetened condensed milk to cut the sugar in half.
This dessert is naturally gluten-free and nut-free, making it safe for many common allergies. However, it is not dairy-free or vegan due to the sweetened condensed milk. If you have dietary restrictions, check the labels on your Jello and condensed milk to ensure they meet your needs.
I personally see these cups as a special occasion dessert. They are perfect for holidays, barbecues, and parties. I do not make them every week, but when I do, I enjoy every single bite. Life is about balance, right?
Conclusion
And there you have it—my best recipe for Easy Candy Corn Layered Jello Cups. These little cups of joy are the perfect way to celebrate the 4th of July, or any day you want to feel a little festive. They are simple enough for a beginner, but impressive enough to steal the show at any party.
I love this recipe because it reminds me that you do not need fancy ingredients or complicated techniques to create something beautiful. Just a little patience, a few boxes of Jello, and a willingness to try. The first time I made these, I was nervous. What if the layers bled? What if the white layer did not set? But I trusted the process, and it worked. And now, I want you to have that same feeling of success.
So go ahead. Give these a try. Customize them with your favorite flavors, or keep them classic. Add extra candy corn, or top them with whipped cream. Make them your own. And when you do, I would love to hear about it. Drop a comment below and let me know how they turned out. Did you try a fun variation? Did your kids love them? Share your photos and tag me on social media. I cannot wait to see your creations.
Until next time, happy cooking—and happy celebrating!
Frequently Asked Questions
Can I use sugar-free Jello for this recipe?
Yes, you can use sugar-free Jello, but the layers will be slightly softer and more delicate. The sugar-free Jello does not set as firmly as the regular version. I recommend increasing the chilling time for each layer by 15-20 minutes to ensure they are fully set before adding the next layer.
How long do these Jello cups last in the fridge?
These cups will last for up to 5 days in the refrigerator when stored properly. Cover them with plastic wrap or a lid to prevent them from absorbing odors from other foods in the fridge. The layers will remain clear and firm for the first 3 days, then may start to soften slightly after that.
Can I make these cups in a different size container?
Absolutely. You can use any clear container you like. Small 2-ounce shot cups make great Jello shots for parties. Larger 12-ounce cups work well for a more substantial dessert. Just adjust the amount of Jello mixture per layer and the chilling time accordingly. Smaller cups need less chilling time, larger cups need more.
Why did my white layer turn out yellow?
If your white layer looks yellow, it is likely because you did not mix the lemon Jello and sweetened condensed milk thoroughly enough. The yellow color from the lemon Jello should be completely masked by the white of the condensed milk. Whisk vigorously until the mixture is a uniform pale cream color. If it still looks yellow, add an extra tablespoon of sweetened condensed milk.
Can I use a different type of milk for the white layer?
I do not recommend substituting the sweetened condensed milk. It is essential for the sweetness, texture, and opacity of the white layer. Evaporated milk will not work because it is not sweet enough and will not set properly. Coconut cream can work for a dairy-free version, but the layer will be softer and less sweet. If you try it, add an extra packet of unflavored gelatin to help it set.
Pin This Recipe!
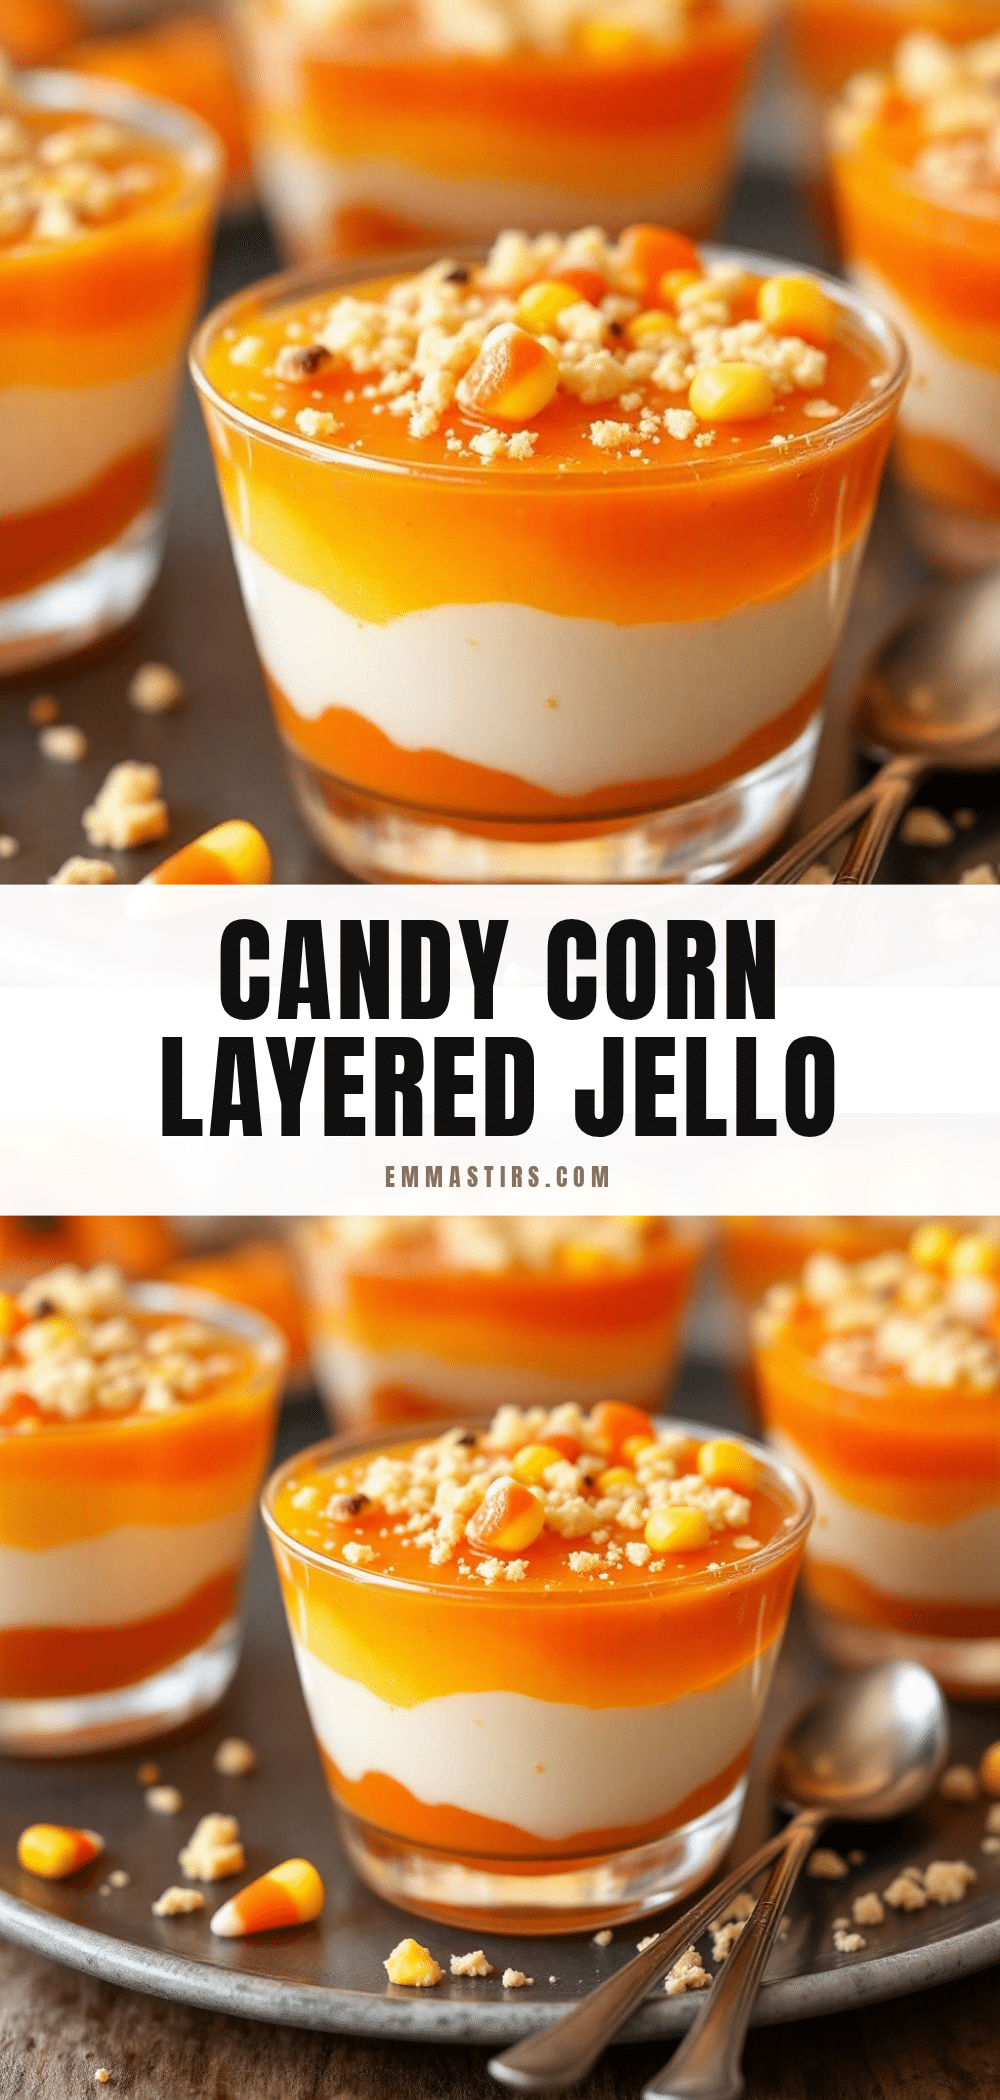
Easy Candy Corn Layered Jello Cups (Best 4th of July Dessert)
These Easy Candy Corn Layered Jello Cups are the perfect patriotic dessert for the 4th of July. With clean, sharp red, white, and blue layers, they look impressive but are surprisingly simple to make using just Jello, sweetened condensed milk, and a little patience.
- Prep Time: 20 minutes
- Cook Time: 0 minutes
- Total Time: 2 hours 45 minutes (includes chilling)
- Yield: 8 servings 1x
- Category: Dessert
- Cuisine: American
Ingredients
- 1 box (3 oz) strawberry Jello
- 1 box (3 oz) lime Jello
- 1 box (3 oz) lemon Jello
- 1 can (14 oz) sweetened condensed milk
- 2 packets (0.25 oz each) unflavored gelatin
- Blue food coloring (gel preferred)
- Candy corn (for garnish)
- Boiling water (as needed)
- Cold water (as needed)
Instructions
- Prepare the Red Layer: In a small bowl, dissolve strawberry Jello in 1 cup boiling water. Add 1 cup cold water and stir. Let cool to room temperature.
- Pour the First Layer: Divide strawberry Jello evenly among 8 clear cups (about ¼ cup each). Refrigerate for at least 45 minutes until fully set.
- Prepare the White Creamy Layer: In a medium bowl, dissolve lemon Jello in 1 cup boiling water. In a separate small bowl, sprinkle unflavored gelatin over ½ cup cold water; let bloom for 5 minutes, then microwave 15 seconds until liquid. Add bloomed gelatin and sweetened condensed milk to lemon Jello mixture. Whisk until smooth. Let cool to room temperature.
- Pour the Second Layer: Gently pour white creamy mixture over set red layer (about ¼ cup per cup). Refrigerate for at least 1 hour until firm.
- Prepare the Blue Layer: In a small bowl, dissolve lime Jello in 1 cup boiling water. Add 1 cup cold water and 5-6 drops blue food coloring. Stir until evenly colored. Let cool to room temperature.
- Pour the Third Layer: Gently pour blue Jello over set white layer (about ¼ cup per cup). Refrigerate for at least 1 hour until firm.
- Garnish and Serve: Top each cup with a few pieces of candy corn just before serving. Serve cold.
Notes
Patience is key: ensure each layer is fully set before adding the next to prevent bleeding. Cool Jello to room temperature before pouring. Use a spouted measuring cup for clean pours. Bloom unflavored gelatin properly for a smooth white layer. Make ahead for best results; store in fridge up to 5 days.
Nutrition
- Serving Size: 1 cup (without candy
- Calories: 180
- Sugar: 30
- Sodium: 120
- Fat: 3
- Saturated Fat: 2
- Carbohydrates: 35
- Protein: 4
Keywords: Jello cups, layered Jello, 4th of July dessert, patriotic dessert, candy corn, easy dessert, no-bake dessert