Love this? Save it for later!
Share the inspiration with your friends
The blender was still warm from the smoothie I’d made earlier, and I stood there staring into the open fridge at a tub of cottage cheese I’d bought on a whim. It was one of those late Tuesday evenings where the only thing that sounded good was chocolate—but I also needed something that wouldn’t leave me crashing an hour later. I’d been trying to find more ways to get protein into my day without another chalky shake, and honestly, I was getting bored. Then it hit me. What if I just… blended the cottage cheese? With cocoa powder? It felt wrong enough to be brilliant.
I scooped heaping spoonfuls into the blender, added a splash of maple syrup because I wasn’t about to pretend I was above sweetness, and dumped in a generous amount of dark cocoa. I hit blend and watched the curds disappear into something impossibly smooth. When I poured it into a little glass bowl and took that first spoonful, I actually laughed out loud. It was rich, creamy, and deeply chocolatey—and somehow, it had twenty grams of protein per serving. No one was more surprised than me. I ate it standing at the kitchen counter, and by the time I scraped the last bit from the bowl, I knew this wasn’t just a happy accident. This was my new go-to.
This isn’t one of those recipes you make for other people to impress them. This is the one you make for yourself, late at night, when you need something that feels like a treat but doesn’t leave you feeling heavy. It’s the kind of quiet win that makes you feel like you’ve cracked some secret code. And honestly? You kind of have.
Why You’ll Love This Recipe
This creamy high-protein cottage cheese chocolate mousse is the kind of recipe that changes how you think about dessert. I’ve tested this more times than I care to admit—adjusting cocoa ratios, trying different sweeteners, even experimenting with chilling times—and what I landed on is genuinely foolproof.
- Ready in 5 Minutes : From fridge to spoon in under five minutes flat. No cooking, no waiting, no complicated steps.
- Simple Ingredients : You need exactly four main ingredients, and you probably have most of them right now.
- Perfect for Late-Night Cravings : When you want something sweet but don’t want to undo your day’s good choices.
- High-Protein Powerhouse : Each serving packs around 20-25 grams of protein, making it a fantastic post-dinner snack or even a pre-workout treat.
- Surprisingly Indulgent : I’ve served this to friends who swore they hated cottage cheese, and they asked for the recipe before leaving.
What makes this different from every other protein dessert out there is the texture. Blending cottage cheese creates this impossibly silky, airy consistency that you’d swear came from heavy cream. There’s no grainy protein powder texture, no artificial aftertaste. It’s just pure, velvety chocolate mousse that happens to be good for you. I’ve tried dozens of high-protein desserts over the years, and this one actually delivers on both flavor and satisfaction. It’s the kind of recipe that makes you feel like you’re getting away with something.
If you’re someone who loves quick, protein-packed recipes, you might also enjoy my no-bake peanut butter chocolate protein energy balls for another easy grab-and-go option.
What Ingredients You Will Need
This recipe uses simple, everyday ingredients to create something that feels far more decadent than it has any right to be. The magic is in the method, not the grocery list.
- Full-Fat Cottage Cheese (1 cup / 240g) : This is non-negotiable for the creamiest texture. I’ve tested this with low-fat and non-fat versions, and while they work, the full-fat version produces a noticeably silkier, richer mousse. Look for a brand with small curds and a creamy texture—Good Culture and Daisy are my personal favorites. The fat content helps create that luscious mouthfeel we’re after.
- Unsweetened Cocoa Powder (3 tablespoons / 18g) : Use a high-quality Dutch-process cocoa if you can find it. It gives a deeper, more mellow chocolate flavor that pairs beautifully with the tanginess of the cottage cheese. Regular unsweetened cocoa works perfectly fine too—just expect a slightly more intense, slightly bitter chocolate note.
- Maple Syrup or Honey (2-3 tablespoons / 30-45ml) : This balances the bitterness of the cocoa and rounds out the flavor. Start with 2 tablespoons, taste, and add more if you prefer a sweeter mousse. I’ve also used a sugar-free maple syrup alternative with great results—just adjust to taste.
- Vanilla Extract (1 teaspoon / 5ml) : A good vanilla extract lifts the chocolate flavor and adds warmth. Don’t skip this—it makes a noticeable difference in depth.
- Pinch of Sea Salt : Just a tiny pinch. Salt enhances chocolate flavor and cuts through any lingering tang from the cottage cheese. Trust me on this one.
- Optional: Melted Dark Chocolate (2 tablespoons / 30g) : For an extra-indulgent version, swirl in a little melted dark chocolate (70% or higher) before chilling. This adds richness and a more complex chocolate profile.
- Optional: Espresso Powder (¼ teaspoon) : A secret weapon for intensifying chocolate flavor without making it taste like coffee. It’s completely optional, but I use it almost every time now.
If you’re looking for another creative way to use cottage cheese in a sweet application, try my fluffy cottage cheese pancakes for a high-protein breakfast that feels like a weekend treat.
Equipment Needed
You don’t need much for this recipe, which is part of why I love it so much. Here’s what you’ll need:
- High-Speed Blender or Food Processor : A blender works best for achieving that ultra-smooth, airy texture. I use a Vitamix, but any decent blender will do the job. If using a food processor, you may need to scrape down the sides a few extra times.
- Measuring Cups and Spoons : For accurate measurements—though honestly, after making this a dozen times, I just eyeball it now.
- Spatula : A silicone spatula is perfect for scraping every last bit of mousse out of the blender.
- Serving Bowls or Glasses : Small glass bowls or ramekins make for pretty presentation. I love using little ceramic espresso cups for a single-serving feel.
- Fine-Mesh Strainer (Optional) : If your cottage cheese has very large curds, you can press it through a strainer before blending for an even smoother result. I rarely bother, but it’s an option.
If you don’t have a high-speed blender, a regular blender works fine—just blend a little longer, stopping to scrape down the sides. A food processor also works, but the texture will be slightly less airy. Honestly, I’ve even made this with an immersion blender in a tall cup when my main blender was in the dishwasher, and it turned out great.
Preparation Method
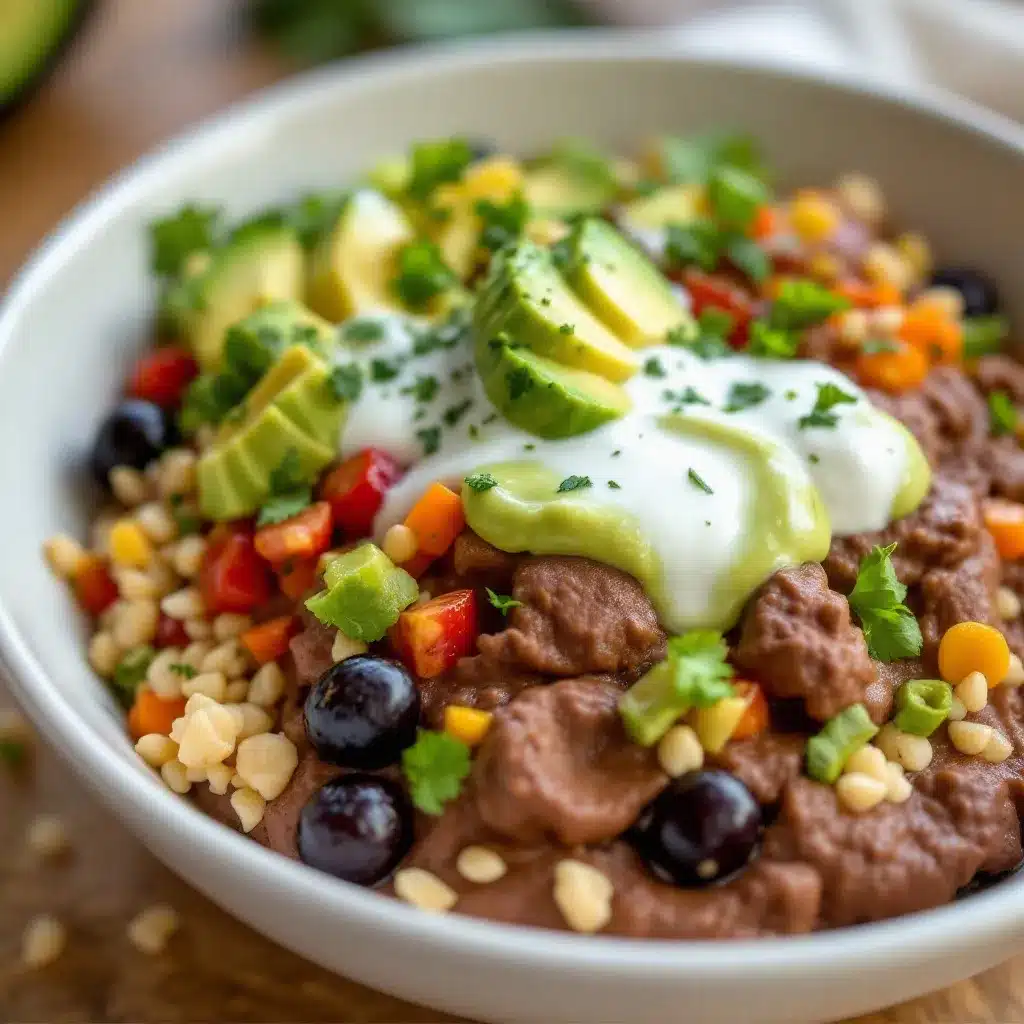
This recipe comes together so quickly that you’ll memorize it after the first try. Here’s exactly how to do it:
- Add cottage cheese to your blender. Scoop in 1 cup (240g) of full-fat cottage cheese. Don’t drain it—the liquid helps create that silky texture.
- Add cocoa powder, sweetener, vanilla, and salt. Add 3 tablespoons (18g) unsweetened cocoa powder, 2 tablespoons (30ml) maple syrup or honey, 1 teaspoon (5ml) vanilla extract, and a small pinch of sea salt. If using espresso powder, add it now.
- Blend on high for 45-60 seconds. Start on low speed to avoid cocoa powder flying everywhere, then ramp up to high. Blend until the mixture is completely smooth and has visibly thickened. You should see it become lighter and airier as the blending incorporates air. Stop and scrape down the sides once if needed.
- Taste and adjust. This is the most important step. Dip a spoon in and taste. Is it sweet enough? Add another teaspoon of maple syrup. Is the chocolate flavor strong enough? Add another half tablespoon of cocoa. Want it richer? Swirl in that melted dark chocolate now. Trust your palate—this is your mousse.
- Blend again for 10 seconds. If you added anything in the previous step, give it one more quick blend to incorporate everything evenly.
- Transfer to serving dishes. Pour or spoon the mousse into small bowls, ramekins, or glasses. It will be fairly thin at this point—that’s normal. It thickens significantly as it chills.
- Chill for at least 30 minutes. This is the hardest part. Pop the bowls into the refrigerator and let them sit. After 30 minutes, the mousse will have set into a thick, spoonable consistency. For the best texture, I recommend chilling for 2 hours—it becomes even more mousse-like and luxurious.
- Optional: Top before serving. Add a dollop of whipped cream, a few fresh raspberries, a sprinkle of flaky sea salt, or some chocolate shavings. These aren’t necessary, but they make it feel extra special.
A quick note on timing: If you’re impatient like me, you can eat this immediately after blending—it will be more like a creamy pudding than a mousse, but it’s still delicious. The chilling step transforms the texture, so try to wait if you can.
Cooking Tips & Techniques
I’ve made this recipe more times than I can count, and I’ve learned a few things along the way that make a real difference.
Blend longer than you think you need to. The first few times I made this, I stopped blending as soon as the cottage cheese looked smooth. But if you keep going for the full minute, something magical happens—the mixture aerates and becomes noticeably lighter and fluffier. It’s the difference between a good mousse and a great one.
Temperature matters. Cold cottage cheese straight from the fridge works best. If your cottage cheese is at room temperature, the mousse won’t thicken up as nicely during chilling. I learned this the hard way when I left my cottage cheese out while prepping other things and ended up with a thinner final product.
Don’t over-sweeten too early. Cocoa powder’s bitterness fades slightly as the mousse chills, so something that tastes perfectly balanced warm might taste slightly sweeter after refrigeration. I always err on the side of slightly less sweetener initially, then adjust after tasting.
The salt is not optional. I know it sounds weird, but a tiny pinch of salt transforms this mousse. It rounds out the cottage cheese tang and makes the chocolate flavor pop. I’ve served this to people who asked if there was coffee in it because the flavor was so deep—that’s the salt working its magic.
If your mousse turns out grainy, it’s usually because your blender wasn’t powerful enough to fully break down the cottage cheese curds. Next time, try blending for a full 90 seconds, or press the cottage cheese through a fine-mesh strainer before blending. I’ve also found that letting the mousse sit in the fridge for an extra hour helps smooth out minor graininess.
If you enjoy recipes that feel indulgent but are secretly packed with protein, you’ll love my high-protein Greek yogurt chicken salad for a savory option that’s equally satisfying.
Variations & Adaptations
This recipe is endlessly adaptable, and I’ve tried quite a few variations myself. Here are some of my favorites:
Peanut Butter Chocolate Mousse: Add 2 tablespoons (32g) of natural peanut butter to the blender along with the other ingredients. The peanut butter adds richness and an extra 4-5 grams of protein. I’ve also used almond butter and cashew butter with great results.
Mint Chocolate Chip: Add ¼ teaspoon of peppermint extract (not mint, which can taste toothpaste-y) and blend as directed. After transferring to bowls, fold in 1 tablespoon of mini chocolate chips. Chill and enjoy—it tastes like a healthier version of a Girl Scout Thin Mint.
Vegan Version: Use a high-quality silken tofu or a thick, unsweetened coconut yogurt in place of cottage cheese. The texture will be slightly different—less airy, more creamy—but still delicious. Add an extra tablespoon of cocoa to compensate for the milder flavor.
Spiced Mexican Chocolate: Add ¼ teaspoon of cinnamon and a tiny pinch of cayenne pepper (start with less than ⅛ teaspoon) to the blender. The warmth of the cinnamon and the subtle heat of the cayenne pair beautifully with the chocolate.
Frozen Banana Chocolate Mousse: Add half a frozen banana to the blender. This adds natural sweetness, a creamier texture, and a subtle banana flavor that works surprisingly well with chocolate. You may need to reduce the maple syrup slightly since the banana adds sweetness.
I’ve also experimented with using different cocoa powders—black cocoa powder gives it an Oreo-like flavor, while ruby cocoa adds a fruity note. Both are fun variations if you have them on hand.
Serving & Storage Suggestions
This mousse is best served cold, straight from the refrigerator. I like to let it sit at room temperature for about 5 minutes before eating—it softens slightly and the chocolate flavor becomes more pronounced.
Presentation ideas:
- Layer the mousse with crushed graham crackers or crushed chocolate wafer cookies for a parfait effect
- Top with fresh raspberries or strawberries for a bright, fruity contrast
- Add a dollop of lightly sweetened whipped cream or coconut cream
- Grate a little dark chocolate over the top just before serving
- A sprinkle of flaky sea salt adds a wonderful savory-sweet contrast
Storage: This mousse keeps beautifully in the refrigerator for up to 4 days. Store it in an airtight container or cover each serving bowl tightly with plastic wrap. The texture remains smooth and creamy throughout, though it may thicken slightly more over time—just stir it gently before eating if it seems too firm.
Freezing: You can freeze this mousse in individual portions for up to 2 months. Thaw overnight in the refrigerator and stir well before serving. The texture will be slightly less airy after freezing, but it’s still delicious. I often make a double batch and freeze half for emergency chocolate cravings.
Reheating: I don’t recommend reheating this mousse—it’s meant to be enjoyed cold. If you prefer a warm chocolate pudding, simply skip the chilling step and eat it immediately after blending. It’s a completely different experience, but still tasty.
One thing I love about this recipe is that the flavors actually deepen after a day in the fridge. The chocolate becomes more pronounced, and the sweetness mellows into something more balanced. It’s one of those rare recipes that tastes even better the next day.
Nutritional Information & Benefits
Here’s the estimated nutritional breakdown for one serving (about ½ cup) made with full-fat cottage cheese and 2 tablespoons of maple syrup:
- Calories: Approximately 220-250
- Protein: 20-25 grams
- Carbohydrates: 22-26 grams
- Fat: 8-10 grams
- Fiber: 3-4 grams
- Calcium: 15% of daily value
Health Benefits: Cottage cheese is an excellent source of casein protein, which digests slowly and keeps you feeling full for longer. It’s also rich in calcium, phosphorus, and B vitamins. Cocoa powder is packed with antioxidants called flavanols, which support heart health and reduce inflammation. The combination makes this mousse a genuinely nutritious dessert option—not just a “healthier” alternative, but a genuinely good-for-you treat.
Dietary Considerations: This recipe is naturally vegetarian and can be made gluten-free by ensuring your cocoa powder is certified gluten-free. For a lower-carb version, use a sugar-free maple syrup alternative. It’s not dairy-free due to the cottage cheese, but the vegan variation using silken tofu works well for those avoiding dairy.
Allergen Note: Contains dairy. If you have a dairy allergy, the silken tofu version is a great alternative.
Conclusion
This creamy high-protein cottage cheese chocolate mousse has become one of those recipes I make on autopilot now. When I need something sweet, when I’ve had a long day, when I want dessert but don’t want to feel terrible afterward—this is what I reach for. It takes five minutes, it uses ingredients I always have, and it genuinely satisfies that chocolate craving in a way that protein bars and shakes never could.
What I love most about this recipe is how versatile it is. You can dress it up for company or eat it straight from the blender (I’ve done both, no judgment). You can make it your own with different flavors and toppings. It’s forgiving, it’s flexible, and it always delivers.
I’d love to hear how this turns out for you. Did you try any of the variations? Did you add something unexpected that worked? Come back and let me know in the comments—I read every single one, and I’m always looking for new ideas to try. And if you make this for someone who says they don’t like cottage cheese, definitely come back and tell me their reaction. Trust me, I know how that story ends.
Go ahead—blend yourself some chocolate mousse. You’ve earned it.
Frequently Asked Questions
Can I use low-fat or non-fat cottage cheese?
Yes, you can, but the texture won’t be quite as creamy and luxurious. Low-fat cottage cheese has more water content, which can make the mousse slightly thinner. If using low-fat, I recommend blending for an extra 15-20 seconds to incorporate more air, and chilling for at least 2 hours to help it set properly.
How can I make this mousse sweeter without adding sugar?
Try adding half a very ripe banana or 2-3 soaked and pitted dates to the blender. Both add natural sweetness along with fiber and nutrients. You can also use a monk fruit or stevia-based sweetener if you prefer zero-calorie options—just start with a small amount and adjust to taste.
Why is my mousse grainy?
Graininess usually happens when the cottage cheese curds aren’t fully broken down. Make sure you’re blending for a full 60 seconds on high speed, and scrape down the sides of the blender at least once. If your blender isn’t very powerful, try pressing the cottage cheese through a fine-mesh strainer before blending, or let the finished mousse chill for 3-4 hours—the graininess often smooths out as it sets.
Can I make this ahead of time for a party?
Absolutely! This mousse is perfect for making ahead. Prepare it up to 2 days in advance, keep it covered in the refrigerator, and add any toppings just before serving. The flavor actually improves after a day in the fridge, so this is a great make-ahead dessert option.
Is this mousse keto-friendly?
It can be! Use a sugar-free sweetener like monk fruit or allulose in place of maple syrup, and stick with full-fat cottage cheese. With these adjustments, the mousse has approximately 5-7 grams of net carbs per serving, making it suitable for a keto diet. Just be sure to check your cocoa powder for any added sugars.
Pin This Recipe!
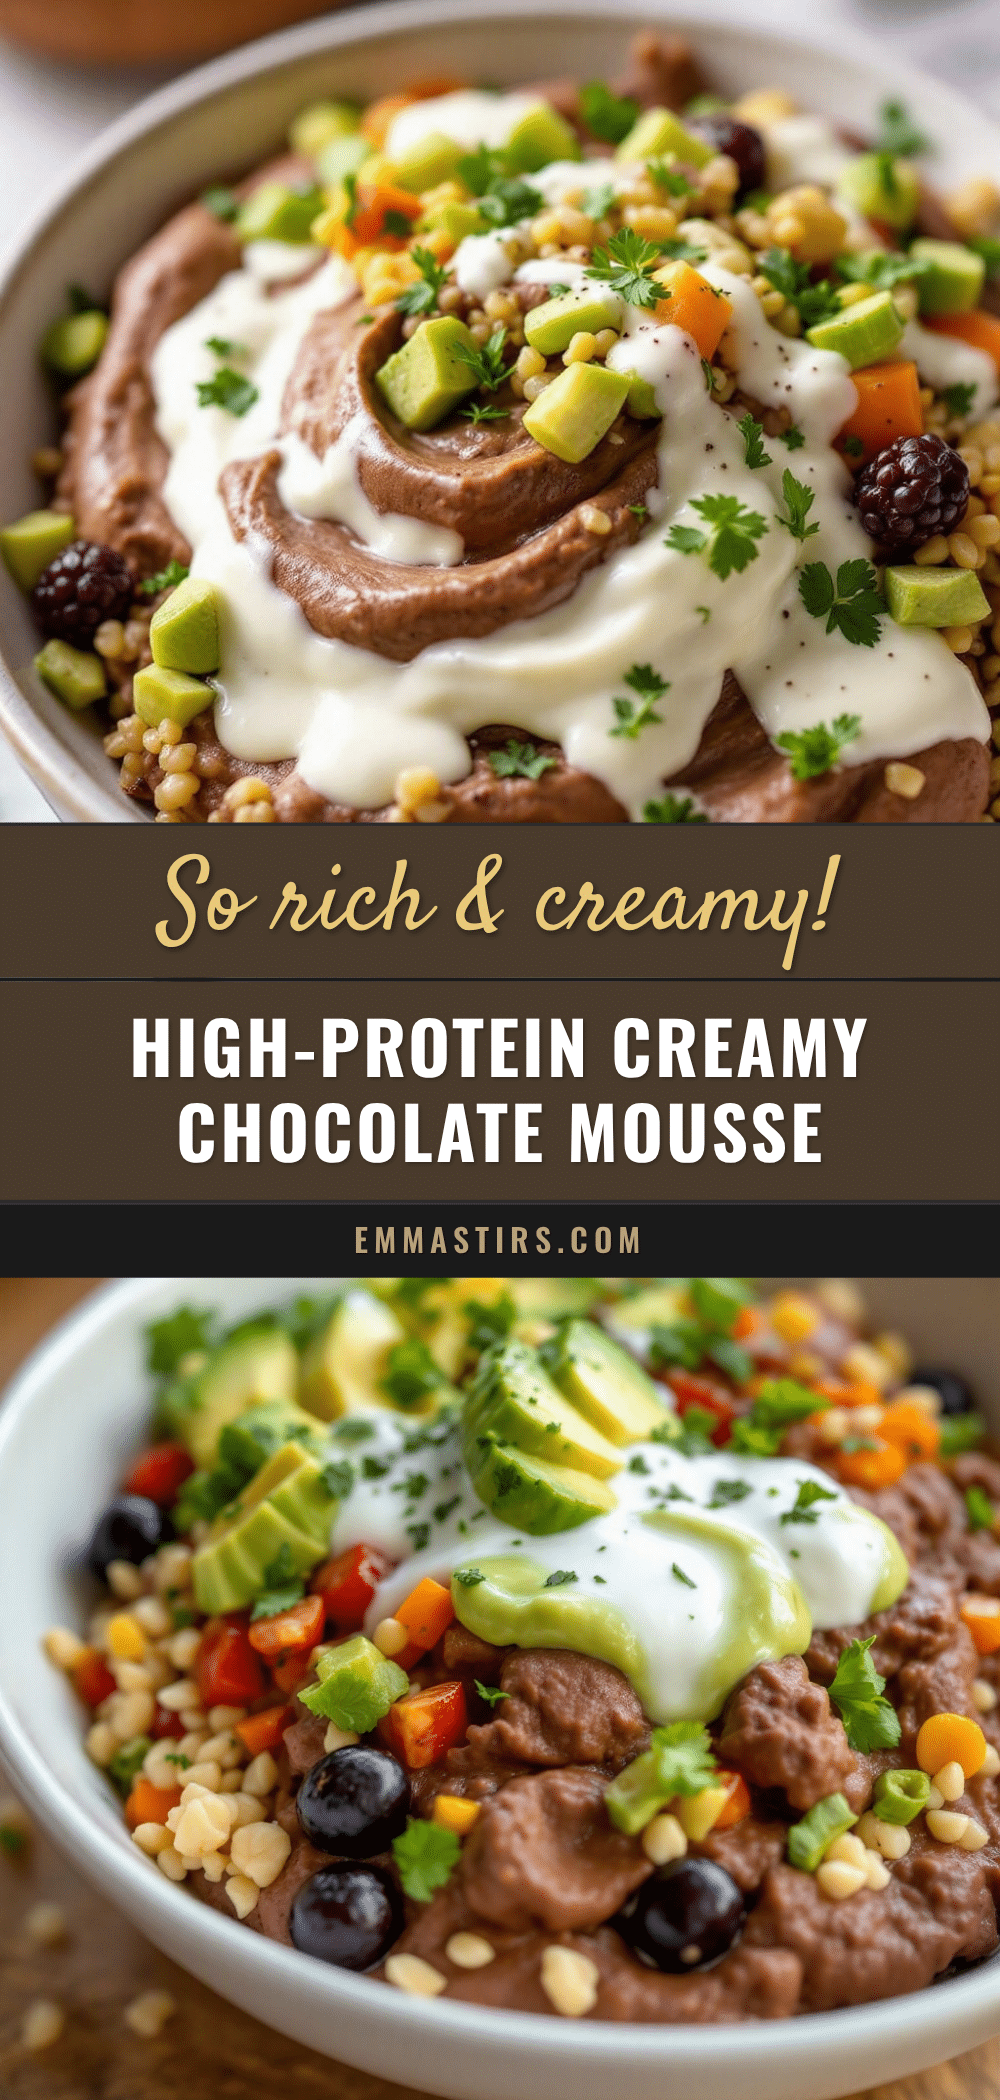
Creamy High-Protein Cottage Cheese Chocolate Mousse

A rich, creamy, and deeply chocolatey mousse made with cottage cheese for a high-protein dessert that comes together in just 5 minutes. Perfect for late-night cravings or a post-dinner treat.
- Prep Time: 5 minutes
- Cook Time: 0 minutes
- Total Time: 35 minutes (including 30 minutes chilling)
- Yield: 2 servings 1x
- Category: Dessert
- Cuisine: American
Ingredients
- 1 cup (240g) full-fat cottage cheese
- 3 tablespoons (18g) unsweetened cocoa powder
- 2–3 tablespoons (30-45ml) maple syrup or honey
- 1 teaspoon (5ml) vanilla extract
- Pinch of sea salt
- Optional: 2 tablespoons (30g) melted dark chocolate (70% or higher)
- Optional: ¼ teaspoon espresso powder
Instructions
- Add cottage cheese to your blender. Do not drain.
- Add cocoa powder, sweetener, vanilla, and salt. If using espresso powder, add it now.
- Blend on high for 45-60 seconds, starting on low speed to avoid cocoa powder flying everywhere. Stop and scrape down the sides once if needed.
- Taste and adjust sweetness or chocolate flavor as desired.
- Blend again for 10 seconds if you added anything in the previous step.
- Transfer to serving dishes (small bowls, ramekins, or glasses). The mousse will be thin at this point.
- Chill for at least 30 minutes (2 hours for best texture).
- Optional: Top with whipped cream, fresh raspberries, flaky sea salt, or chocolate shavings before serving.
Notes
For the creamiest texture, use full-fat cottage cheese. Blend for a full minute to aerate the mixture. The mousse thickens significantly as it chills. Store in the refrigerator for up to 4 days. Can be frozen for up to 2 months.
Nutrition
- Serving Size: 1/2 cup
- Calories: 235
- Sugar: 16
- Sodium: 380
- Fat: 9
- Saturated Fat: 5
- Carbohydrates: 24
- Fiber: 3.5
- Protein: 22
Keywords: high-protein dessert, cottage cheese mousse, chocolate mousse, healthy dessert, no-bake dessert, quick dessert, low-carb dessert, gluten-free dessert


