Love this? Save it for later!
Share the inspiration with your friends
I found the empty jar in the sink at 6:47 AM. My husband, who once told me cold oatmeal sounded like “a punishment from a medieval cook,” had scraped every last smear of peanut butter and banana from the sides. He didn’t say a word. He just rinsed the jar and walked past me toward the coffee maker with this little half-smile that said everything.
That was the moment I knew these overnight oats weren’t just another breakfast experiment. They were a keeper.
Honestly, I stumbled into this recipe by accident. I had a bunch of bananas turning spotty on the counter (you know the ones—too ripe for snacking, perfect for something creamy). I also had a jar of peanut butter that was almost empty, the kind where you start scraping the sides and wonder what to do with the last few tablespoons. So I mashed the banana, stirred in the peanut butter, poured some milk over oats, and shoved it in the fridge before running out the door.
The next morning, I opened the fridge expecting something edible but forgettable. What I got was this thick, creamy, naturally sweet bowl of comfort that honestly tasted like dessert for breakfast. The banana had melted into the oats overnight, the peanut butter had swirled through every bite, and the texture was this perfect balance between pudding and porridge. I stood at the counter eating it straight from the jar, and I knew I’d accidentally created something special.
These creamy peanut butter banana overnight oats have become my secret weapon for mornings when I want something satisfying without standing over a stove. They take five minutes to throw together, and they reward you with a breakfast that feels indulgent but is actually packed with protein and fiber. No cooking, no fuss, no early-morning decisions.
This is the kind of recipe that makes you feel like you’ve got your life together, even when you definitely don’t.
Why You’ll Love This Recipe
Let me tell you why this recipe has earned a permanent spot in my weekly rotation. I’ve tested it at least a dozen times—with different milks, different sweeteners, different ratios—and this version is the one that hits every single time.
- 5-Minute Prep : You read that right. Five minutes. No joke. This comes together faster than waiting for your coffee to brew. Perfect for those Sunday meal prep sessions or late-night “I should probably plan breakfast” moments.
- Simple Pantry Ingredients : You likely have everything in your kitchen right now. Oats, milk, peanut butter, a banana, maybe a splash of vanilla or maple syrup. That’s it. No specialty stores, no exotic finds, no panic trips to the grocery store.
- Perfect for Busy Mornings : Grab-and-go breakfast that actually tastes good. No microwave required. No waiting. No dishes at 7 AM. Just open the fridge and eat.
- Naturally Sweet & Satisfying : The banana does most of the heavy lifting on sweetness, so you don’t need much added sugar. Plus, the combination of fiber from the oats, protein from the peanut butter, and potassium from the banana keeps you full until lunch.
- Kid-Approved & Adult-Approved : My niece calls these “banana pudding oats” and requests them every time she stays over. My husband, as mentioned, is a convert. Even my mom, who is suspicious of anything that isn’t served hot, asked for the recipe.
What sets these overnight oats apart from the hundreds of other recipes out there? It’s the texture. Most overnight oats turn into a gluey, sad mess. Not these. The mashed banana creates this silky, pudding-like consistency that coats every oat perfectly. The peanut butter doesn’t separate or get clumpy—it emulsifies into the milk and creates this unified, creamy situation that tastes like you spent way more effort than you actually did.
This isn’t just another breakfast option. It’s the breakfast that makes you look forward to waking up.
What Ingredients You Will Need
This recipe uses simple, wholesome ingredients that work together to create something genuinely greater than the sum of their parts. Here’s what you’ll need and why each one matters.
- Rolled Oats (1/2 cup / 45g) – Not quick oats, not steel-cut. Rolled oats are the Goldilocks of the oat world. They absorb liquid overnight without turning to mush, and they maintain a pleasant chewy texture. I prefer Bob’s Red Mill or Quaker Old-Fashioned. Quick oats will work in a pinch but give you a softer, almost baby-food texture. Steel-cut oats won’t soften enough overnight unless you soak them for 48 hours.
- Ripe Banana (1 medium, mashed) – This is non-negotiable for the creamy factor. The riper the banana, the sweeter and smoother your oats will be. Look for bananas with plenty of brown spots—they mash easily and add natural sweetness without needing extra sugar. If your banana is still a bit green, you’ll notice a starchy taste and less creaminess.
- Creamy Peanut Butter (2 tablespoons / 32g) – Use a natural peanut butter with no added sugar or weird oils if you can. I like the kind where the oil separates and you have to stir it—that’s the good stuff. Skippy or Jif work too, but they’ll add a bit more sweetness and stabilizers. Crunchy peanut butter works if you want texture, but creamy blends in more smoothly.
- Milk of Choice (1/2 cup / 120ml) – Whole milk gives the richest texture, but oat milk is my personal favorite for this recipe because it doubles down on the oat flavor. Almond milk works and keeps things lighter. Coconut milk adds a subtle tropical note. Just avoid anything too watery like skim milk, which won’t give you that luscious consistency.
- Plain Greek Yogurt (1/4 cup / 60g) – This is the secret weapon for extra creaminess and a protein boost. I use full-fat Greek yogurt for the best texture, but 2% works fine. If you’re dairy-free, use a thick coconut or soy yogurt. The yogurt adds tanginess that balances the sweetness of the banana and peanut butter beautifully.
- Maple Syrup or Honey (1 tablespoon, optional) – Depending on how sweet your banana is, you might not need this. I usually add a tiny drizzle because I have a sweet tooth, but taste your banana first. If it’s super spotty and sweet, skip the extra sweetener. If it’s just barely ripe, go ahead and add it.
- Chia Seeds (1 tablespoon / 12g) – These little guys are optional but highly recommended. They absorb liquid overnight and create a pudding-like gel that thickens the oats beautifully. Plus, they add omega-3s, fiber, and protein. Black or white chia seeds work the same.
- Vanilla Extract (1/2 teaspoon) – Pure vanilla extract if you have it. Imitation works too. This tiny addition rounds out the flavors and makes everything taste more… finished. You won’t taste vanilla specifically, but you’ll notice if it’s missing.
- Pinch of Salt – Don’t skip this. Salt enhances the peanut butter flavor and balances the sweetness. A tiny pinch makes a world of difference. I use flaky sea salt on top as a garnish sometimes, too.
Substitution Notes: For a vegan version, use plant-based milk, dairy-free yogurt, and maple syrup instead of honey. For a gluten-free option, make sure your oats are certified gluten-free (oats are naturally gluten-free but often processed with wheat). For a lower-carb version, reduce the banana to half and add an extra tablespoon of chia seeds and yogurt for creaminess.
Equipment Needed
You don’t need much for this recipe, which is part of the beauty. Here’s the short list:
- Mason Jar or Airtight Container (16 oz / 500ml size) – A wide-mouth mason jar is perfect because you can eat straight from it. Any container with a tight-fitting lid works. I’ve used old pasta sauce jars, glass meal prep containers, even a ceramic soup bowl covered with plastic wrap. The key is an airtight seal so the oats don’t dry out or absorb fridge smells.
- Small Bowl or Fork for Mashing – You’ll mash the banana before adding it to the jar. A fork works great. A potato masher is overkill but fun. You could also mash it right in the jar if you’re feeling brave and don’t mind some banana chunks.
- Measuring Cups and Spoons – For accuracy, especially with the chia seeds and peanut butter. Eyeballing works once you’ve made this a few times, but measure the first time so you know what the right consistency looks like.
- Spoon or Small Whisk – For stirring everything together. A fork works too. Make sure you scrape the bottom and corners so nothing stays dry.
Budget-Friendly Tip: Don’t buy special overnight oats jars. Repurpose any glass jar you have. I’ve been using the same four pasta sauce jars for two years, and they work perfectly. If you’re giving these as gifts or want something cute, sure, buy the fancy jars. But for everyday use, anything with a lid works.
Preparation Method
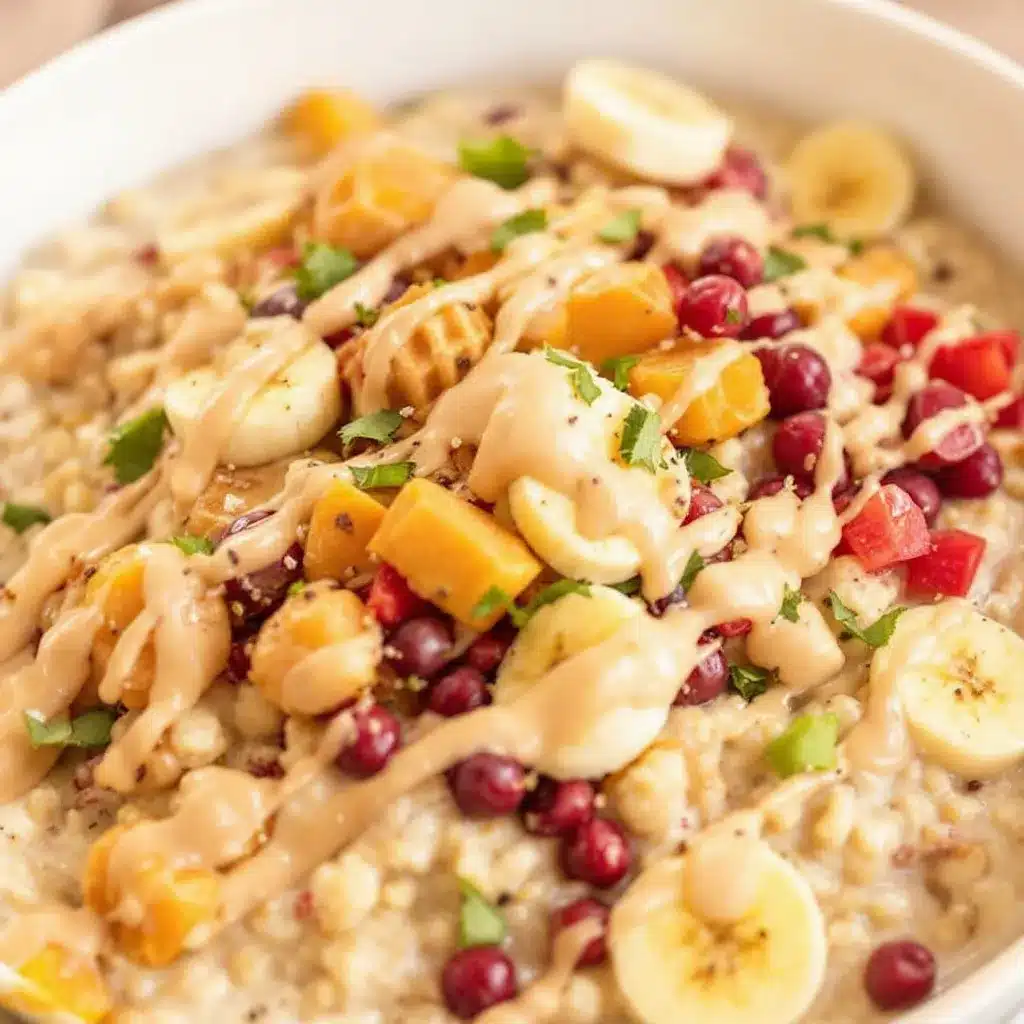
This is the part where I walk you through every step, including the little details I learned from trial and error. Trust me on the order of operations—it matters.
- Mash the banana first. In a small bowl, mash your ripe banana with a fork until it’s mostly smooth with just a few tiny lumps. You want it to be the consistency of baby food—smooth enough to blend into the oats but with a little texture for interest. If you leave big chunks, they’ll be weirdly cold and slimy in the morning. Trust me on this one.
- Add the wet ingredients to your jar. Spoon the mashed banana into your mason jar or container. Add the peanut butter, milk, Greek yogurt, maple syrup (if using), and vanilla extract. Don’t stir yet—just let them sit together for a moment.
- Add the dry ingredients. Pour in the rolled oats, chia seeds, and a tiny pinch of salt right on top of the wet ingredients. This layering method helps everything mix more evenly later.
- Stir like you mean it. Grab a spoon and stir everything together thoroughly. This is the most important step. Scrape the bottom, get the corners, make sure every oat is coated. The peanut butter can be stubborn, so really work it in. If you see clumps of peanut butter, smash them against the side of the jar. You want a uniform, creamy mixture with no dry spots.
- Taste and adjust. Before you put the lid on, taste a tiny bit. Is it sweet enough? Add a drizzle more maple syrup. Too thick? Splash in another tablespoon of milk. Not peanut buttery enough? Add another half tablespoon. This is your chance to customize before the overnight transformation happens.
- Seal and refrigerate. Put the lid on tightly and place the jar in the fridge. Leave it for at least 6 hours, but overnight (8-12 hours) is ideal. The magic happens while you sleep. The oats absorb the liquid, the chia seeds plump up, the banana flavor deepens, and everything melds together into this cohesive, creamy breakfast.
- Morning assembly (optional but recommended). In the morning, take the jar out of the fridge and give it a good stir. The texture should be thick and creamy—like a pudding that’s just thick enough to hold its shape. If it’s too thick for your liking, stir in a splash of milk until it reaches your preferred consistency. I like mine on the thicker side, so I usually eat it straight.
- Add toppings. This is where you make it Instagram-worthy or just delicious. Sliced banana on top, a drizzle of warm peanut butter, a sprinkle of chia seeds or chopped peanuts, maybe a dusting of cinnamon or cocoa nibs. I’m partial to a few dark chocolate chips because life is short.
Pro tip from someone who learned the hard way: Don’t skip the stirring step. I once threw everything in a jar without mixing properly, and the next morning I had pockets of dry oats and a glob of peanut butter at the bottom. It was sad. Take the extra 30 seconds to stir thoroughly.
Sensory cue: After stirring, the mixture should look like a thick, slightly lumpy batter. It shouldn’t be runny like soup. If it looks too liquidy, add a few more oats. If it looks like concrete, add a splash more milk. The consistency before refrigeration should be slightly thinner than what you want in the morning, because the oats will absorb liquid overnight.
Cooking Tips & Techniques
I’ve made this recipe probably fifty times at this point, and I’ve collected some hard-won wisdom along the way. Here are the things I wish someone had told me when I started making overnight oats.
The ratio is everything. The perfect overnight oat ratio is 1:1:1 – equal parts oats, milk, and yogurt by volume. That’s the formula I use for every variation. Too much milk and you get soup. Too many oats and you get concrete. Stick to the measurements until you feel confident enough to experiment.
Temperature matters. Take your overnight oats out of the fridge about 10 minutes before eating if you don’t like them ice-cold. Some people prefer them straight from the fridge (my husband), and some like them at room temperature (me). I’ve also microwaved them for 30 seconds on a cold morning, and it works fine—just stir halfway through and don’t overheat or the yogurt can separate.
The peanut butter trick. If your peanut butter is thick and stubborn (looking at you, natural peanut butter), warm it slightly before adding. Microwave it for 10 seconds or set the jar in a bowl of warm water for a minute. This makes it much easier to stir in evenly and prevents those annoying clumps.
My biggest failure: One time I used old oats that had been sitting in my pantry for over a year. They smelled fine, so I thought they were okay. The next morning, the oats were chewy in a bad way—almost crunchy, like they hadn’t absorbed any liquid. Turns out, oats do go stale, and stale oats don’t absorb liquid properly. Always use fresh oats for the best texture. If your oats are more than six months old, consider buying a fresh batch.
Batch prep like a pro. Make 4-5 jars at once on Sunday evening. They keep in the fridge for up to 5 days. Just leave the toppings off until you’re ready to eat, and add a splash of milk before stirring if they’ve thickened too much by day 4 or 5. This has saved me on so many chaotic weekday mornings.
Variations & Adaptations
Once you’ve mastered the basic recipe, the possibilities are endless. Here are some of my favorite variations that keep this recipe from getting boring.
Chocolate Peanut Butter Banana: Add 1 tablespoon of unsweetened cocoa powder when you mix everything together. Use chocolate milk instead of regular milk for double chocolate action. Top with chocolate shavings or a few dark chocolate chips. This version tastes like a healthy version of a Reese’s cup, and it’s my personal favorite for when I want something indulgent.
Berry Banana Bliss: Add 1/4 cup of mixed berries (fresh or frozen) on top before refrigerating. Strawberries, blueberries, or raspberries work beautifully. The berries release their juices overnight and create these lovely pockets of tartness that cut through the richness of the peanut butter. If using frozen berries, don’t thaw them first—they’ll thaw in the fridge overnight and create the perfect texture.
High-Protein Version: Add a scoop of vanilla or chocolate protein powder (about 20g) and increase the milk by 2 tablespoons to compensate for the extra dry ingredients. I use a plant-based vanilla protein powder, but whey works too. This version has around 30g of protein and keeps me full until lunch without fail. It’s my go-to for busy days when I know I won’t have time for a proper lunch.
Vegan Version: Use almond milk or oat milk, dairy-free yogurt (coconut or soy based), and maple syrup instead of honey. Everything else is already plant-based. The texture is slightly less creamy than the dairy version, but still delicious. I actually prefer oat milk in this recipe because it adds extra creaminess without dairy.
Warm Overnight Oats: If you’re not a cold breakfast person (I see you, and I respect you), you can microwave these for 45-60 seconds in the morning. Just make sure you use a microwave-safe jar and stir halfway through. The texture changes slightly—it becomes more porridge-like—but it’s still delicious. I do this on cold winter mornings when I need something warm and cozy.
Serving & Storage Suggestions
These overnight oats are incredibly versatile when it comes to serving and storing. Here’s everything you need to know.
Serving Temperature: I prefer them cold straight from the fridge, but they’re also delicious at room temperature or warmed up. If you’re serving them to guests, let them sit out for 10 minutes before serving so they’re not shockingly cold. Top with sliced banana, a drizzle of peanut butter, a sprinkle of cinnamon, and maybe a few chocolate chips for presentation.
What to Serve With: These oats are a complete meal on their own, but if you want to round things out, serve them with a side of fresh fruit or a healthy egg white breakfast burrito for extra protein. A cup of hot coffee or a cold glass of milk pairs beautifully. For a brunch spread, these oats alongside fluffy cottage cheese pancakes would be a showstopper.
Storage: Keep your overnight oats in an airtight container in the refrigerator for up to 5 days. I don’t recommend freezing them—the texture of the oats and banana gets weird when thawed. If you’re meal prepping, make 4-5 jars on Sunday and eat them throughout the week. Just leave any toppings (fresh fruit, nuts, chocolate chips) off until you’re ready to eat, or they’ll get soggy.
Reheating: If you prefer warm oats, microwave for 45-60 seconds, stirring halfway through. Add a splash of milk before microwaving to prevent them from drying out. You can also eat them cold straight from the fridge—no reheating needed. That’s the beauty of this recipe.
Flavor Development: Here’s something interesting—these oats actually taste better on day 2 than day 1. The flavors have more time to meld together, the banana flavor deepens, and the texture becomes even creamier. So if you can wait, make them two days ahead for the best experience. Day 3 and 4 are still excellent. By day 5, the oats start to get a bit soft, but they’re still perfectly edible.
Nutritional Information & Benefits
Let’s talk about what’s actually in this jar of goodness. These numbers are estimates based on the recipe as written (using whole milk, full-fat Greek yogurt, and 1 tablespoon maple syrup).
| Nutrient | Amount Per Serving |
|---|---|
| Calories | ~420 |
| Protein | 18g |
| Carbohydrates | 52g |
| Fiber | 10g |
| Fat | 18g |
| Sugar | 18g (mostly natural from banana and milk) |
| Potassium | ~500mg |
Health Benefits: This recipe is packed with good-for-you ingredients. The oats provide soluble fiber (beta-glucan) that helps lower cholesterol and keeps you full. The peanut butter adds healthy monounsaturated fats and plant-based protein. Bananas are loaded with potassium, which supports heart health and muscle function. Chia seeds are tiny nutritional powerhouses with omega-3 fatty acids, fiber, and calcium. Greek yogurt contributes probiotics for gut health and extra protein for satiety.
Dietary Considerations: This recipe is naturally vegetarian. For a vegan version, use plant-based milk and yogurt and maple syrup. For gluten-free, use certified gluten-free oats. For nut-free, substitute sunflower seed butter or tahini for the peanut butter. The recipe is relatively low in added sugar, especially if you use a very ripe banana and skip the maple syrup.
Potential Allergens: Contains peanuts, dairy (if using regular milk and yogurt), and gluten (if using regular oats). Adjust substitutions as needed for your dietary requirements.
I love that this breakfast feels indulgent while actually being pretty darn nutritious. It’s the kind of meal that makes you feel good about starting your day—satisfied, energized, and ready to tackle whatever comes.
Conclusion
Here’s the thing about these creamy peanut butter banana overnight oats—they’re not complicated or fancy or chef-approved. They’re just really, really good. They’re the breakfast that makes you feel like you’ve got your act together, even when you’re running late and wearing mismatched socks.
I make these every single week now. Sometimes I add chocolate chips, sometimes I throw in berries, sometimes I keep it simple with just banana and peanut butter. Every version is delicious. Every version takes five minutes. Every version makes my morning better.
I’d love to hear how these turn out for you. Do you add anything fun? Did you try a variation I haven’t thought of? Drop a comment below and let me know—I genuinely read every single one, and your ideas might end up in my next batch. If you’re looking for other easy breakfast ideas, try these no-bake peanut butter chocolate protein energy balls for a grab-and-go option, or this healthy high-protein cottage cheese bowl with fresh berries for another quick and satisfying meal.
Go make your mornings easier. You deserve a breakfast that’s this good and this simple.
Frequently Asked Questions
Can I use quick oats instead of rolled oats?
Yes, but the texture will be much softer—almost like baby food. Quick oats absorb liquid faster and break down more overnight. If you prefer a smoother, pudding-like texture, quick oats work fine. If you want some chew and structure, stick with rolled oats.
How long do overnight oats last in the fridge?
Up to 5 days in an airtight container. The texture gets creamier over the first 2-3 days, then starts to soften. By day 5, they’re still edible but noticeably softer. If you’re meal prepping, I recommend making 4-5 jars at once for the week.
Can I eat these warm?
Absolutely! Microwave for 45-60 seconds, stirring halfway through. Add a splash of milk before microwaving to prevent drying out. The texture becomes more porridge-like, which is perfect for cold mornings.
Are overnight oats healthy?
Yes, they’re packed with fiber, protein, healthy fats, and essential nutrients. This recipe has about 18g of protein, 10g of fiber, and minimal added sugar (most of the sweetness comes from the banana). They’re a balanced breakfast that keeps you full and energized.
Can I make these without yogurt?
Yes, just increase the milk by 1/4 cup to compensate. The texture will be slightly less creamy and tangy, but still delicious. You can also substitute with blended silken tofu for a dairy-free option that adds protein and creaminess without the tang.
Pin This Recipe!
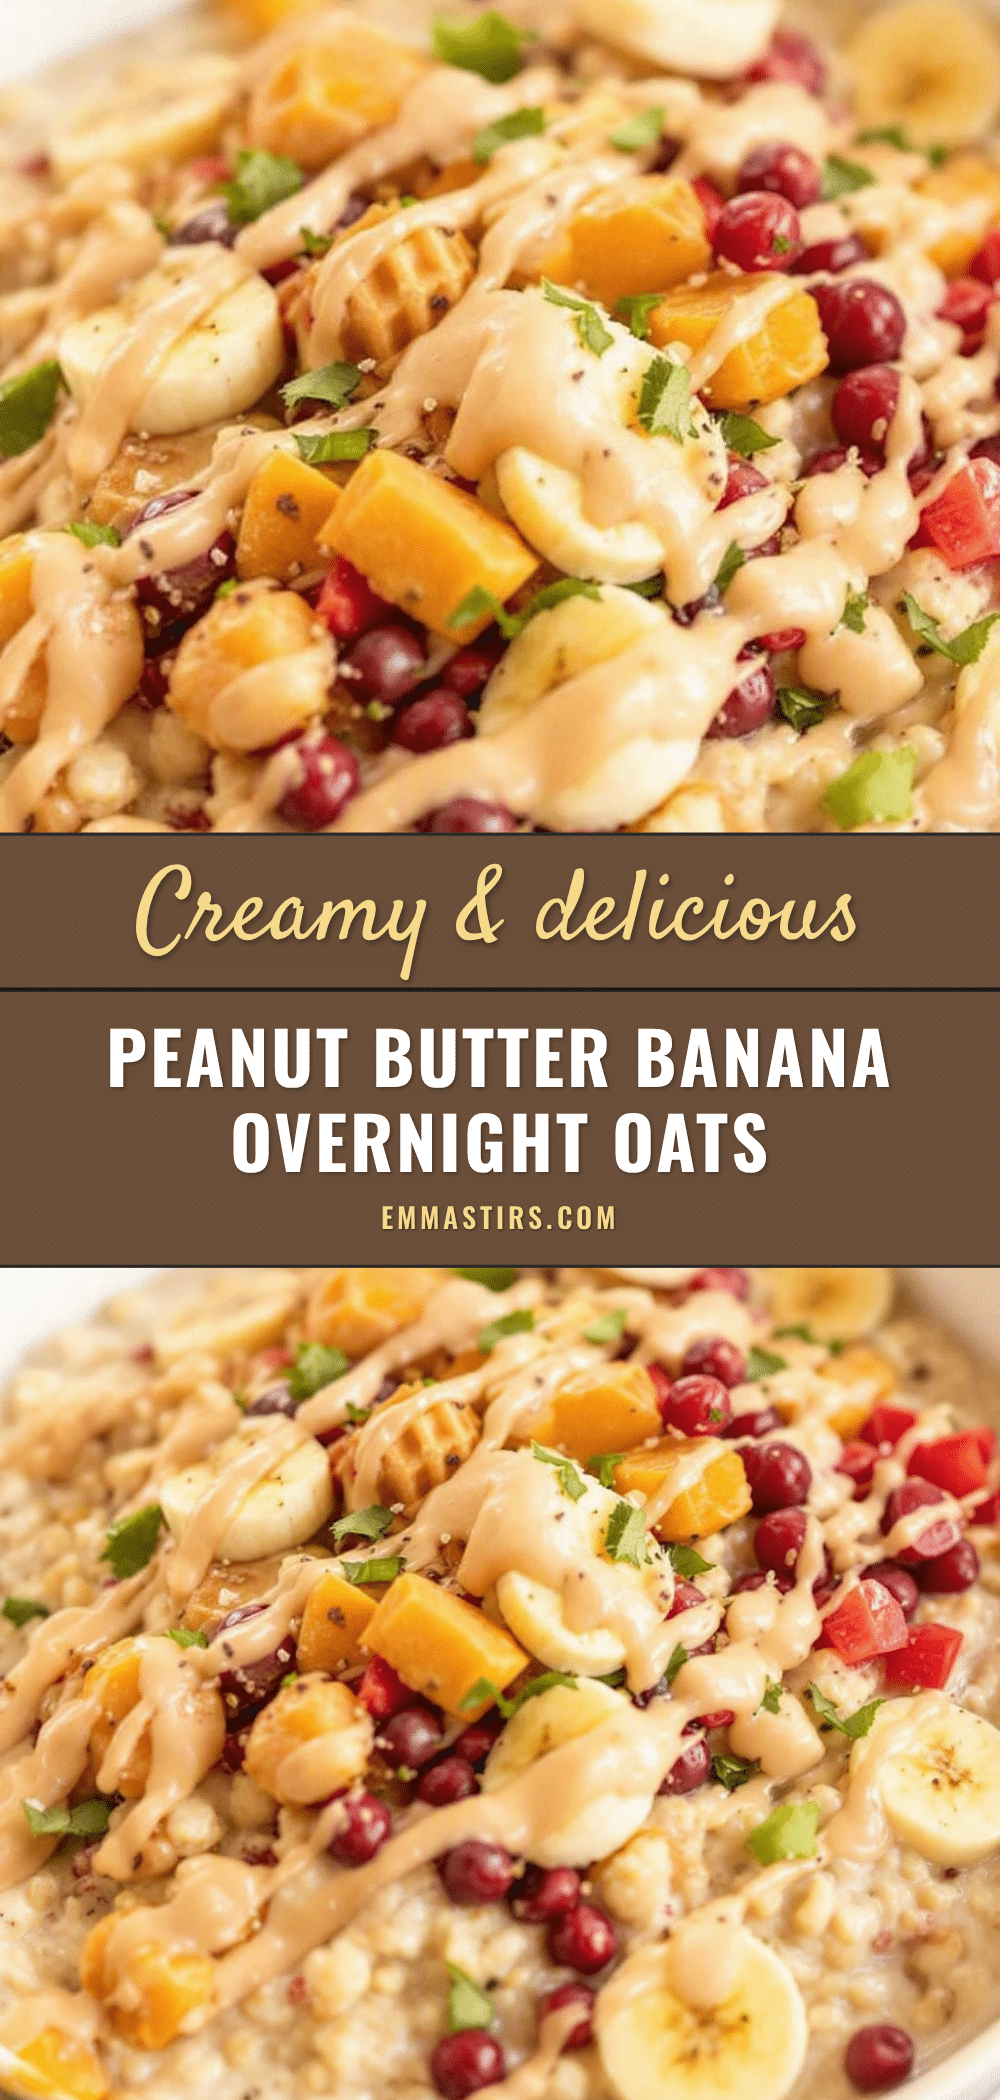
Creamy Peanut Butter Banana Overnight Oats: Easy 5-Minute Recipe
These creamy peanut butter banana overnight oats are a 5-minute prep breakfast that tastes like dessert. Naturally sweetened with ripe banana and packed with protein and fiber, they’re perfect for busy mornings.
- Prep Time: 5 minutes
- Cook Time: 0 minutes
- Total Time: 5 minutes (plus overnight refrigeration)
- Yield: 1 serving 1x
- Category: Breakfast
- Cuisine: American
Ingredients
- 1/2 cup (45g) rolled oats
- 1 medium ripe banana, mashed
- 2 tablespoons (32g) creamy peanut butter
- 1/2 cup (120ml) milk of choice (whole milk or oat milk recommended)
- 1/4 cup (60g) plain Greek yogurt (full-fat recommended)
- 1 tablespoon maple syrup or honey (optional)
- 1 tablespoon (12g) chia seeds
- 1/2 teaspoon vanilla extract
- Pinch of salt
Instructions
- Mash the banana first: In a small bowl, mash the ripe banana with a fork until mostly smooth with a few tiny lumps.
- Add the wet ingredients to your jar: Spoon the mashed banana into a mason jar or airtight container. Add the peanut butter, milk, Greek yogurt, maple syrup (if using), and vanilla extract. Do not stir yet.
- Add the dry ingredients: Pour the rolled oats, chia seeds, and a tiny pinch of salt on top of the wet ingredients.
- Stir like you mean it: Stir everything together thoroughly, scraping the bottom and corners to ensure every oat is coated and no clumps of peanut butter remain.
- Taste and adjust: Before sealing, taste a tiny bit and adjust sweetness or thickness as needed.
- Seal and refrigerate: Put the lid on tightly and refrigerate for at least 6 hours, preferably overnight (8-12 hours).
- Morning assembly: In the morning, stir the oats. If too thick, add a splash of milk. Add toppings like sliced banana, a drizzle of peanut butter, chia seeds, chopped peanuts, cinnamon, or dark chocolate chips.
Notes
For best texture, use rolled oats (not quick or steel-cut). The riper the banana, the sweeter and creamier the oats. For a vegan version, use plant-based milk, dairy-free yogurt, and maple syrup. For gluten-free, use certified gluten-free oats. Oats keep in the fridge for up to 5 days; add toppings just before serving.
Nutrition
- Serving Size: 1 jar (about 1.5 cup
- Calories: 420
- Sugar: 18
- Sodium: 200
- Fat: 18
- Saturated Fat: 4
- Carbohydrates: 52
- Fiber: 10
- Protein: 18
Keywords: overnight oats, peanut butter banana overnight oats, easy breakfast, no-cook breakfast, healthy breakfast, meal prep breakfast, creamy overnight oats