Love this? Save it for later!
Share the inspiration with your friends
Three kids coughing in the backseat, a half-empty jar of honey on the counter, and the unmistakable feeling that cold season had officially set up camp in our house. That’s when I first made homemade elderberry syrup. Not because I had grand plans of becoming a herbal remedy person, but because I was desperate. The pharmacy was out of the good stuff, the store-bought version cost more than a nice dinner out, and honestly? I didn’t have it in me to bundle everyone back into the car. So I stood in my kitchen, stared at a bag of dried elderberries I’d impulse-bought months ago, and figured—how hard could it be?
Turns out, not hard at all. And the result? Way better than anything I’d bought before. This homemade elderberry syrup for cold season became our family’s go-to that winter. It’s the kind of thing that makes you feel a little bit like you’ve got it together, even when you’re running on three hours of sleep and coffee. It’s rich, deeply purple, just sweet enough from the honey, and it tastes like comfort in a spoonful. My kids actually ask for it, which is basically a parenting win in my book.
This recipe stuck because it works. Not in a magical, overnight-cure kind of way, but in a slow-build, immune-supporting, we-can-get-through-this-season kind of way. And honestly, that’s the best kind of recipe to keep around.
Why You’ll Love This Recipe
I’ve tested this homemade elderberry syrup for cold season more times than I can count, tweaking the ratios, swapping spices, and even burning a batch once (don’t ask). What I ended up with is a recipe that’s forgiving, effective, and genuinely delicious. Here’s why it works so well:
- Quick & Easy: Comes together in about 45 minutes, most of which is hands-off simmering time. Perfect for a Sunday afternoon or a weeknight when you realize everyone’s sniffling.
- Simple Ingredients: No weird extracts or hard-to-find herbs. You can find everything at a regular grocery store or online without a fuss.
- Perfect for Cold Season: This is the stuff you want on hand when the weather turns and everyone starts coughing. It’s soothing, warming, and packed with immune-supporting goodness.
- Crowd-Pleaser: Even my picky eater takes it without complaint. The honey and spices make it taste more like a treat than a remedy.
- Unbelievably Effective: We use this syrup at the first sign of a scratchy throat, and it genuinely helps us feel better faster. It’s not a cure, but it’s a serious support system.
What makes this recipe different? It’s the balance. The elderberries are the star, but the ginger, cinnamon, and cloves round out the flavor so it doesn’t taste medicinal. And using raw honey at the end (not cooking it in) preserves all those natural enzymes and benefits. This isn’t just another herbal syrup recipe—it’s the one I’ve refined over years of cold seasons, and it’s the one I trust for my own family.
There’s something about making your own elderberry syrup that feels deeply satisfying. It’s like you’re taking care of your people before they even know they need it. And that first spoonful, when it’s warm and slightly spicy and sweet—it just hits different.
What Ingredients You Will Need
This recipe uses simple, wholesome ingredients that work together to create a powerful immune-supporting syrup. Most of these are pantry staples in my house during cold season, and they’re easy to find year-round.
- Dried elderberries – 1 cup. These are the foundation of the syrup. I buy organic dried elderberries from a trusted brand like Starwest Botanicals or Frontier Co-op. Look for deep purple-black berries that aren’t too shriveled. They should smell slightly fruity and earthy.
- Water – 4 cups. Filtered water works best, but tap is fine if it tastes good. The water extracts the beneficial compounds from the berries and spices.
- Fresh ginger root – 1 large piece (about 3 inches), thinly sliced. Don’t bother peeling it—just wash it well and slice it into rounds. Ginger adds warmth and helps soothe sore throats. I’ve tried ground ginger in a pinch, but fresh is noticeably better.
- Cinnamon sticks – 2 sticks. They add a lovely sweetness and warmth without any sugar. Plus, cinnamon is great for circulation and has its own immune-supporting properties.
- Whole cloves – 1 teaspoon. A little goes a long way here. Cloves add depth and a slightly spicy, almost numbing quality that’s nice for sore throats.
- Raw honey – 1 cup (or to taste). This is crucial—use raw, unfiltered honey if you can. It contains natural enzymes and antibacterial properties that are destroyed by heat. Never add honey while the syrup is hot; let it cool first to preserve those benefits. Local honey is even better if you can find it.
- Optional: Rose hips or astragalus root – A small handful. I sometimes add these for an extra immune boost. Rose hips add vitamin C, and astragalus is a classic immune tonic in traditional herbal medicine. Skip them if you want to keep it simple.
One note on substitutions: You can use dried ginger powder if that’s all you have (use about 1 tablespoon), but the flavor won’t be as bright. If you’re avoiding honey for dietary reasons, you can substitute maple syrup, but it won’t have the same immune-supporting properties. For a vegan version, use maple syrup or agave and add an extra slice of ginger for warmth.
Equipment Needed
You don’t need fancy equipment for this homemade elderberry syrup for cold season, which is part of what makes it so approachable. Here’s what you’ll need:
- Medium saucepan – A 3-quart pot works perfectly. Stainless steel or enameled is ideal; avoid aluminum, which can react with the berries.
- Fine-mesh strainer – You’ll need this to strain out the berries and spices. A nut milk bag or cheesecloth also works if you don’t have a strainer.
- Glass jar or bottle – A 16-ounce or 24-ounce glass jar with a tight-fitting lid. I use a swing-top bottle because it feels fancy, but a regular mason jar is perfect. Make sure it’s clean and sterilized.
- Wooden spoon or spatula – For stirring. Nothing fancy needed.
- Funnel – Optional but helpful for pouring the syrup into the jar without making a mess. I’ve definitely spilled elderberry syrup on the counter more times than I’d like to admit.
- Measuring cups and spoons – Standard kitchen basics.
If you don’t have a fine-mesh strainer, you can use a colander lined with a clean kitchen towel or paper towels. Just be careful not to burn yourself when pouring. I learned that one the hard way.
Preparation Method
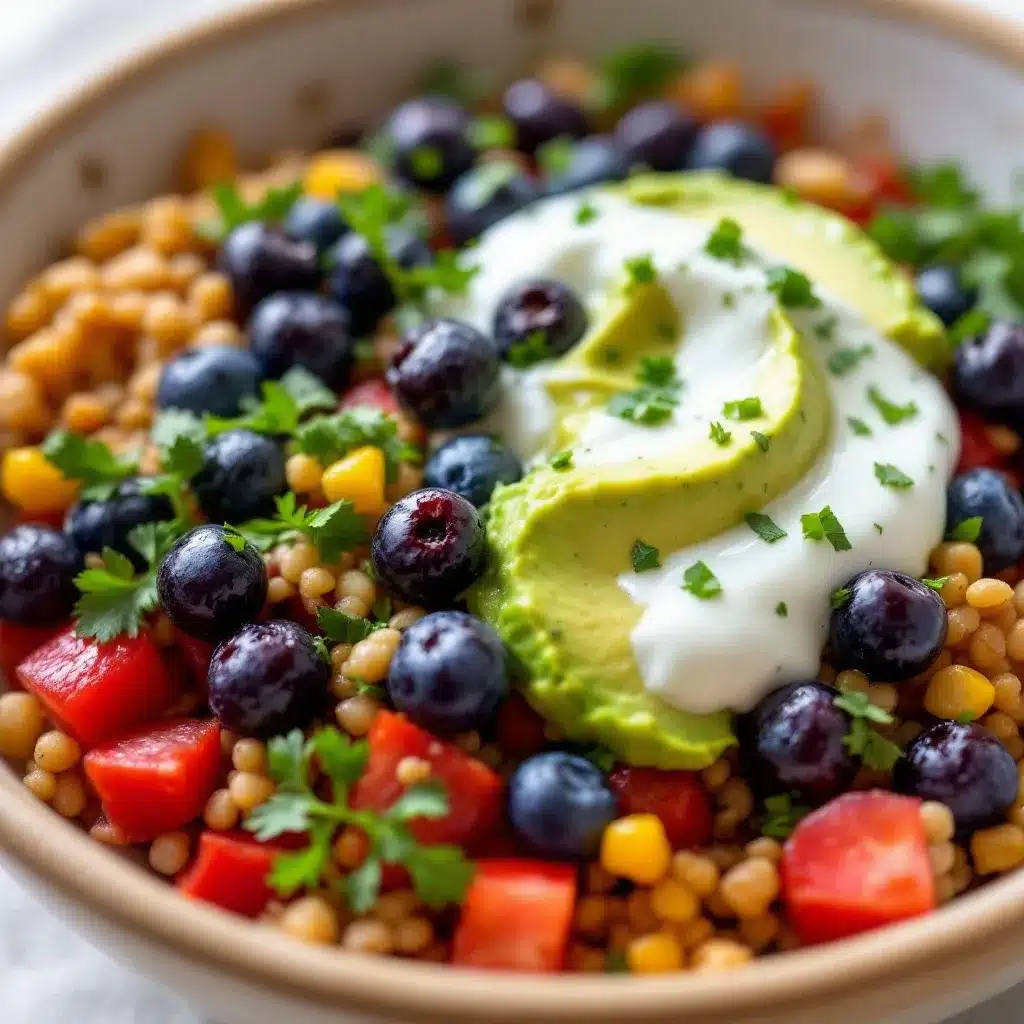
Making this homemade elderberry syrup for cold season is straightforward, but a few small details make a big difference. Follow these steps, and you’ll have a beautiful, deep purple syrup that’s ready to use.
- Combine the berries, water, and spices. In your medium saucepan, add the dried elderberries, water, sliced ginger, cinnamon sticks, and whole cloves. Give it a quick stir to make sure everything is submerged. The water will look very dark immediately—that’s normal.
- Bring to a boil, then simmer. Place the pot over medium-high heat and bring it to a gentle boil. This takes about 5-7 minutes. Once it’s boiling, reduce the heat to low and let it simmer uncovered for 30-35 minutes. You’ll see the liquid reduce slightly and deepen in color. The berries will plump up and look almost like small raisins. Don’t let it boil vigorously; a gentle simmer is what you want.
- Mash the berries (optional but recommended). After about 20 minutes of simmering, use the back of your wooden spoon to gently press on the berries. This helps release more of their beneficial compounds and flavor. You don’t need to pulverize them, just a few good presses. The liquid should be very dark and fragrant at this point.
- Strain the mixture. Place your fine-mesh strainer over a large bowl or heatproof measuring cup. Carefully pour the hot mixture through the strainer. Let it sit for a few minutes to drain completely. You can press gently on the berries with the back of a spoon to get every last drop, but don’t force it too hard or you’ll get sediment. Discard the solids (or compost them).
- Cool the liquid. Let the strained liquid cool until it’s warm but not hot—about 15-20 minutes. This step is important because adding honey to hot liquid destroys its beneficial enzymes. You want it warm enough to incorporate easily, but not so hot that you can’t comfortably touch the bowl.
- Stir in the honey. Once the liquid has cooled, add the raw honey and stir gently until it’s fully dissolved. The mixture will become slightly thicker and glossier. Taste it at this point—if you want it sweeter, add a little more honey. I usually stick with 1 cup because I like the balance between tart and sweet.
- Bottle and store. Using a funnel, pour the syrup into your clean glass jar or bottle. Seal it tightly and let it cool completely before refrigerating. The syrup will thicken slightly as it cools.
A few notes as you go: Your kitchen will smell amazing—like spiced tea and comfort. Don’t be alarmed if the syrup separates slightly in the fridge; just give it a gentle shake before using. And if you’re making a double batch (which I often do), just double everything and use a larger pot.
Cooking Tips & Techniques
After making this homemade elderberry syrup for cold season more times than I can count, I’ve picked up a few tricks that make the process smoother and the result better. Here’s what I’ve learned:
- Don’t boil the honey. This is the most important tip. Raw honey is packed with natural enzymes and antibacterial properties, but heat destroys them. Always let the strained liquid cool before adding honey. I learned this the hard way when I made my first batch and added honey while it was still steaming—the syrup was fine, but I lost a lot of the benefits.
- Use whole spices, not ground. Ground spices will turn your syrup into a cloudy, gritty mess. Whole cinnamon sticks, fresh ginger slices, and whole cloves strain out cleanly and give you a clear, beautiful syrup. Plus, they’re easier to remove.
- Don’t over-simmer. Thirty to thirty-five minutes is the sweet spot. If you simmer too long, the liquid reduces too much and the syrup becomes overly concentrated and almost bitter. You want it to reduce by about a third, not half.
- Sterilize your jar. This is especially important if you plan to store the syrup for more than a few weeks. Wash your jar and lid in hot, soapy water, then rinse well. You can also run them through the dishwasher. A clean jar helps prevent mold from forming.
- Label and date your jar. I know it sounds silly, but when you have multiple jars in the fridge (elderberry syrup, salad dressing, leftover soup), it’s easy to forget what’s what. I use a piece of masking tape and a Sharpie.
One mistake I still make sometimes is forgetting to stir the honey in thoroughly. It sinks to the bottom and you end up with a super sweet last dose and a less sweet first dose. Give it a good stir, people. Learn from my laziness.
Variations & Adaptations
This recipe is wonderfully flexible. Here are some variations I’ve tried and loved:
- Spicy Immune Booster: Add a pinch of cayenne pepper or a few slices of fresh turmeric root along with the ginger. It adds a little heat and extra anti-inflammatory benefits. My husband loves this version when he feels a cold coming on.
- Herbal Blend: Add a tablespoon of dried echinacea or a few slices of astragalus root to the simmering liquid. Both are classic immune-supporting herbs that pair beautifully with elderberries. I do this during peak cold season.
- Kid-Friendly Version: Reduce the ginger to 1 inch and skip the cloves. Some kids find the clove flavor too strong. Add an extra cinnamon stick for sweetness instead. My youngest calls this “purple honey” and asks for it by name.
- Low-Sugar Option: Use only 1/2 cup of honey and add a few drops of stevia if you need sweetness. The elderberries and cinnamon provide enough natural sweetness for most people. I’ve made this version for a friend who was watching her sugar intake, and she loved it.
- Grown-Up Version: Add a splash of bourbon or whiskey to the cooled syrup. It’s not traditional, but it makes a lovely hot toddy base in the winter. Just a tablespoon per batch is enough.
I once made a batch with orange peel and star anise instead of cloves and cinnamon. It was delicious—kind of like a winter spice tea in syrup form. Don’t be afraid to experiment with what you have on hand.
Serving & Storage Suggestions
This homemade elderberry syrup for cold season is versatile and easy to incorporate into your daily routine. Here’s how I use and store it:
Serving: For adults, I take 1 tablespoon daily during cold season, and 2-3 tablespoons if I feel something coming on. For kids ages 1 and up, 1 teaspoon daily is standard, and 2-3 teaspoons if they’re fighting off a bug. You can take it straight from a spoon (my kids call it “medicine candy”), or stir it into warm water or tea. It’s also lovely drizzled over yogurt, oatmeal, or pancakes for an immune-supporting breakfast.
Storage: Keep the syrup in a sealed glass jar in the refrigerator. It will last for 2-3 months if stored properly. I’ve kept batches for up to 4 months without any issues, but it rarely lasts that long in our house. If you see any mold, fizzing, or off smells, toss it and make a fresh batch.
Freezing: You can freeze elderberry syrup in ice cube trays for single-serving portions. Pop out the cubes and store them in a freezer bag. They’ll keep for up to a year. Thaw a cube in the fridge overnight or drop it into a mug of hot tea. This is my favorite method for keeping a long-term supply on hand.
Reheating: If you want to take it warm (which is lovely for a sore throat), gently warm a serving in a small saucepan over low heat. Don’t microwave it, as that can destroy the honey’s beneficial properties. Or just stir it into a cup of hot water for an instant soothing drink.
The flavor actually improves after a few days in the fridge as the spices continue to meld. It gets deeper and more complex, like a good marinade or sauce.
Nutritional Information & Benefits
While I’m not a nutritionist, I’ve done my research on the ingredients in this homemade elderberry syrup for cold season. Here’s what you should know:
Estimated nutrition per tablespoon (15ml): Calories: 35, Carbohydrates: 9g, Sugars: 8g (from honey), Vitamin C: 2% DV, Iron: 1% DV. These values are approximate and will vary based on the exact ingredients and honey used.
Key benefits: Elderberries are packed with antioxidants, particularly anthocyanins, which give them their deep purple color. They’re also rich in flavonoids that support immune function. Ginger is anti-inflammatory and helps soothe sore throats and nausea. Cinnamon supports healthy blood sugar levels and has antimicrobial properties. Raw honey is a natural source of enzymes, antioxidants, and antibacterial compounds.
Dietary considerations: This recipe is naturally gluten-free, dairy-free, and vegetarian. For a vegan version, substitute maple syrup for honey (though you’ll lose some of the immune benefits). It’s not suitable for infants under 1 year old due to the honey content. If you’re diabetic or watching your sugar intake, use the low-sugar variation mentioned above.
Allergens: This recipe contains no common allergens, but always check your spice labels if you have sensitivities. The main concern is honey, which is a potential allergen for some people.
For a protein-packed breakfast that supports your immune system, try pairing a spoonful of this syrup with my healthy high-protein cottage cheese bowl with fresh berries for a balanced start to your day.
Conclusion
This homemade elderberry syrup for cold season has become a non-negotiable in our kitchen. It’s simple, effective, and tastes so much better than anything you can buy at the store. Plus, there’s something deeply satisfying about making your own remedies—it’s like you’re taking care of your family before they even need it.
I encourage you to make this recipe your own. Adjust the spices to your taste, try different honey varieties, or add your favorite immune-supporting herbs. The beauty of a simple recipe like this is that it’s forgiving and adaptable. Don’t stress about getting it perfect—just make it with love and intention, and it will work.
I’d love to hear how it turns out for you. Drop a comment below and let me know what variations you tried, or share a photo of your syrup on Pinterest. And if you’re looking for more immune-supporting recipes, check out my wholesome high-protein Greek yogurt chicken salad for a nourishing lunch option.
Stay well, friends. And keep a jar of this purple goodness in your fridge—you’ll be glad you did.
Frequently Asked Questions
Can I use fresh elderberries instead of dried?
You can, but fresh elderberries must be cooked thoroughly before consuming, as raw elderberries contain compounds that can cause stomach upset. Dried elderberries are actually more concentrated in flavor and beneficial compounds, which is why I prefer them for this syrup. If using fresh, use 2 cups and increase the simmering time to 45 minutes.
How long does homemade elderberry syrup last in the fridge?
Properly stored in a sealed glass jar in the refrigerator, this syrup will last 2-3 months. The honey acts as a natural preservative. If you see any signs of mold, fermentation (fizzing), or an off smell, discard the batch and make a fresh one. I always label my jars with the date I made them.
Can I give this syrup to my toddler?
Yes, but only for children over 1 year old due to the honey content (honey can carry botulism spores that are dangerous for infants). For toddlers, I give 1 teaspoon daily during cold season and 2-3 teaspoons if they’re showing symptoms. Always check with your pediatrician before starting any new supplement, especially for young children.
Is it okay to take elderberry syrup every day?
Many people take elderberry syrup daily during cold season as a preventive measure. I personally take 1 tablespoon daily from October through March. However, some herbalists recommend taking breaks (like one week off per month) to prevent your immune system from becoming dependent. Listen to your body and consult a healthcare professional if you have concerns.
Can I make this in a slow cooker?
Absolutely! Combine the elderberries, water, and spices in a slow cooker and cook on low for 4-6 hours or on high for 2-3 hours. Strain, cool, and add the honey as directed. This method is great for busy days when you don’t want to watch the stove. I’ve done this many times when I’m making a double batch.
Pin This Recipe!
Easy Homemade Elderberry Syrup for Cold Season
This homemade elderberry syrup for cold season is a family favorite, made with dried elderberries, ginger, cinnamon, and raw honey. It’s a simple, effective immune-supporting remedy that tastes like comfort in a spoonful.
- Prep Time: 10 minutes
- Cook Time: 35 minutes
- Total Time: 45 minutes
- Yield: 16 servings 1x
- Category: Remedy
- Cuisine: American
Ingredients
- 1 cup dried elderberries
- 4 cups water
- 1 large piece fresh ginger root (about 3 inches), thinly sliced
- 2 cinnamon sticks
- 1 teaspoon whole cloves
- 1 cup raw honey (or to taste)
- Optional: small handful of rose hips or astragalus root
Instructions
- Combine the dried elderberries, water, sliced ginger, cinnamon sticks, and whole cloves in a medium saucepan. Stir to ensure everything is submerged.
- Bring to a gentle boil over medium-high heat (about 5-7 minutes), then reduce heat to low and simmer uncovered for 30-35 minutes. The liquid should reduce slightly and deepen in color.
- After about 20 minutes of simmering, gently press on the berries with the back of a wooden spoon to release more flavor and beneficial compounds.
- Place a fine-mesh strainer over a large bowl or heatproof measuring cup. Carefully pour the hot mixture through the strainer. Let it drain for a few minutes, pressing gently on the berries to extract all liquid. Discard the solids.
- Let the strained liquid cool until warm but not hot, about 15-20 minutes. This is important to preserve the beneficial enzymes in the honey.
- Once cooled, stir in the raw honey until fully dissolved. Taste and adjust sweetness if desired.
- Using a funnel, pour the syrup into a clean glass jar or bottle. Seal tightly and let cool completely before refrigerating.
Notes
Do not add honey while the liquid is hot, as heat destroys its beneficial enzymes. Use whole spices instead of ground to avoid a cloudy syrup. Sterilize the jar for longer storage. The syrup will thicken slightly as it cools. For a vegan version, substitute maple syrup for honey.
Nutrition
- Serving Size: 1 tablespoon (15 ml)
- Calories: 35
- Sugar: 8
- Carbohydrates: 9
Keywords: elderberry syrup, homemade elderberry syrup, immune support, cold season remedy, elderberry recipe, natural remedy, honey syrup


