Love this? Save it for later!
Share the inspiration with your friends
Introduction
Last Saturday afternoon, I was reorganizing a cluttered drawer in my kitchen when the quiet plumber who was fixing the leaky sink suddenly started talking about his secret to beating the summer heat. Honestly, I wasn’t expecting cooking advice from him, but there I was, intrigued as he described exactly how to whip up an easy no-churn salted caramel ice cream recipe. He pulled out a tiny, grease-stained notepad and scribbled the ingredients and instructions — something he’d learned from his grandmother, who apparently had a flair for simple, fuss-free desserts.
The surprise wasn’t just that a plumber knew his desserts, but that this ice cream required no fancy equipment — no ice cream maker, no complicated churning, just a few straightforward steps and a fridge. You know that feeling when you think you’re just tidying up, and suddenly you get handed a recipe that you can’t stop thinking about? That was me, trying to resist the urge to dash to the store for caramel sauce and heavy cream right then and there.
I made a mess the first time I tried it — caramel dripped everywhere, and I forgot to fold in the whipped cream gently, but the results? Wow. The creamy texture, the rich caramel balanced with just the right pinch of salt, it stuck with me. Maybe you’ve been there, hunting for an effortless homemade ice cream that doesn’t involve hours of waiting or fancy gadgets. This no-churn salted caramel ice cream recipe is exactly that — easy, indulgent, and perfect for those scorching summer days when you want something sweet but don’t want to fuss too much.
Why You’ll Love This Recipe
Honestly, this easy no-churn salted caramel ice cream recipe is one of my go-to treats when the weather heats up. After testing various methods and caramel sauces, I’ve nailed down a version that’s both reliable and downright delicious.
- Quick & Easy: Comes together in about 15 minutes, then just freeze — perfect for last-minute summer cravings.
- Simple Ingredients: Pantry staples like sweetened condensed milk, heavy cream, and store-bought caramel sauce keep shopping trips short.
- Perfect for Summer Gatherings: Great for backyard BBQs, potlucks, or just a personal indulgence on a hot afternoon.
- Crowd-Pleaser: The salted caramel flavor is a hit with kids and adults alike — you might want to make a double batch!
- Unbelievably Creamy: The whipped cream folded in makes the texture smooth and airy without an ice cream maker.
What sets this recipe apart is the balance of salty and sweet — that little sprinkle of sea salt on top really brings out the caramel’s depth. Plus, it’s fuss-free, which means you spend less time in the kitchen and more time enjoying. I remember the first time I served this at a friend’s summer party. Everyone kept asking if I bought it at a fancy shop! It’s comfort food, but without the guilt of complicated prep. If you want a dessert that feels like a treat but is easy enough for any weeknight, you’ll love this recipe as much as I do.
What Ingredients You Will Need
This easy no-churn salted caramel ice cream recipe uses simple, wholesome ingredients that come together to create a rich, creamy dessert without the fuss. Most are pantry staples, and you can find a few easy substitutions if needed.
- Sweetened Condensed Milk (14 oz / 395 g) – adds sweetness and creamy density; I prefer Eagle Brand for consistent results.
- Heavy Whipping Cream (2 cups / 480 ml) – whipped to soft peaks to give the ice cream its airy texture; look for cream with at least 36% fat.
- Caramel Sauce (1/2 cup / 120 ml) – store-bought or homemade; Trader Joe’s salted caramel sauce works wonders here.
- Sea Salt (1 tsp, plus extra for sprinkling) – balances the sweetness and enhances the caramel flavor.
- Vanilla Extract (1 tsp) – adds warmth and depth to the ice cream base.
Optional:
- Chopped pecans or walnuts (1/2 cup / 60 g) – for texture and a nutty contrast.
- Chocolate chips (1/4 cup / 40 g) – if you want a bit of extra indulgence.
- Almond milk – can replace heavy cream for a lighter, dairy-free version, but texture will be less creamy.
This recipe is flexible — if you feel like making your own caramel sauce, that’s great, but the store-bought stuff saves a lot of time. Also, if you want to make a dairy-free version, swapping the cream and condensed milk for coconut-based alternatives works okay, though the flavor will shift slightly.
Equipment Needed
One of the best things about this no-churn salted caramel ice cream recipe is that you don’t need a fancy ice cream maker. Here’s what you’ll want on hand:
- Mixing Bowls: One large bowl for whipping the cream and another for mixing the condensed milk and caramel.
- Electric Hand Mixer or Stand Mixer: For whipping the heavy cream to soft peaks — I’ve tried hand whipping before, but it’s a workout and takes longer.
- Rubber Spatula: Essential for folding the whipped cream gently into the caramel mixture without deflating it.
- Loaf Pan or Freezer-Safe Container: To freeze the ice cream; a metal pan freezes faster, but plastic works just fine.
- Measuring Cups and Spoons: To keep your proportions spot on.
If you want to get fancy, a silicone spatula with a thin edge helps scrape the bowl clean. For budget-friendly options, you can use any large bowl and a whisk, but the mixing time will be longer, and the texture might not be quite as smooth.
Preparation Method
- Whip the Cream: Pour 2 cups (480 ml) of cold heavy whipping cream into a large mixing bowl. Using an electric hand mixer, beat on medium-high speed until soft peaks form — about 3 to 5 minutes. You’ll know it’s ready when the cream holds a gentle peak but still looks smooth and fluffy. Be careful not to overbeat, or it will turn into butter!
- Mix Condensed Milk and Caramel: In another bowl, combine 14 oz (395 g) sweetened condensed milk with 1/2 cup (120 ml) of caramel sauce. Add 1 tsp sea salt and 1 tsp vanilla extract. Stir gently until everything is blended — the mixture should look smooth and glossy.
- Fold the Whipped Cream: Using a rubber spatula, add about a third of the whipped cream to the caramel mixture and fold carefully. This lightens the caramel mixture, making it easier to combine. Then fold in the remaining whipped cream gently, turning the bowl and scraping the sides — this keeps the mixture airy and prevents it from deflating.
- Add Optional Mix-ins: If you want nuts or chocolate chips, fold them in now, evenly distributing them throughout the mixture.
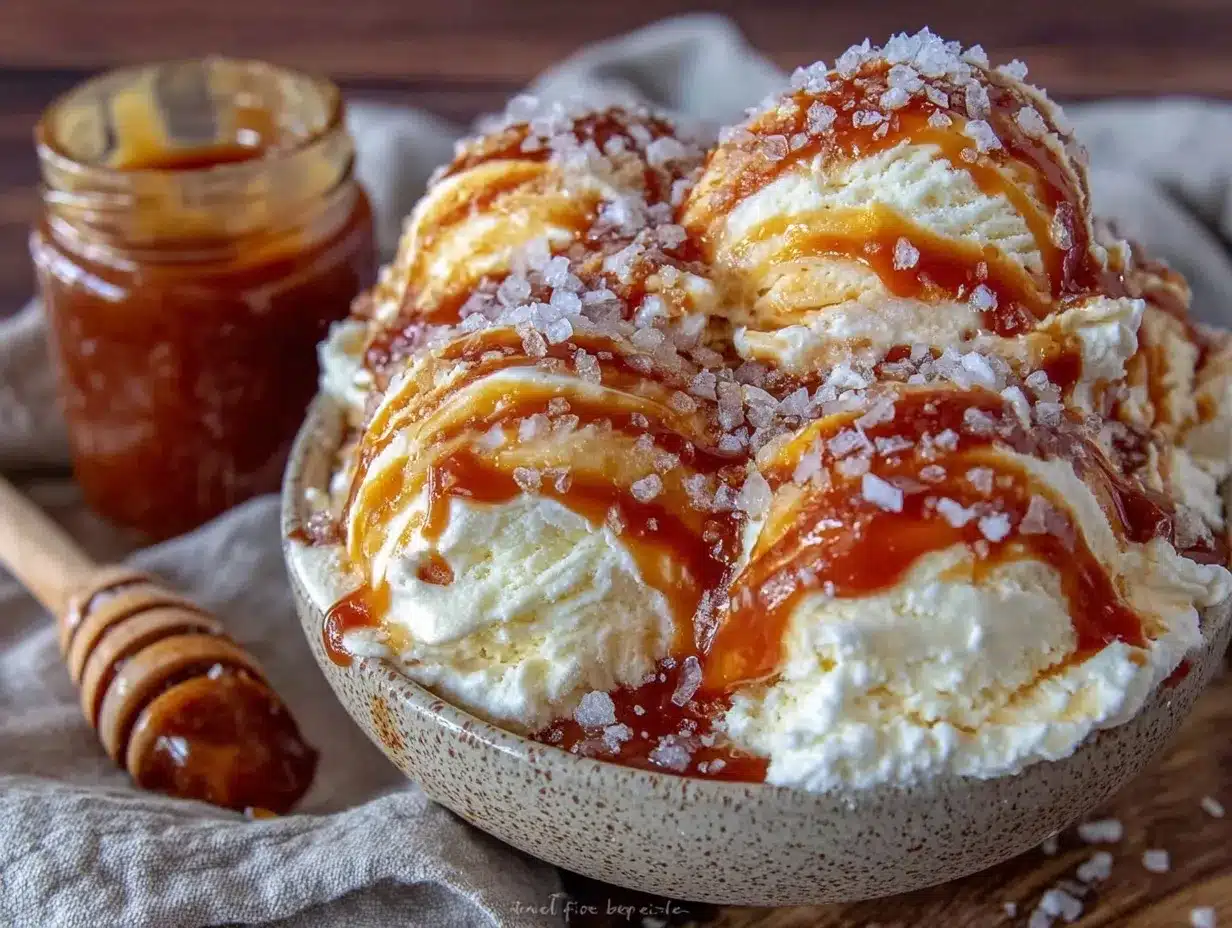
- Transfer and Freeze: Pour the mixture into a loaf pan or freezer-safe container. Smooth the top with the spatula, then sprinkle a pinch of sea salt over it for that classic salted caramel finish.
- Freeze: Cover with a lid or plastic wrap and freeze for at least 6 hours, preferably overnight. The ice cream will firm up beautifully without any churning required.
- Serve: When ready, let the ice cream sit at room temperature for 5 minutes before scooping for easier serving.
If you notice the caramel sauce getting too thick or hard to mix, a quick microwave zap for 10 seconds helps loosen it up. Trust me, folding is key here — rushing will deflate the mixture, and your ice cream won’t be as creamy. Also, if you forget to whip the cream cold, it won’t whip properly, so keep that cream chilled until the last second.
Cooking Tips & Techniques
Making no-churn ice cream might sound like a breeze, but a few tricks make all the difference when you want that perfect texture and flavor.
- Whip Cream to Soft Peaks: This stage is crucial. Soft peaks mean the cream stands up but still folds easily. Overwhipping leads to grainy texture or butter, while underwhipping won’t give enough airiness.
- Folding, Not Stirring: You want to keep as much air in the whipped cream as possible. Use gentle folding motions with a spatula — think of turning the mixture over rather than mixing vigorously.
- Use Quality Caramel Sauce: The caramel flavor is the star here. I’ve tried various brands, and a salted caramel sauce with a buttery, rich taste works best. If you’re making homemade caramel, be careful not to burn it — burnt caramel tastes bitter.
- Salt is Your Friend: Don’t skimp on the sea salt; it cuts through the sweetness and enhances depth. I like flaky sea salt sprinkled on top just before freezing.
- Freezing Time: Patience is key. Rushing the freezing process can lead to icy texture. Overnight freezing gives the best scoopable consistency.
- Storage: Keep ice cream tightly covered with plastic wrap pressed directly on its surface to avoid ice crystals forming.
One time, I tried to speed up the process by stirring the ice cream every hour — honestly, it just made the texture messier. No-churn means hands-off after mixing, so resist the temptation! Also, multitasking while whipping cream (I was trying to prep dinner too) made me overbeat it once — lesson learned: focus on the cream alone.
Variations & Adaptations
This easy no-churn salted caramel ice cream recipe is incredibly adaptable to suit different tastes and dietary needs.
- Chocolate Swirl: Gently fold in 1/3 cup (80 ml) of melted dark chocolate before freezing for a decadent twist.
- Nutty Delight: Add toasted pecans or walnuts for crunch. For a nut-free version, skip or swap with toasted coconut flakes.
- Dairy-Free Version: Replace heavy cream with full-fat coconut cream and use sweetened condensed coconut milk. The texture is slightly different but still creamy and delicious.
- Fruit Infusion: Swirl in a raspberry or blackberry puree for a fruity contrast to the caramel.
- Spiced Caramel: Add a pinch of cinnamon or a dash of bourbon to the caramel mixture for a warming flavor.
I personally tried adding a sprinkle of espresso powder for a salted caramel mocha flavor — surprisingly good! If you want to experiment with cooking methods, this ice cream isn’t suited for baking but works great as a no-churn base you can scoop over warm cobblers or pies like my favorite classic apple pie.
Serving & Storage Suggestions
Serving this salted caramel ice cream straight from the freezer is the easiest way, but letting it sit at room temperature for 5 minutes softens the texture for smoother scoops. Presentation-wise, a drizzle of extra caramel sauce and a sprinkle of flaky sea salt on top makes it look irresistible.
This ice cream pairs beautifully with warm desserts like brownies or fruit crisps, or simply on its own with a crunchy cookie on the side. For drinks, a cold brew coffee or a glass of dessert wine complements the salted caramel notes nicely.
Store leftovers in an airtight container in the freezer for up to 2 weeks. Over time, the flavors meld together, making it even tastier. When reheating isn’t an option, just let it thaw slightly before scooping. Avoid refreezing once softened to maintain the best texture.
Nutritional Information & Benefits
A typical serving of this easy no-churn salted caramel ice cream (about 1/2 cup or 120 ml) contains approximately:
| Calories | 280 |
|---|---|
| Fat | 18g |
| Saturated Fat | 11g |
| Sugar | 25g |
| Protein | 3g |
While this is definitely an indulgent treat, the heavy cream provides some calcium and fat-soluble vitamins, and the sea salt adds trace minerals. Being homemade, it has no preservatives or artificial flavors. For those avoiding gluten or nuts (unless added), this recipe is naturally gluten-free and can be modified to be nut-free. If you’re watching sugar intake, try reducing the caramel sauce slightly or swapping for a low-sugar brand.
Conclusion
This easy no-churn salted caramel ice cream recipe is a summer game-changer — it’s simple enough for even the busiest days but packed with flavor that feels special. I love how it strikes that perfect balance between sweet and salty, creamy and light. Honestly, it’s become my secret weapon for impressing guests without any stress, and I bet once you try it, you’ll feel the same.
Feel free to tweak the mix-ins or caramel intensity to your liking — the recipe is forgiving and made for customization. Let me know how your salted caramel ice cream turns out, or if you have your own twist to share. Nothing makes me happier than hearing about your kitchen wins!
Go on, give it a whirl — summer deserves this kind of simple, delicious treat.
FAQs About No-Churn Salted Caramel Ice Cream
Can I make this ice cream without heavy cream?
You can substitute heavy cream with full-fat coconut cream for a dairy-free version, but it will be less airy and slightly different in taste.
Do I have to use store-bought caramel sauce?
No, homemade caramel sauce works wonderfully too. Just be careful not to burn the sugar, and let it cool before mixing.
How long does it take to freeze?
Freeze for at least 6 hours or overnight for best texture. The longer, the firmer and easier to scoop.
Can I add mix-ins like nuts or chocolate chips?
Absolutely! Fold in your favorite nuts, chocolate chips, or even swirls of fudge before freezing for extra texture and flavor.
Will this ice cream be icy without churning?
If you fold the whipped cream gently and freeze it without stirring, it stays creamy and smooth. Proper whipping and folding are key to avoiding iciness.
Pin This Recipe!
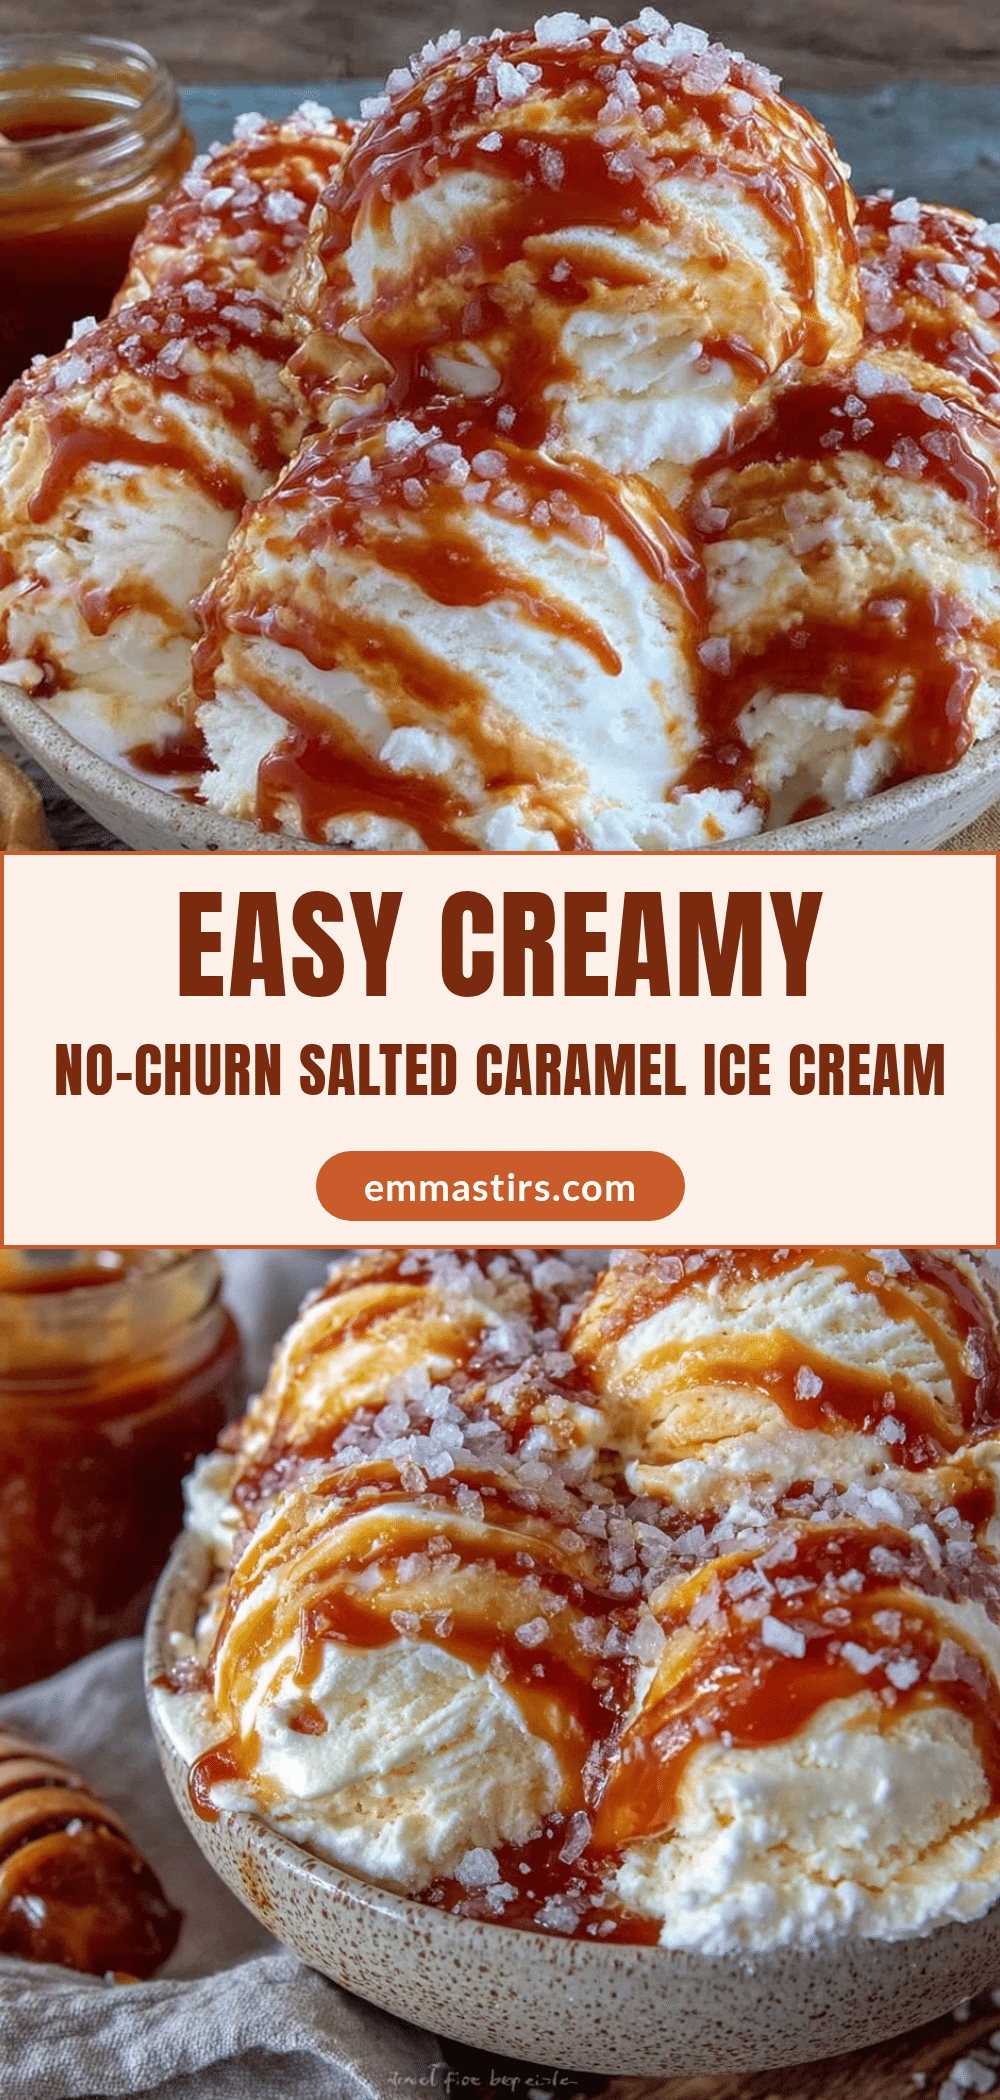
Easy No-Churn Salted Caramel Ice Cream Recipe Perfect for Summer Treats

An easy, no-churn salted caramel ice cream recipe that requires no ice cream maker and comes together quickly with simple ingredients. Perfect for summer treats with a creamy, airy texture and a balanced sweet and salty flavor.
- Prep Time: 15 minutes
- Cook Time: 0 minutes
- Total Time: 6 hours 15 minutes
- Yield: 8 servings 1x
- Category: Dessert
- Cuisine: American
Ingredients
- 14 oz (395 g) sweetened condensed milk
- 2 cups (480 ml) heavy whipping cream (at least 36% fat)
- 1/2 cup (120 ml) caramel sauce (store-bought or homemade)
- 1 tsp sea salt, plus extra for sprinkling
- 1 tsp vanilla extract
- Optional: 1/2 cup (60 g) chopped pecans or walnuts
- Optional: 1/4 cup (40 g) chocolate chips
- Optional: almond milk (to replace heavy cream for a lighter, dairy-free version)
Instructions
- Pour 2 cups (480 ml) of cold heavy whipping cream into a large mixing bowl. Using an electric hand mixer, beat on medium-high speed until soft peaks form, about 3 to 5 minutes. Be careful not to overbeat.
- In another bowl, combine 14 oz (395 g) sweetened condensed milk with 1/2 cup (120 ml) caramel sauce. Add 1 tsp sea salt and 1 tsp vanilla extract. Stir gently until smooth and glossy.
- Using a rubber spatula, fold about a third of the whipped cream into the caramel mixture to lighten it. Then fold in the remaining whipped cream gently, turning the bowl and scraping the sides to keep the mixture airy.
- If desired, fold in optional mix-ins like nuts or chocolate chips evenly throughout the mixture.
- Pour the mixture into a loaf pan or freezer-safe container. Smooth the top with a spatula and sprinkle a pinch of sea salt over it.
- Cover with a lid or plastic wrap and freeze for at least 6 hours, preferably overnight.
- Before serving, let the ice cream sit at room temperature for 5 minutes to soften for easier scooping.
Notes
Whip cream to soft peaks to maintain airy texture. Fold whipped cream gently to avoid deflating. Use quality salted caramel sauce for best flavor. Freeze overnight for best scoopability. Store ice cream tightly covered to avoid ice crystals. Optional mix-ins add texture and flavor. For dairy-free version, substitute heavy cream and condensed milk with coconut-based alternatives.
Nutrition
- Serving Size: 1/2 cup (120 ml)
- Calories: 280
- Sugar: 25
- Sodium: 210
- Fat: 18
- Saturated Fat: 11
- Carbohydrates: 30
- Protein: 3
Keywords: no-churn ice cream, salted caramel ice cream, easy ice cream recipe, summer dessert, no ice cream maker, homemade ice cream, caramel dessert